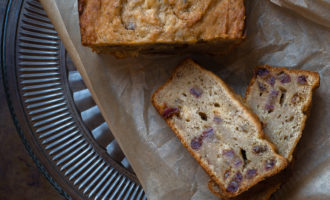
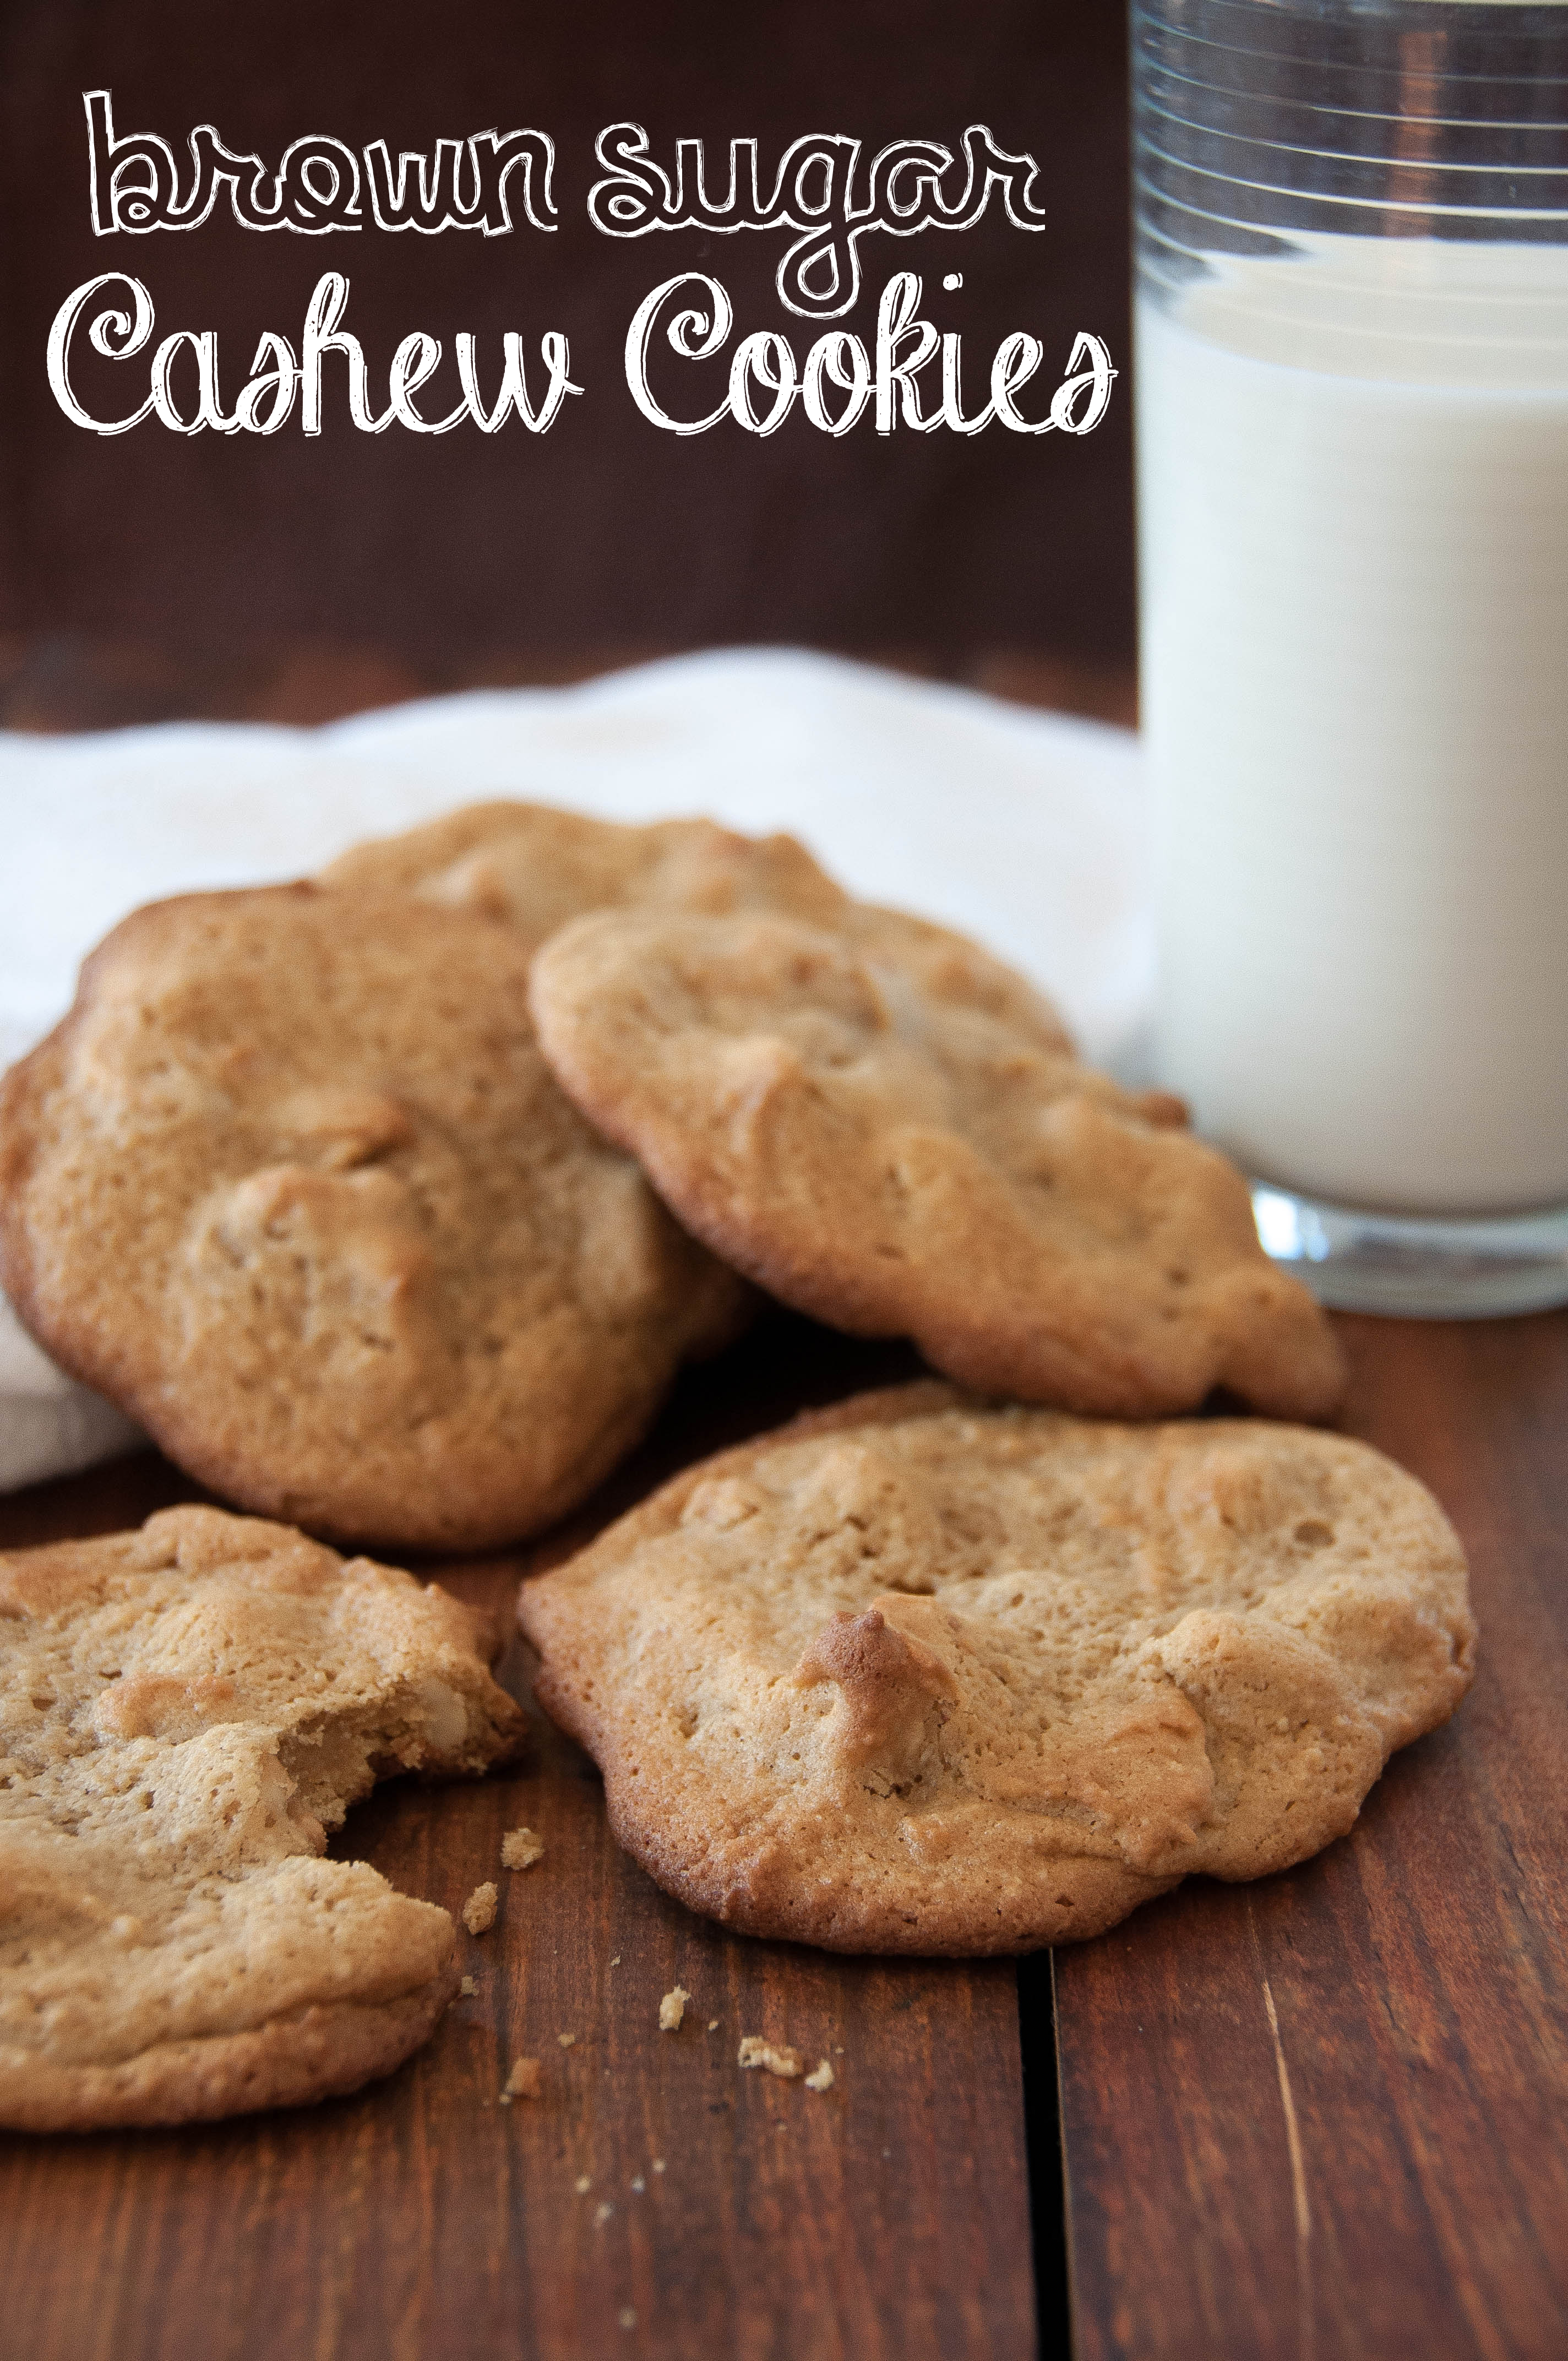
Brown Sugar Cashew Cookies
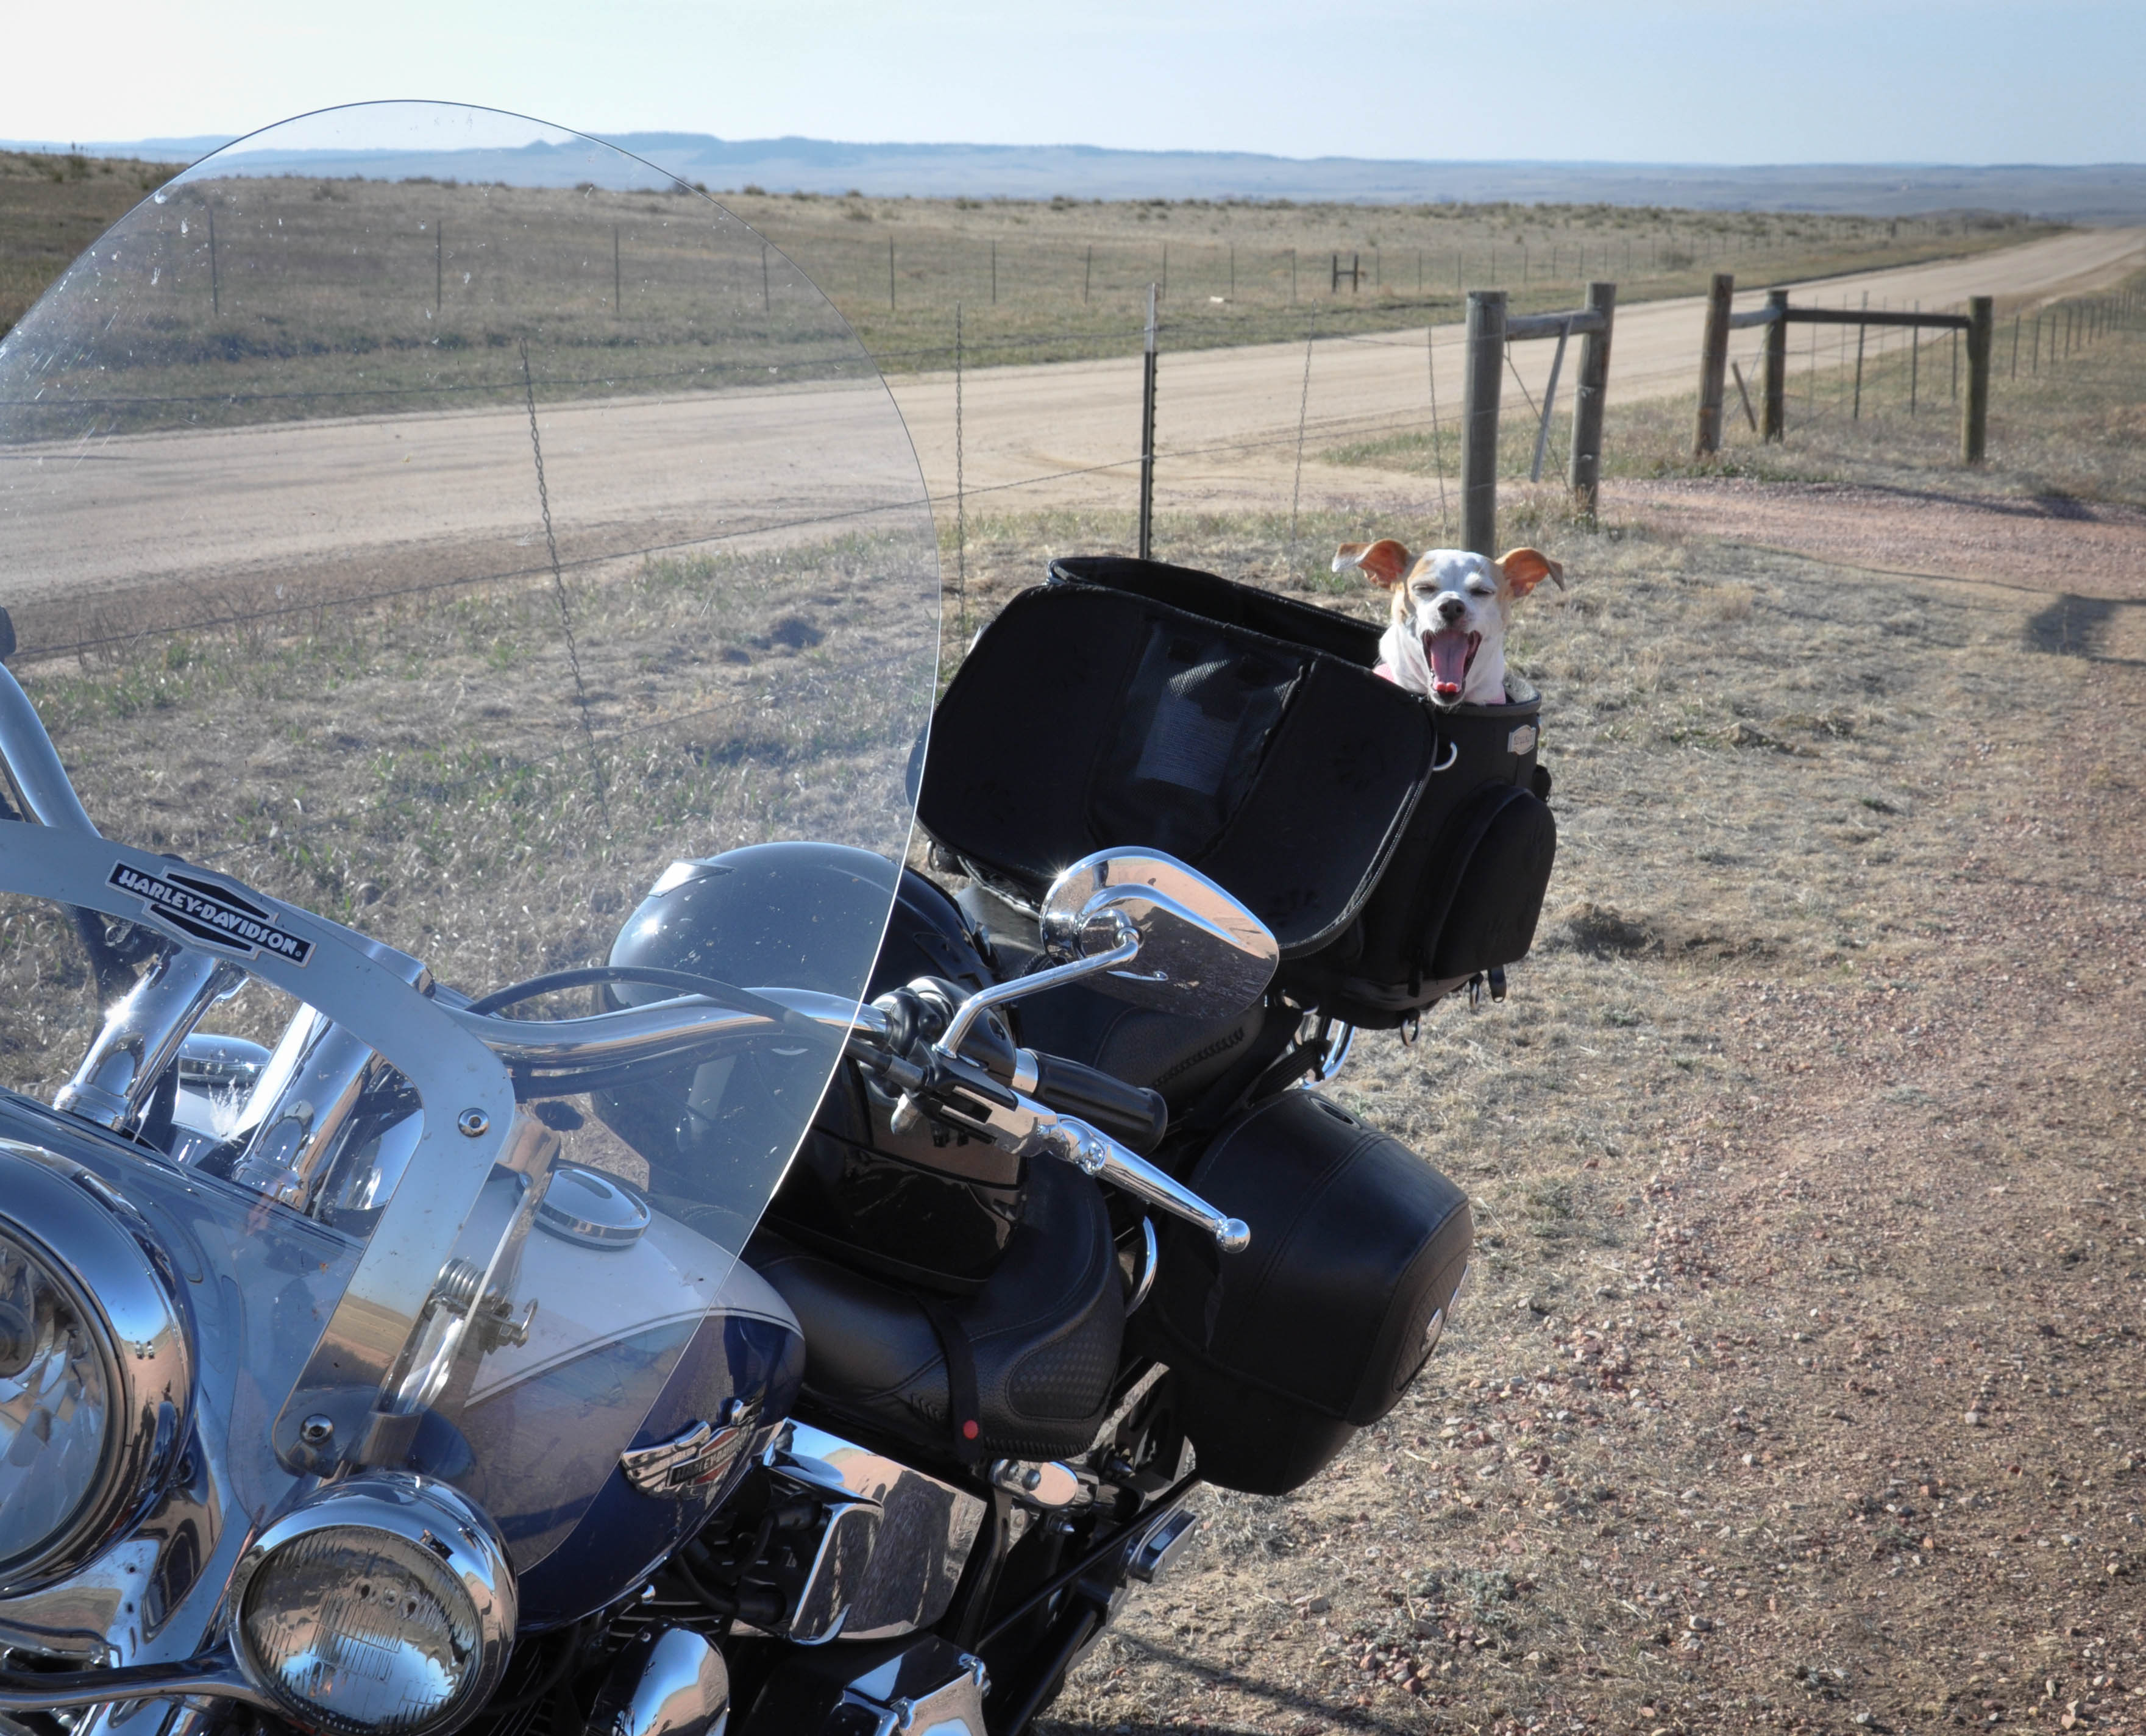
The weather was perfect on Saturday … perfect day for a motorcycle ride. The motorcycle comes complete with a dog carrier. The Chihuahua’s mobile; she’s always up for adventure. I pulled the bike out of the garage and the shriek of three girls screaming “WAIT! We want to see your motorcycle!” stopped me in my tracks.
I live on a military base… way out east of Colorado Springs… thirty minutes from town… tumbleweed rolls down the street providing endless entertainment… Not a lot going on in the neighborhood… But, the neighborhood kids are sweet as pie. Like the time I was in the house playing the piano and the doorbell rang. I opened the door and there was 9-year-old Colin, “Hello Miss Lynn. I hear you playing the piano when I walk by to my friend’s house and I just want to tell you I really like it” …and then he ran off before I could barely get out an “Ahhh, thank you Colin!”
So super sweet!
I placed my motorcycle helmet on the ground and said “Hi girls!”
“We love your bike, we want to see you ride it!” Shriek!! “OMG, is Chica going with you?!”
“She sure is” I said nodding…
I kept pulling together my riding gear.
“I love your bike! It is so cool! I want to get one someday! I’m almost 13. My mom says when I’m 13, I can have a boyfriend.”
Me: “Boyfriend? Wait until you’re 30.”
“But my mom says I can have a boyfriend when I’m 13.”
Me: “Boyfriends are overrated. Wait until you’re 30.” (got a slightly cocked head, quizzical stare on that one)
“Do you have a boyfriend?”
Me: “No.”
“We are going to find you a boyfriend!”
Me: “Ok. Make sure he likes Chihuahuas.”
Got my gear on, strapped the dog in and pulled away on the bike …..with three girls running behind me screaming, laughing and WHhhooo’ing.
Totally sweet and nutty.
And my inspiration to make Brown Sugar Cashew Cookies.
- 1 cup brown sugar (packed)
- 1/2 cup butter (softened)
- 1 egg
- 1 tsp vanilla
- 1 1/2 cup all-purpose flour
- 1/2 cup finely ground cashews
- 3/4 tsp baking powder
- 3/4 tsp baking soda
- 1/3 cup sour cream
- 1 1/2 cup cashew halves
- Heat oven to 350 degrees
- Spread cashews on a cookie sheet and lightly brown (about 10-15 minutes)
- In a mixer, combine the brown sugar and butter until creamy
- Add the egg and vanilla and continue to blend in the mixer
- Add the flour, ground cashews, baking powder, baking soda and sour cream and mix on slow speed. When the flour is incorporated, then you can turn the speed up and mix until creamy again
- Stir the cashew halves in by hand
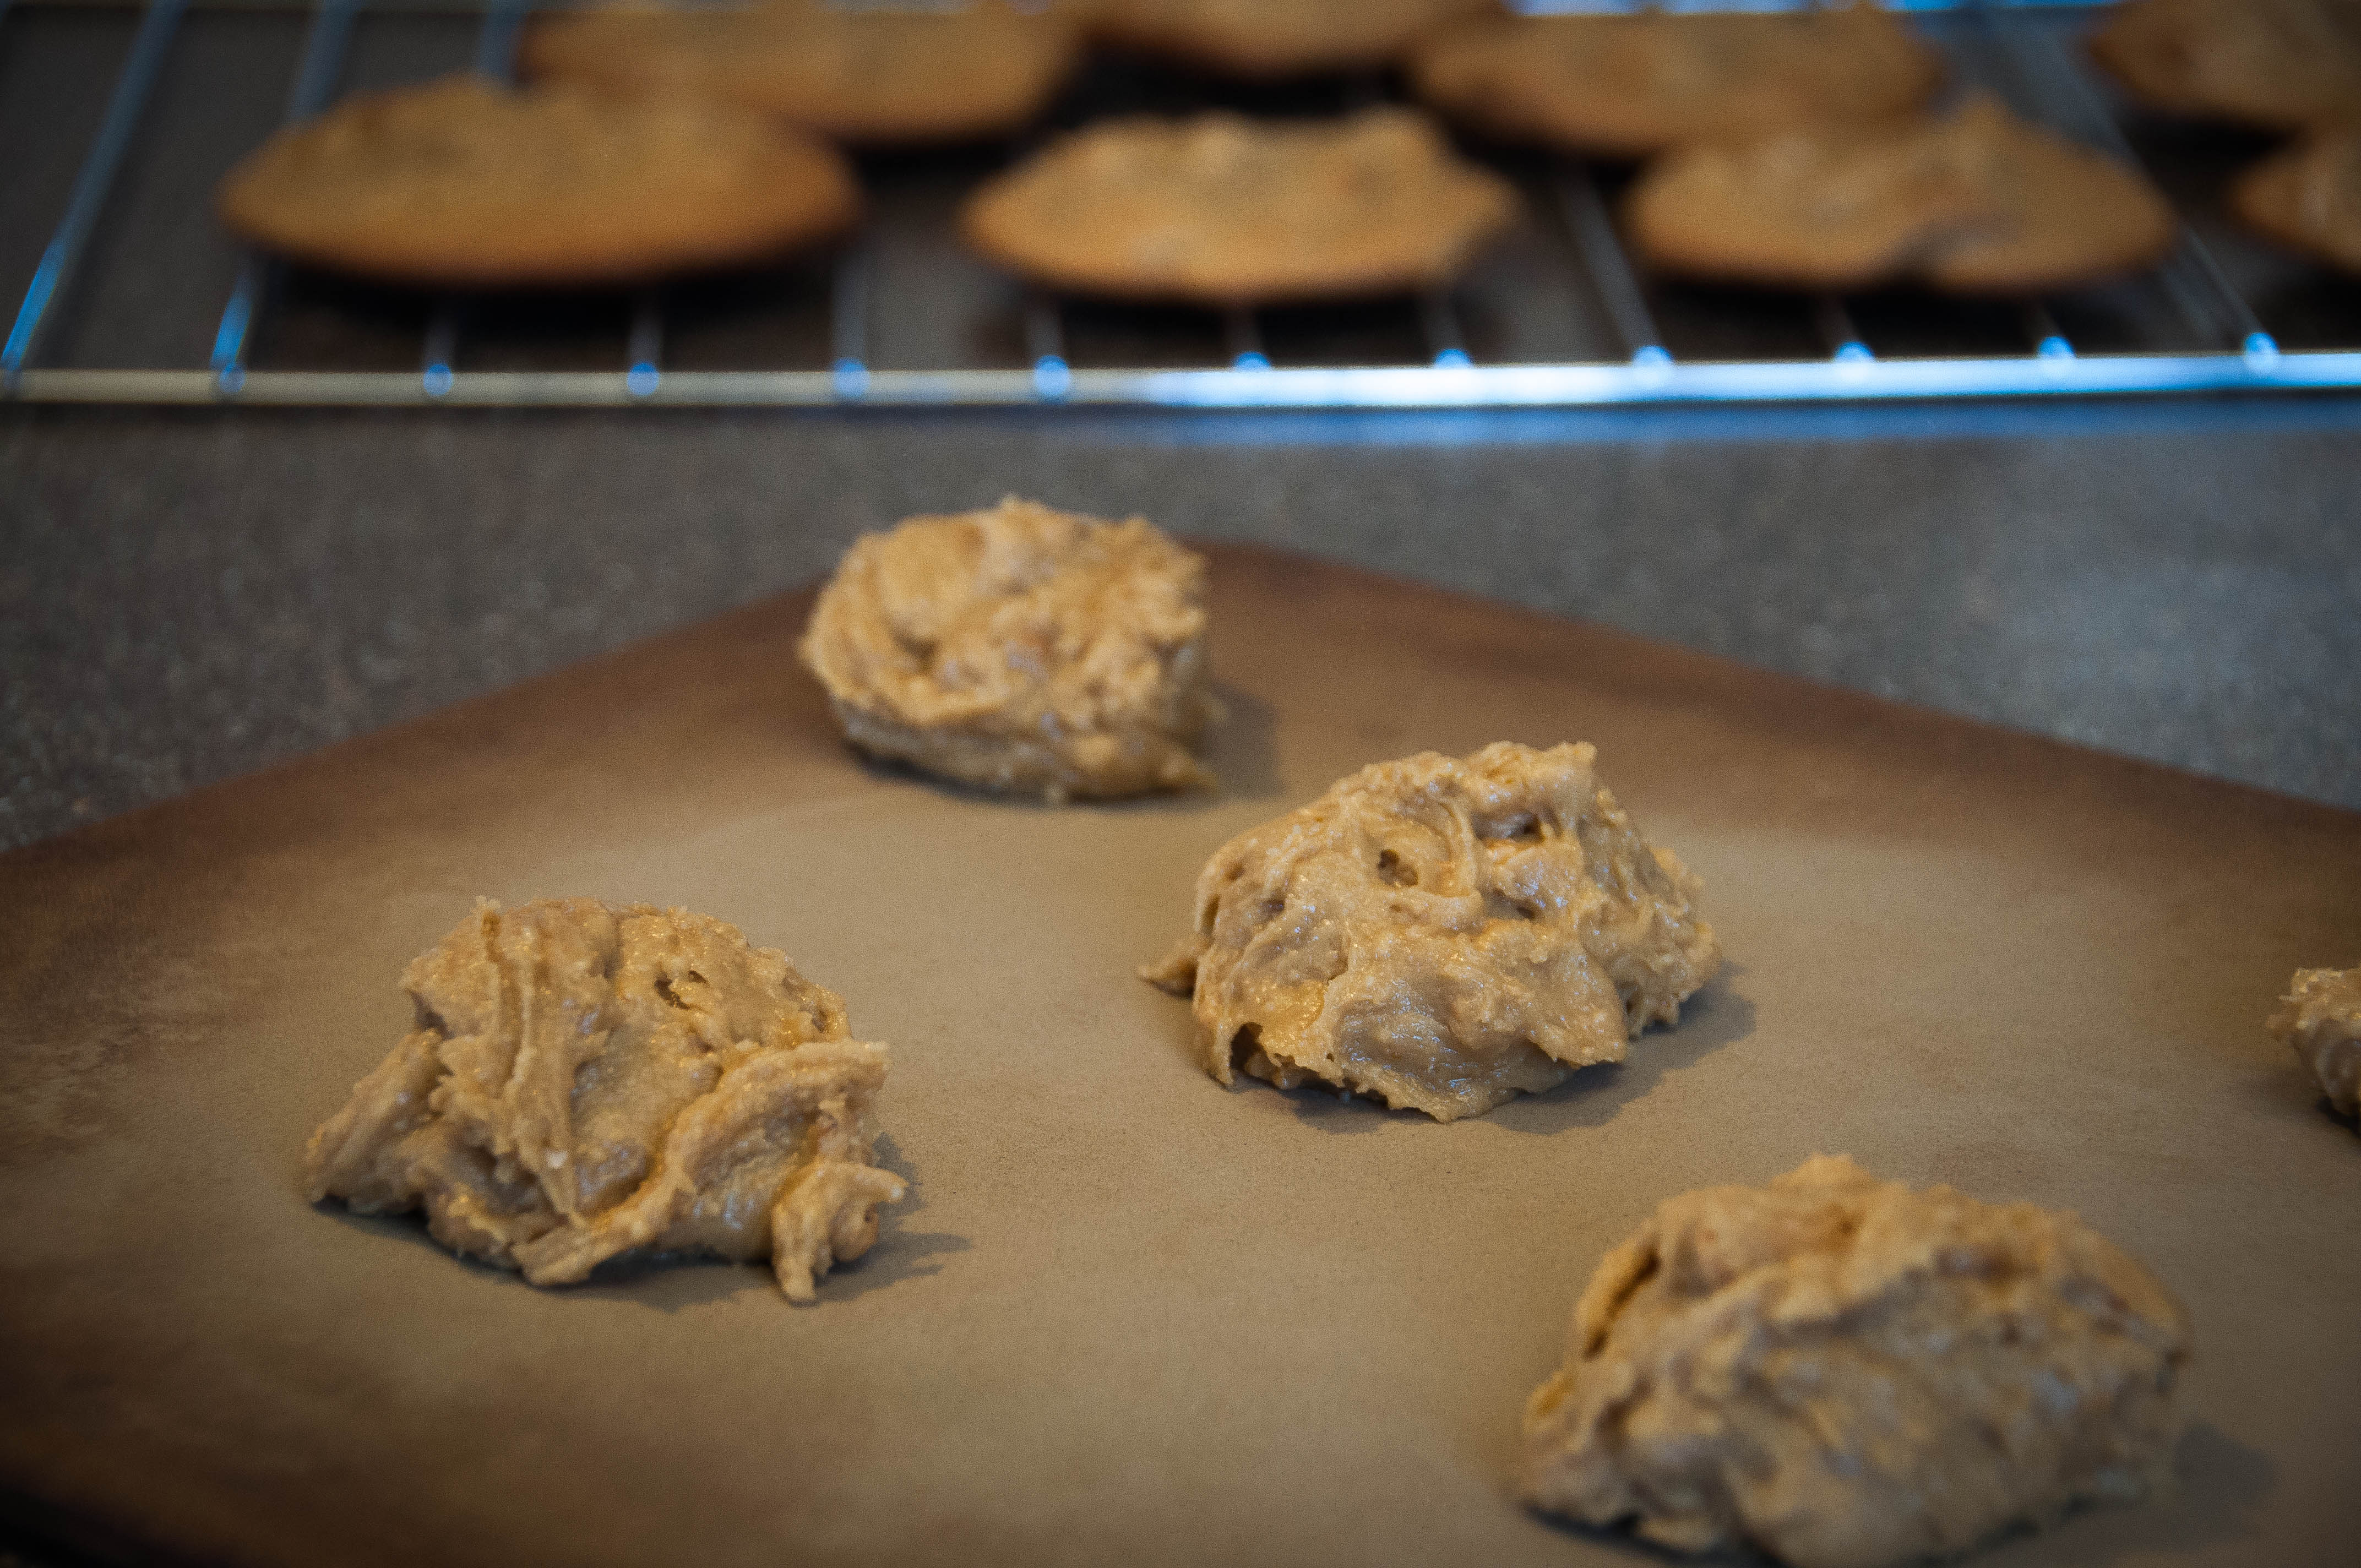
- On an ungreased cookie sheet, drop a heaping tablespoon of dough and space the dough drops a couple inches apart
- Cook for 10-12 minutes
- Cool completely
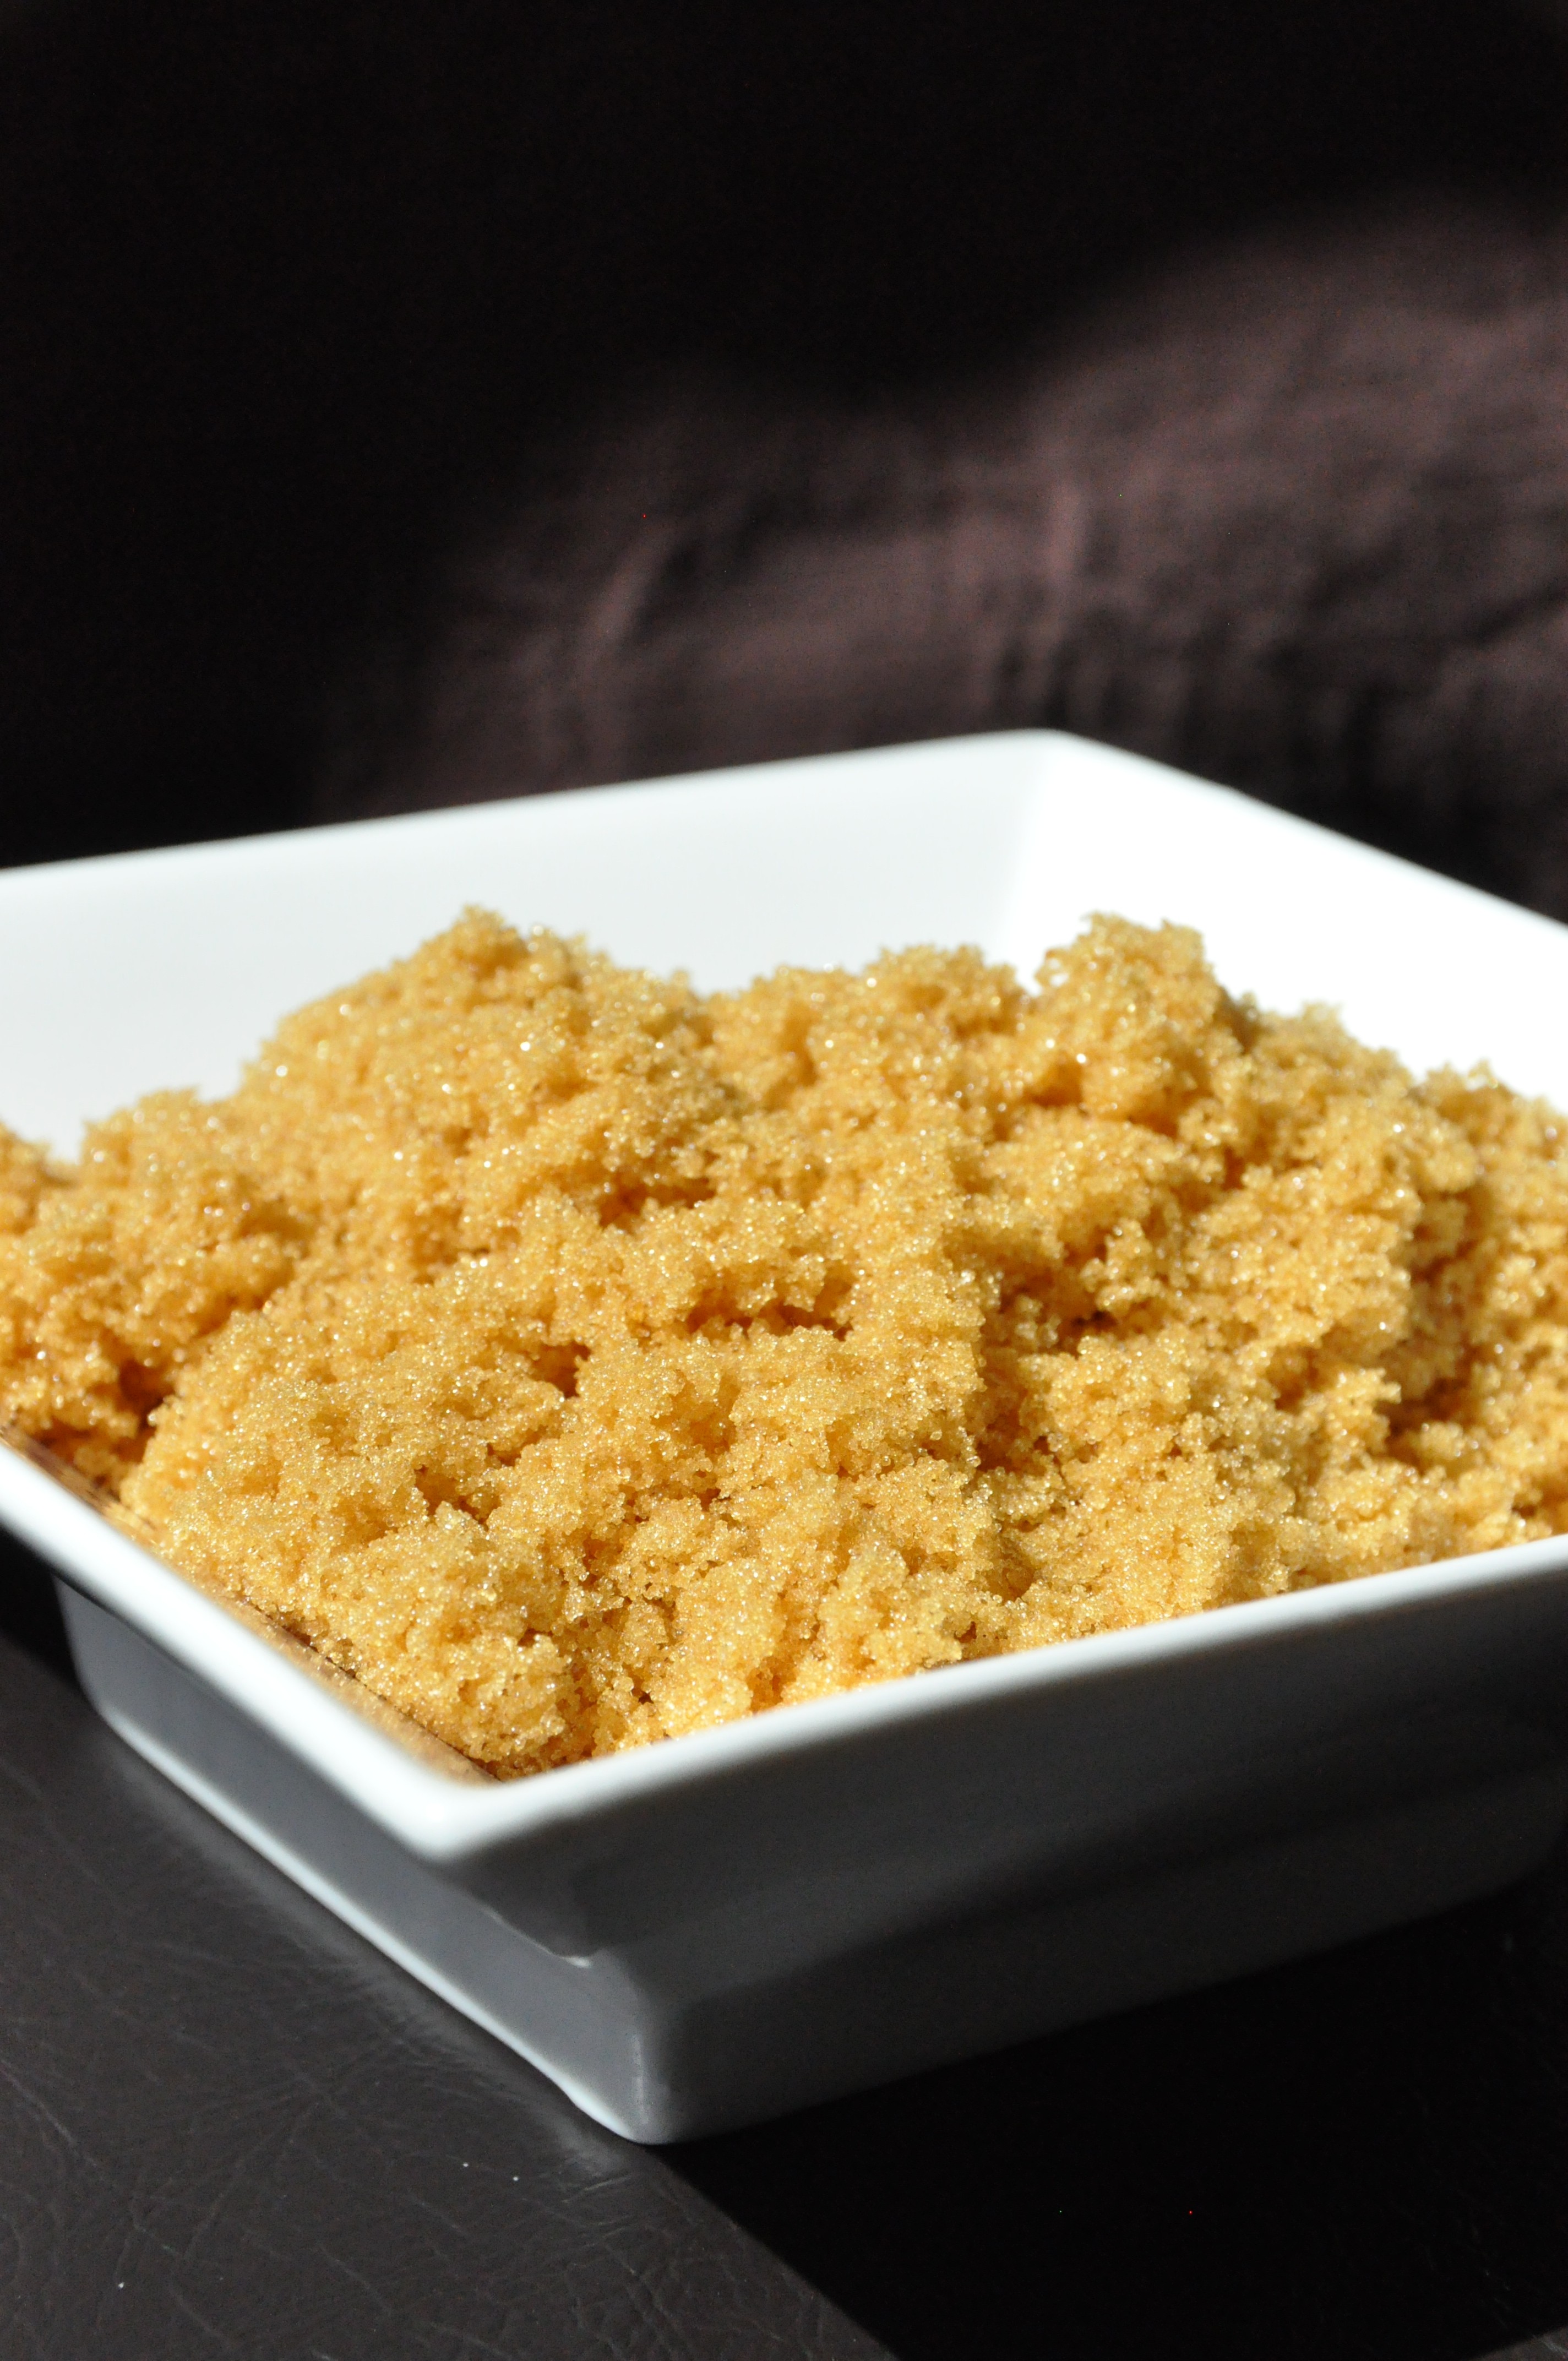
Rocky Mountain Brown Sugar
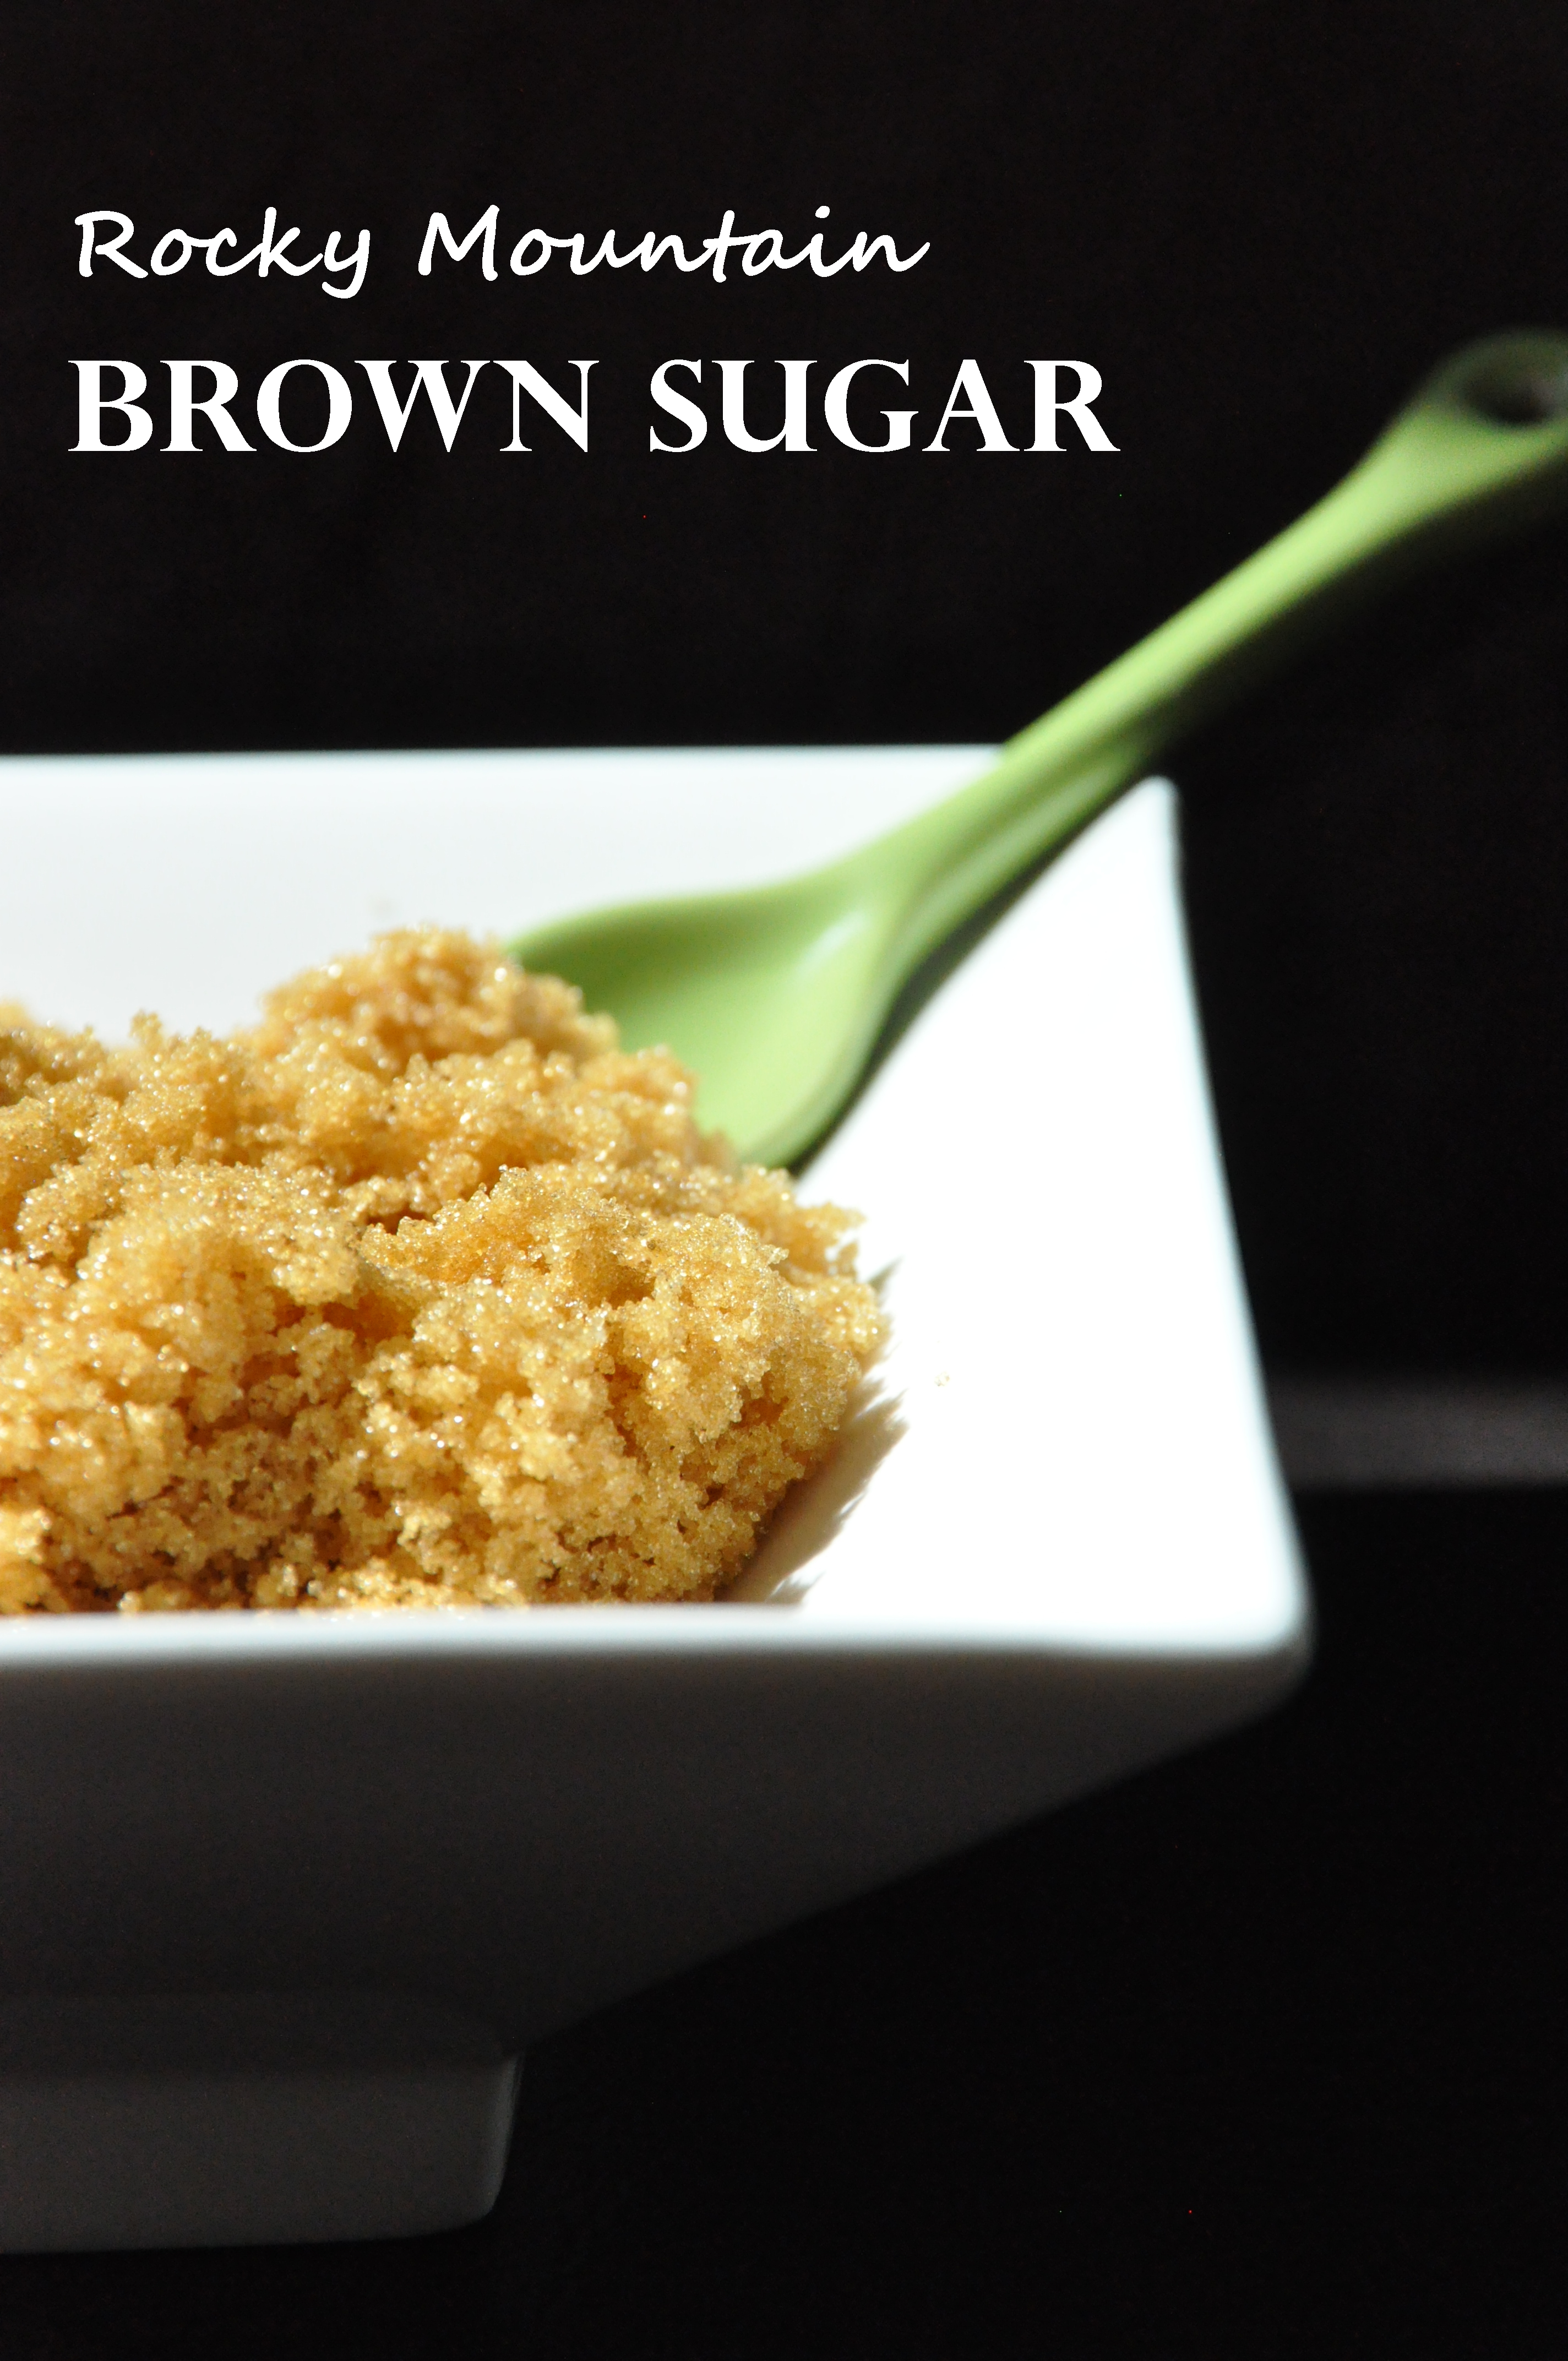
In keeping with the theme of “recipes for an arid climate”…. I introduce to you “Rocky Mountain Brown Sugar!” Ok, so there’s really ‘no such thing’ as Rocky Mountain Brown Sugar… but, if you’ve lived in a humid-free zone you may know the “I’m big time bummed” feeling of reaching into your pantry to grab the brown sugar (when making your favorite chocolate chip cookie recipe) only to find a brown sugar BRICK. Something had to be done.
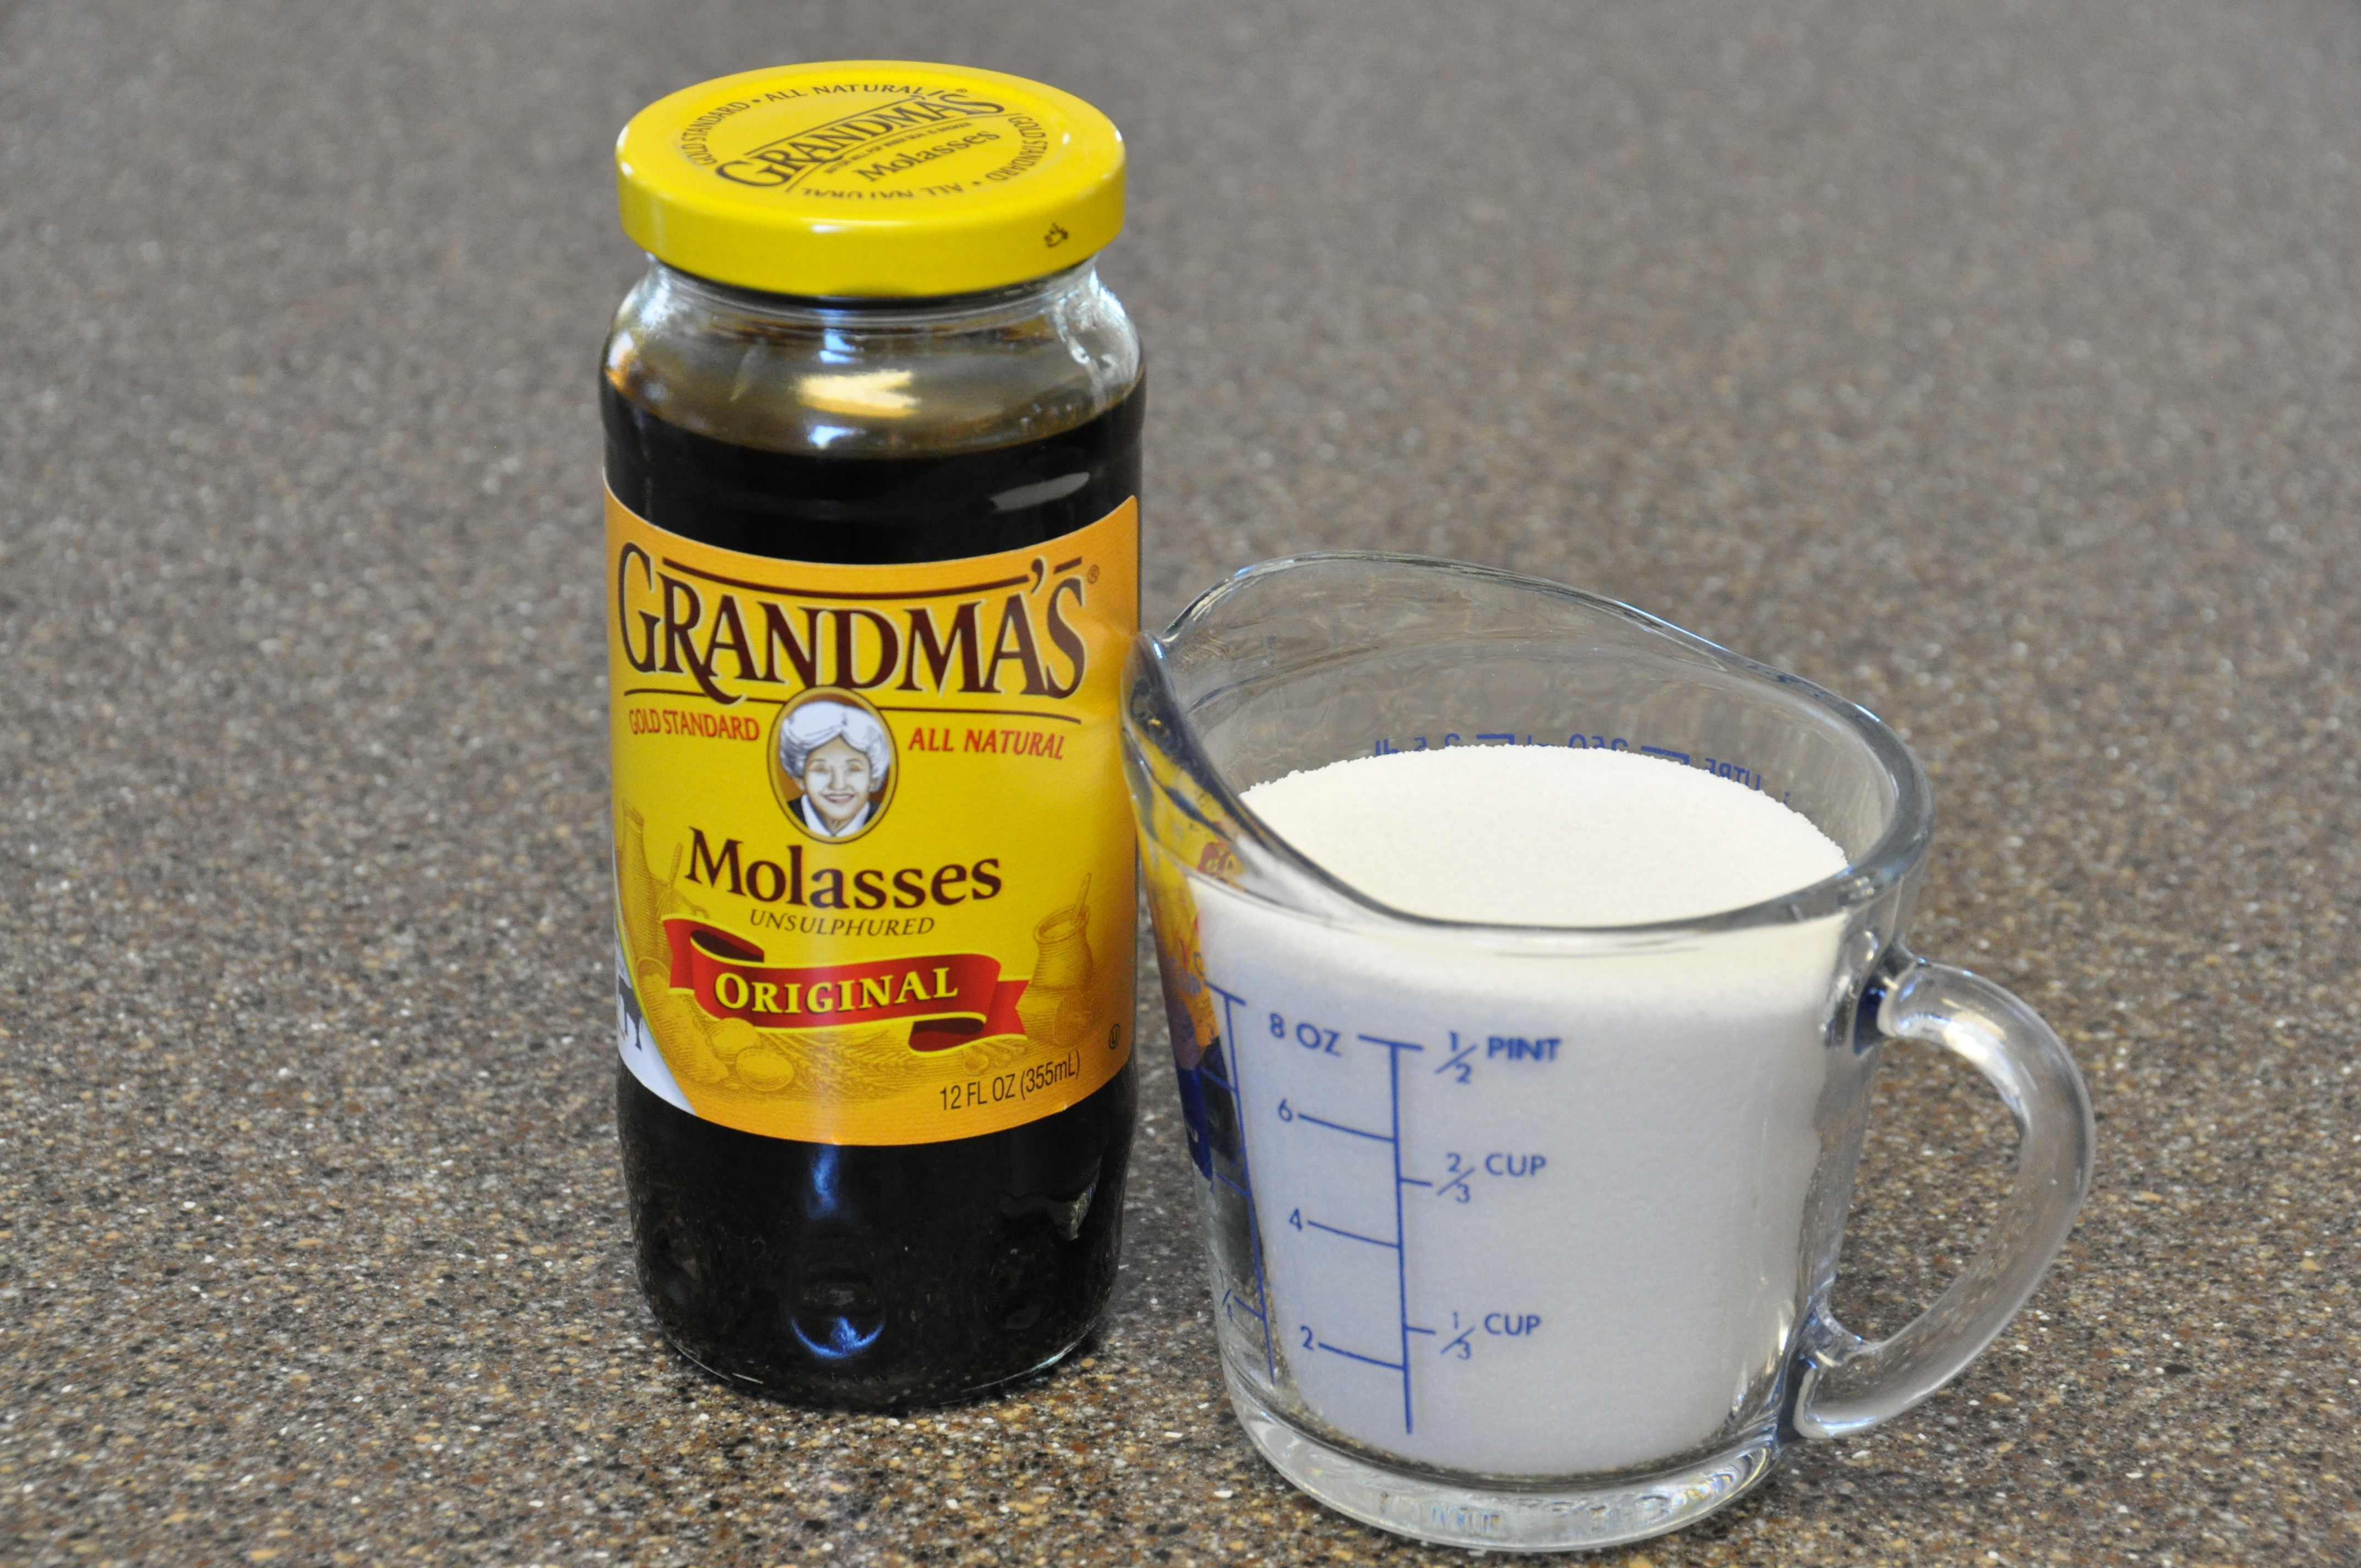
It’s real easy to make your own brown sugar! Sugar + molasses = brown sugar. Ta da! Two tablespoons of molasses will give you a perfect medium brown sugar. If you want dark brown sugar… easy… just add another 1-2 tablespoons of molasses!
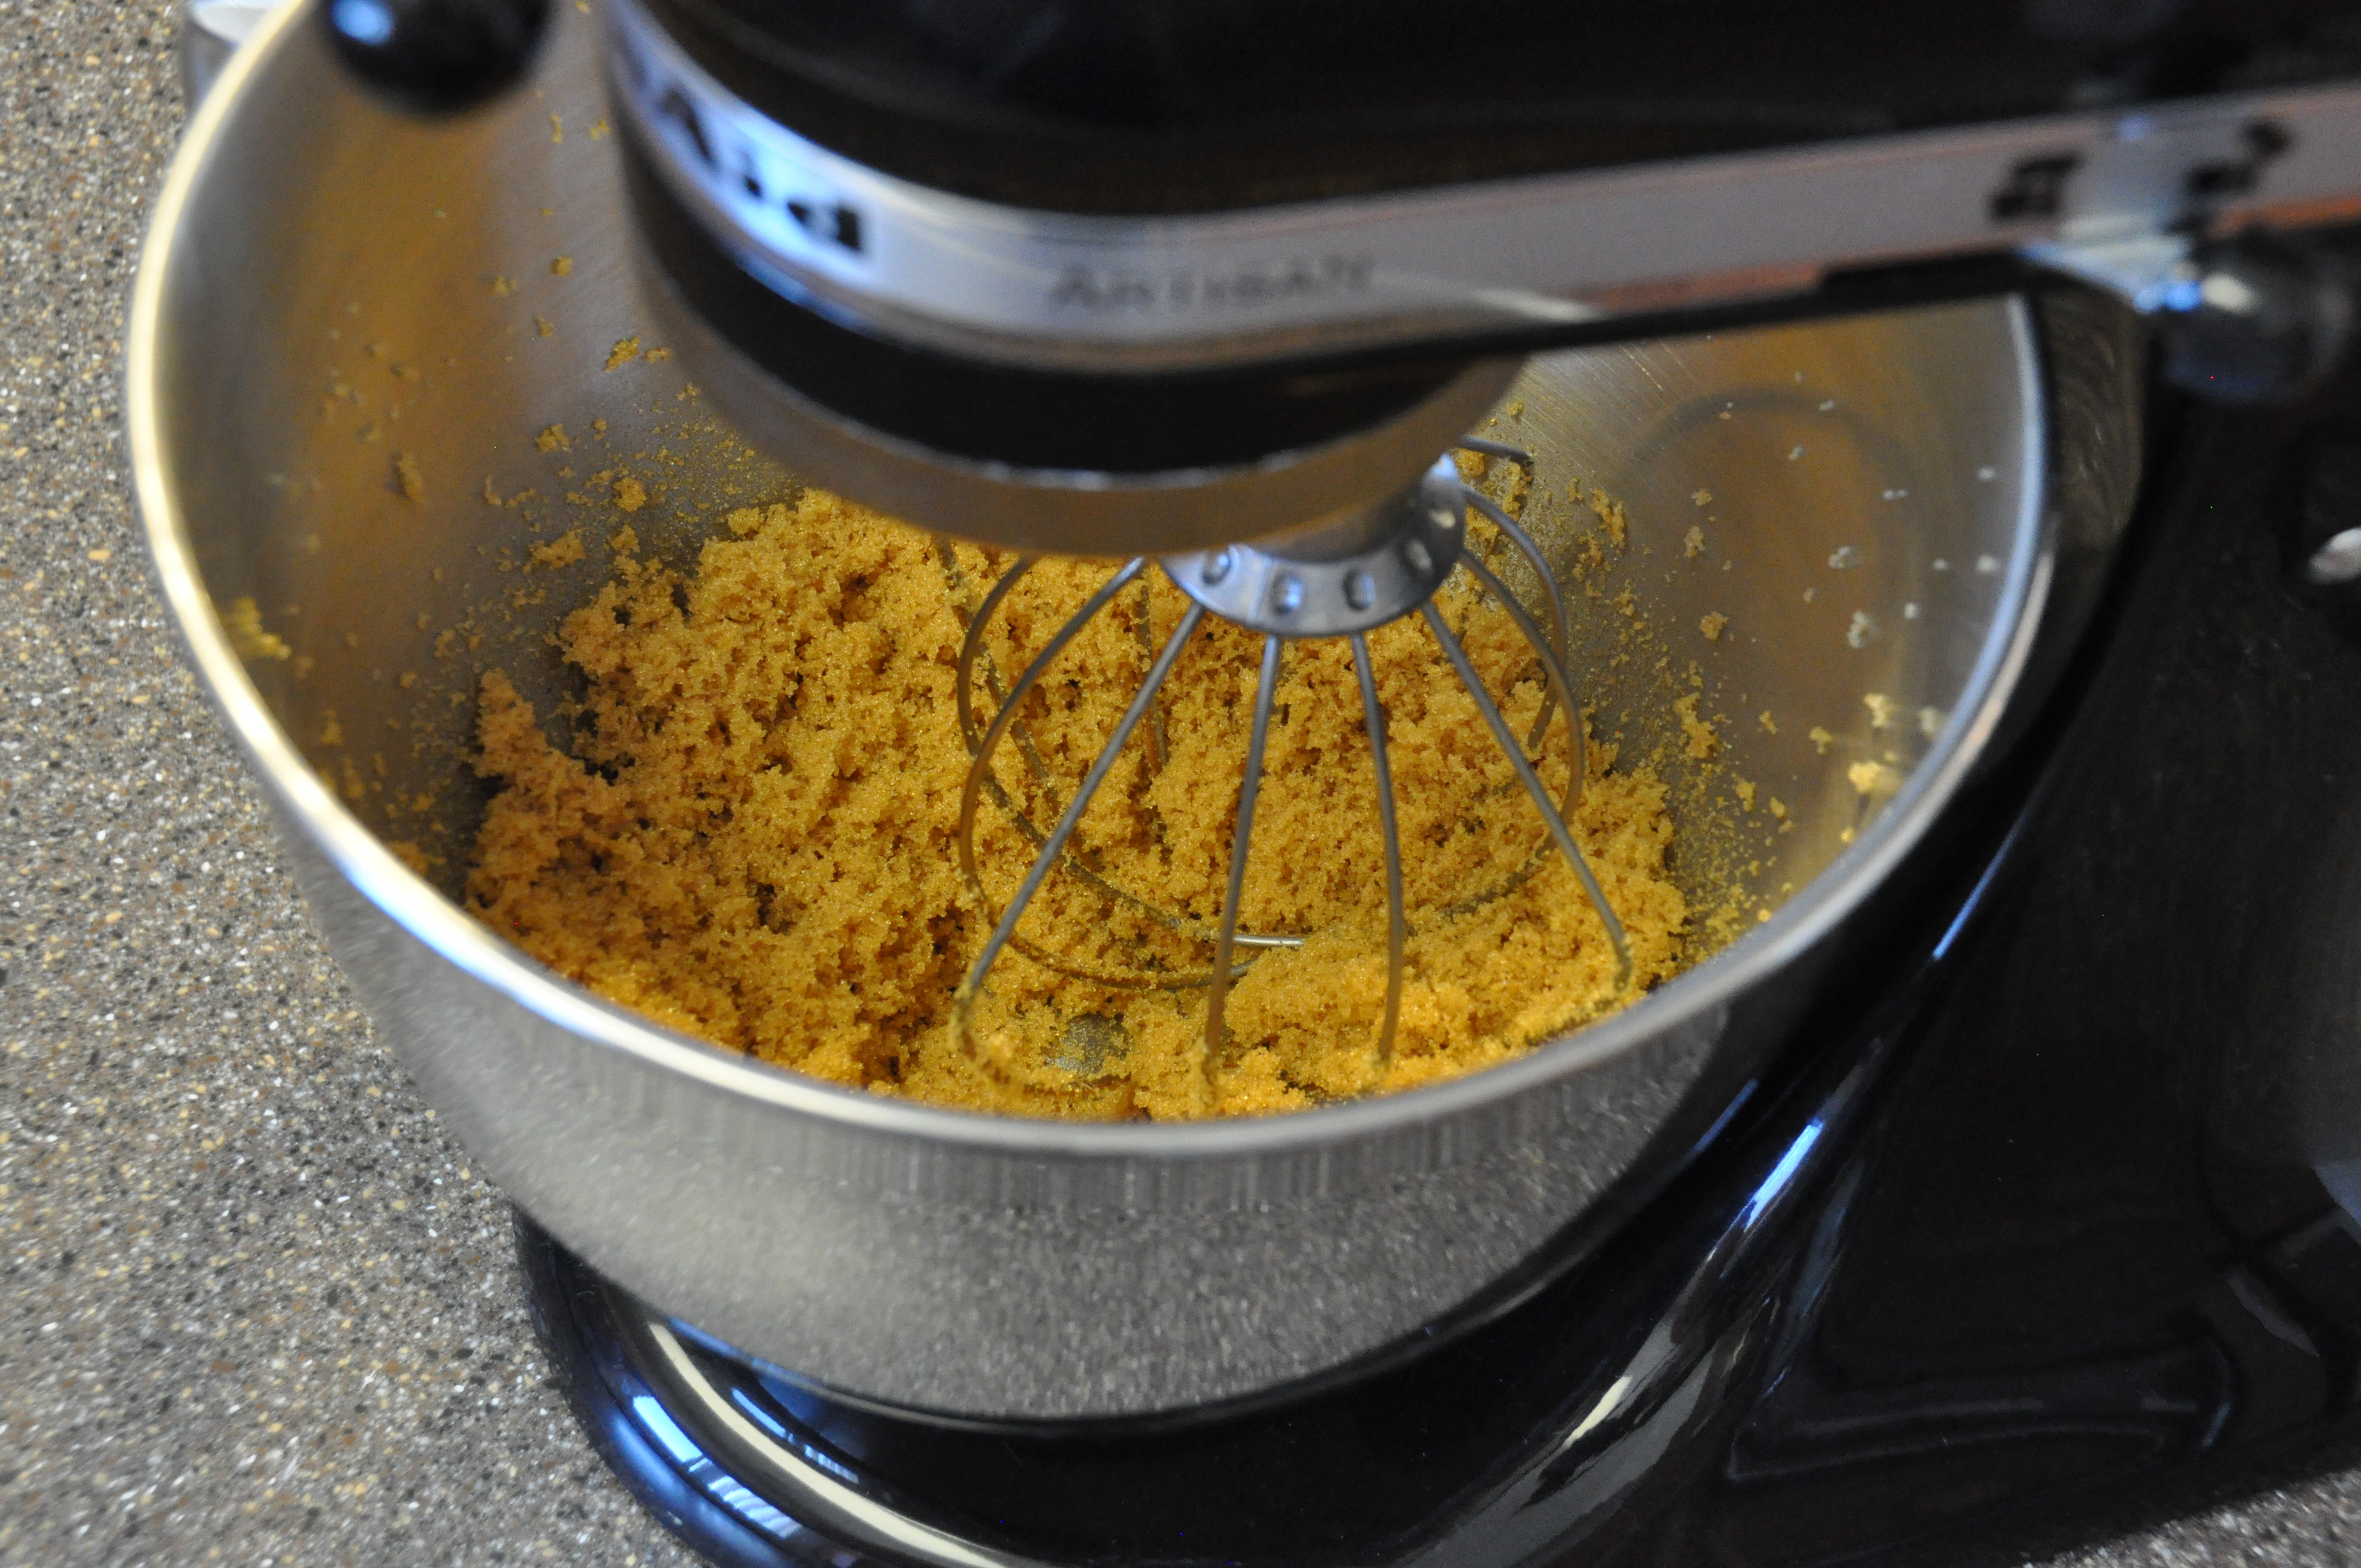
I was wondering how I was going to evenly distribute the molasses. Was I supposed to mix it with a fork? a whisk? with my most prized possession….
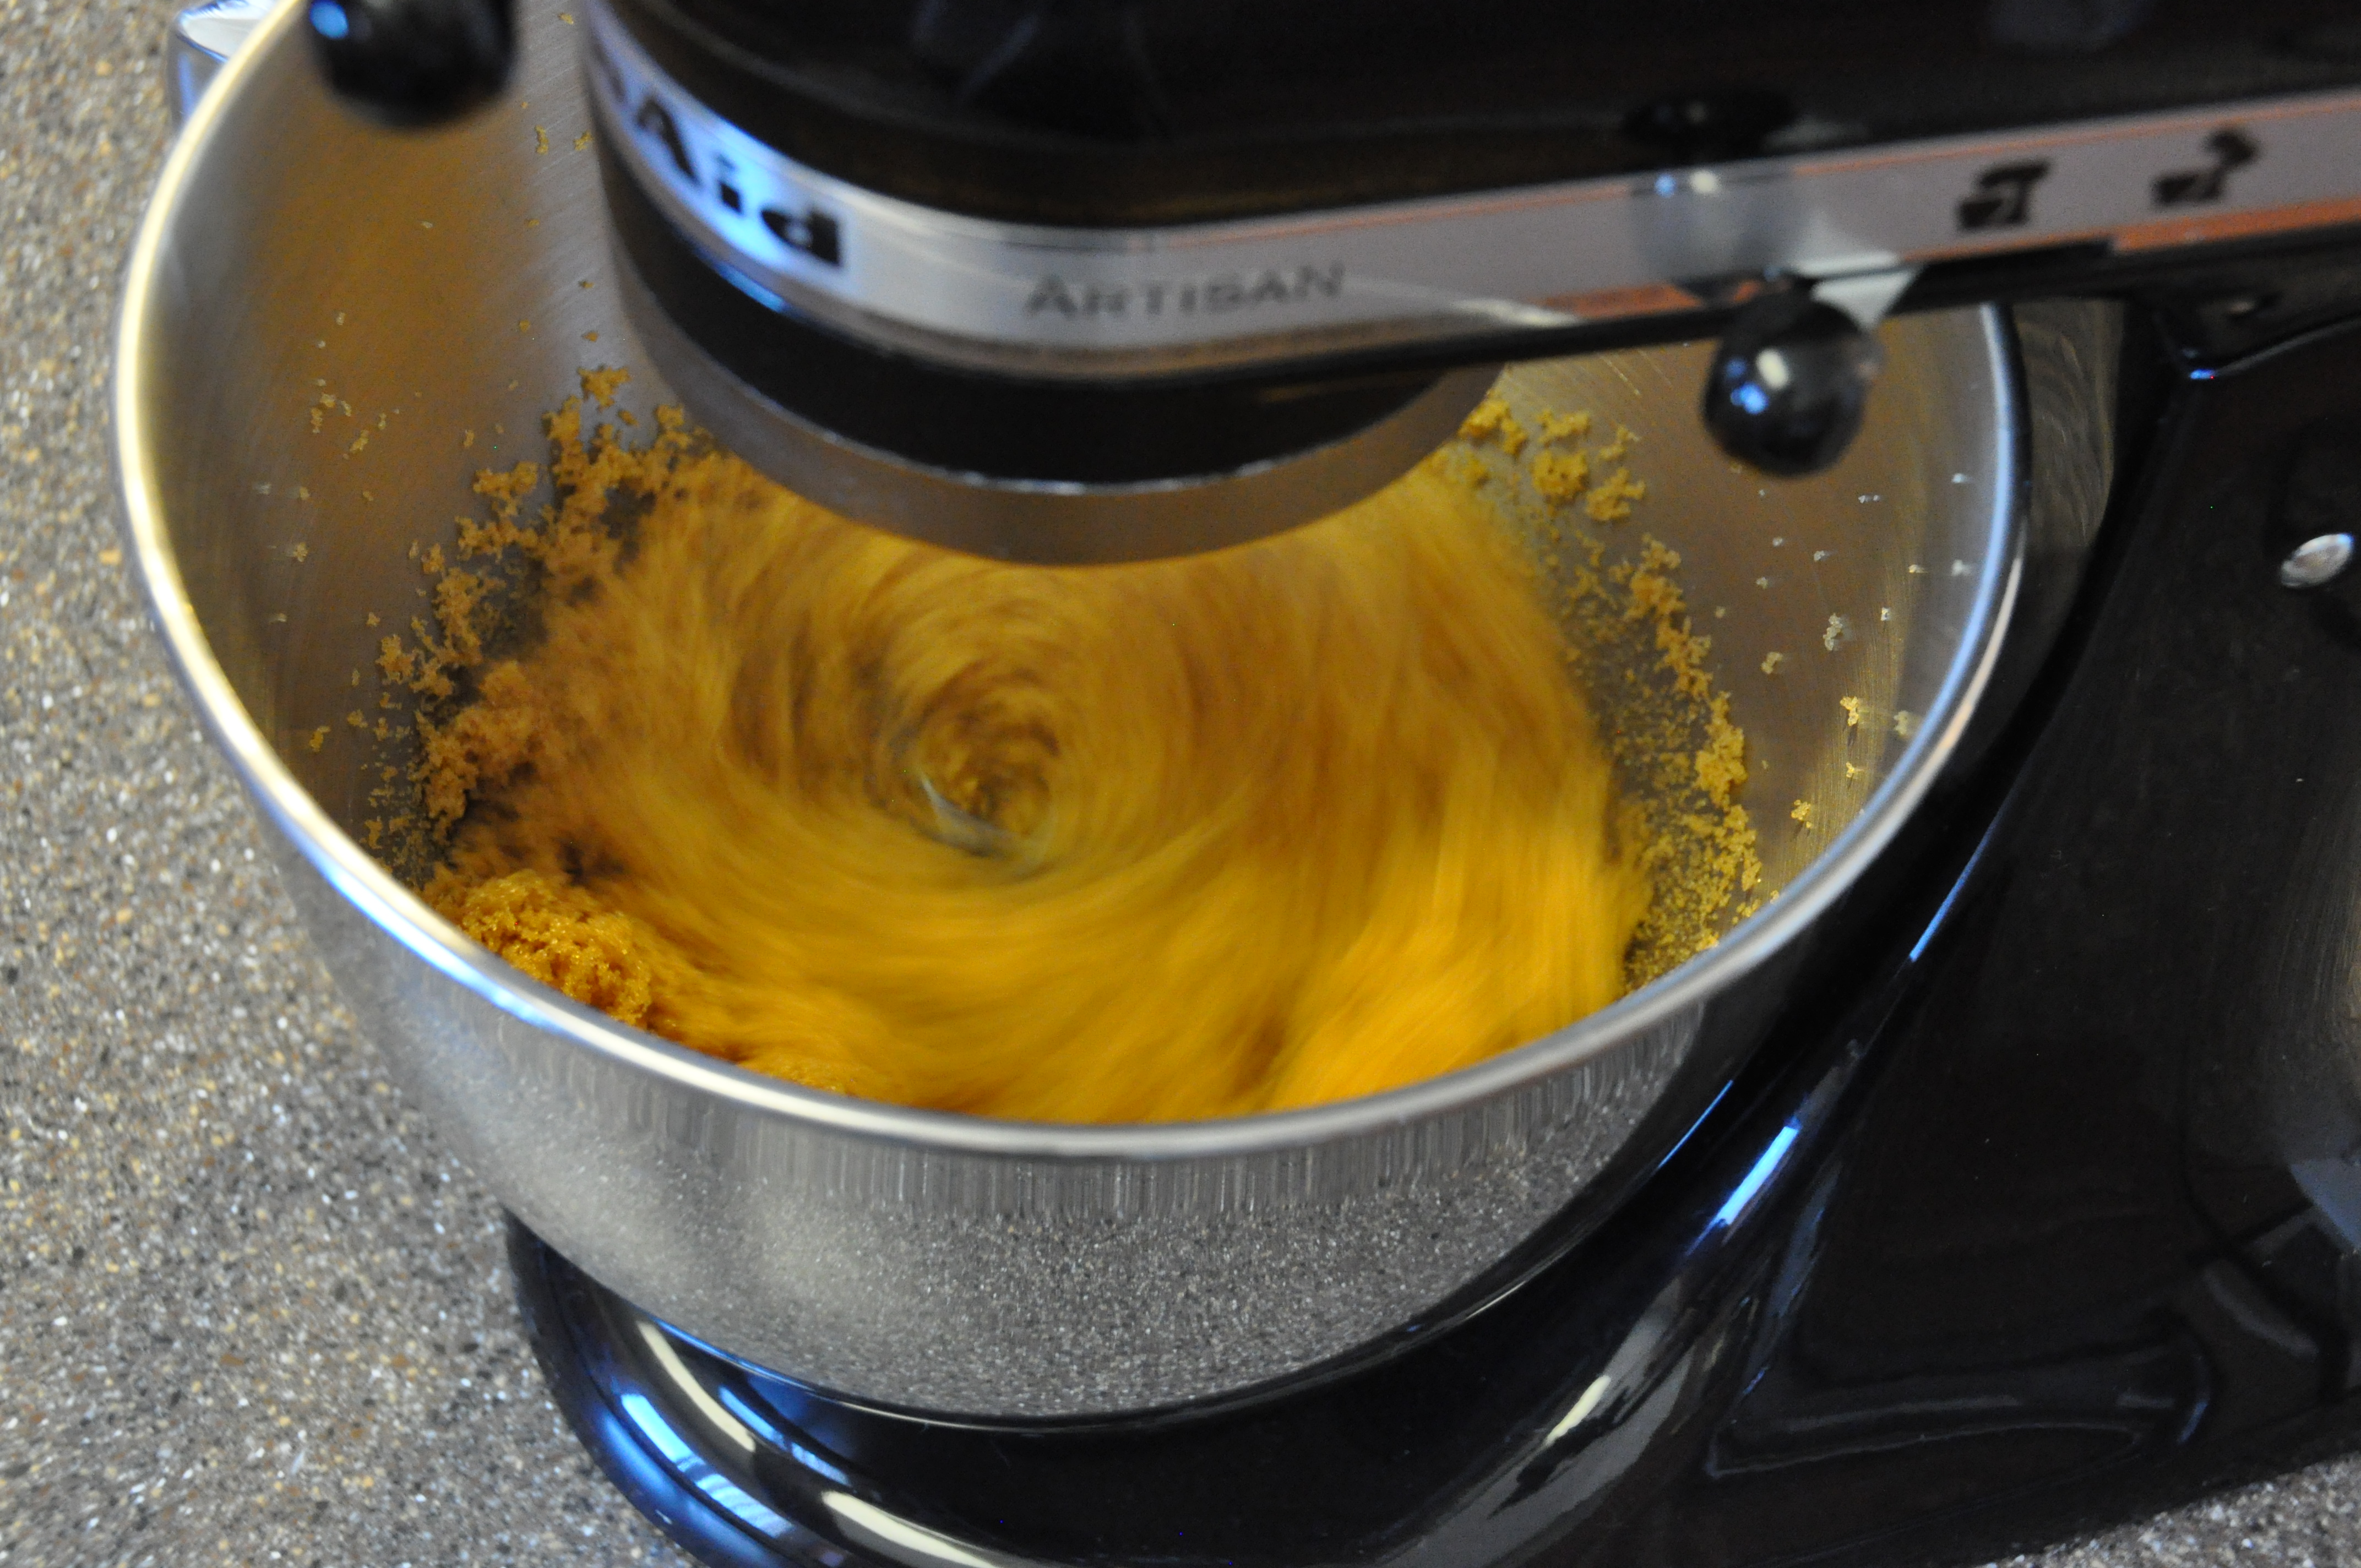
So, the KitchenAid was the perfect tool for whipping the molasses and sugar into this light, fluffy mixture. You do have to give it a good run in the mixer though…
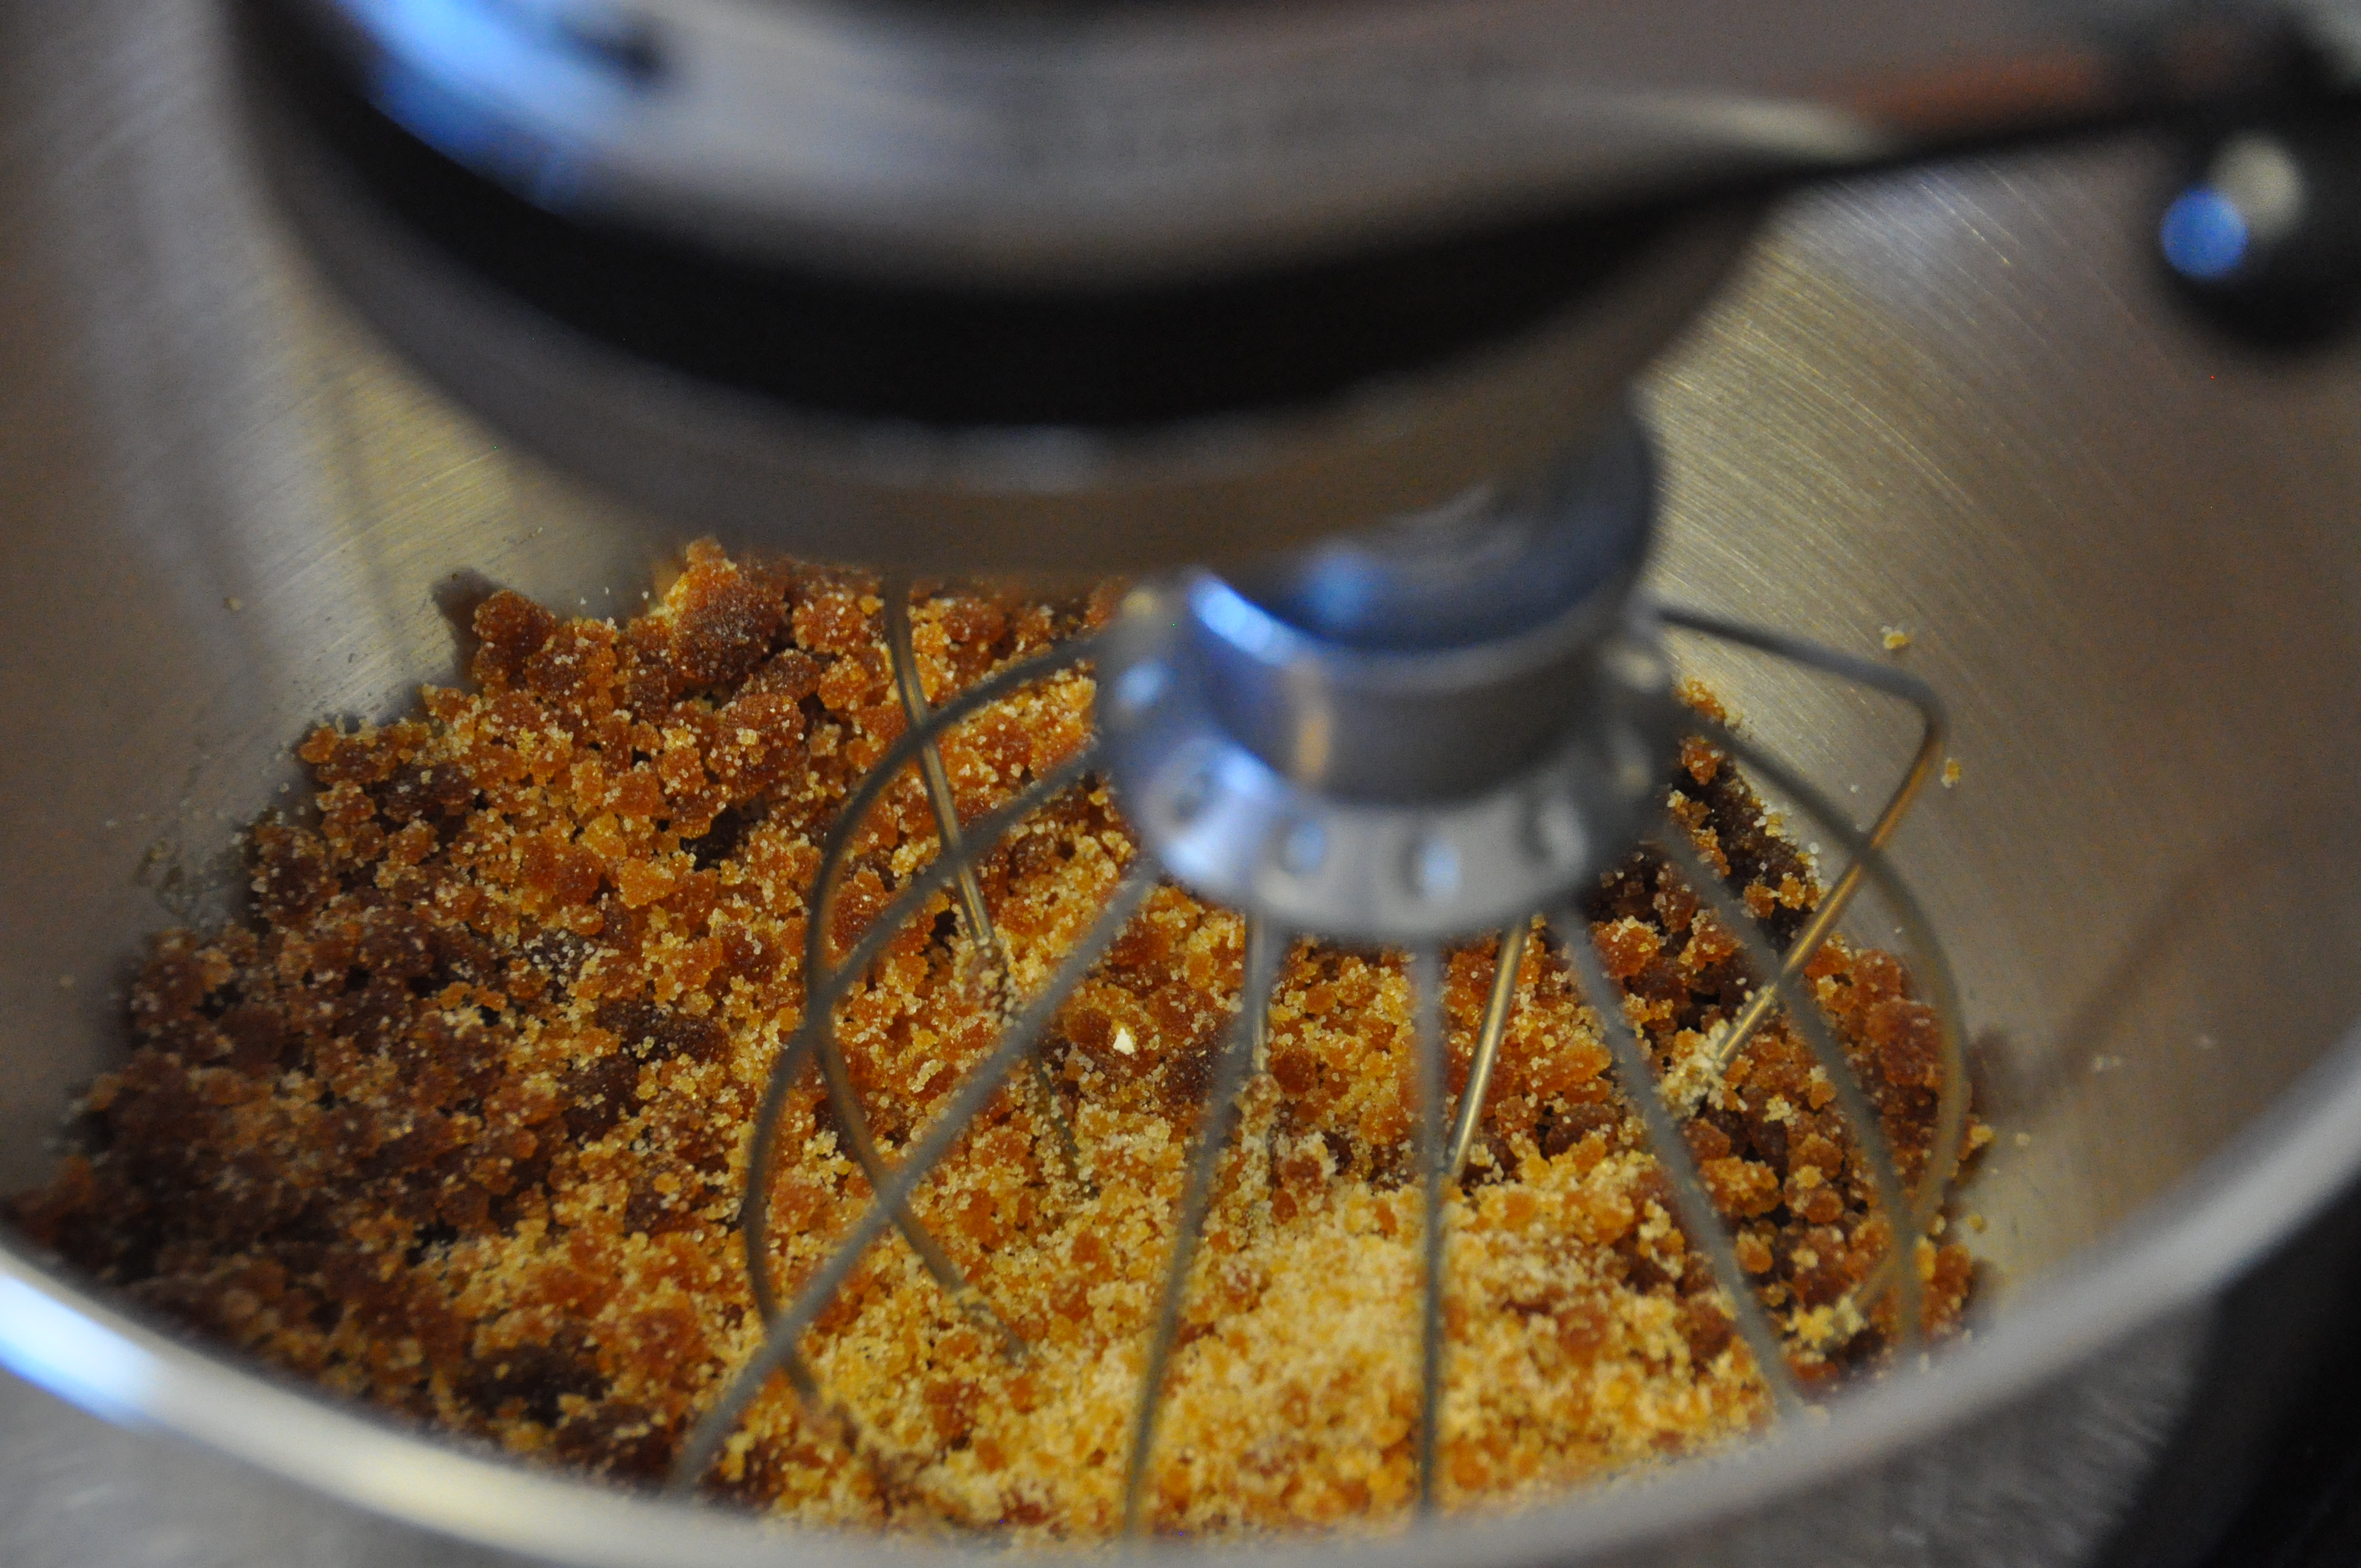
When you first start to mix the sugar and molasses, it will get a little clumpy. No fear!
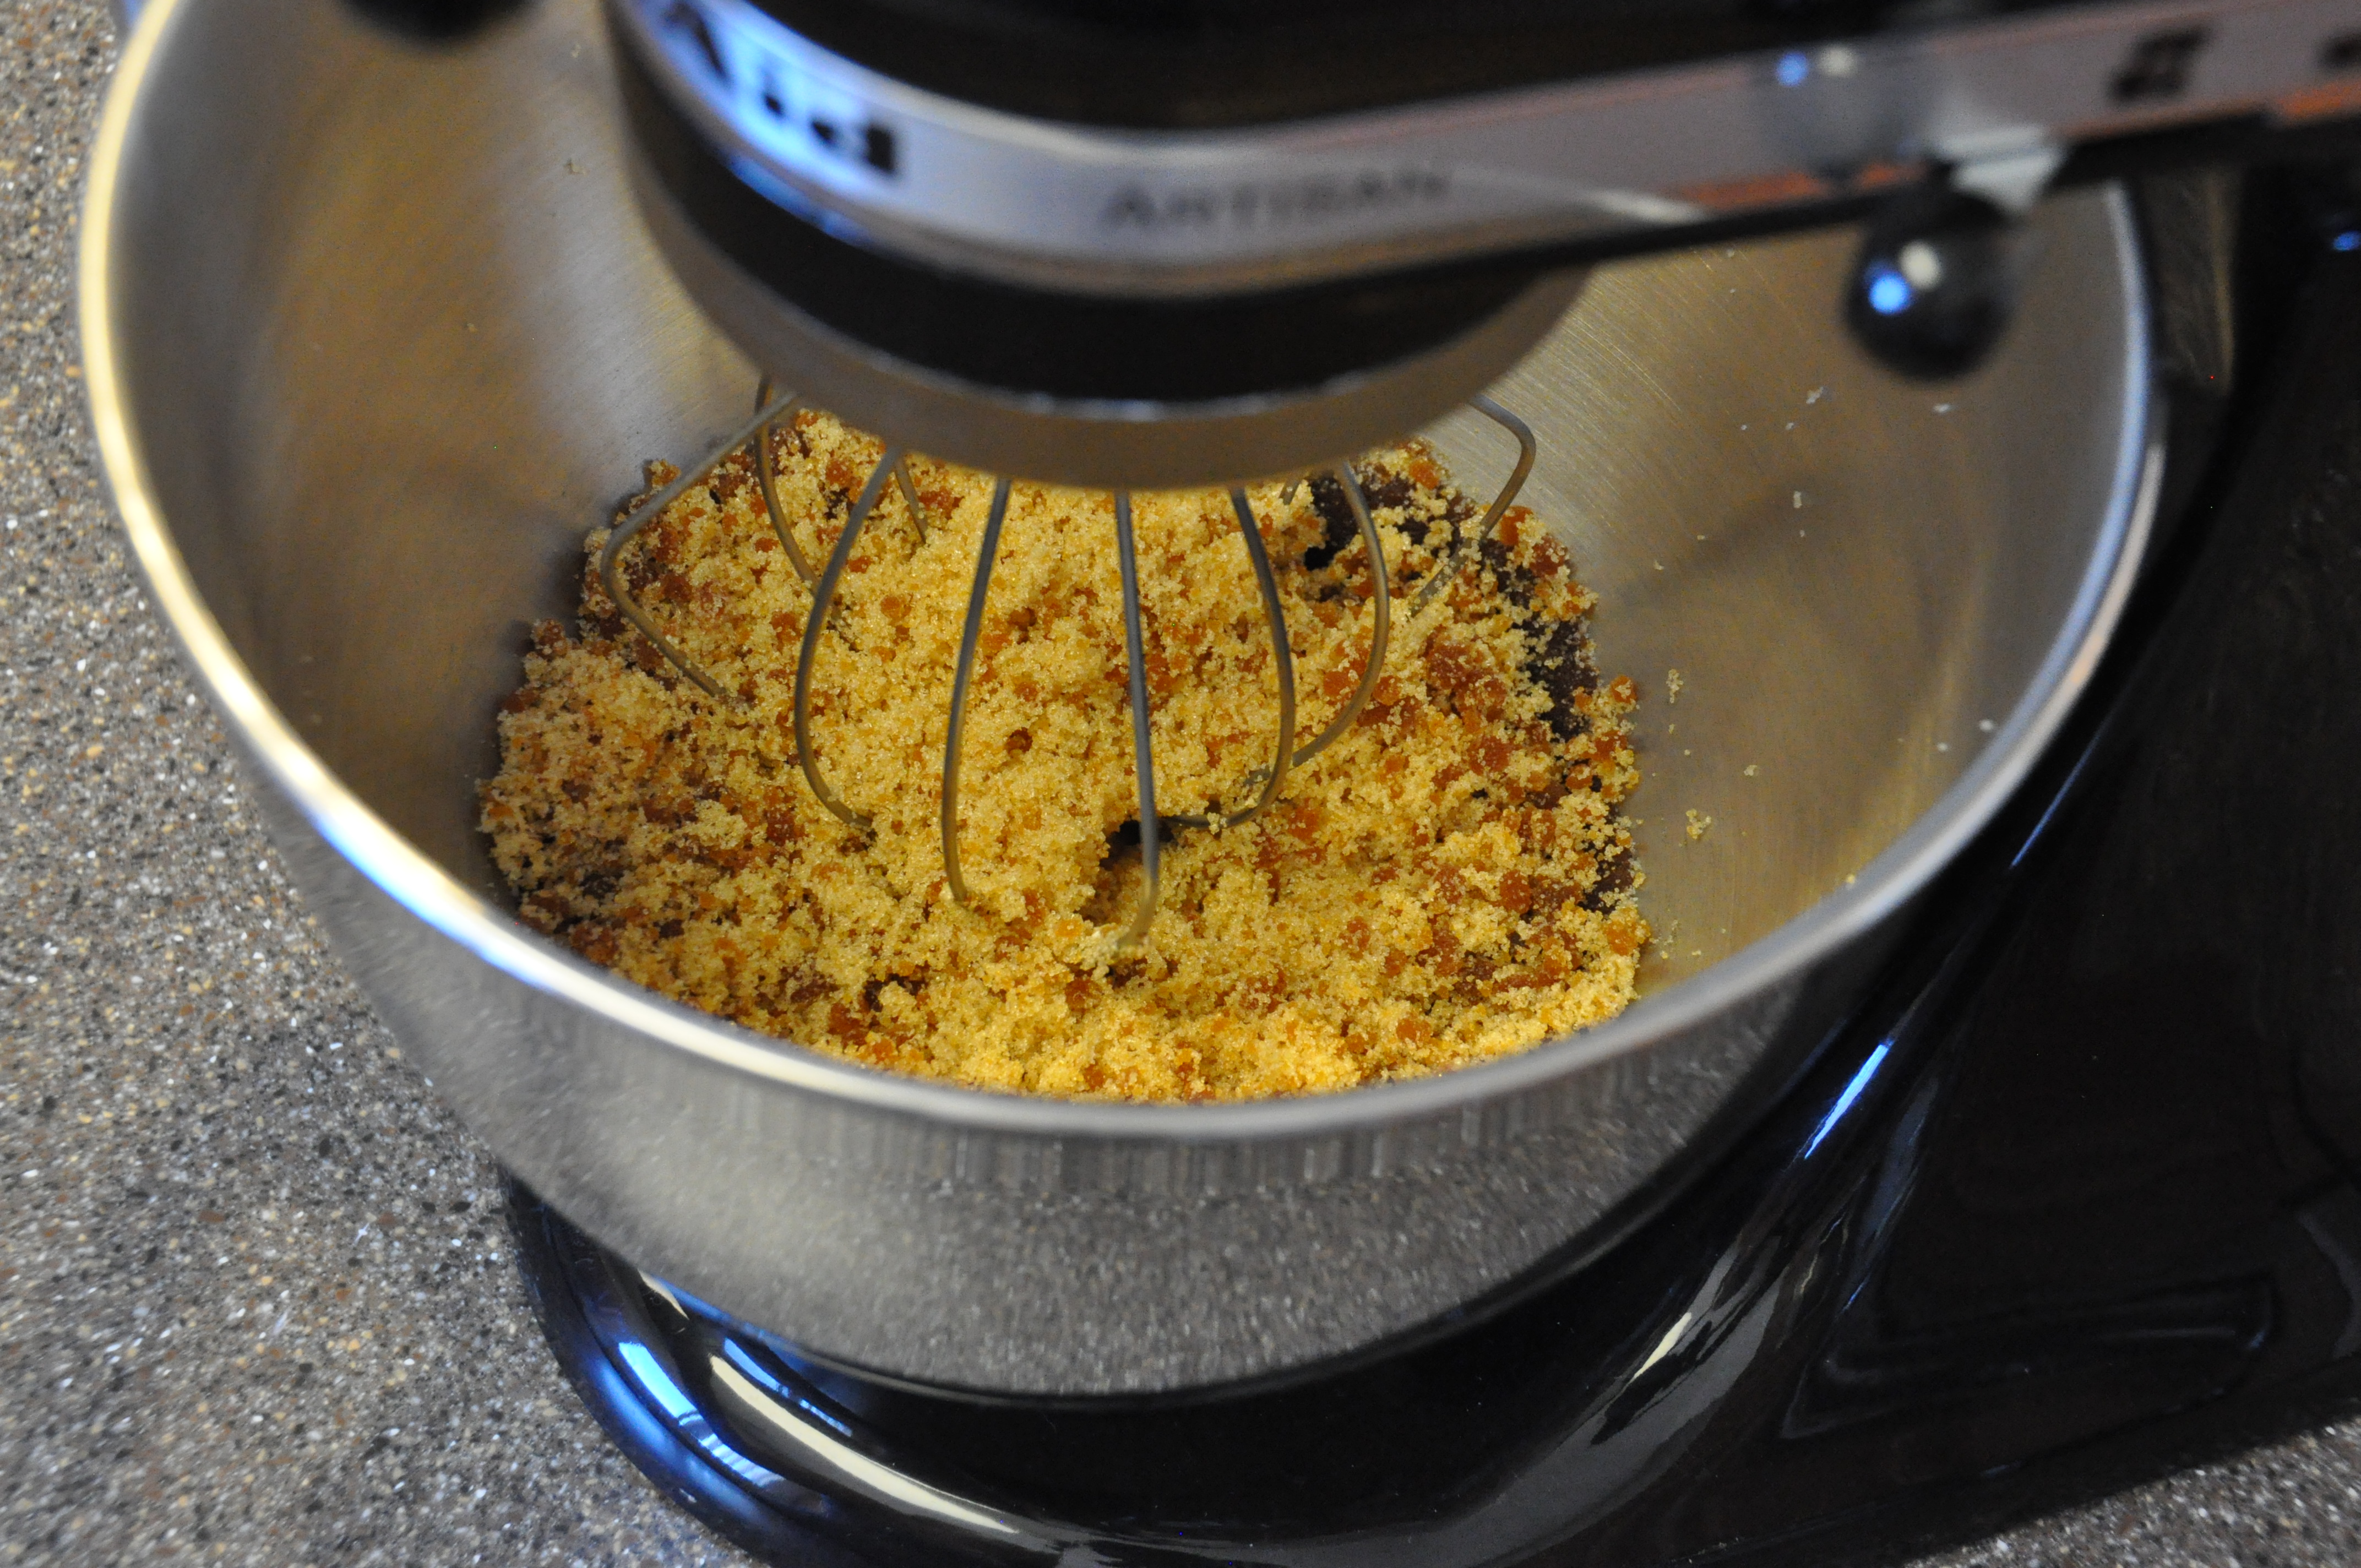
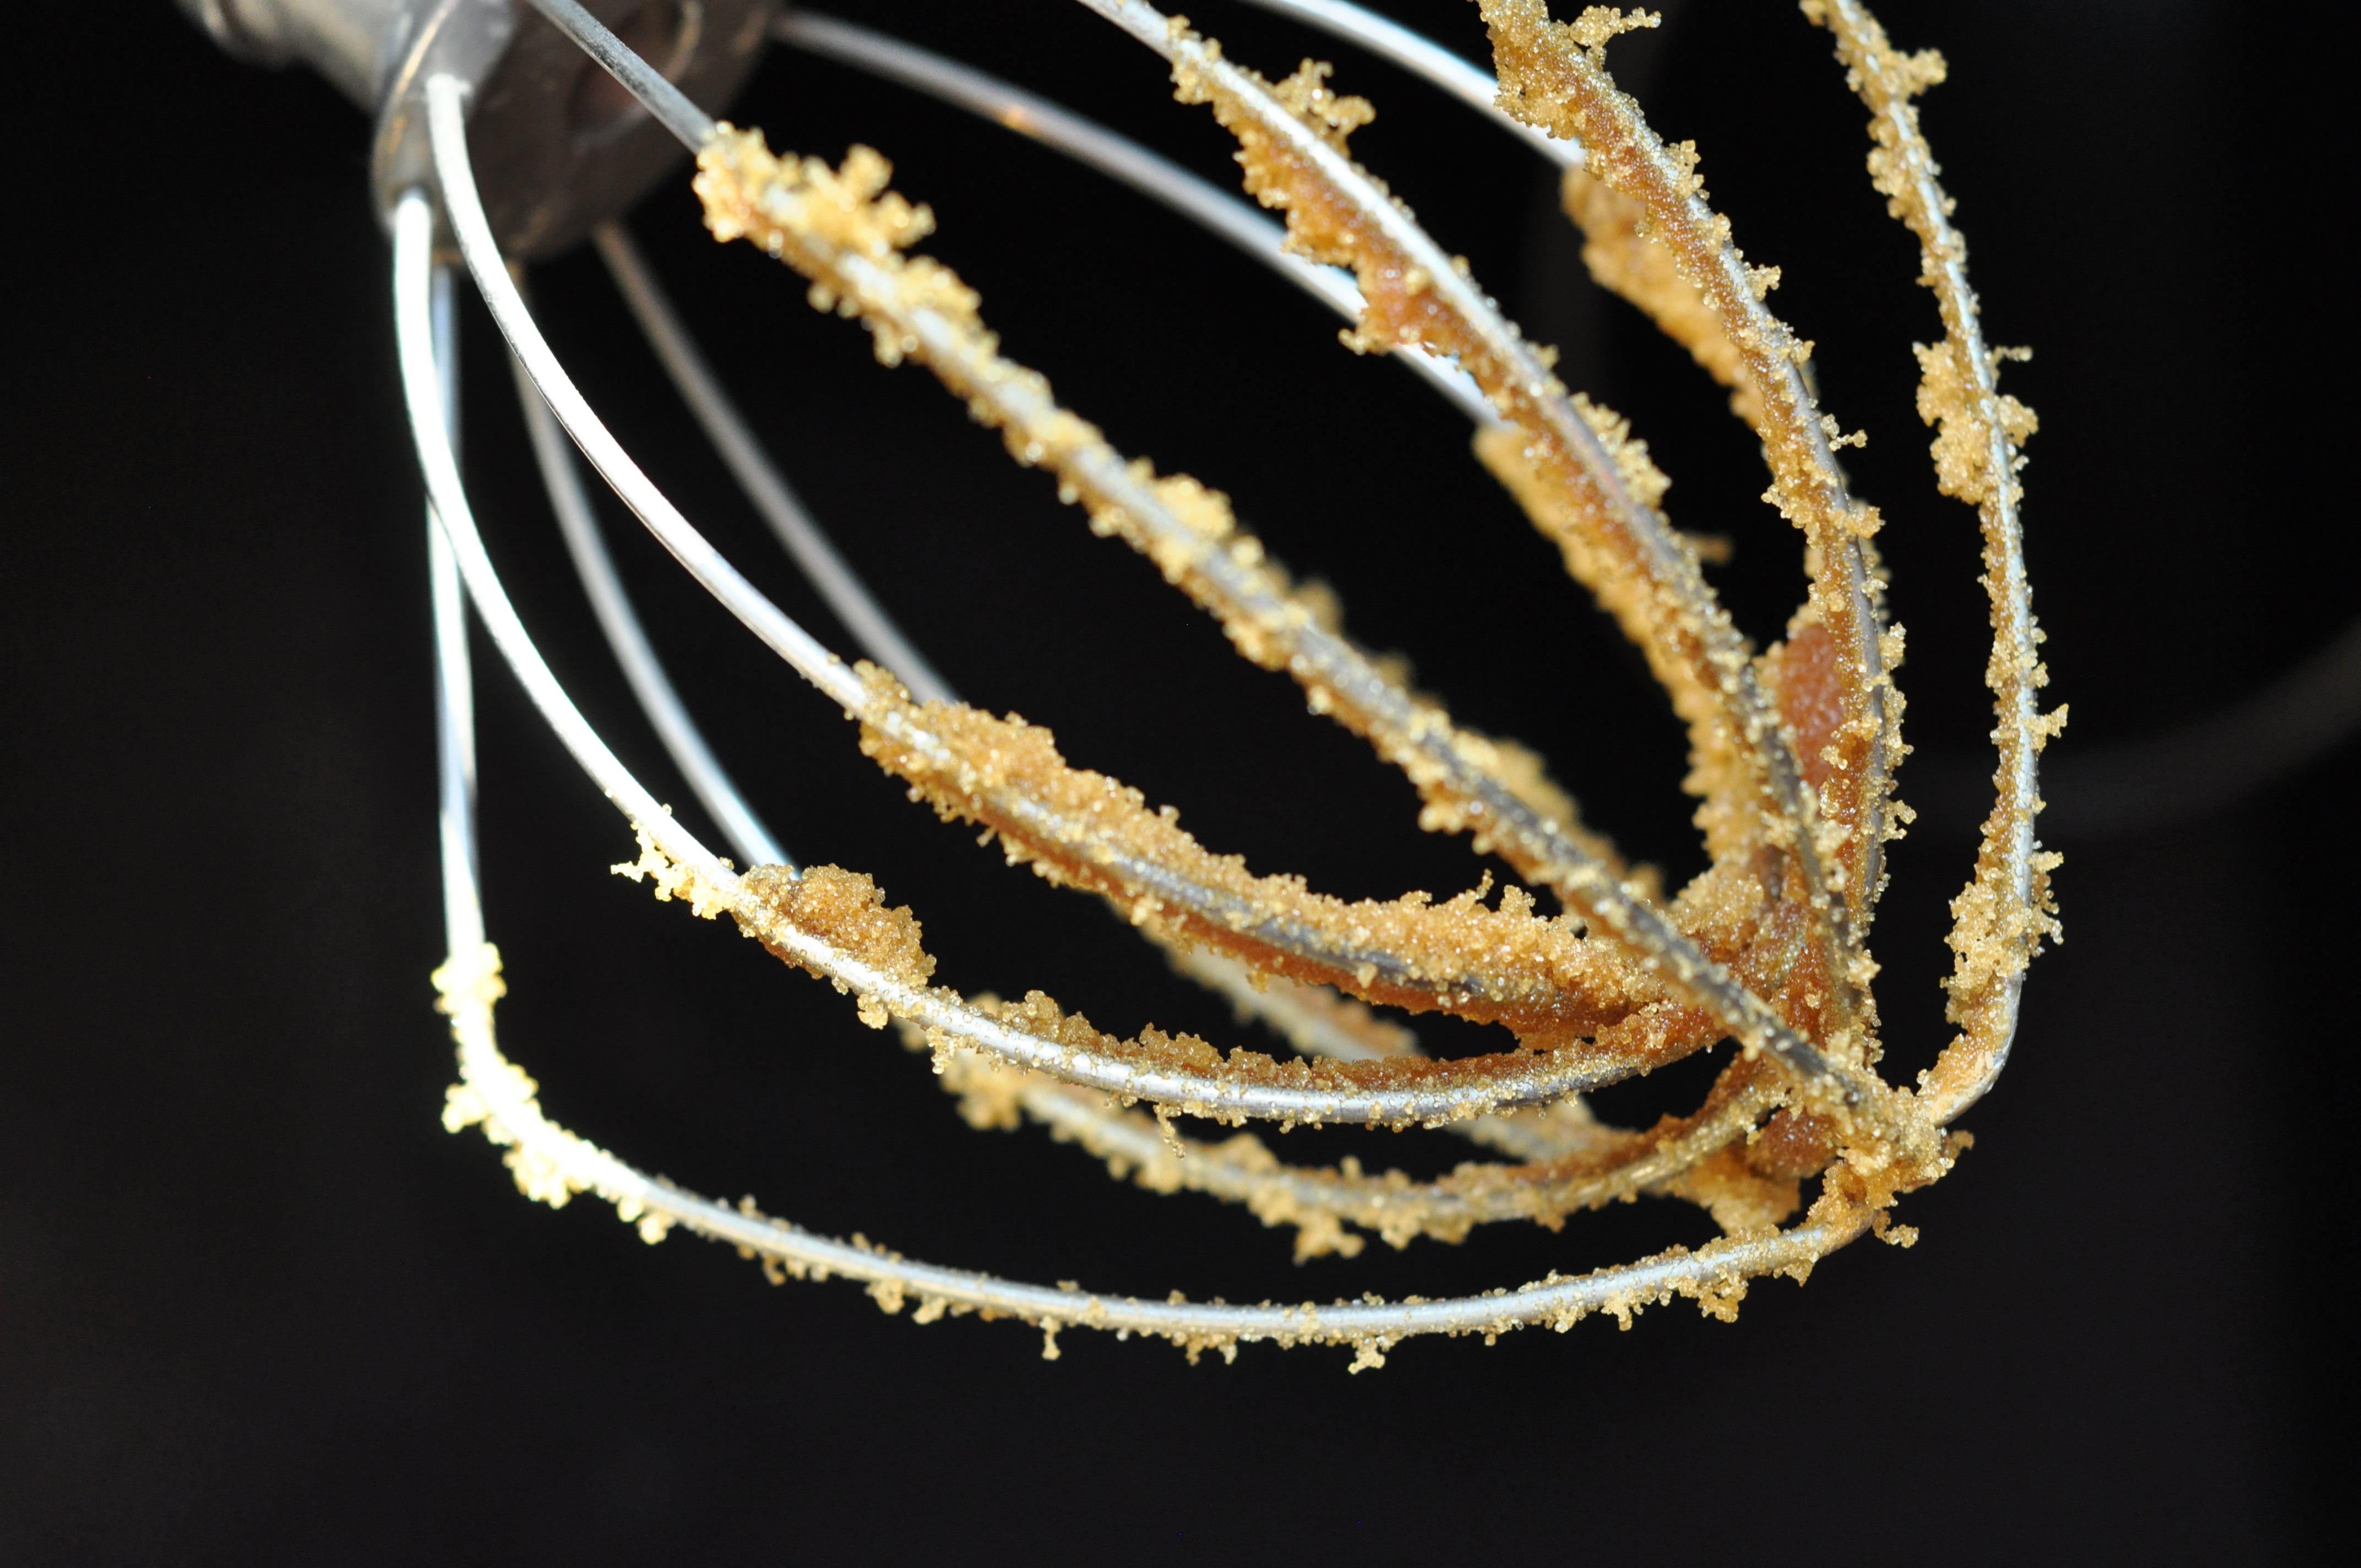
Your sugar and molasses will continue to blend together, just keeeeep mixing….. persevere
 I always lick the batter from a whisk and this was no exception. I highly recommend turning the KitchenAid off first though.
- 1 cup sugar
- 2 Tbsp molasses
- Combine the sugar and molasses in a mixer
- Mix on medium speed for several minutes
- Store in an airtight container
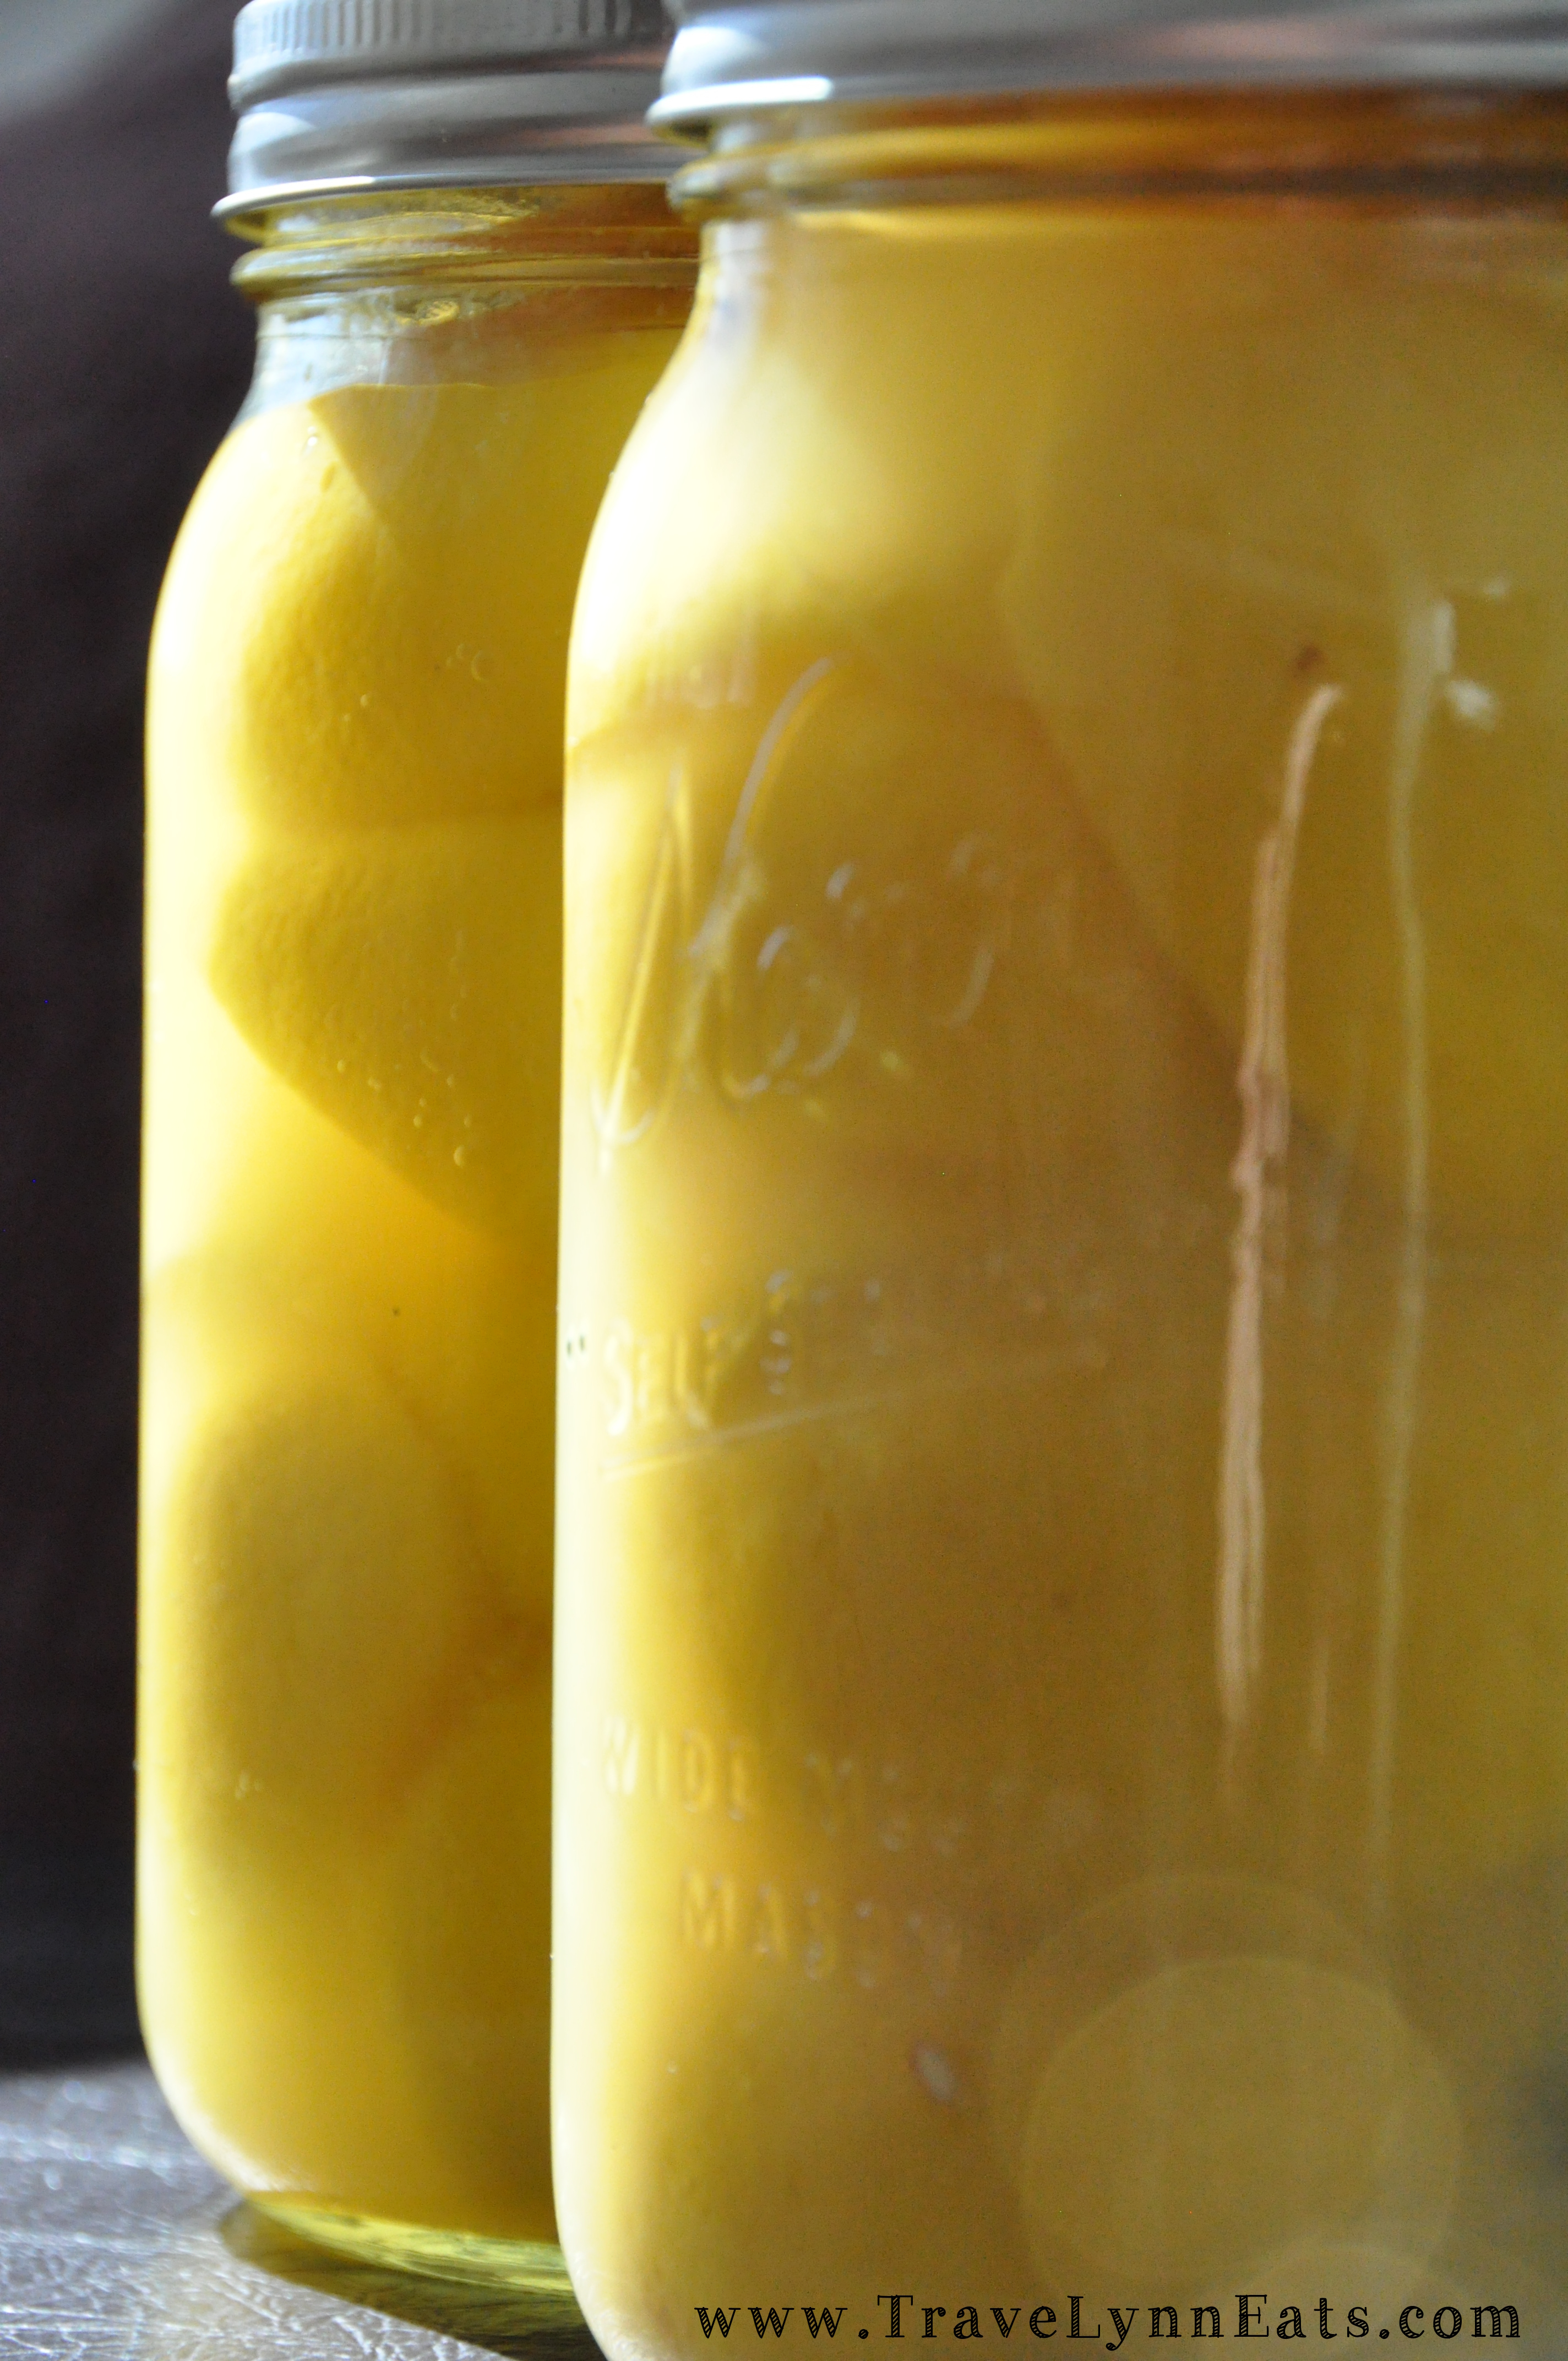
Preserved Lemons
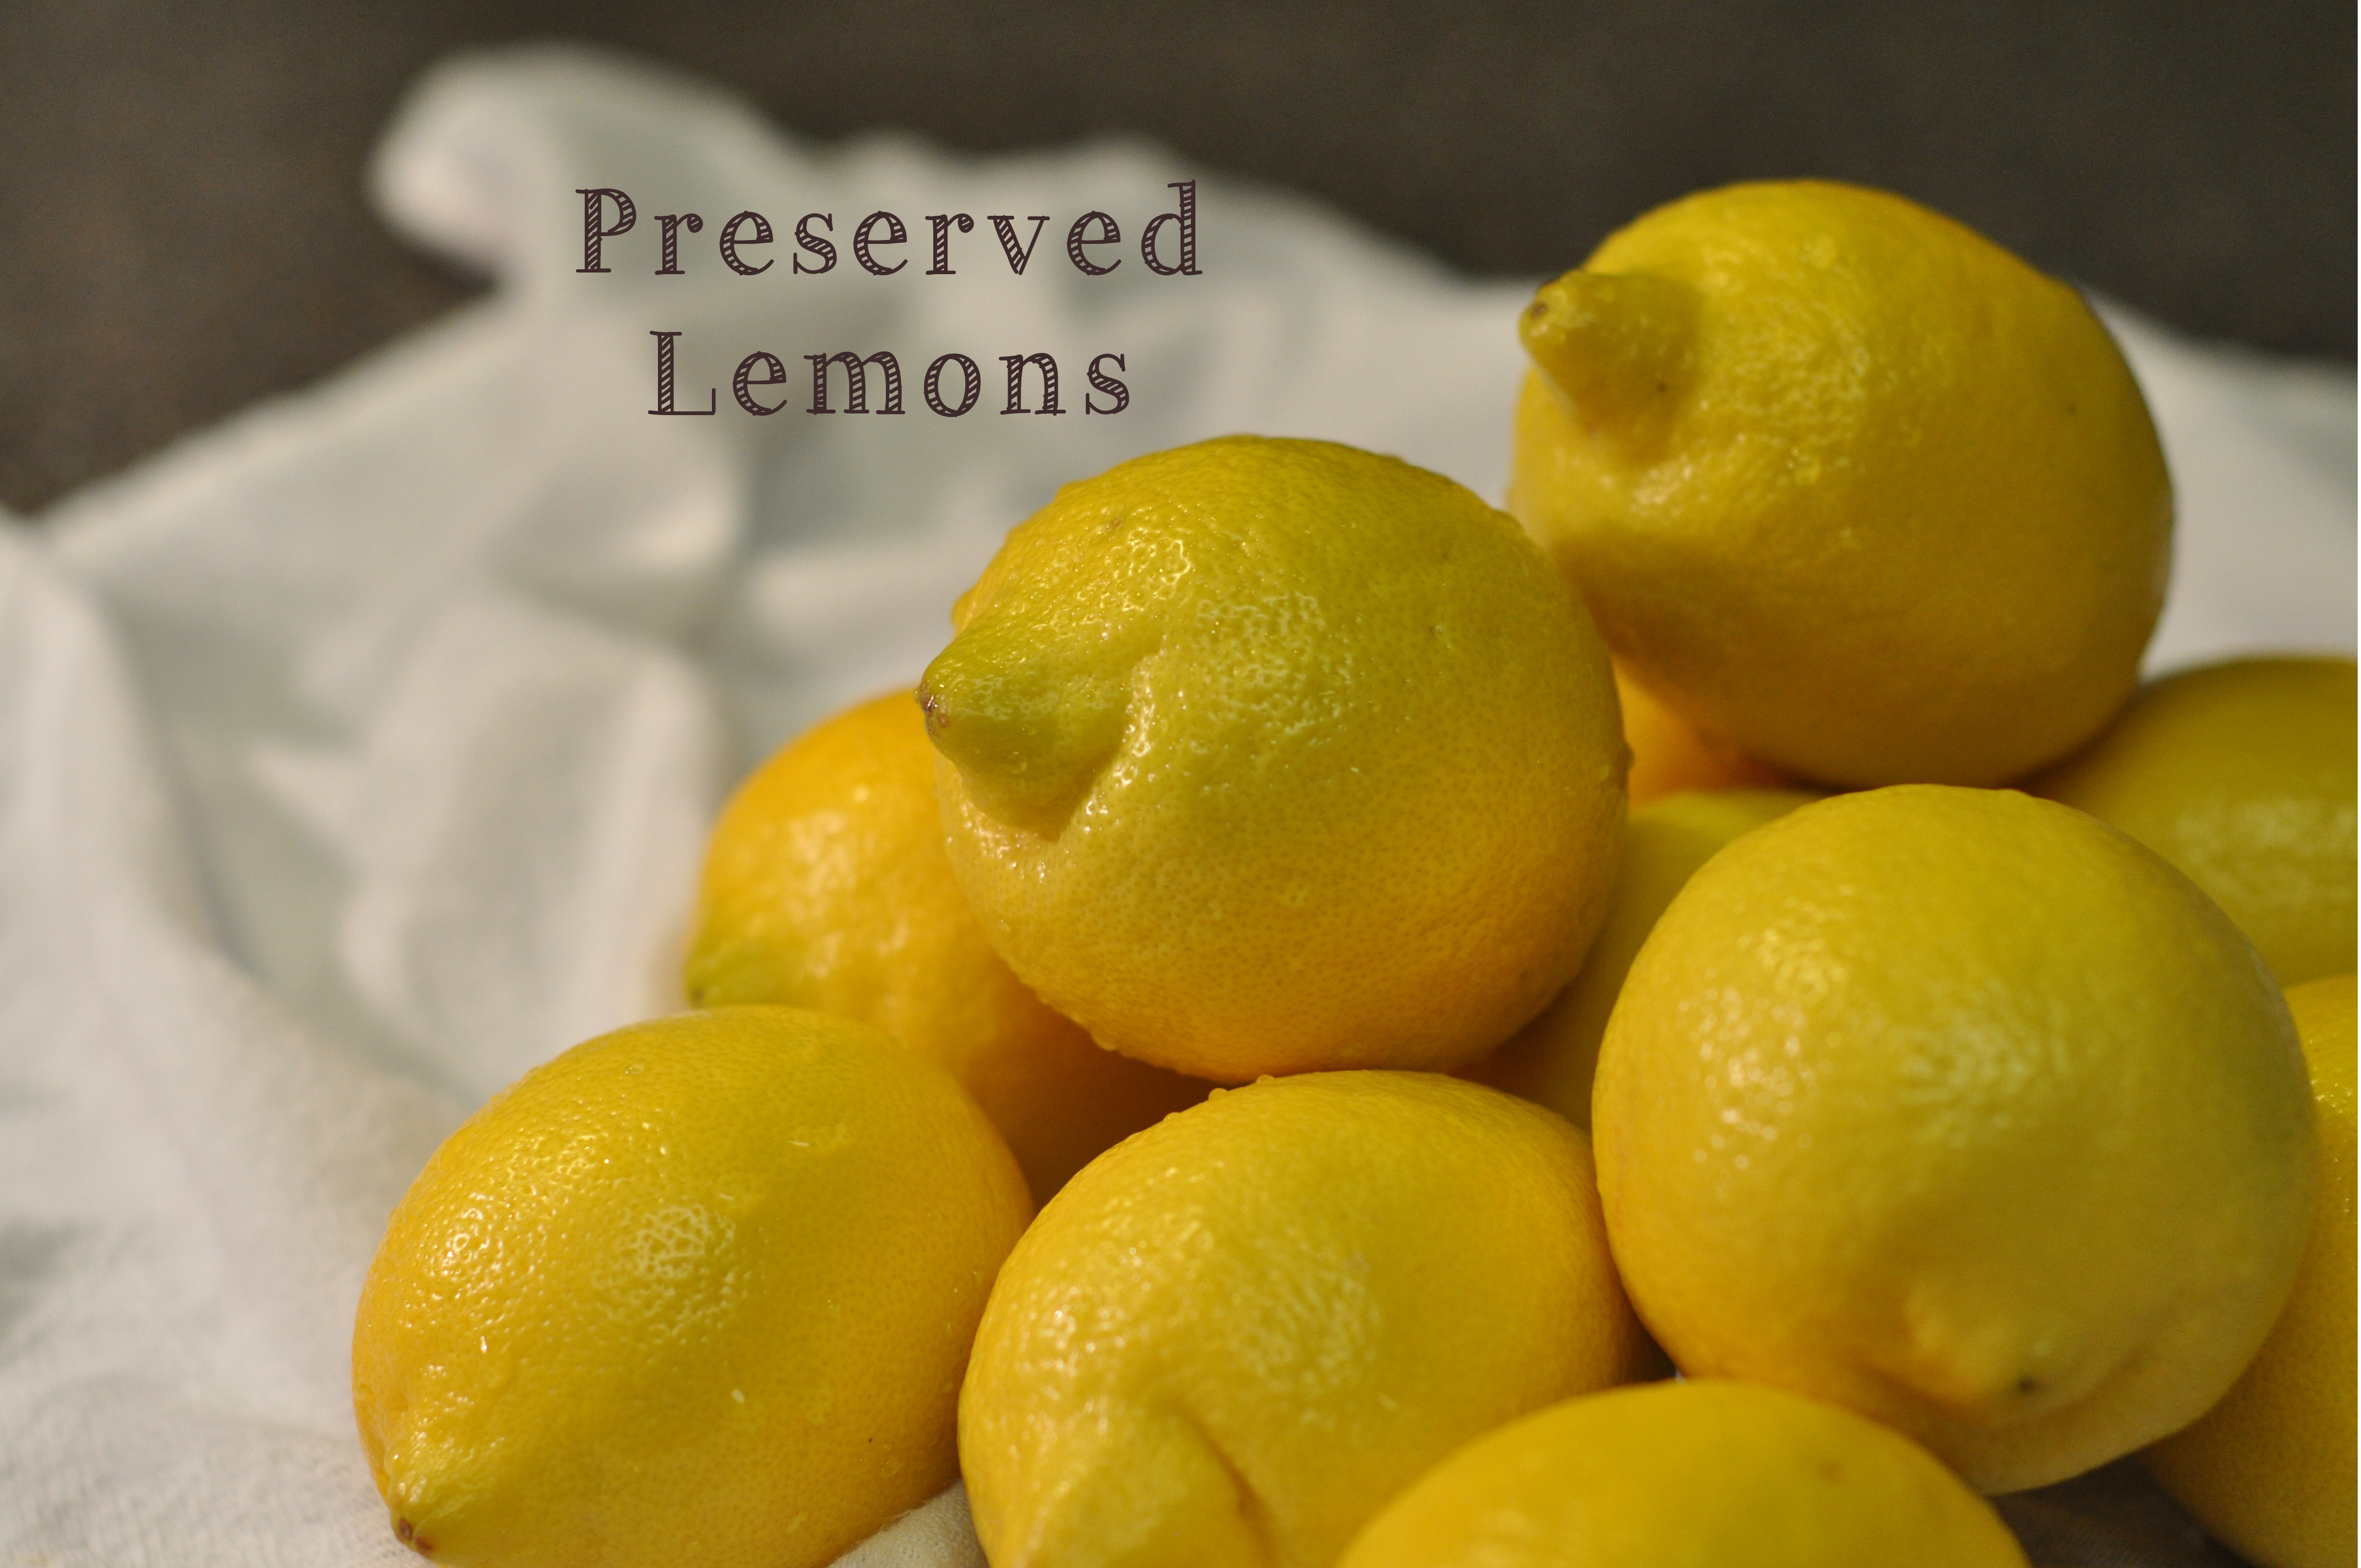

There is nothing like a big bowl of lemons on the counter to bring a little sunshine into your kitchen. But, if you live in a bone-dry arid climate like me, you know that lemons don’t last long if left out to be admired. I’ve stored lemons in a ziplock bag in the refrigerator for weeks. But, I decided I wanted to keep my lemons even longer. Sure enough, my new, favorite cookbook, The Art of Preserving, had just what I was looking for. These take a few weeks to preserve, but in the meantime….you have sunshine in a jar! I have all sorts of plans for these lemony little treats. Check back soon for some Mediterranean-focused dishes made with preserved lemons.
This recipe makes 2 one-quart jars of lemons.
Ingredients
-
10 firm lemons (Meyer lemons, if possible … they have a sweeter flavor)
- 12 Tbsp salt
- 3 cups fresh lemon juice (about 12-15 lemons)
Directions
Sterilize your jars and lids. Here is a simplified version of jar sterilization; however, I would recommend doing further research if you are interested in canning. In short…
- Wash the jars and lids in hot, soapy water.
- Heat water in a saucepan to 180 degrees and place the lids in the water. The water can simmer, but should not boil (use new lids each time you can/preserve). Leave the lids in the 180 degree water until you’re ready to use them.
- In a canning pot or other large pot (ensure you have a canning rack or homemade canning rack in the bottom of the pot), bring water to a boil. You should have enough water to cover the jars by at least 1 inch of water.
- Boil the jars for 10 minutes, turn off the heat and leave the jars in the hot water until you are ready to use them.
- Remove from the hot water with a jar lifter.
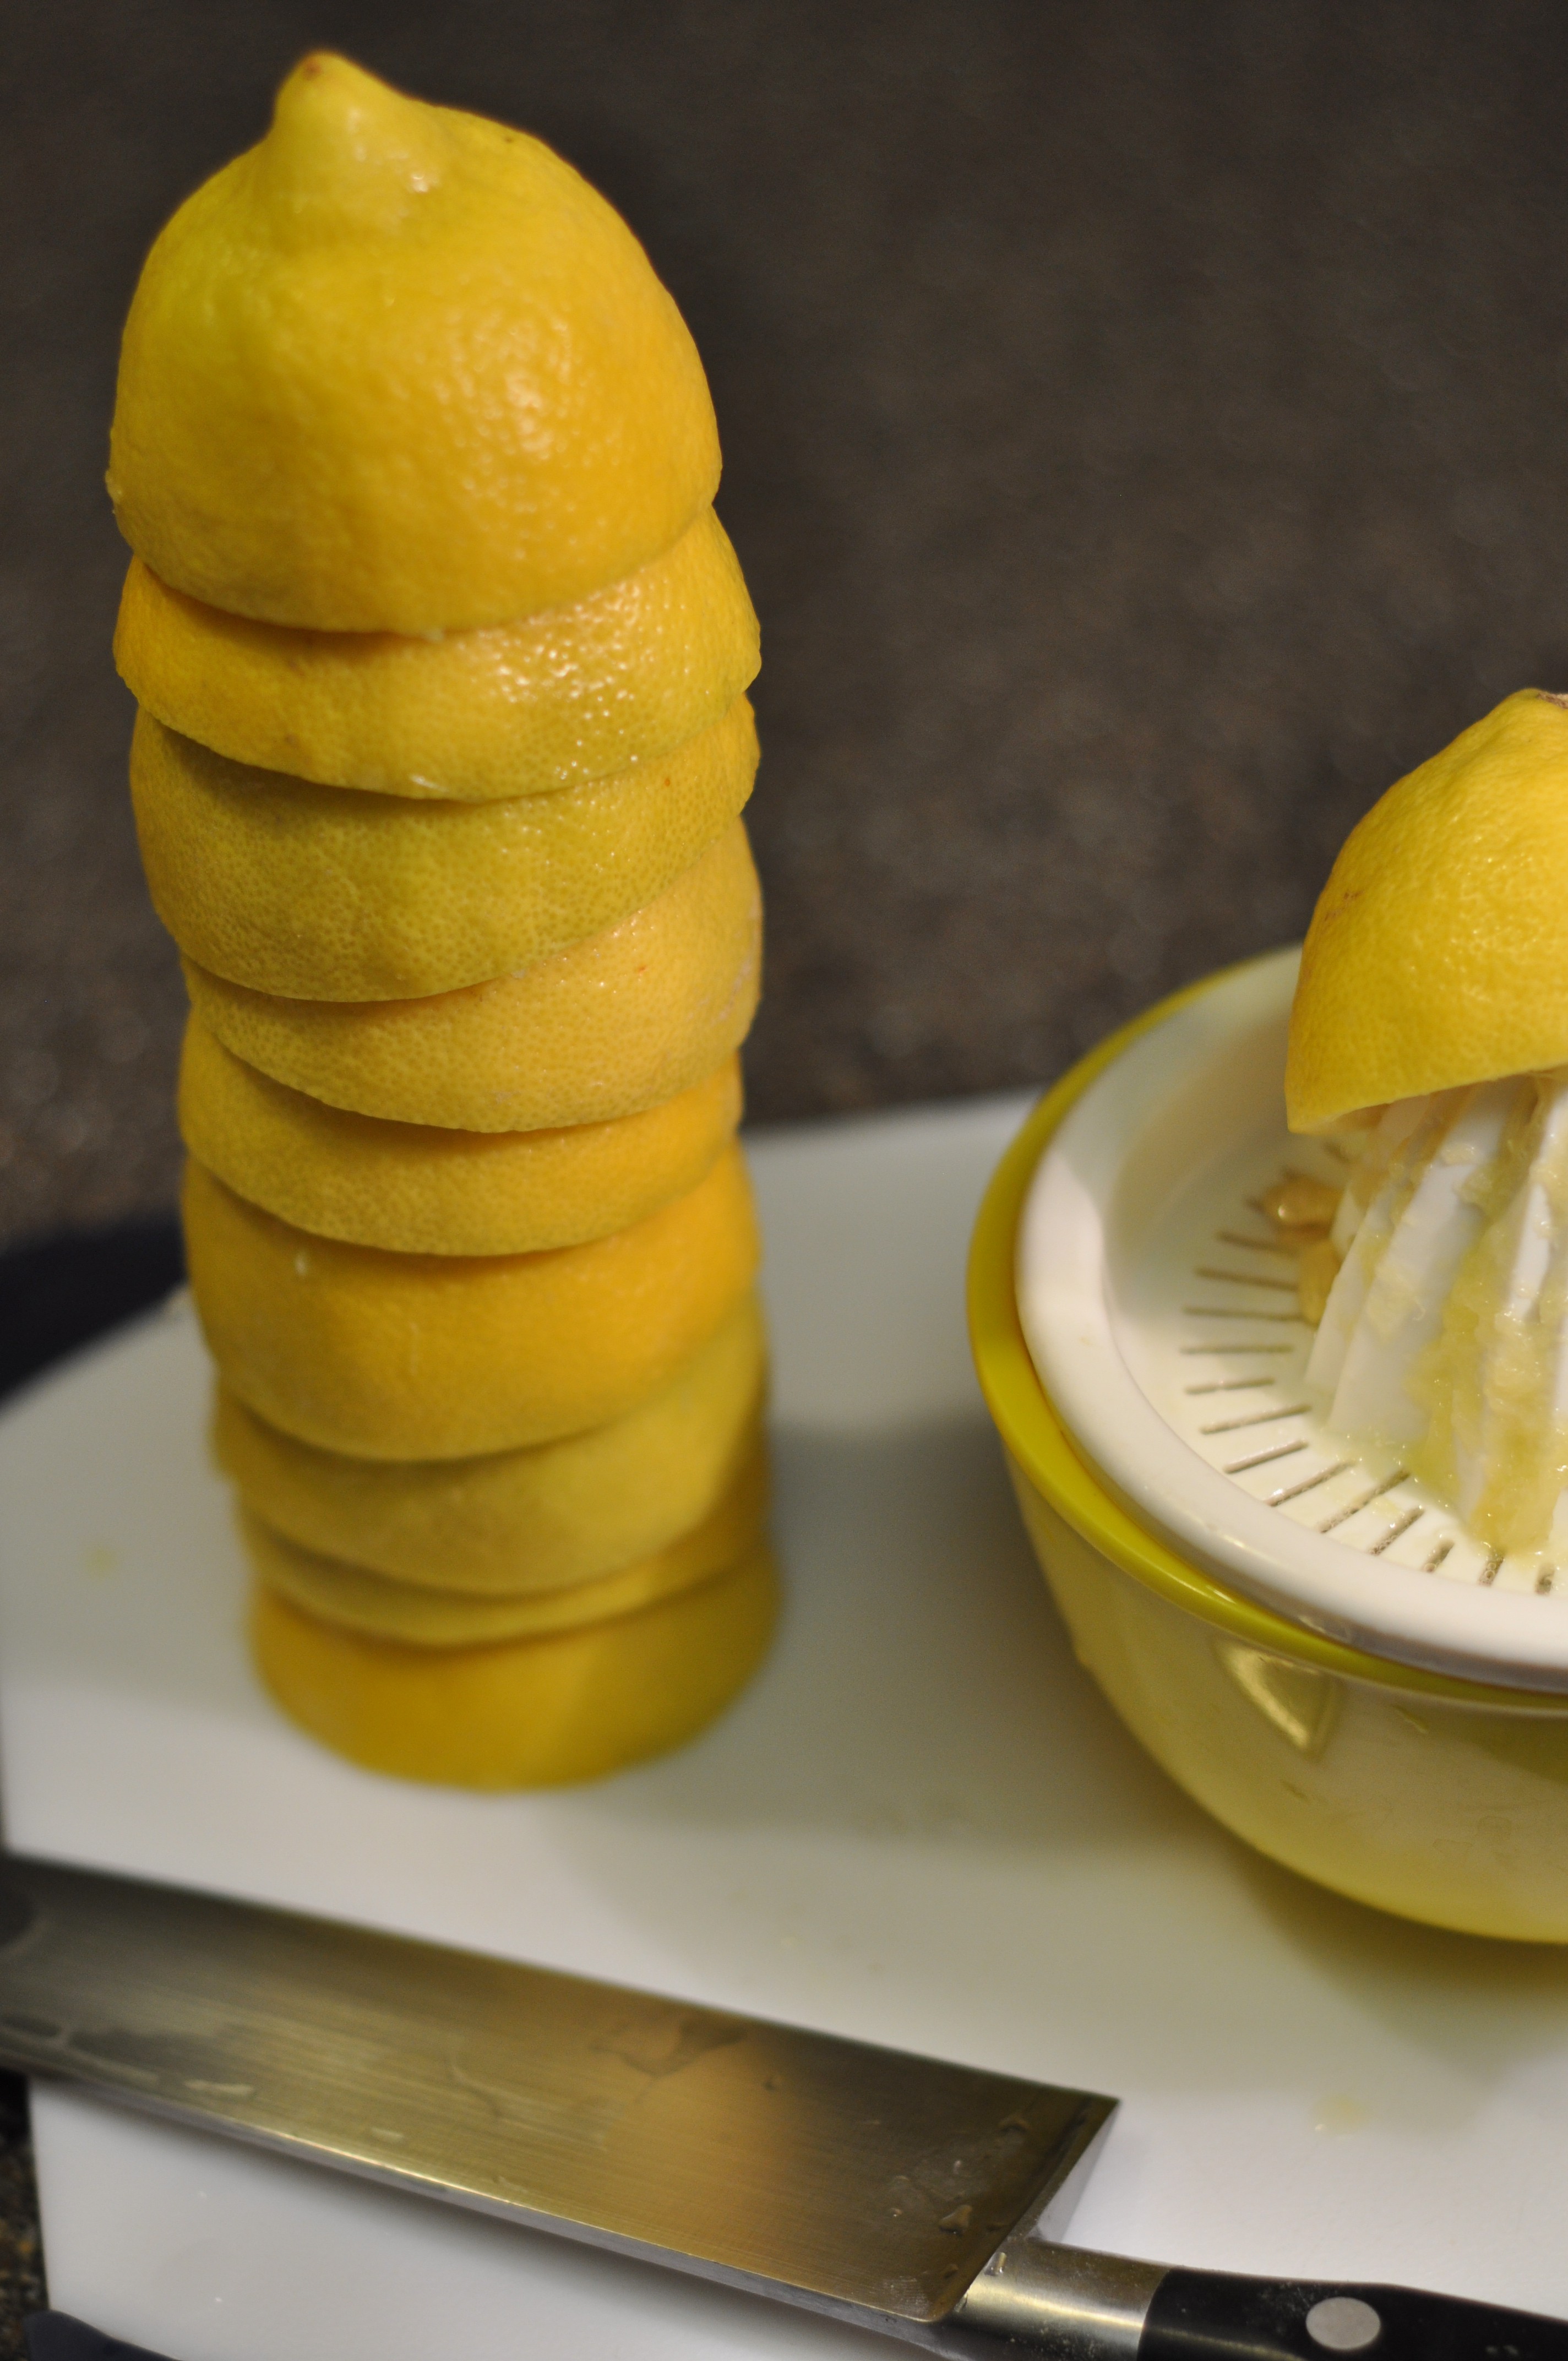
In a large pot, bring 3 quarts of water to a boil. While the water is coming to a boil, scrub the lemons under running water. When the water is boiling, add the lemons and return to a boil. Boil the lemons for 4-5 minutes, then remove with a slotted spoon and let them cool.

When the lemons are cool, cut the them lengthwise in quarters … but leave them attached at the stem end. Place 1 Tbsp of salt in each sterilized jar. Spread apart the lemon quarters and sprinkle 1 Tbsp of salt in the center of each lemon. Pack 5 salted lemons into each jar. You can really press the lemons down into the jar.
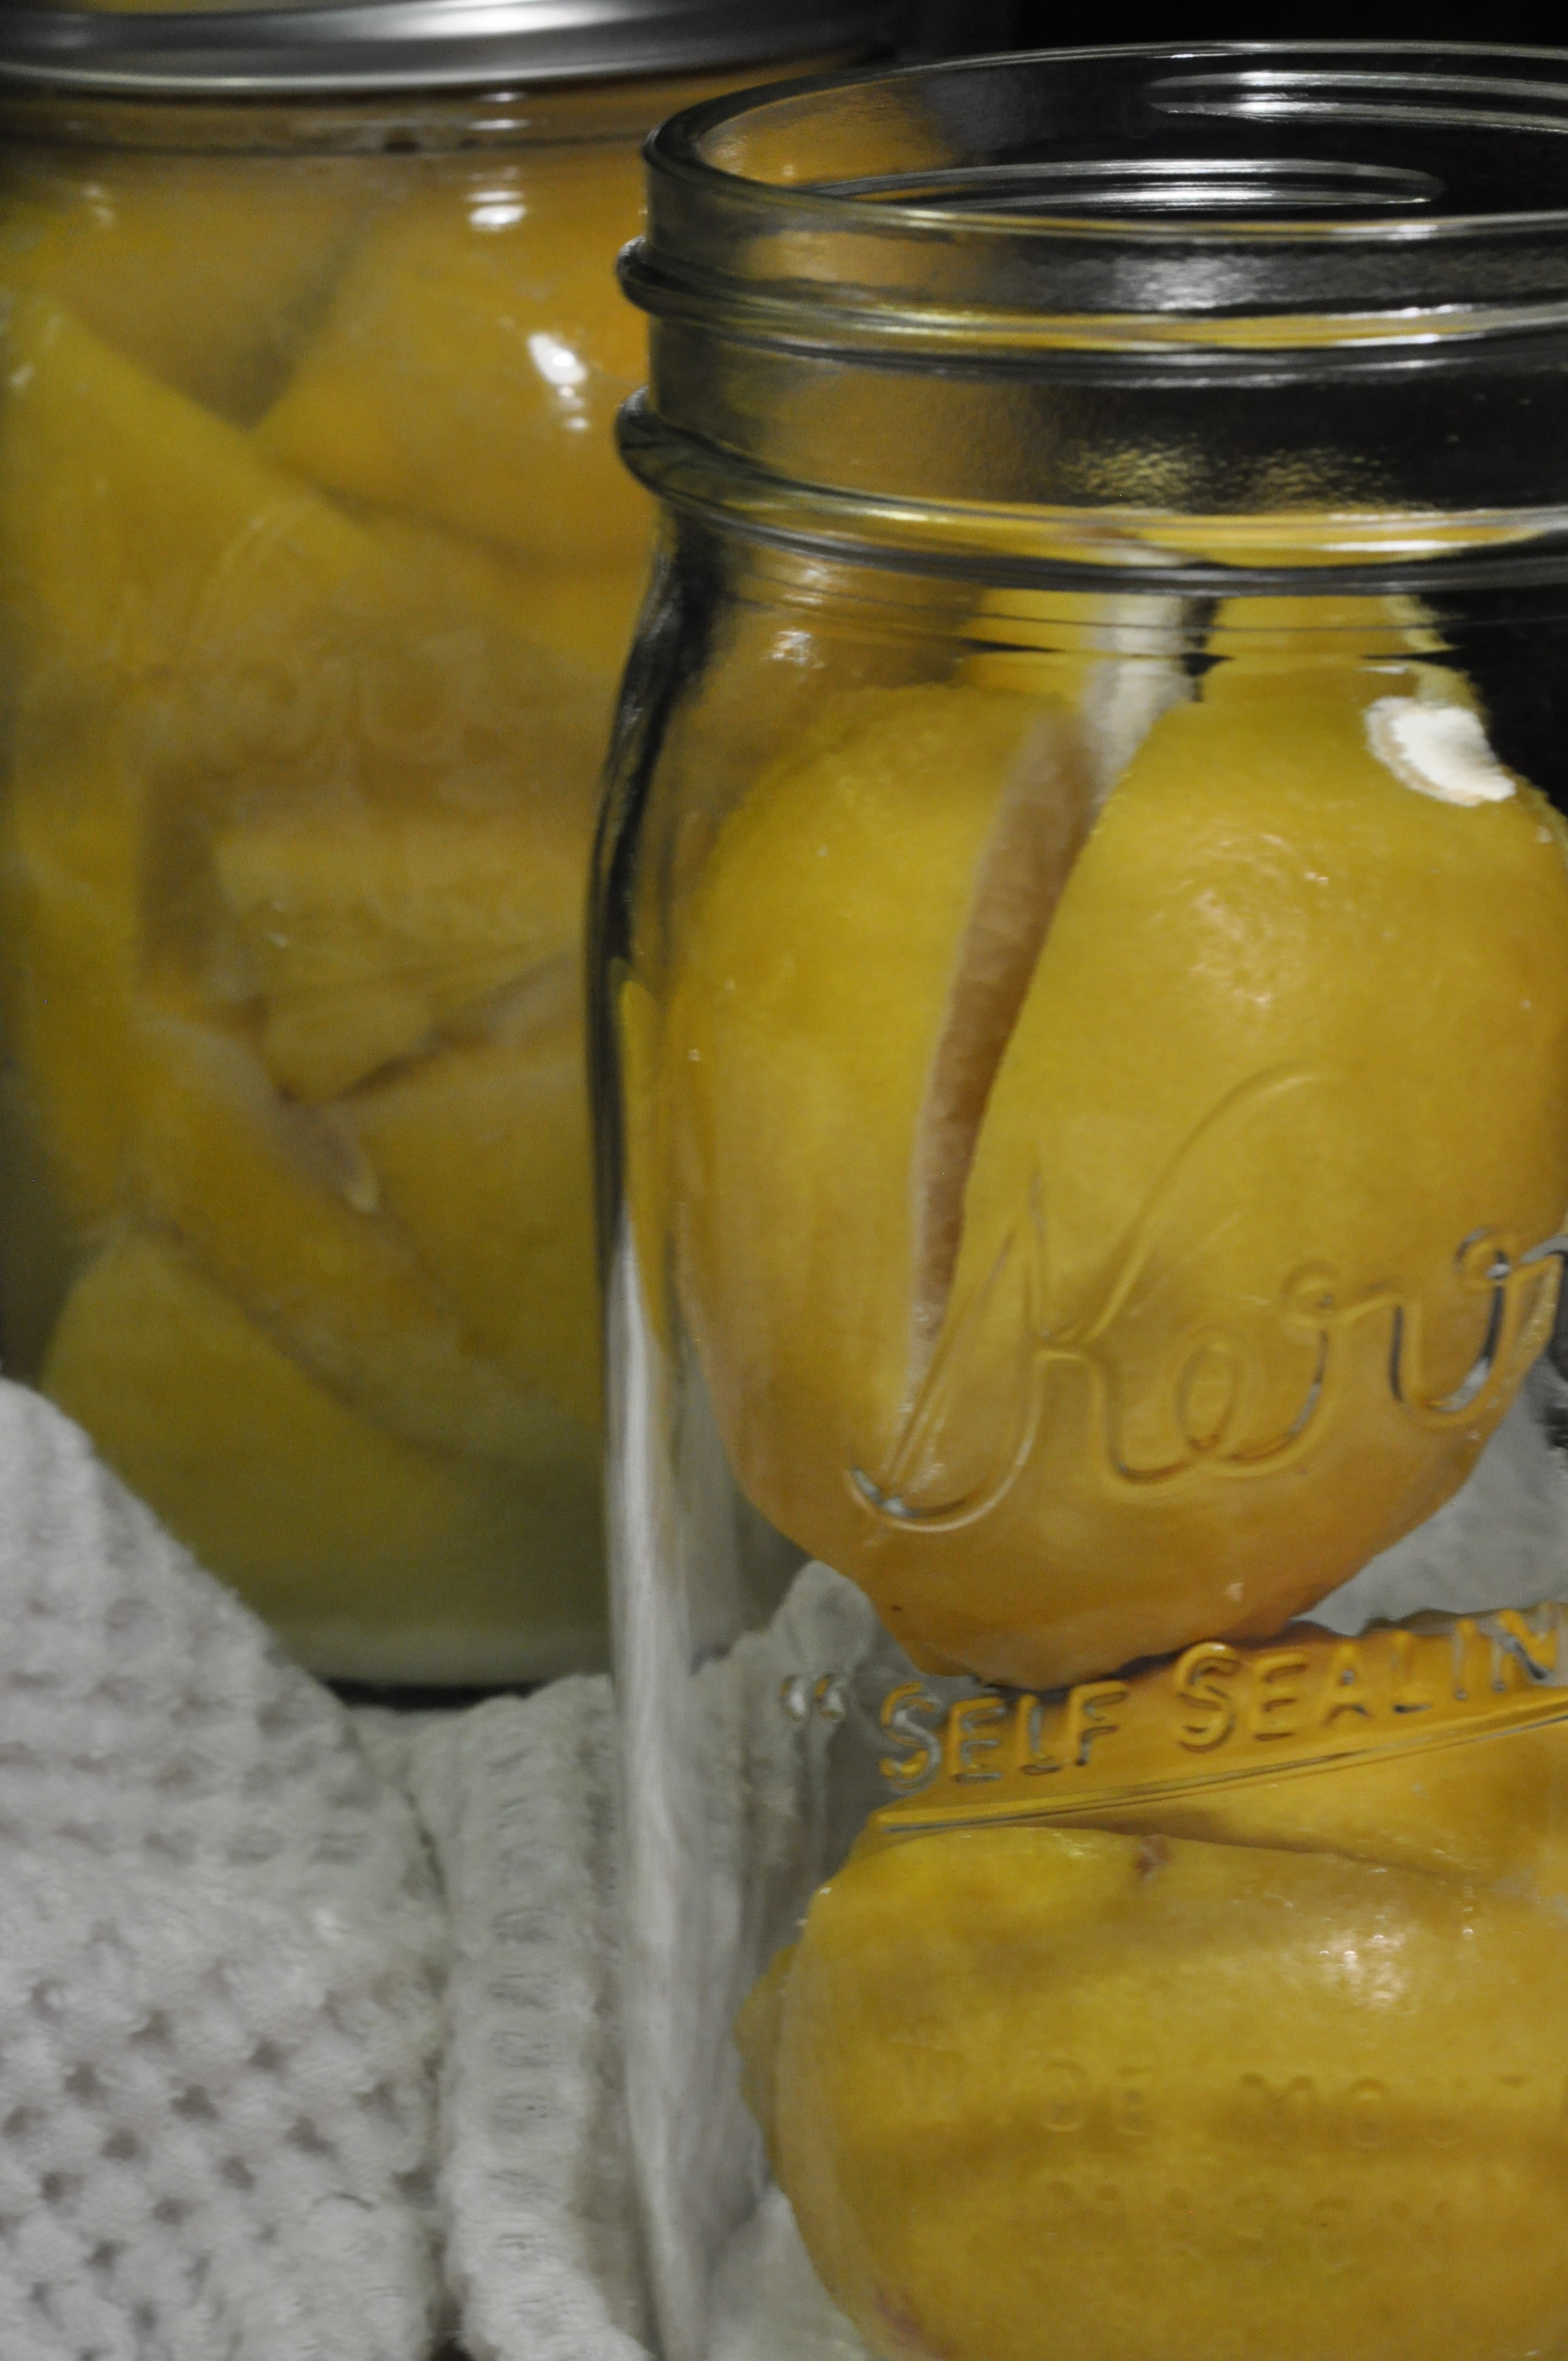
preserved lemons
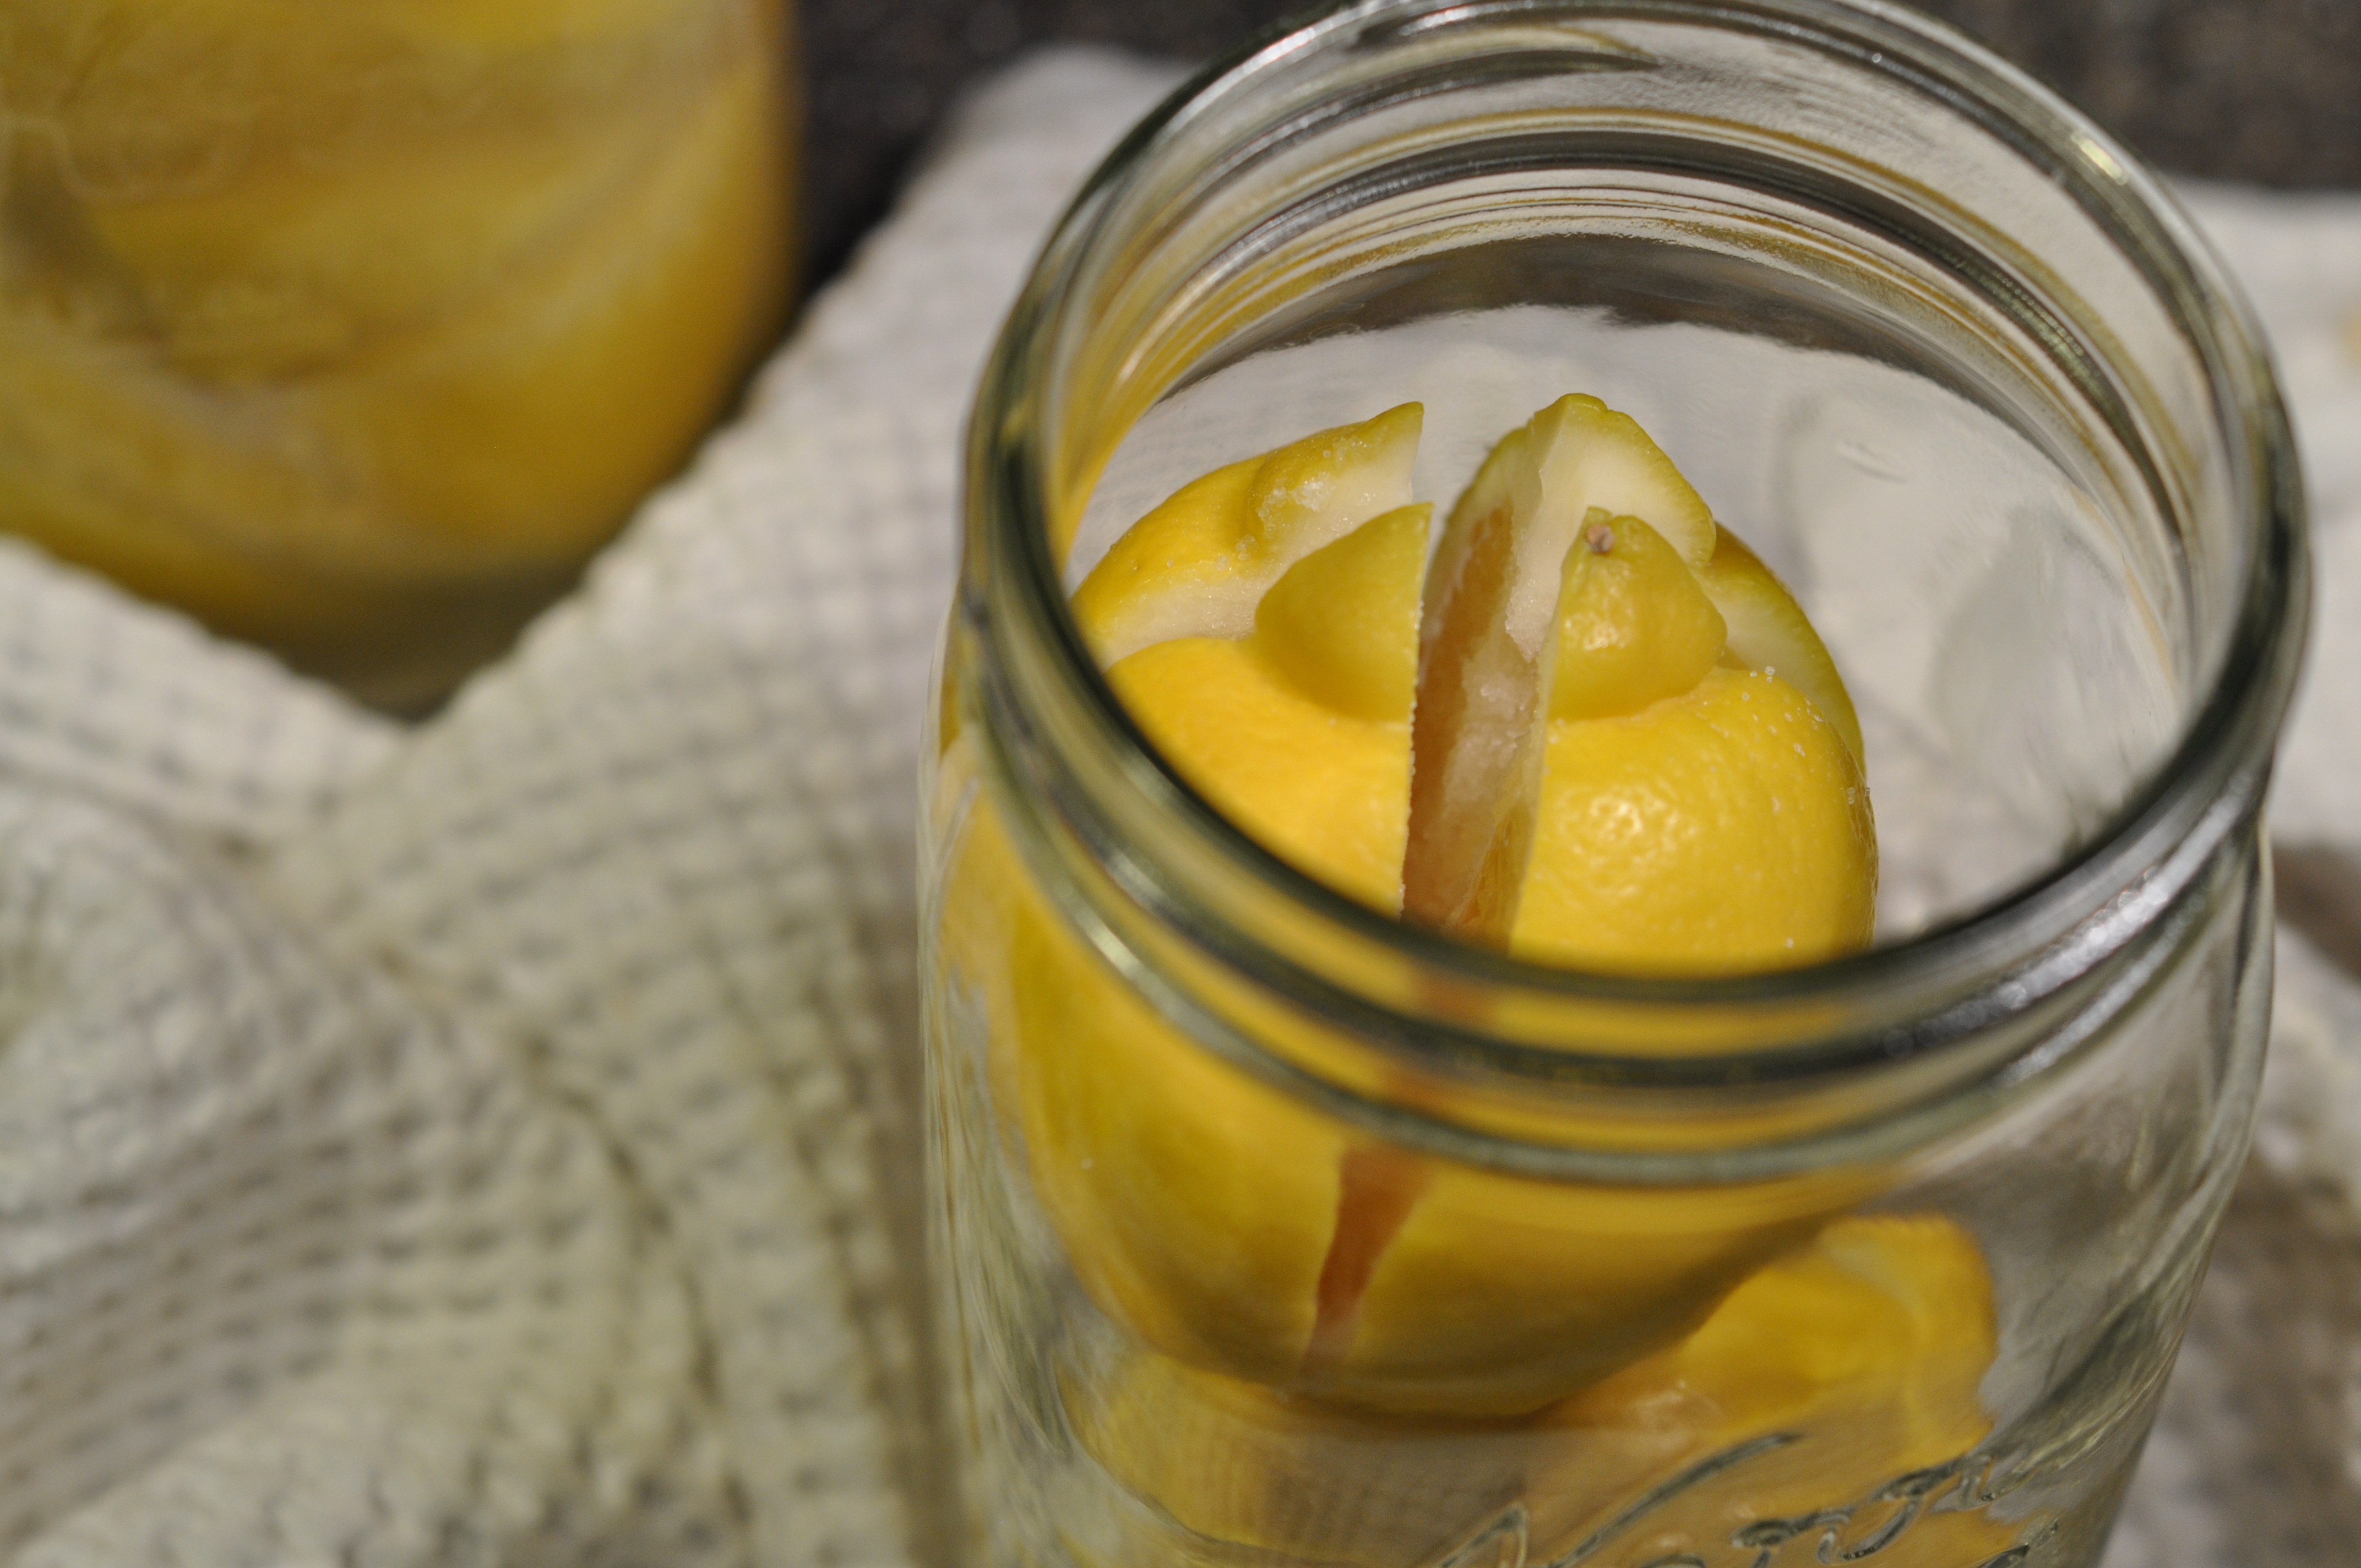
Fill the rest of each jar with fresh lemon juice and leave 1/2 inch of space at the top of each jar.
Seal the jars tightly. Store the lemons in a cool, dark place for 3 weeks and turn/tip the jars occasionally to distribute the salt and juice. You can store preserved lemons in the refrigerator for 6 months. Enjoy!