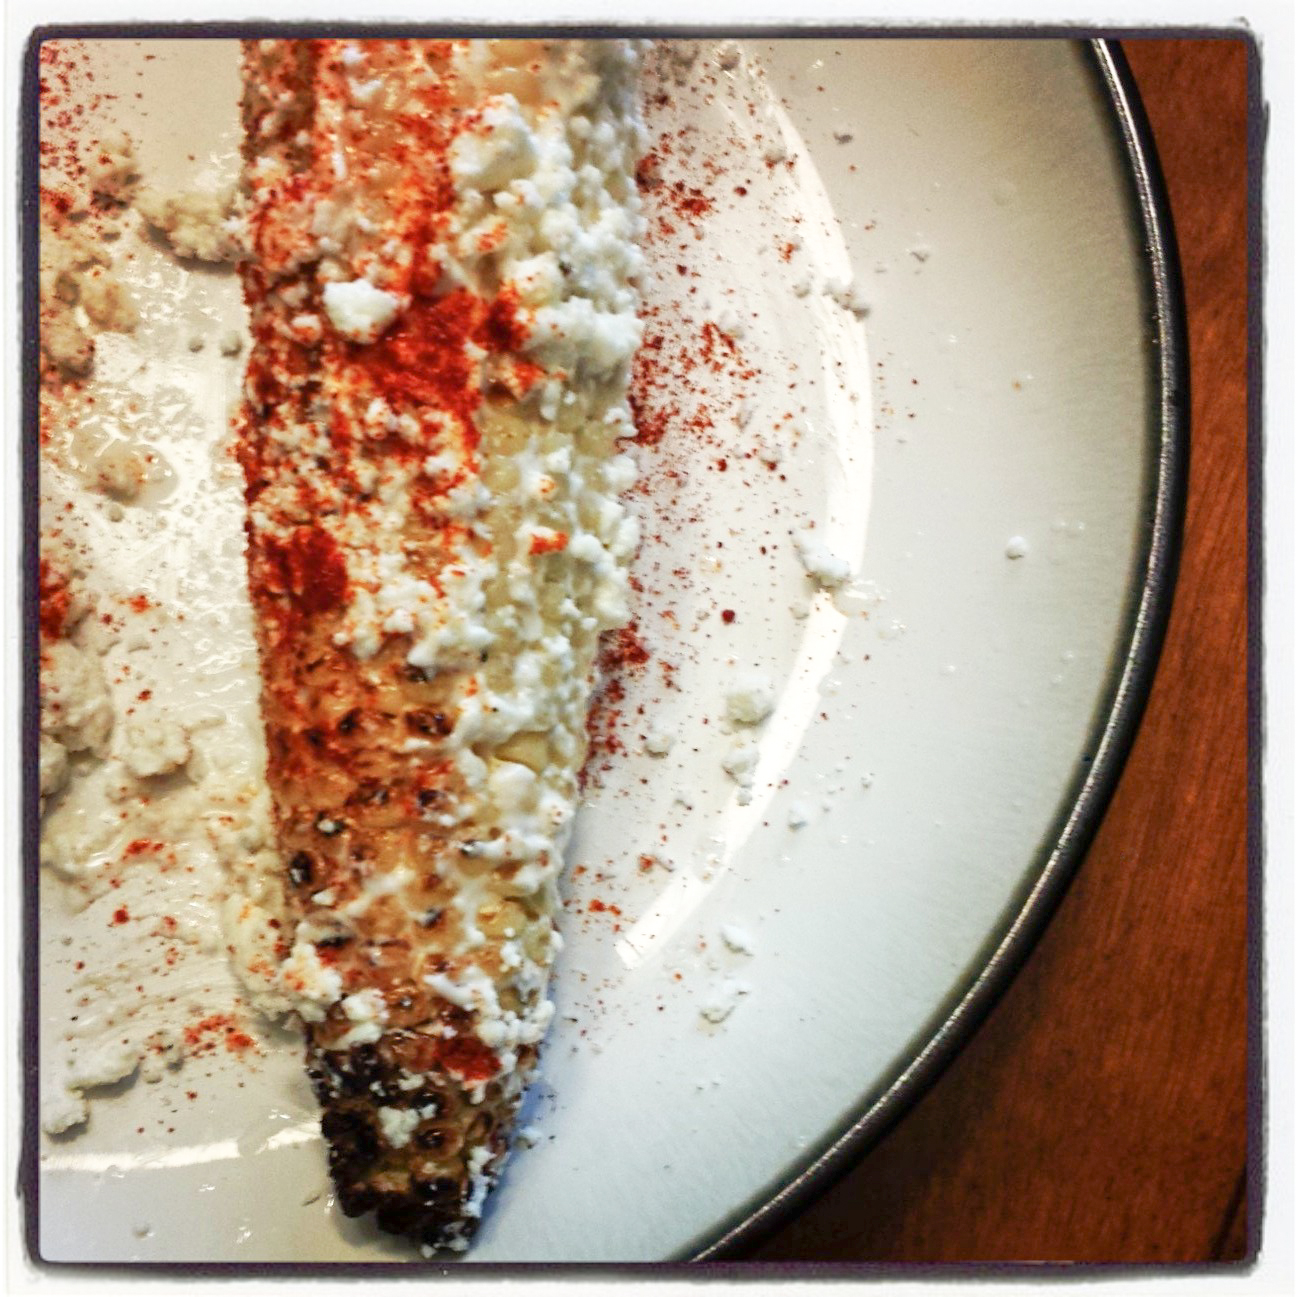
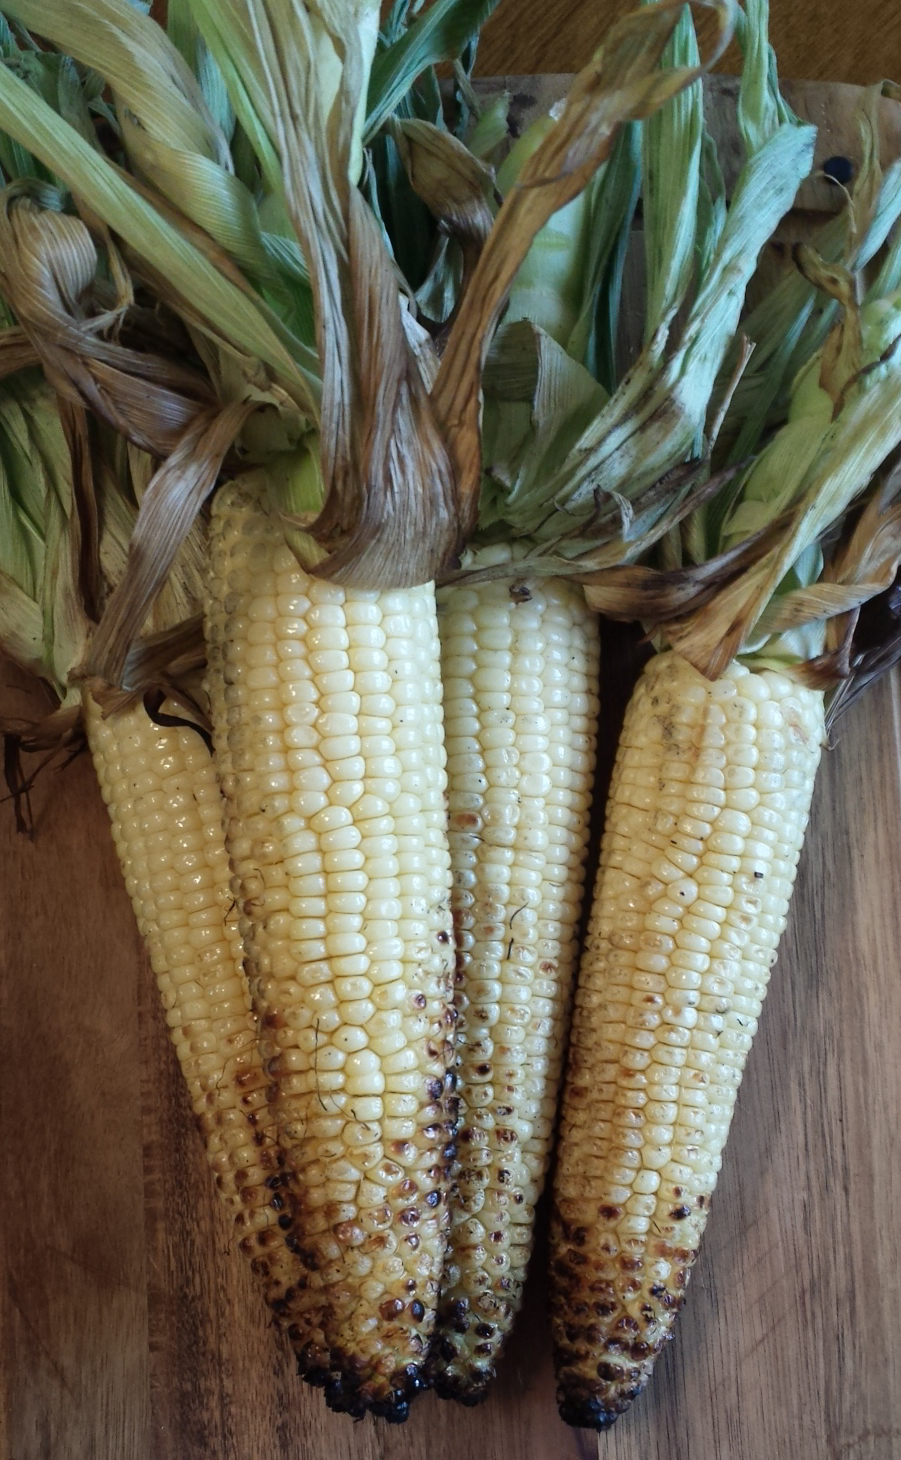
Grilled Mexican Corn on the Cob
It happens. The mad rush to get over to your friend’s barbecue. Corn…check. Mayo, cheese, limes, chili powder…check. Fancy serving dish…check. Chihuahua…check. Show up to friend’s house one hour fashionably late. Camera… no dice… Time to play with my new smartphone camera and Instagram… Foodie = yes. Techie = NO.
My friend, Mandy, had recently mentioned that mayo on corn was a must. I was intrigued. I did some ‘mayo on corn’ research and then caught an episode on PBS about Mexican Corn (think it was Rick Bayless). I’m sure the rest of the world is fully aware of Mexican Corn, but I was not. Let me tell you: it is INCREDIBLE.
The corn is grilled directly on your barbeque/grill. Husks pulled back. Exposed. Totally naked.
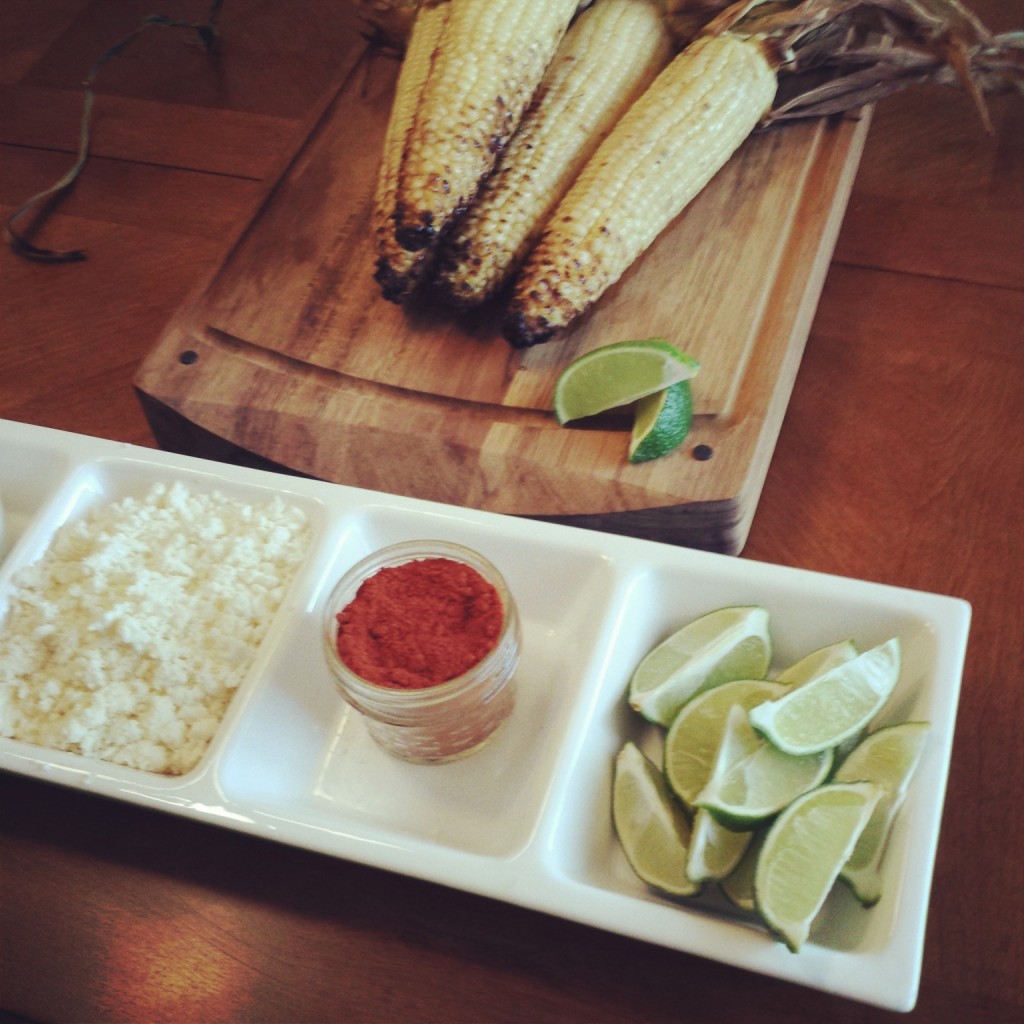
The corn is then slathered with mayo, crumbled cotija cheese, chili powder and lime juice. This is IN YOUR FACE, messy, get me a bib, wipe-your-mouth-with-the-back-of-your-hand corn on the cob. And it’s worth every messy, tangy bite.
- Four fresh ears of corn (one per person)
- 1/4 cup mayonnaise
- 1/2 cup cotija cheese, crumbled (or queso fresco if you prefer a less salty cheese)
- 2 Tbs chili powder
- 1 lime, quartered
- Heat the grill to medium high heat
- Peel back the husks and remove the silk from corn
- Cover the corn with the husks and soak in cool water for 10 minutes (this will prevent the husks from burning on the grill)
- Pull the husks away from the corn and grill the corn on the cob directly on the grill until browned evenly--this takes approximately 15 minutes
- Spread the mayonnaise evenly over the entire grilled ear of corn
- Sprinkle the crumbled cotija to cover the ear of corn
- Lightly sprinkle chili powder over the ear of corn
- Squeeze lime over the corn
- Prepare to be...well, you know...amazed
The Local … A Foodie’s Food Truck (Colorado Springs, CO)
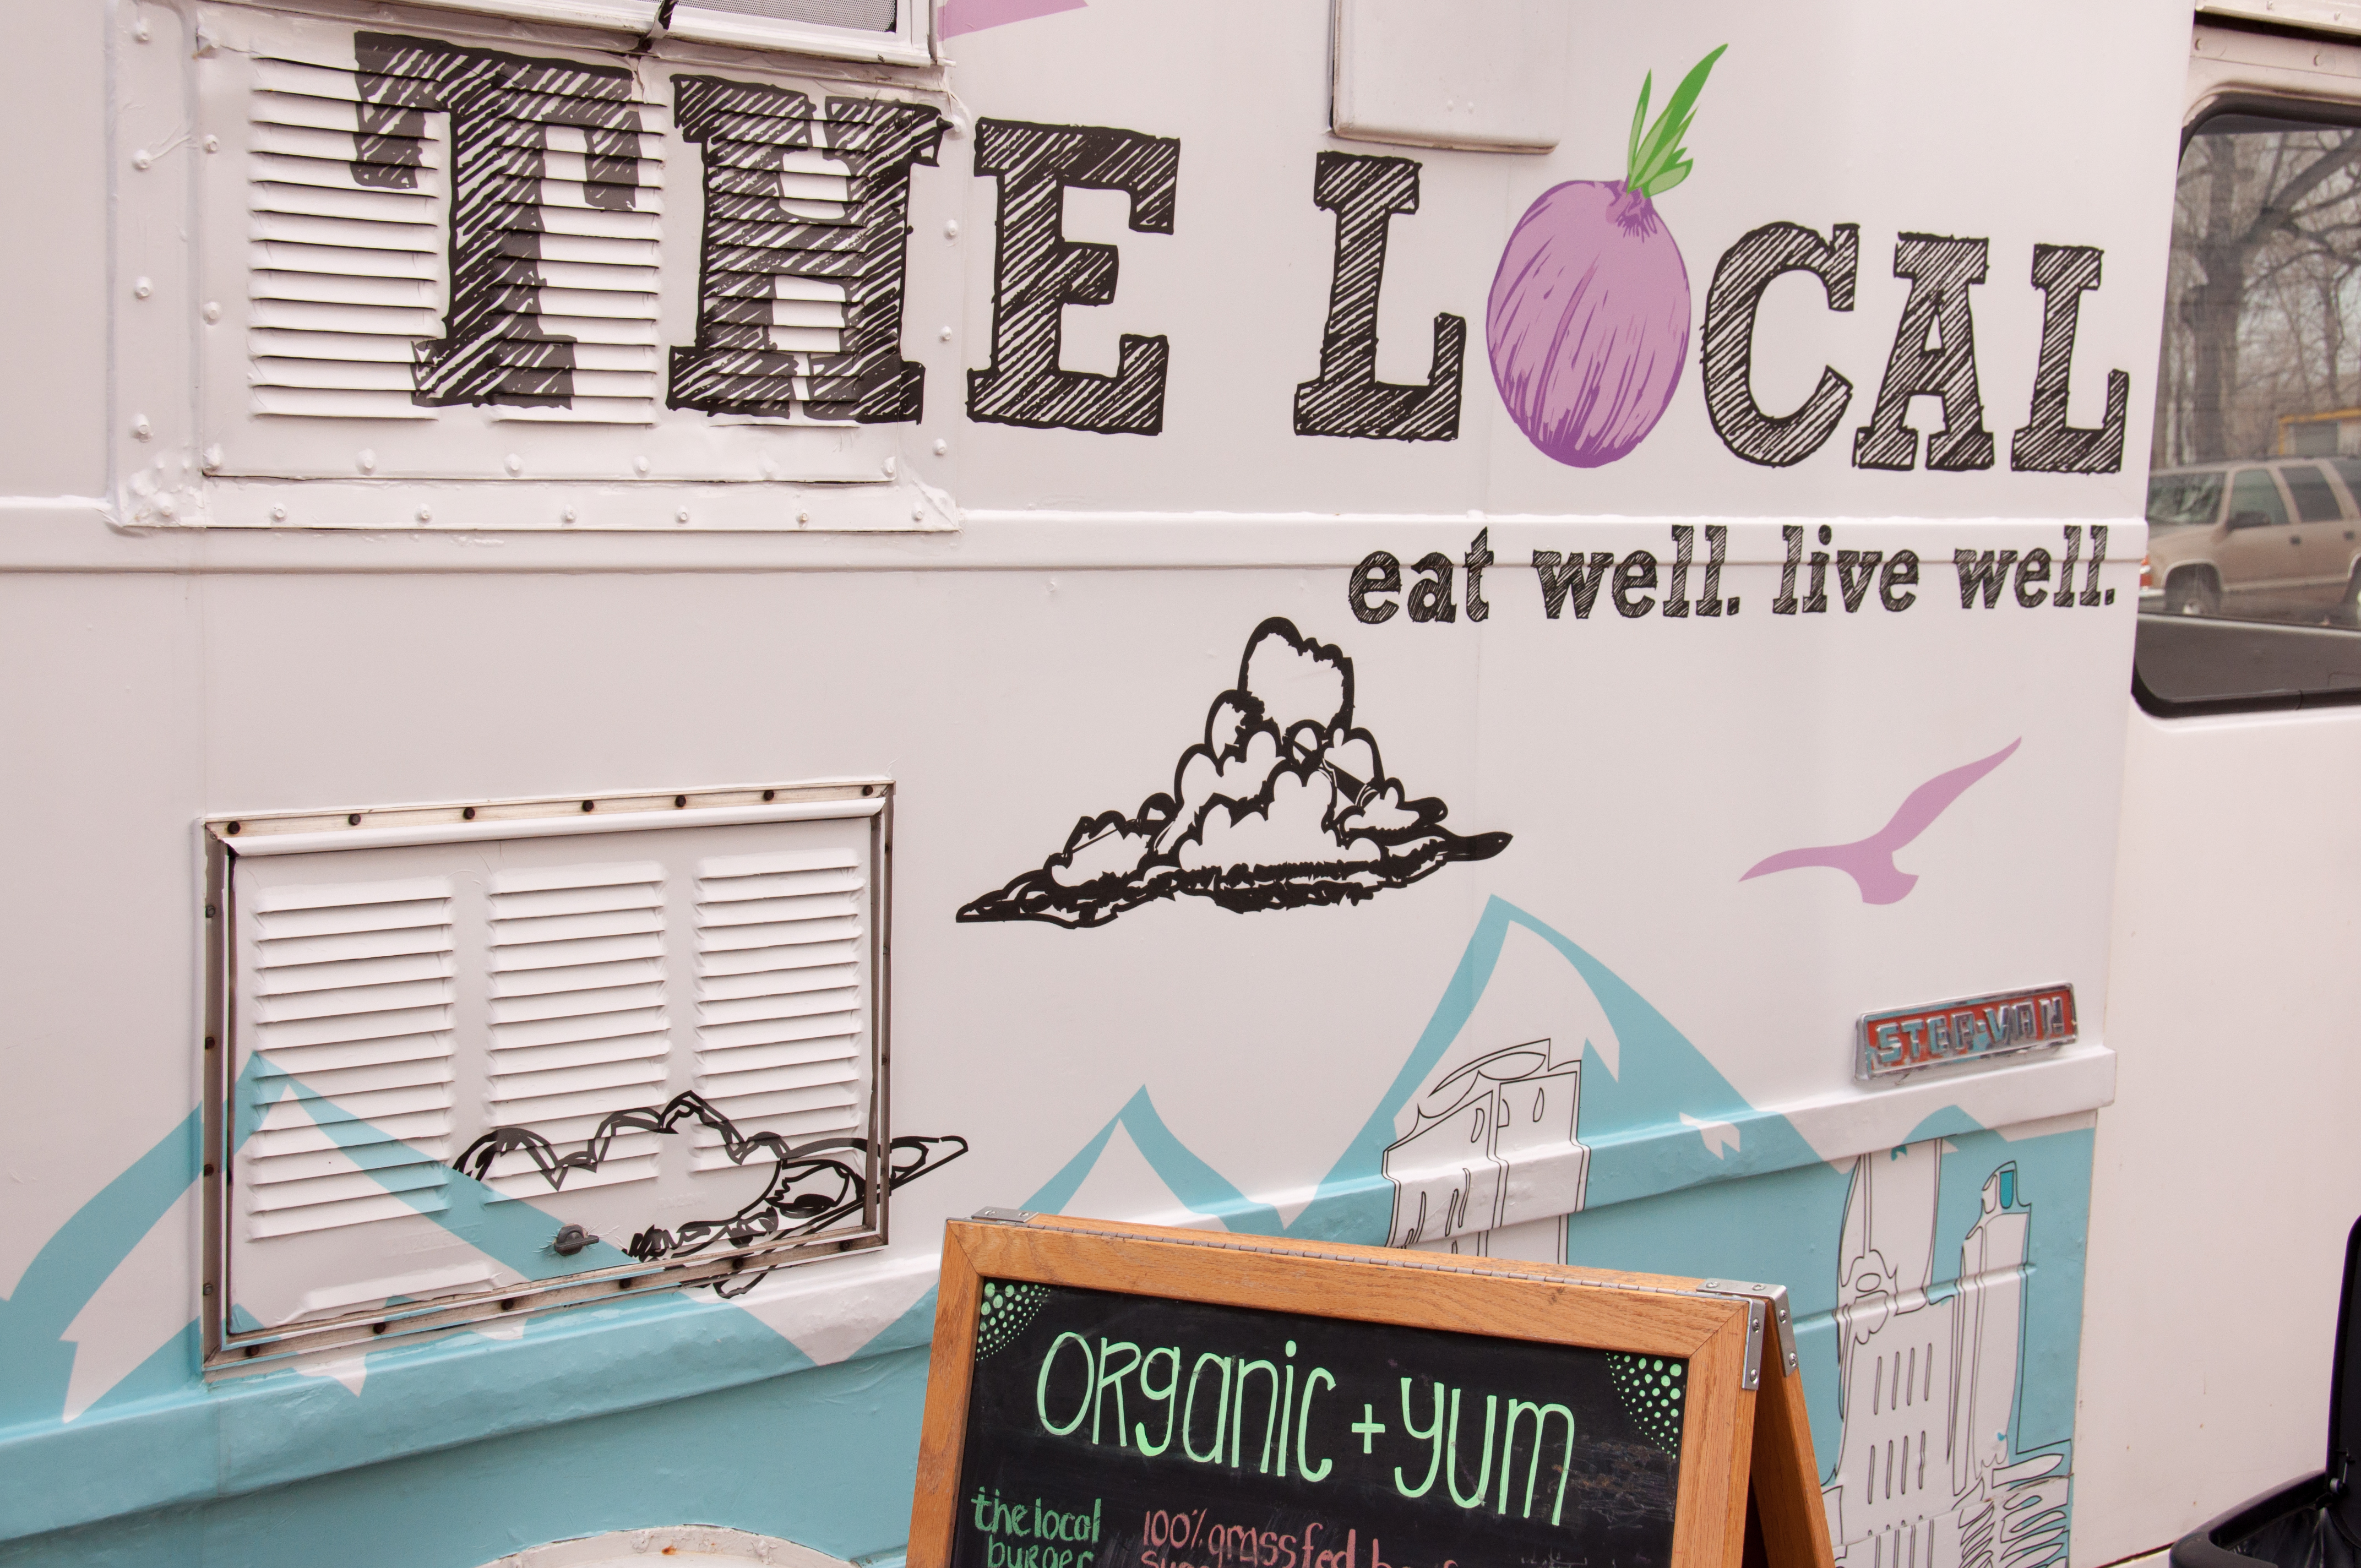 I first saw “The Local” at the Colorado Farm & Art Market, but I caught the tail end of the market and The Local had sold out. I kept checking The Local’s Facebook page to figure out where I could catch them. Out in front of the Cottonwood Center for the Arts on a Friday night…perfect.
Mandy and I (we have been known to put down some food) headed for the Cottonwood and The Local. I had, unfortunately, eaten a huge lunch (rib cook-off at work…who can resist…it was a total meat fest) and Mandy had had a snack before meeting up. So, we wandered around the Cottonwood center…pretending not to both be thinking about The Local’s menu that we had browsed before heading inside.
A burger with a brown sugar and coffee rub; grilled cheese with braised short ribs, caramelized red onions and jack cheese; Korean BBQ tacos with brown sugar and soy marinated sirloin, pickled cabbage and cilantro sauce; kimchi quesadillas…. it was a foodie’s dream.
As we were looking at Jane Beeder’s fascinating collection, I blurted out “You WANNA go TO the FOOD truck!!?!!” No hesitation from Mandy. Love her.
I quickly scanned the chalkboard menu again…
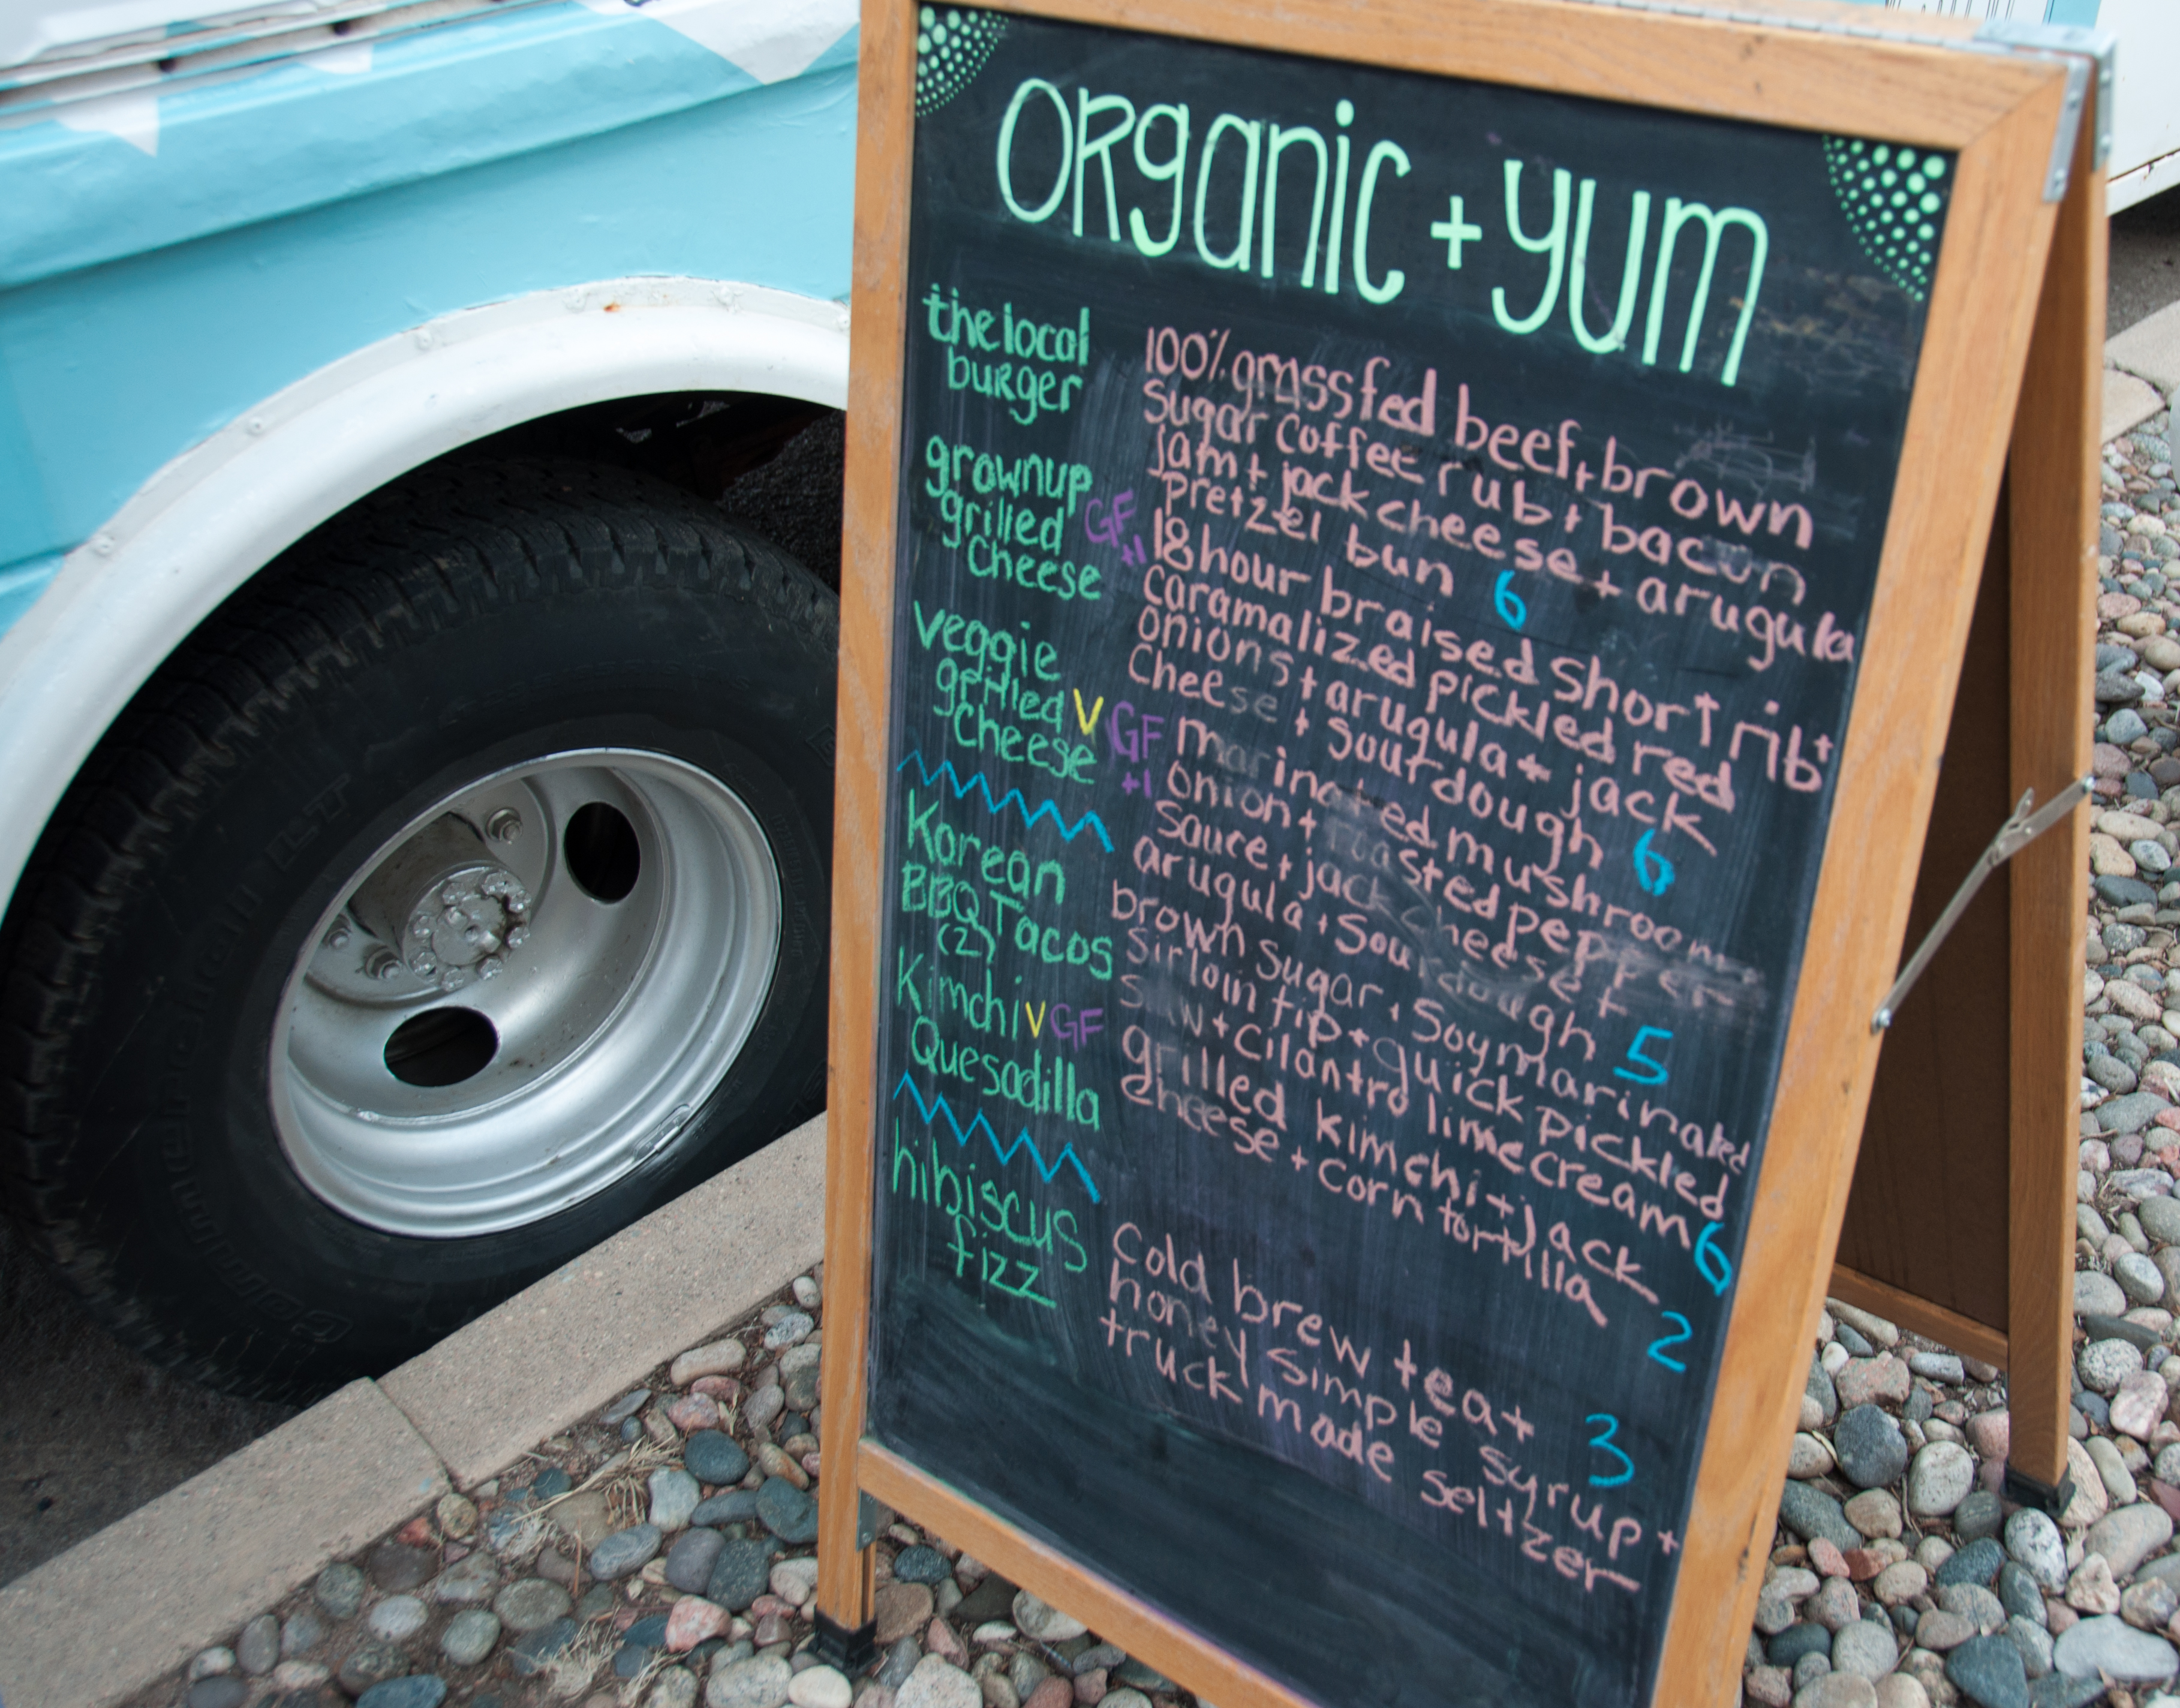
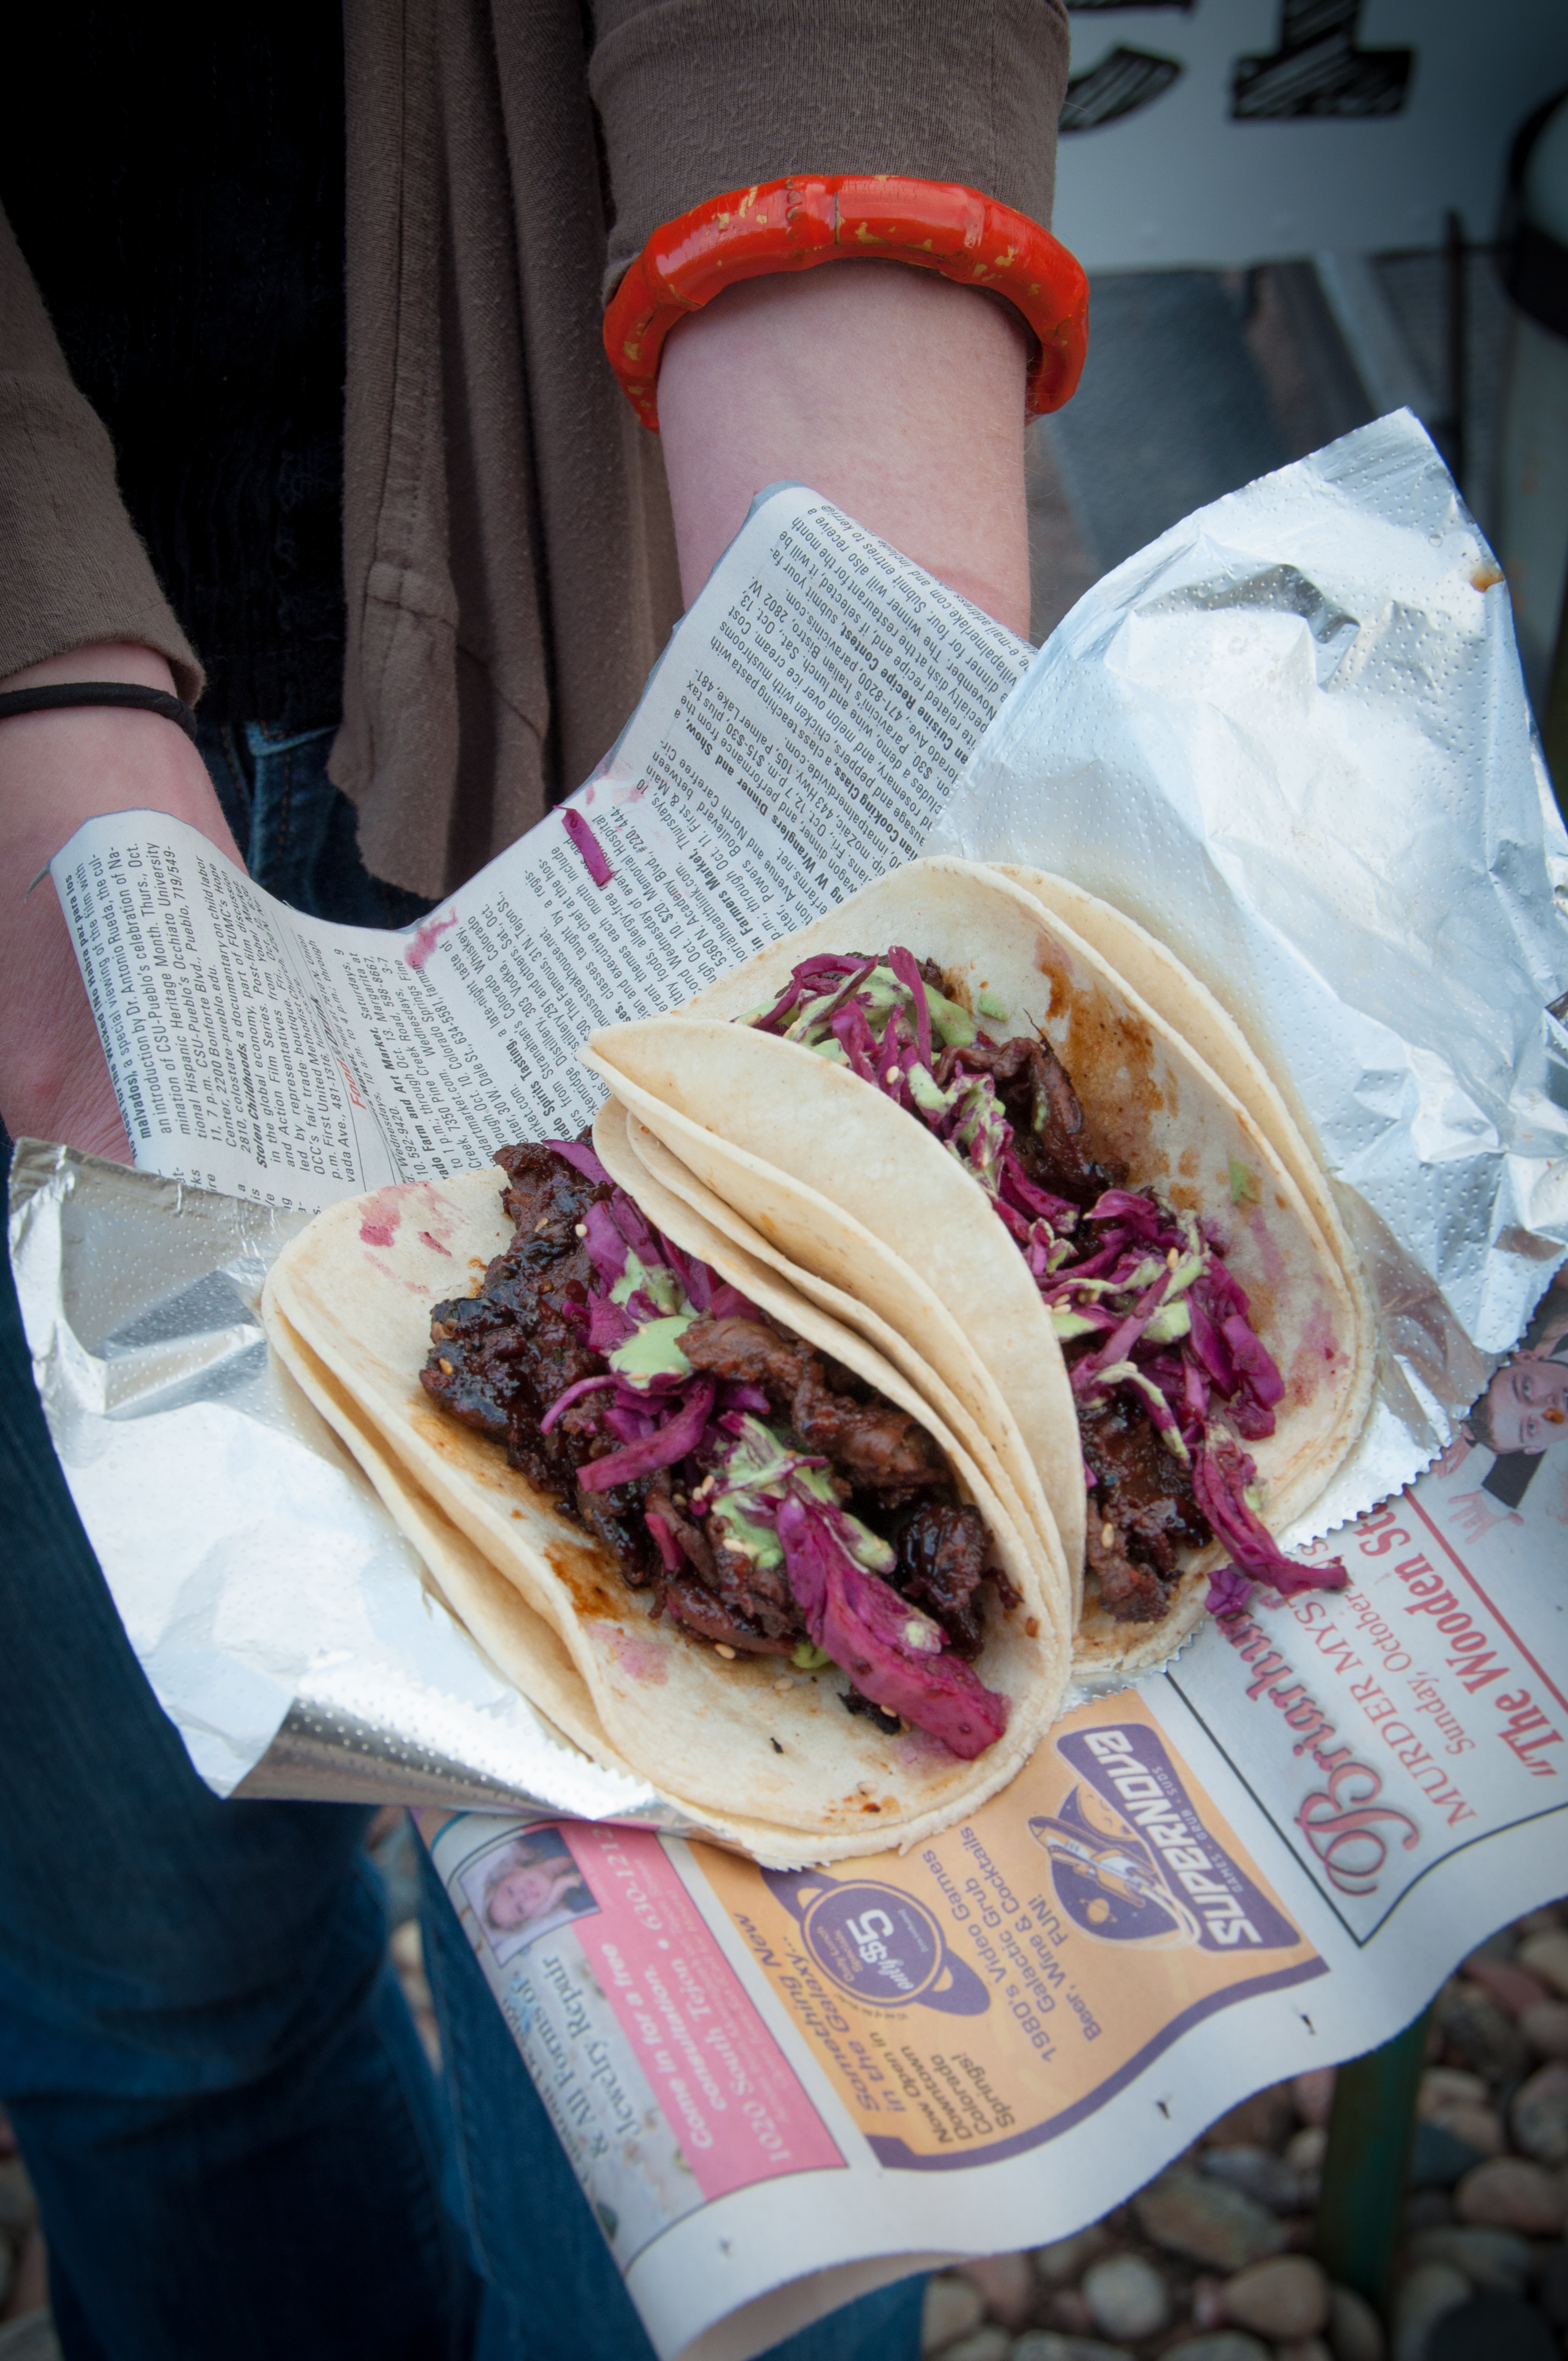
…and it was an obvious choice: the whole menu the Korean BBQ tacos and a Kimchi Quesadilla …and Korean BBQ tacos for dessert.
Mandy and I shared the Kimchi Quesadilla. Sharing? Seriously. What were we thinking….?
The Korean BBQ tacos were sooo good. The meat was perfectly tender and marinated with just the right mix of tangy and sweet, then topped with pickled cabbage and a cilantro lime cream sauce. The doubled up corn tortillas were lightly grilled. Simple, but still an intriguing mix of flavors. My one (very minor) critique would be the need for a just a bit more cilantro sauce. But…then again…I have a mild obsession with cilantro. $6 for the tacos…..worth every penny.
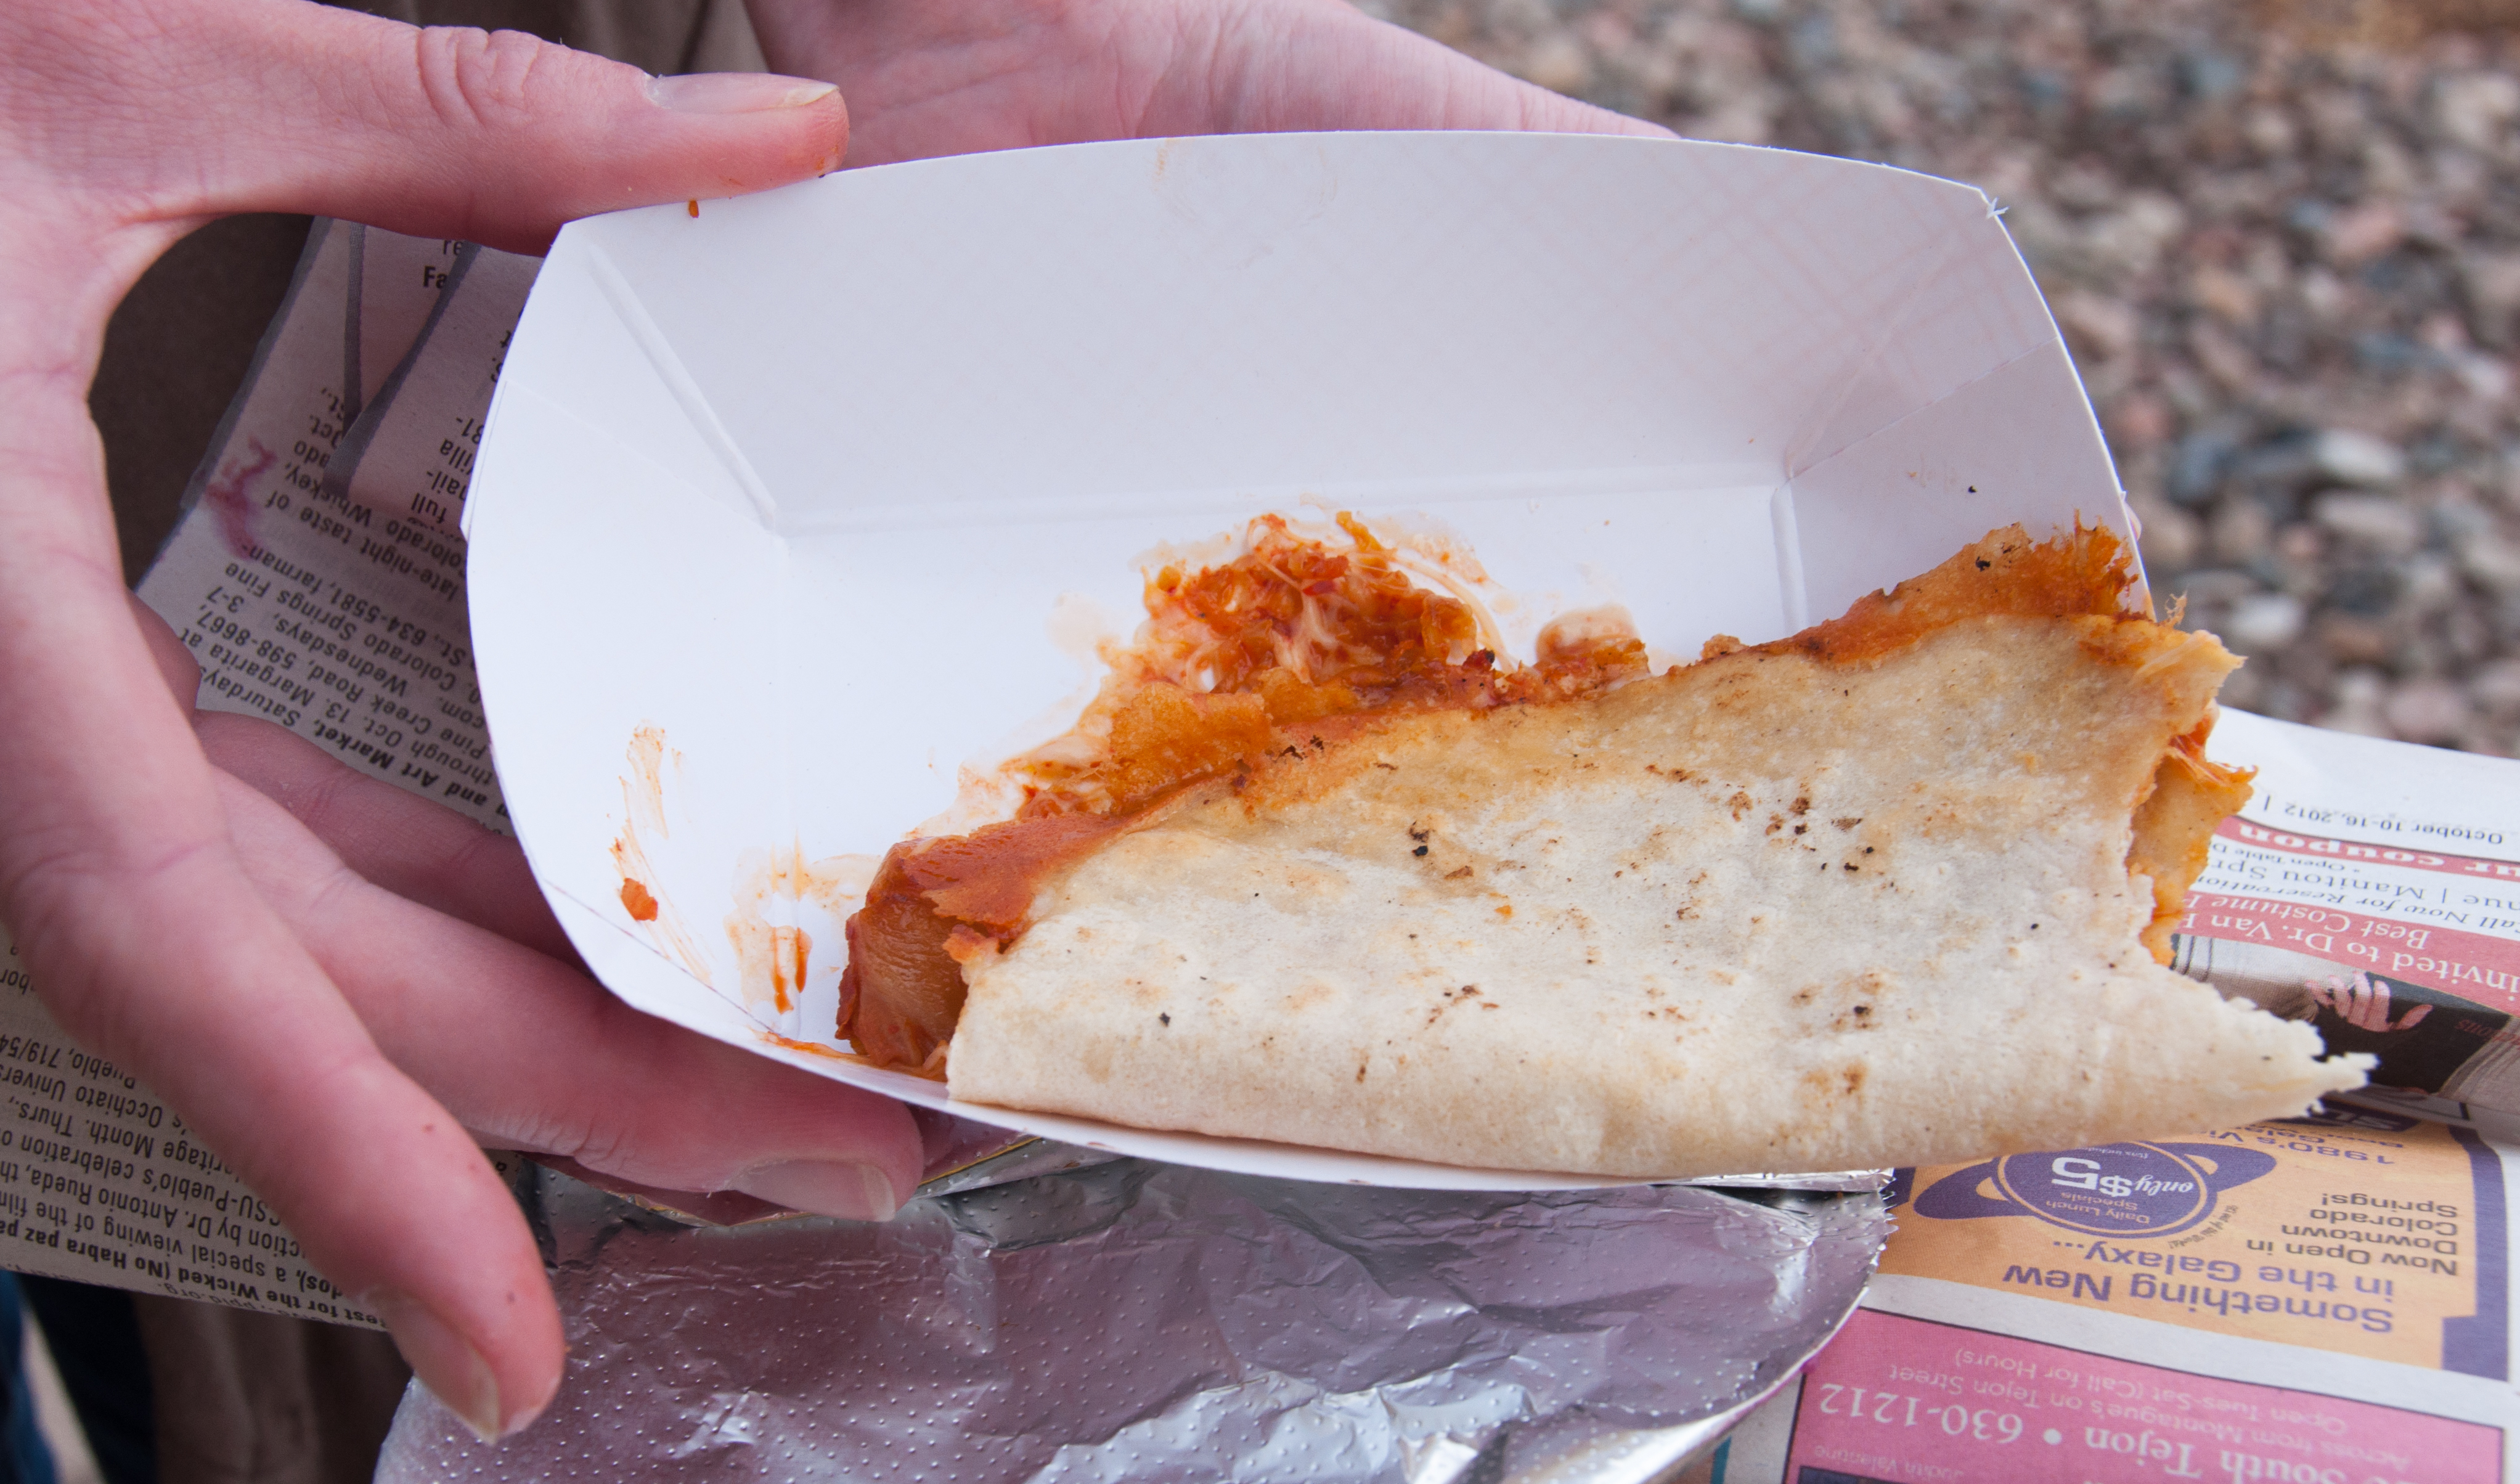
I also love the mix of cuisines on the menu…Korean meets Mexican…Korexican? Korean BBQ on a taco…I get that. Kimchi in a quesadilla….can’t say that’s a snack I day dream about. But, it is now. Kimchi Quesadilla = Kimchi and jack cheese in a lightly grilled corn tortilla. I thought there was a sauce hiding in there, but I think it was the kimchi and cheeeeeessse swirling together. A $2 snack, and Mandy and I agreed we could have eaten about $20 worth of these crispy, gooey little guys. We managed some serious self-control. And then… Mandy looked at me and asked “Another round of tacos?” with a mischievous look. Self-control? Still working on it…
My time in Colorado is limited and there is a long list of food to be eaten before I leave. But, I will definitely be back to The Local to sample more of their wonderful creations.


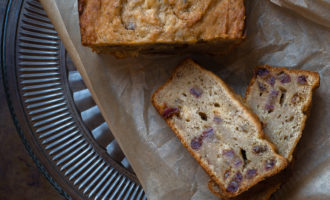
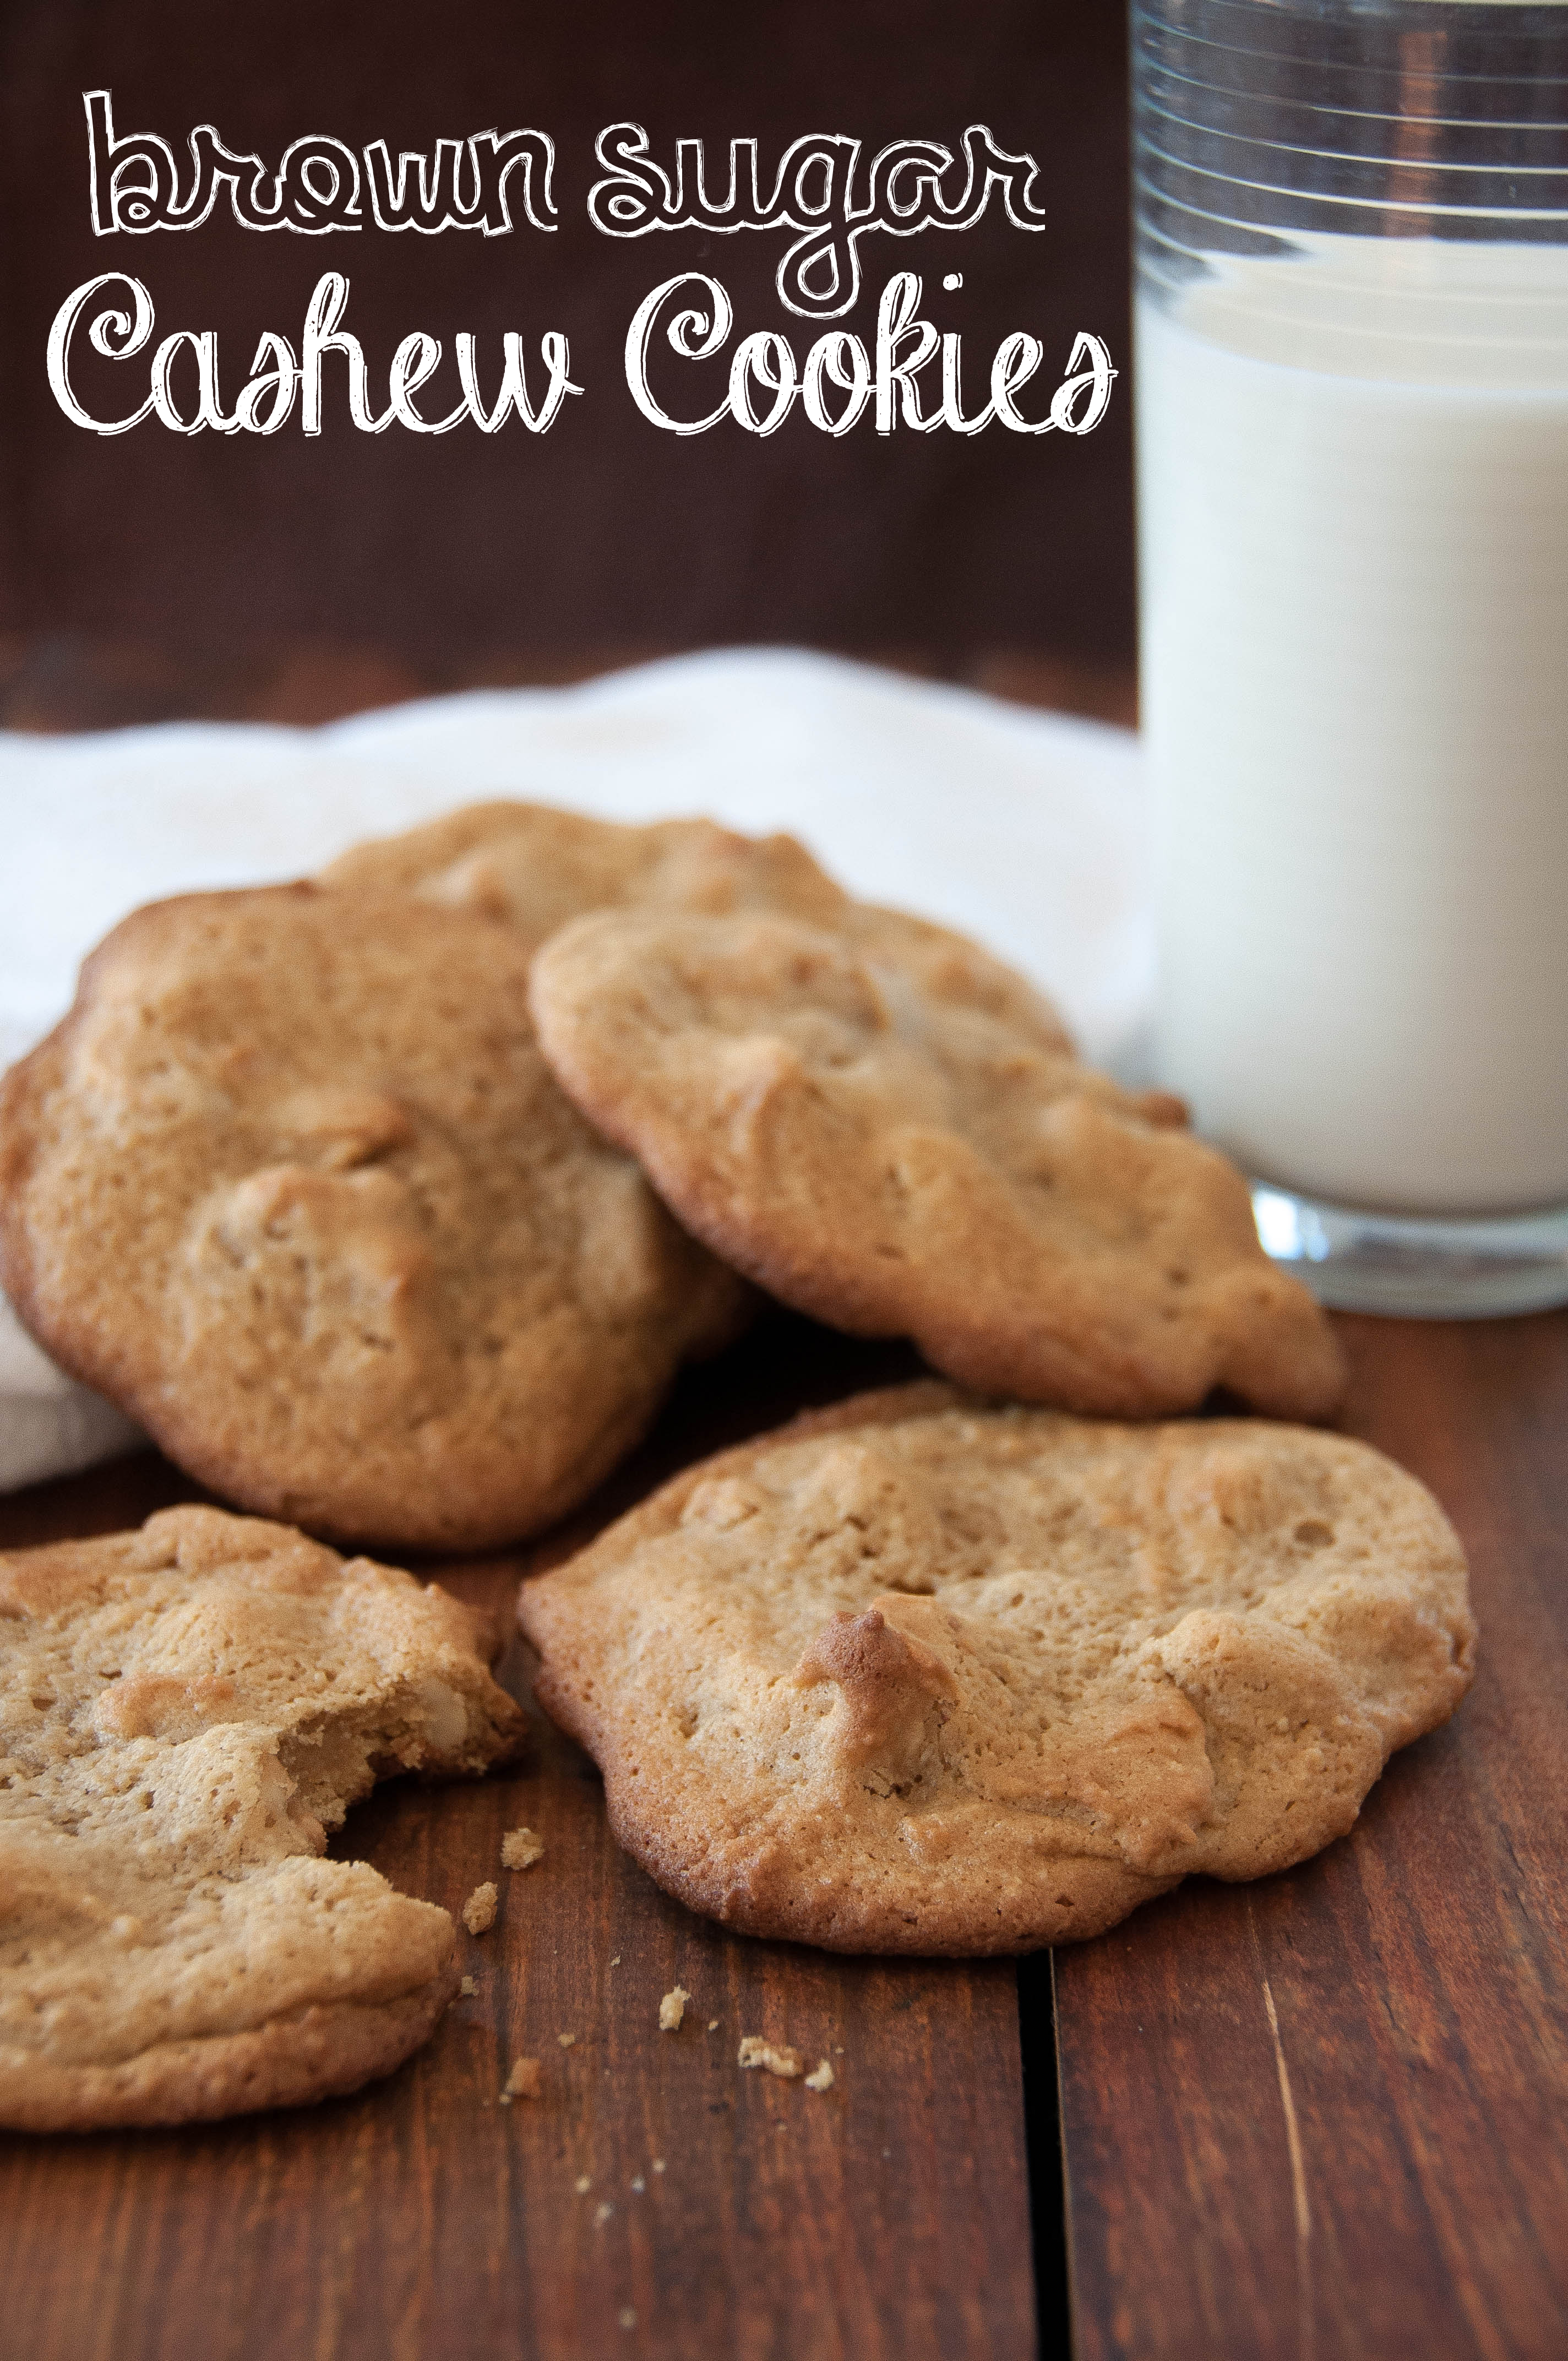
Brown Sugar Cashew Cookies
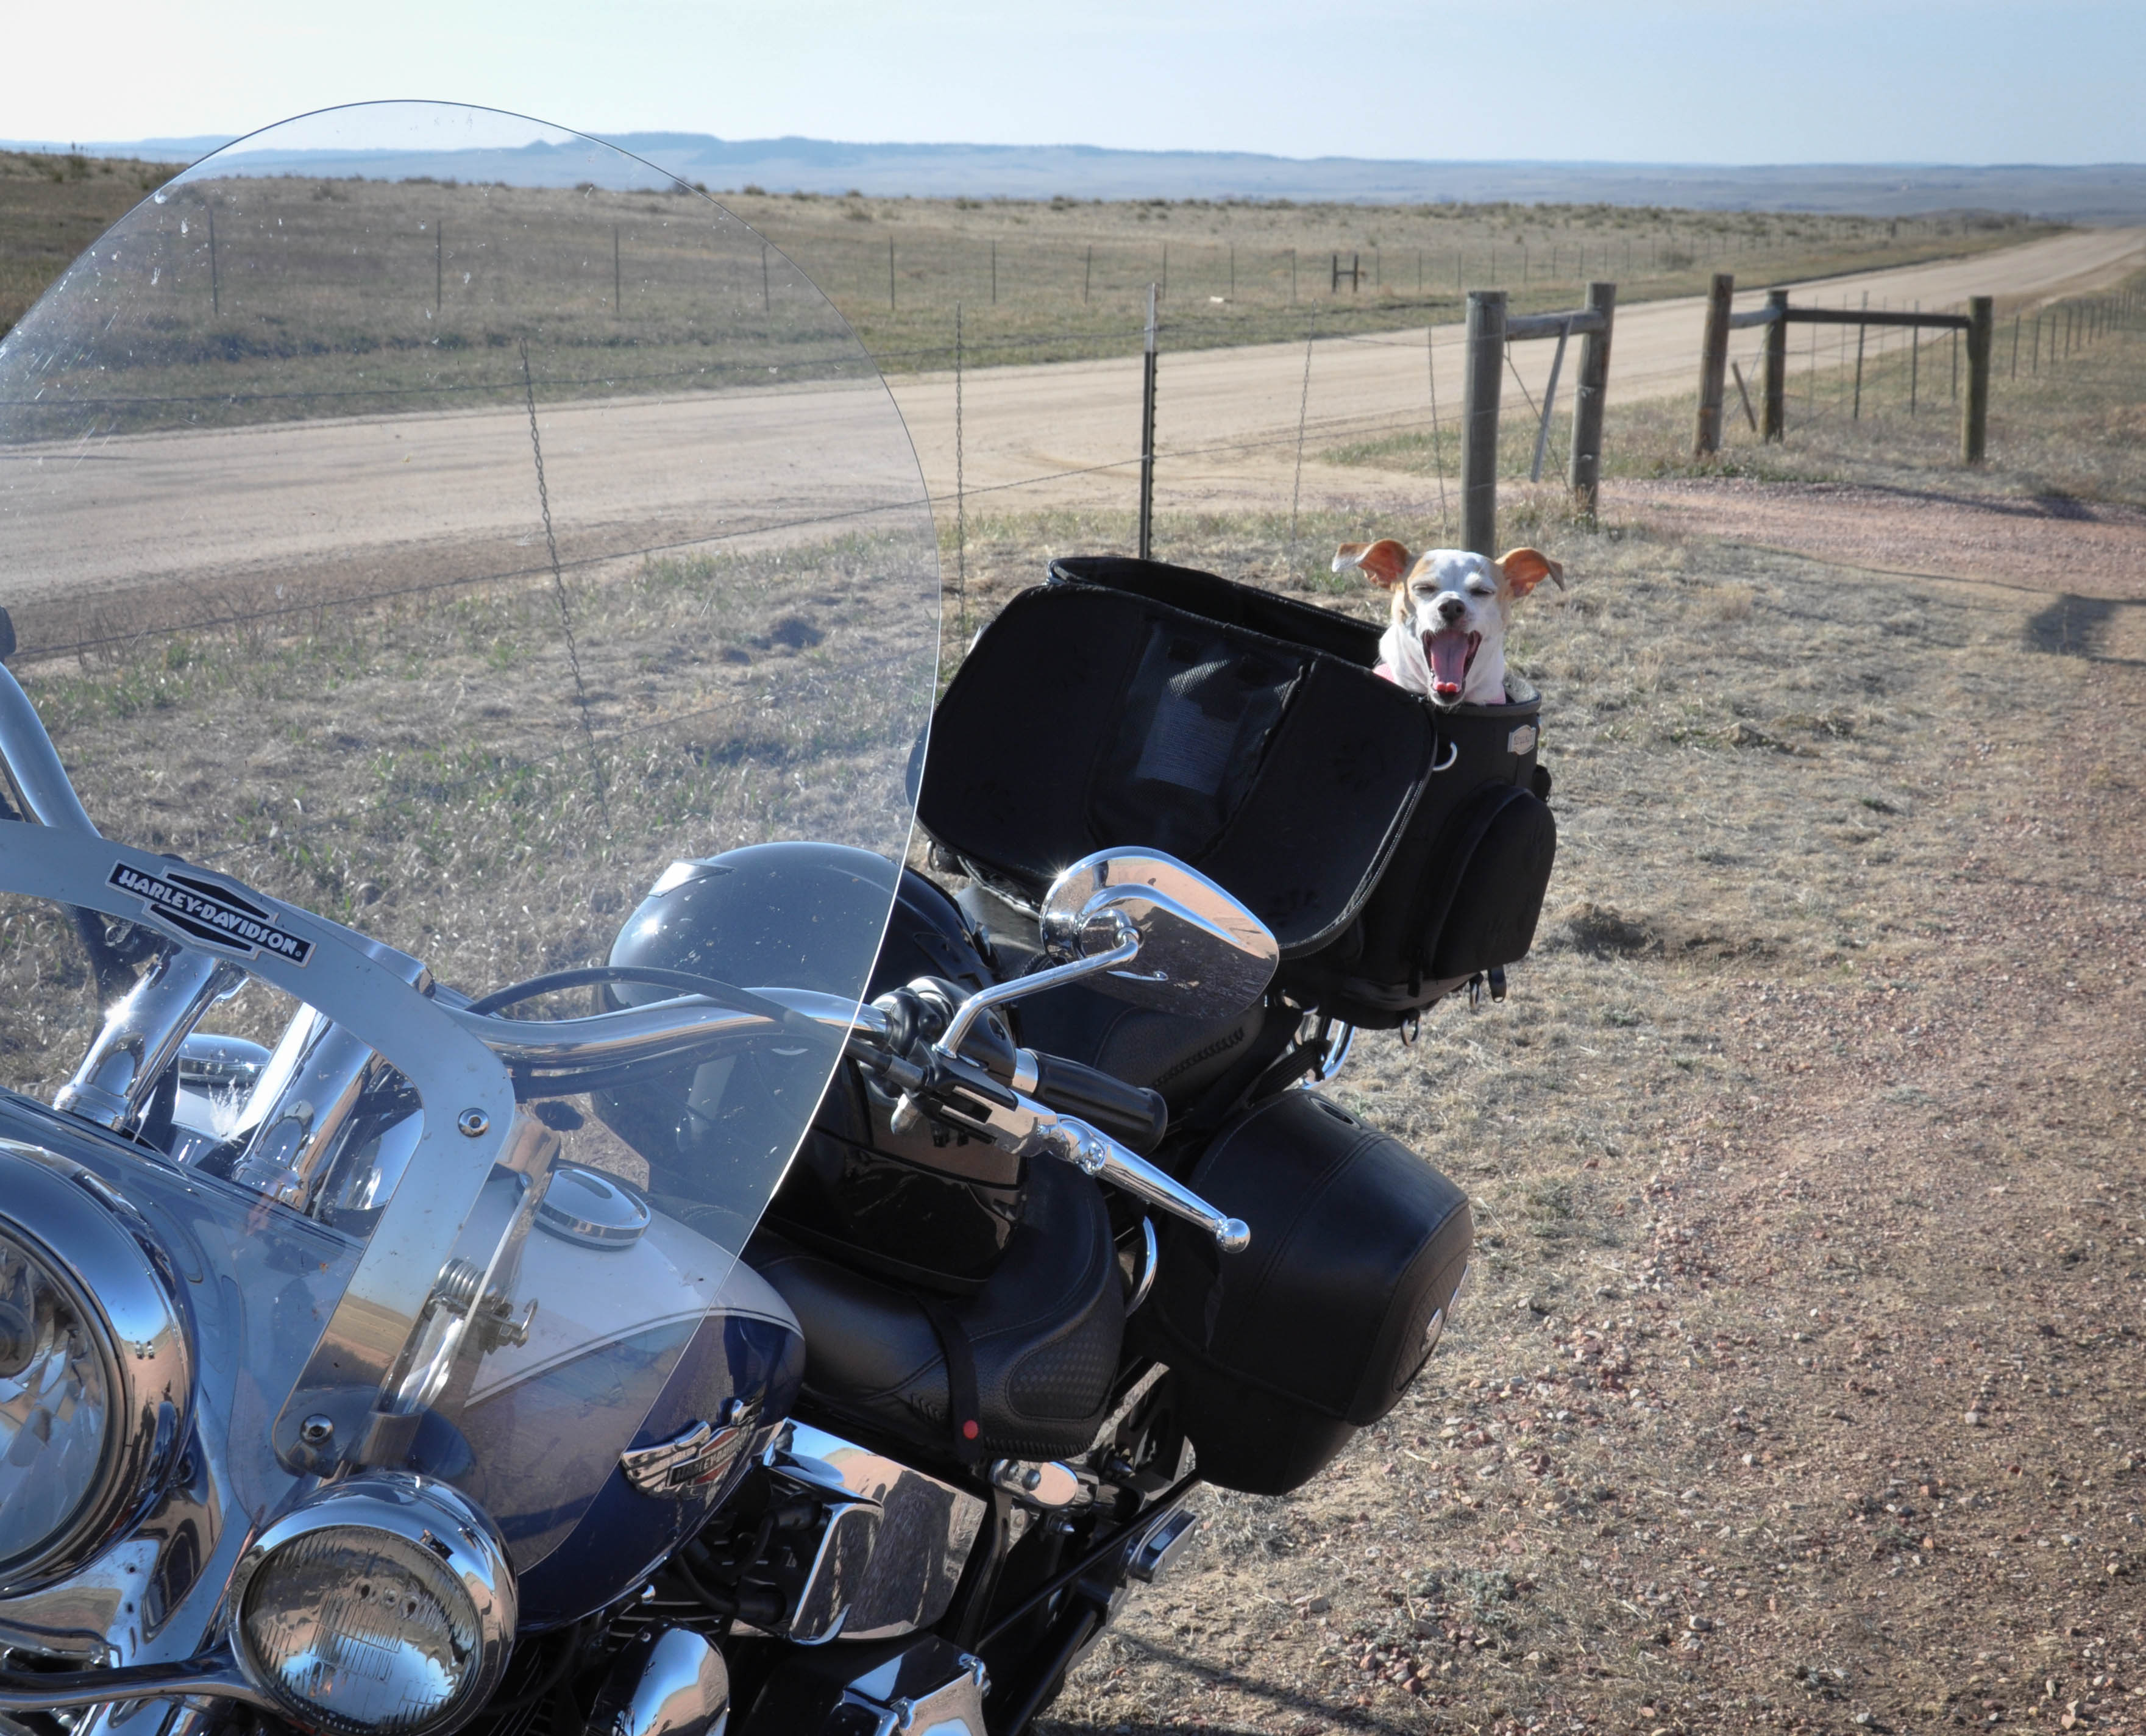
The weather was perfect on Saturday … perfect day for a motorcycle ride. The motorcycle comes complete with a dog carrier. The Chihuahua’s mobile; she’s always up for adventure. I pulled the bike out of the garage and the shriek of three girls screaming “WAIT! We want to see your motorcycle!” stopped me in my tracks.
I live on a military base… way out east of Colorado Springs… thirty minutes from town… tumbleweed rolls down the street providing endless entertainment… Not a lot going on in the neighborhood… But, the neighborhood kids are sweet as pie. Like the time I was in the house playing the piano and the doorbell rang. I opened the door and there was 9-year-old Colin, “Hello Miss Lynn. I hear you playing the piano when I walk by to my friend’s house and I just want to tell you I really like it” …and then he ran off before I could barely get out an “Ahhh, thank you Colin!”
So super sweet!
I placed my motorcycle helmet on the ground and said “Hi girls!”
“We love your bike, we want to see you ride it!” Shriek!! “OMG, is Chica going with you?!”
“She sure is” I said nodding…
I kept pulling together my riding gear.
“I love your bike! It is so cool! I want to get one someday! I’m almost 13. My mom says when I’m 13, I can have a boyfriend.”
Me: “Boyfriend? Wait until you’re 30.”
“But my mom says I can have a boyfriend when I’m 13.”
Me: “Boyfriends are overrated. Wait until you’re 30.” (got a slightly cocked head, quizzical stare on that one)
“Do you have a boyfriend?”
Me: “No.”
“We are going to find you a boyfriend!”
Me: “Ok. Make sure he likes Chihuahuas.”
Got my gear on, strapped the dog in and pulled away on the bike …..with three girls running behind me screaming, laughing and WHhhooo’ing.
Totally sweet and nutty.
And my inspiration to make Brown Sugar Cashew Cookies.
- 1 cup brown sugar (packed)
- 1/2 cup butter (softened)
- 1 egg
- 1 tsp vanilla
- 1 1/2 cup all-purpose flour
- 1/2 cup finely ground cashews
- 3/4 tsp baking powder
- 3/4 tsp baking soda
- 1/3 cup sour cream
- 1 1/2 cup cashew halves
- Heat oven to 350 degrees
- Spread cashews on a cookie sheet and lightly brown (about 10-15 minutes)
- In a mixer, combine the brown sugar and butter until creamy
- Add the egg and vanilla and continue to blend in the mixer
- Add the flour, ground cashews, baking powder, baking soda and sour cream and mix on slow speed. When the flour is incorporated, then you can turn the speed up and mix until creamy again
- Stir the cashew halves in by hand
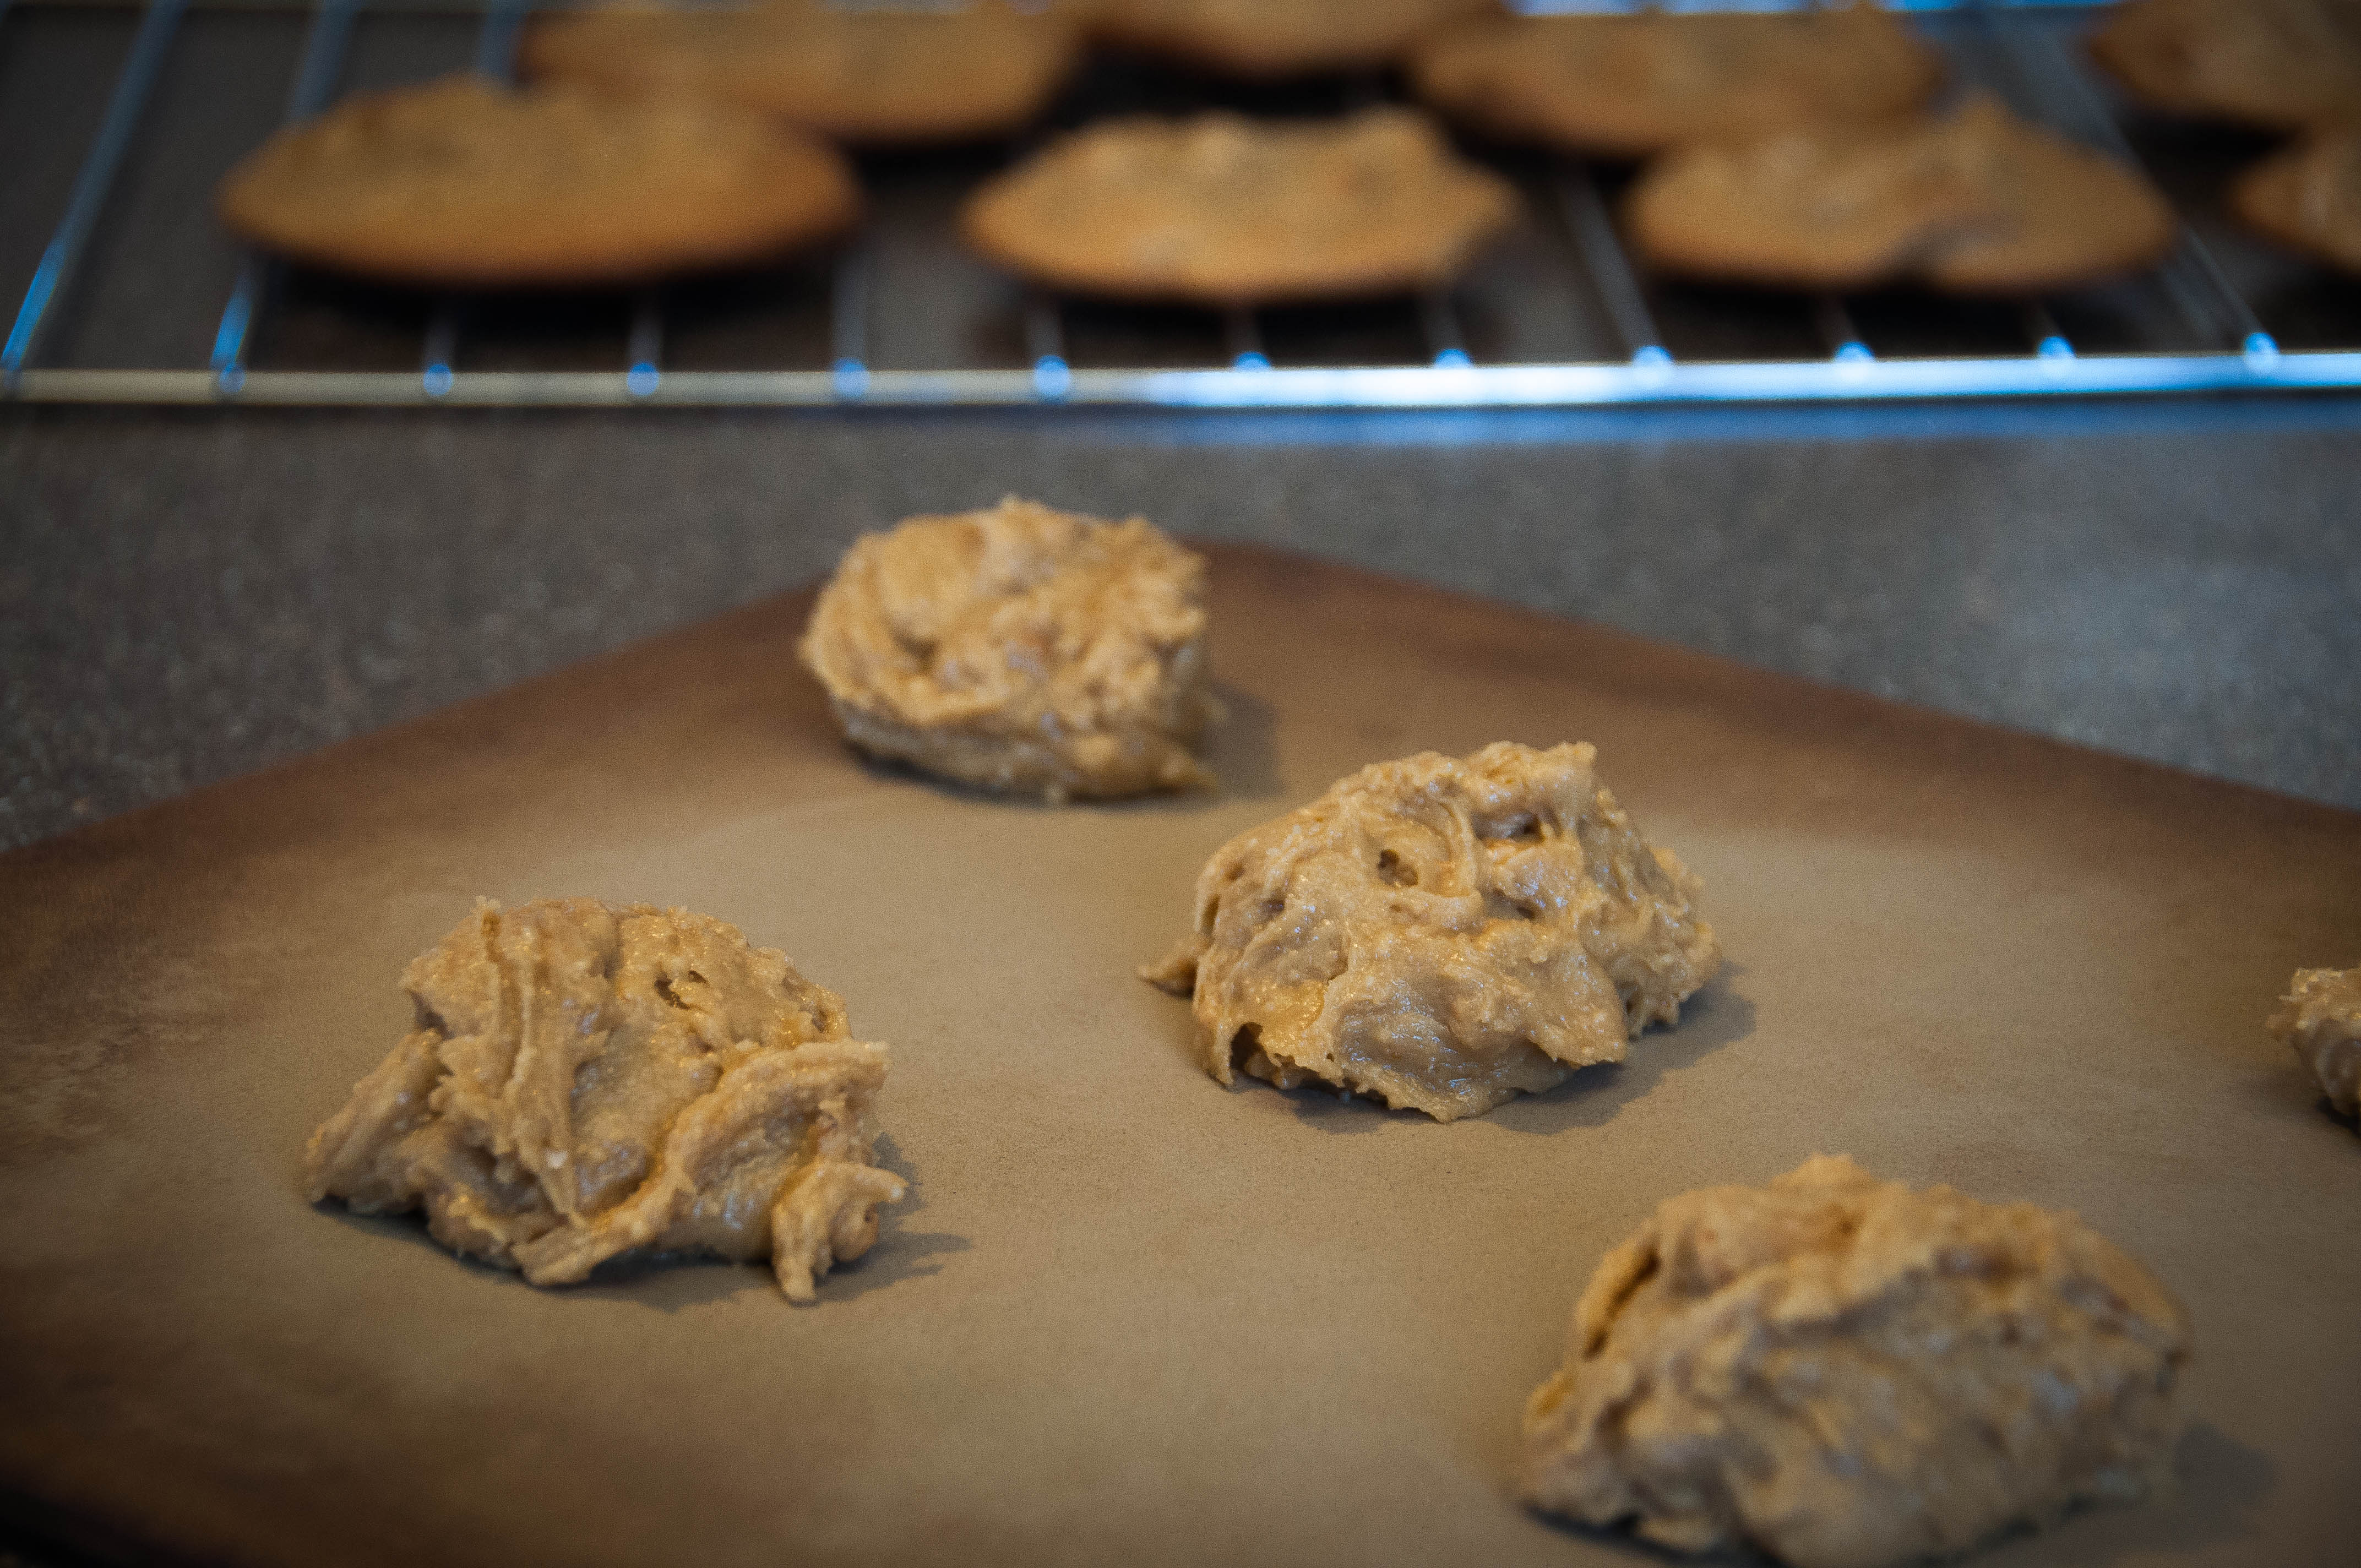
- On an ungreased cookie sheet, drop a heaping tablespoon of dough and space the dough drops a couple inches apart
- Cook for 10-12 minutes
- Cool completely
Rocky Mountain Brown Sugar
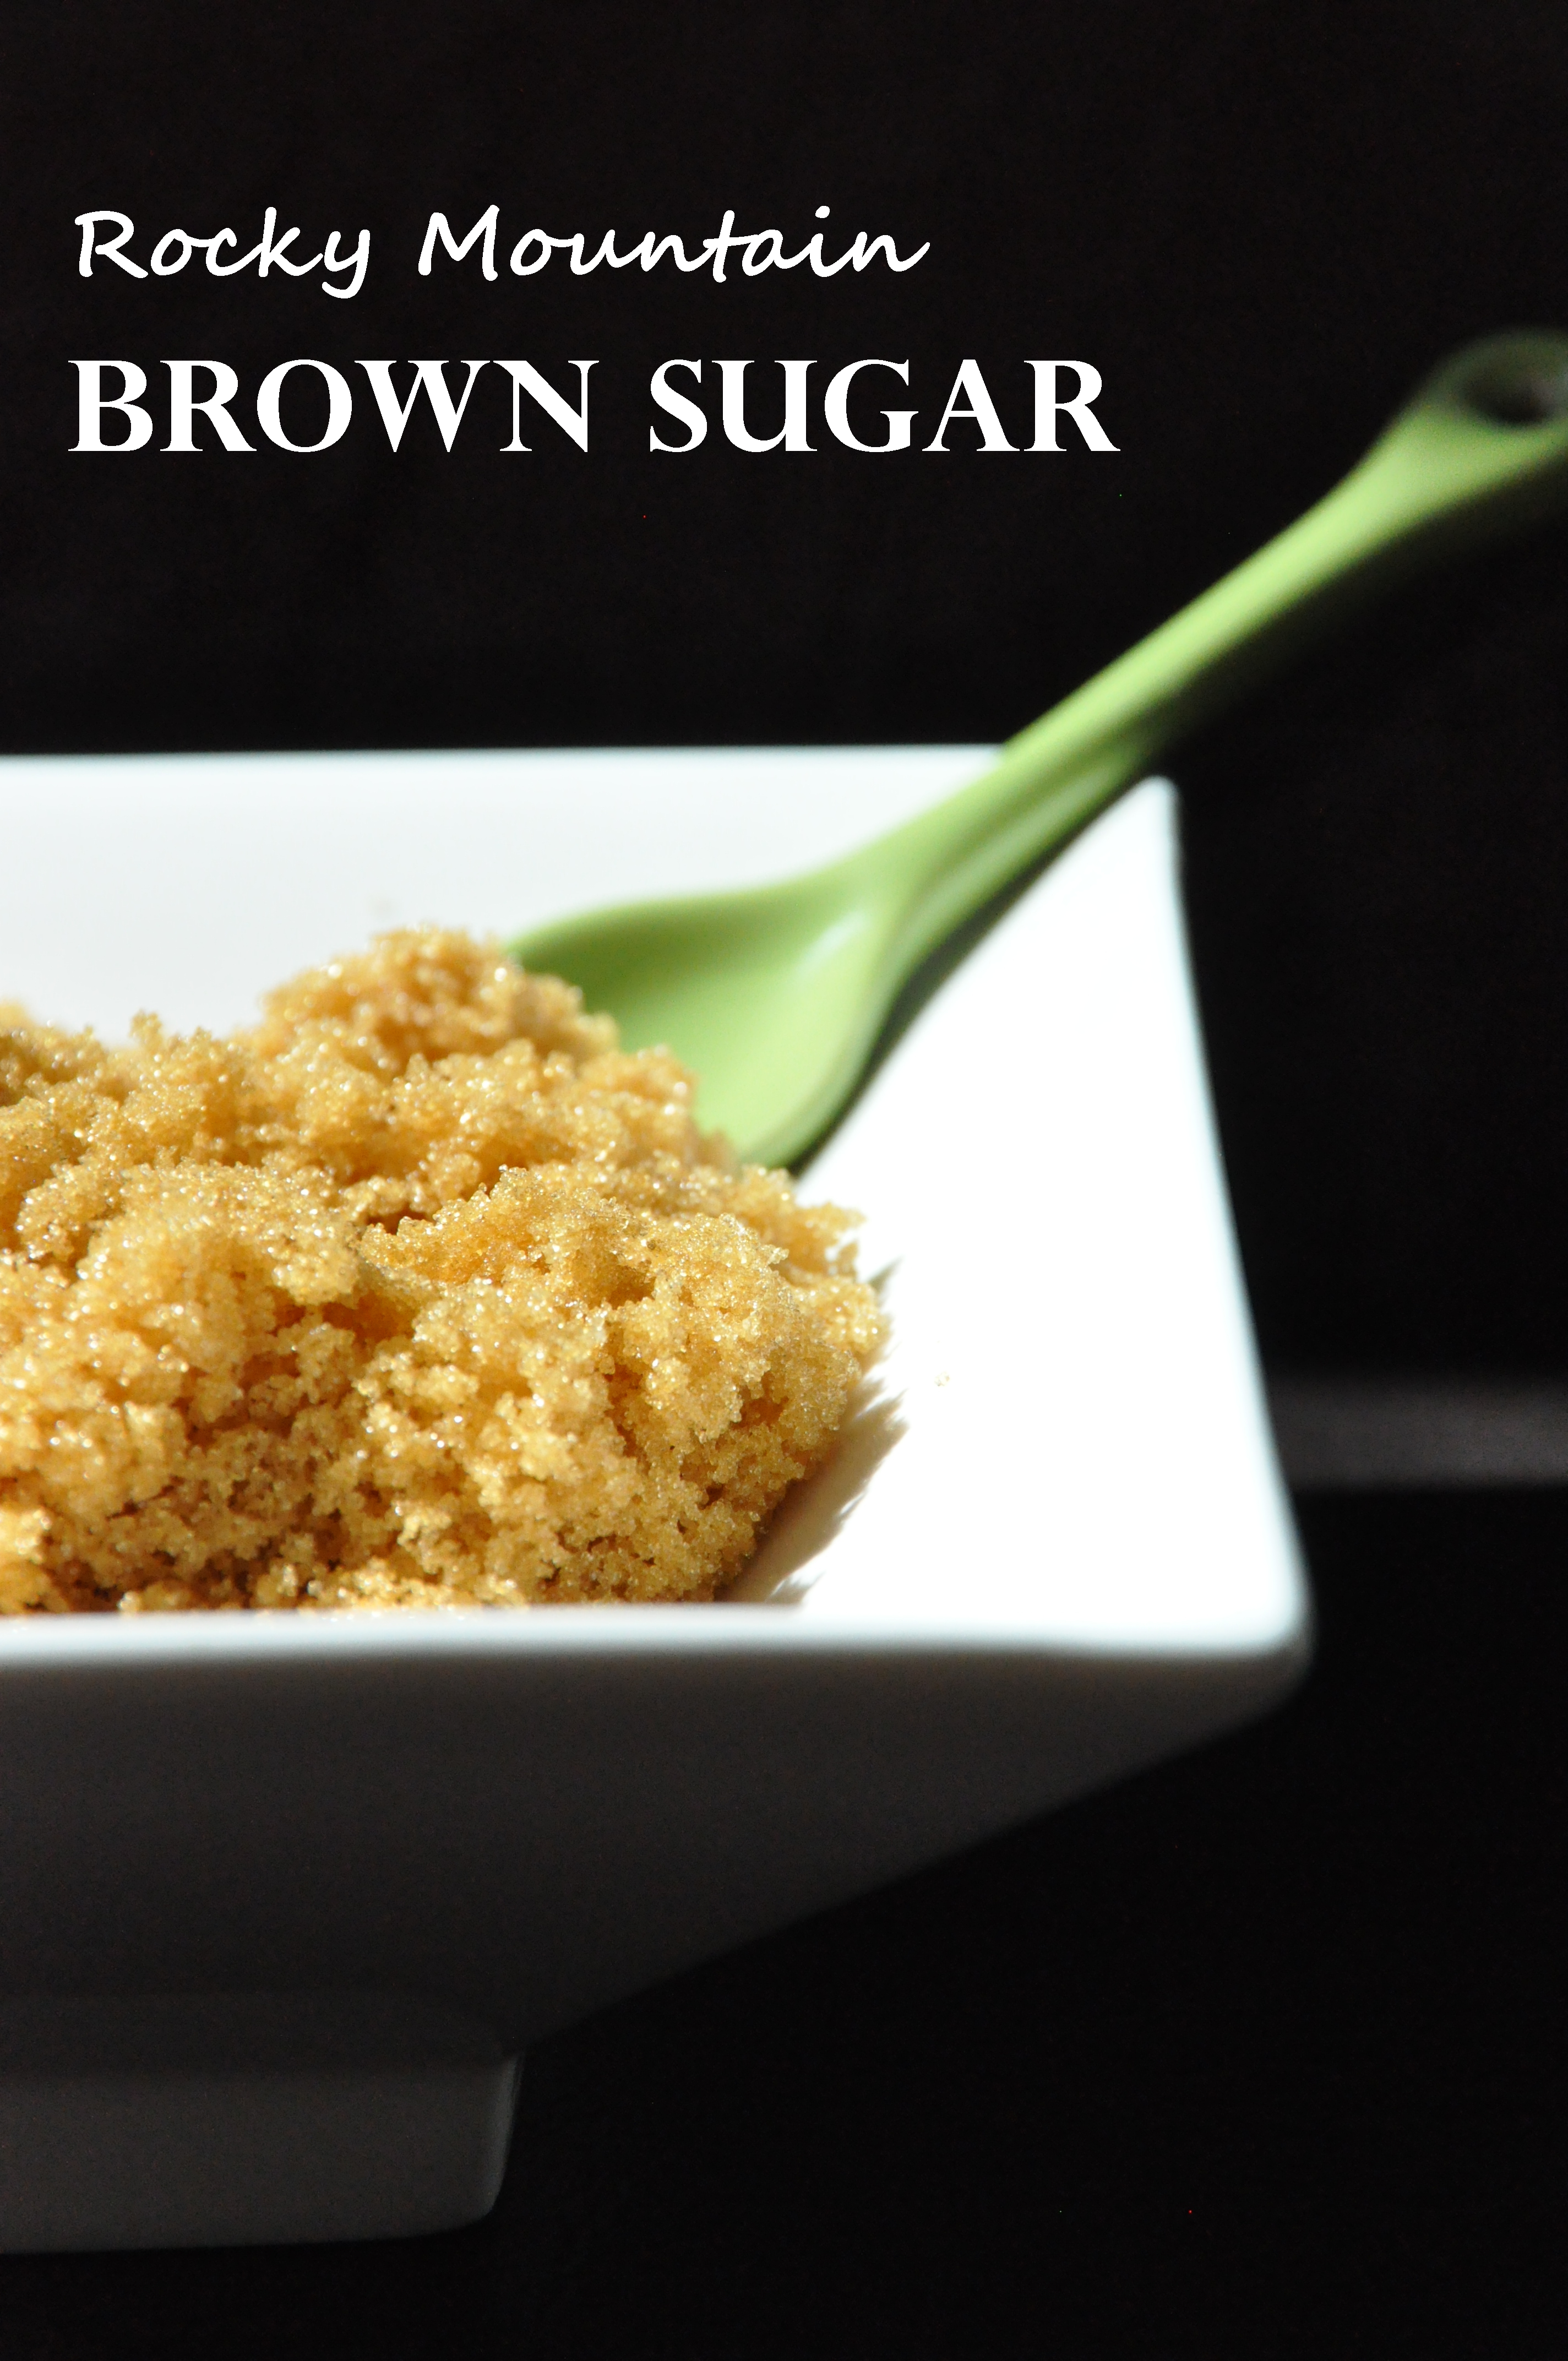
In keeping with the theme of “recipes for an arid climate”…. I introduce to you “Rocky Mountain Brown Sugar!” Ok, so there’s really ‘no such thing’ as Rocky Mountain Brown Sugar… but, if you’ve lived in a humid-free zone you may know the “I’m big time bummed” feeling of reaching into your pantry to grab the brown sugar (when making your favorite chocolate chip cookie recipe) only to find a brown sugar BRICK. Something had to be done.
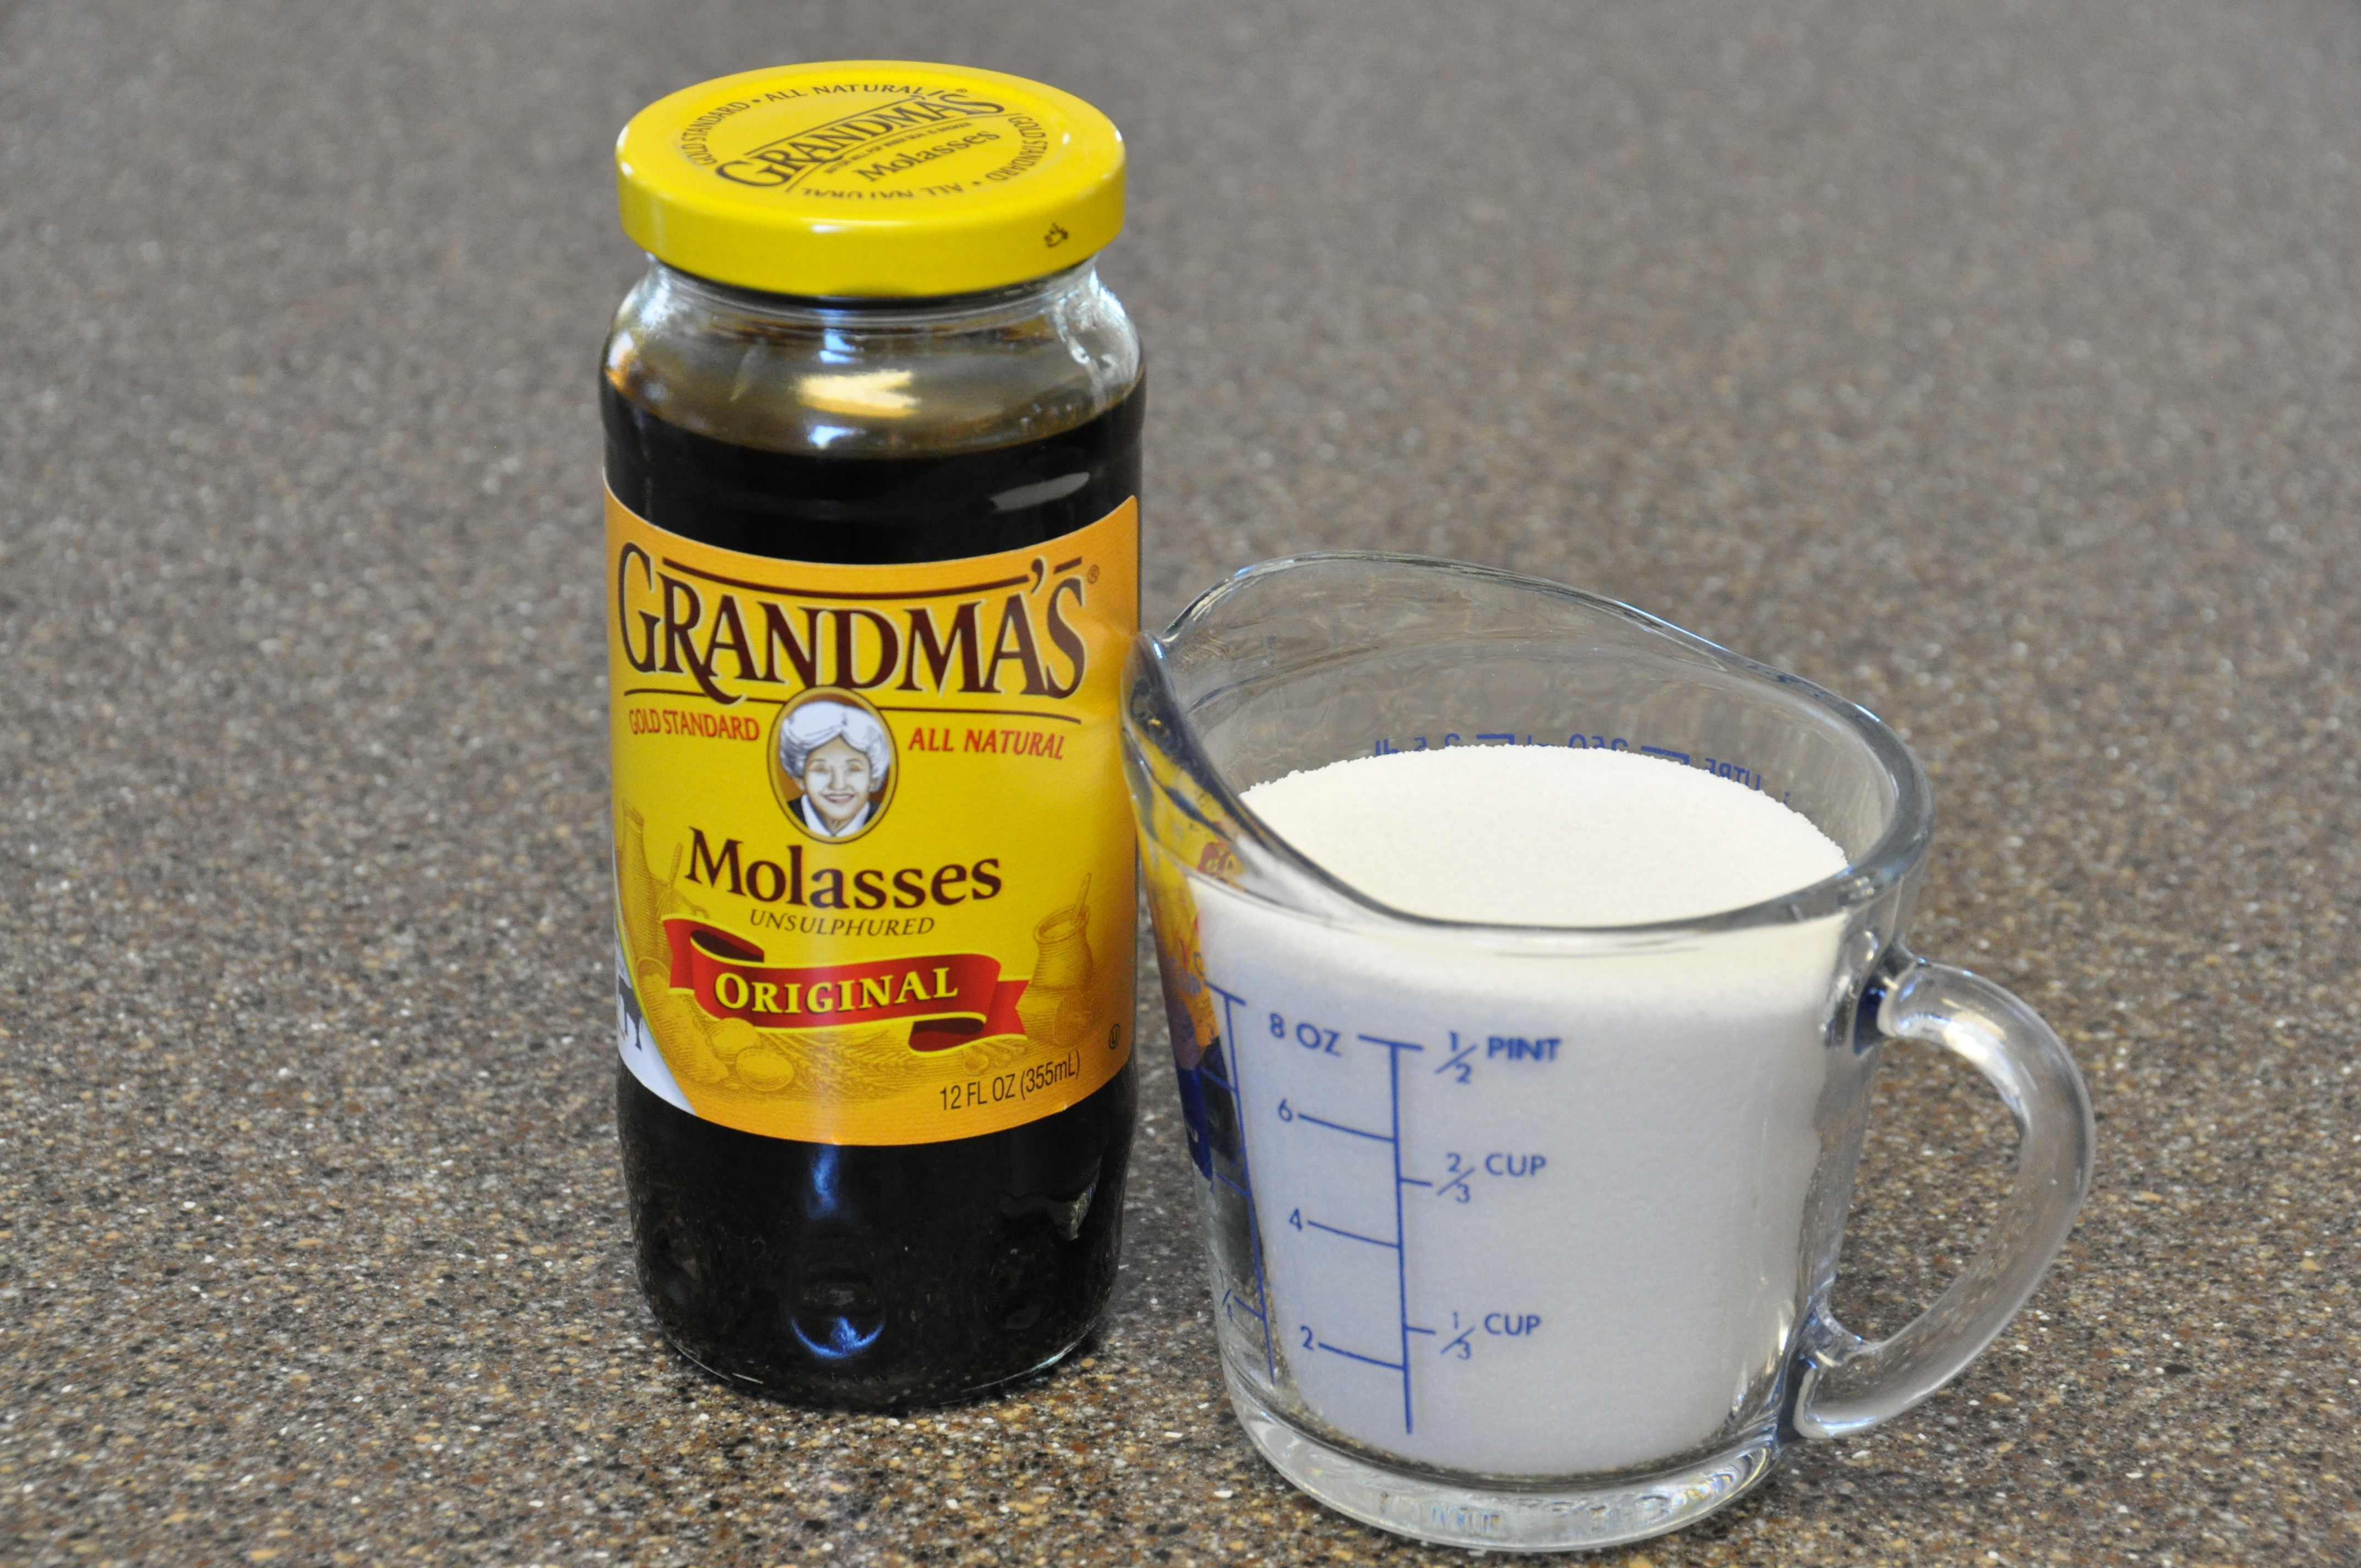
It’s real easy to make your own brown sugar! Sugar + molasses = brown sugar. Ta da! Two tablespoons of molasses will give you a perfect medium brown sugar. If you want dark brown sugar… easy… just add another 1-2 tablespoons of molasses!
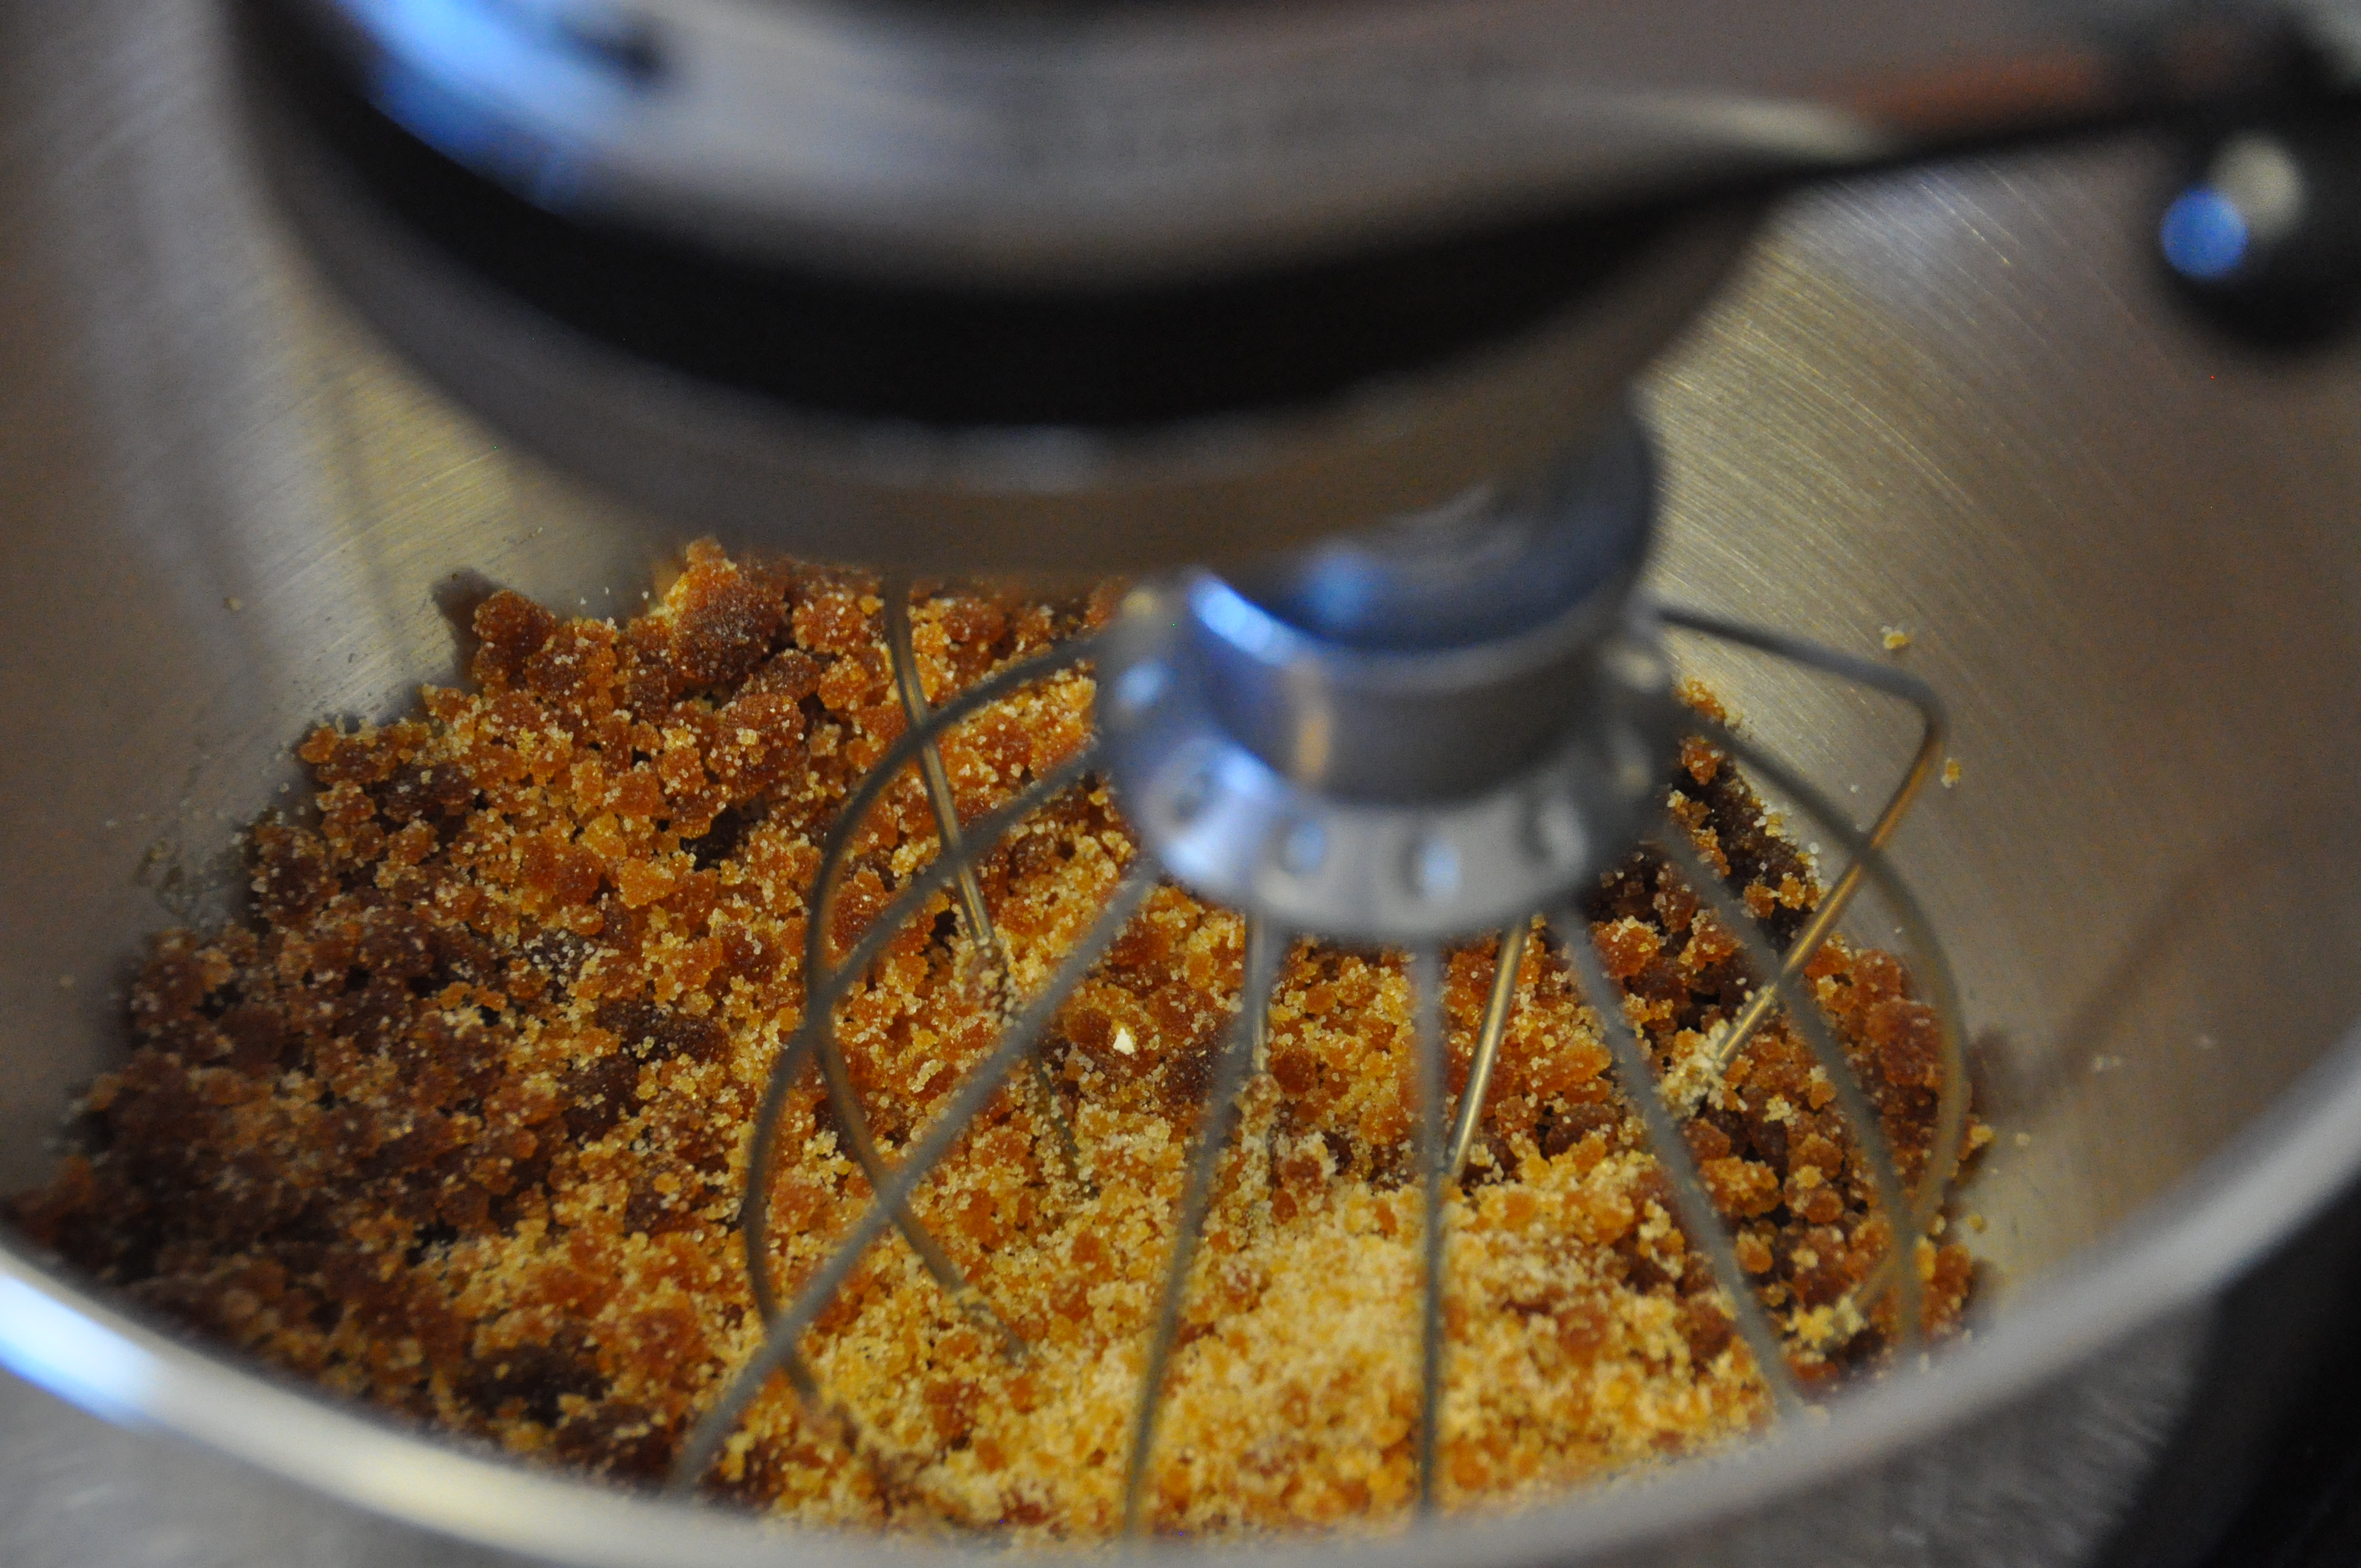
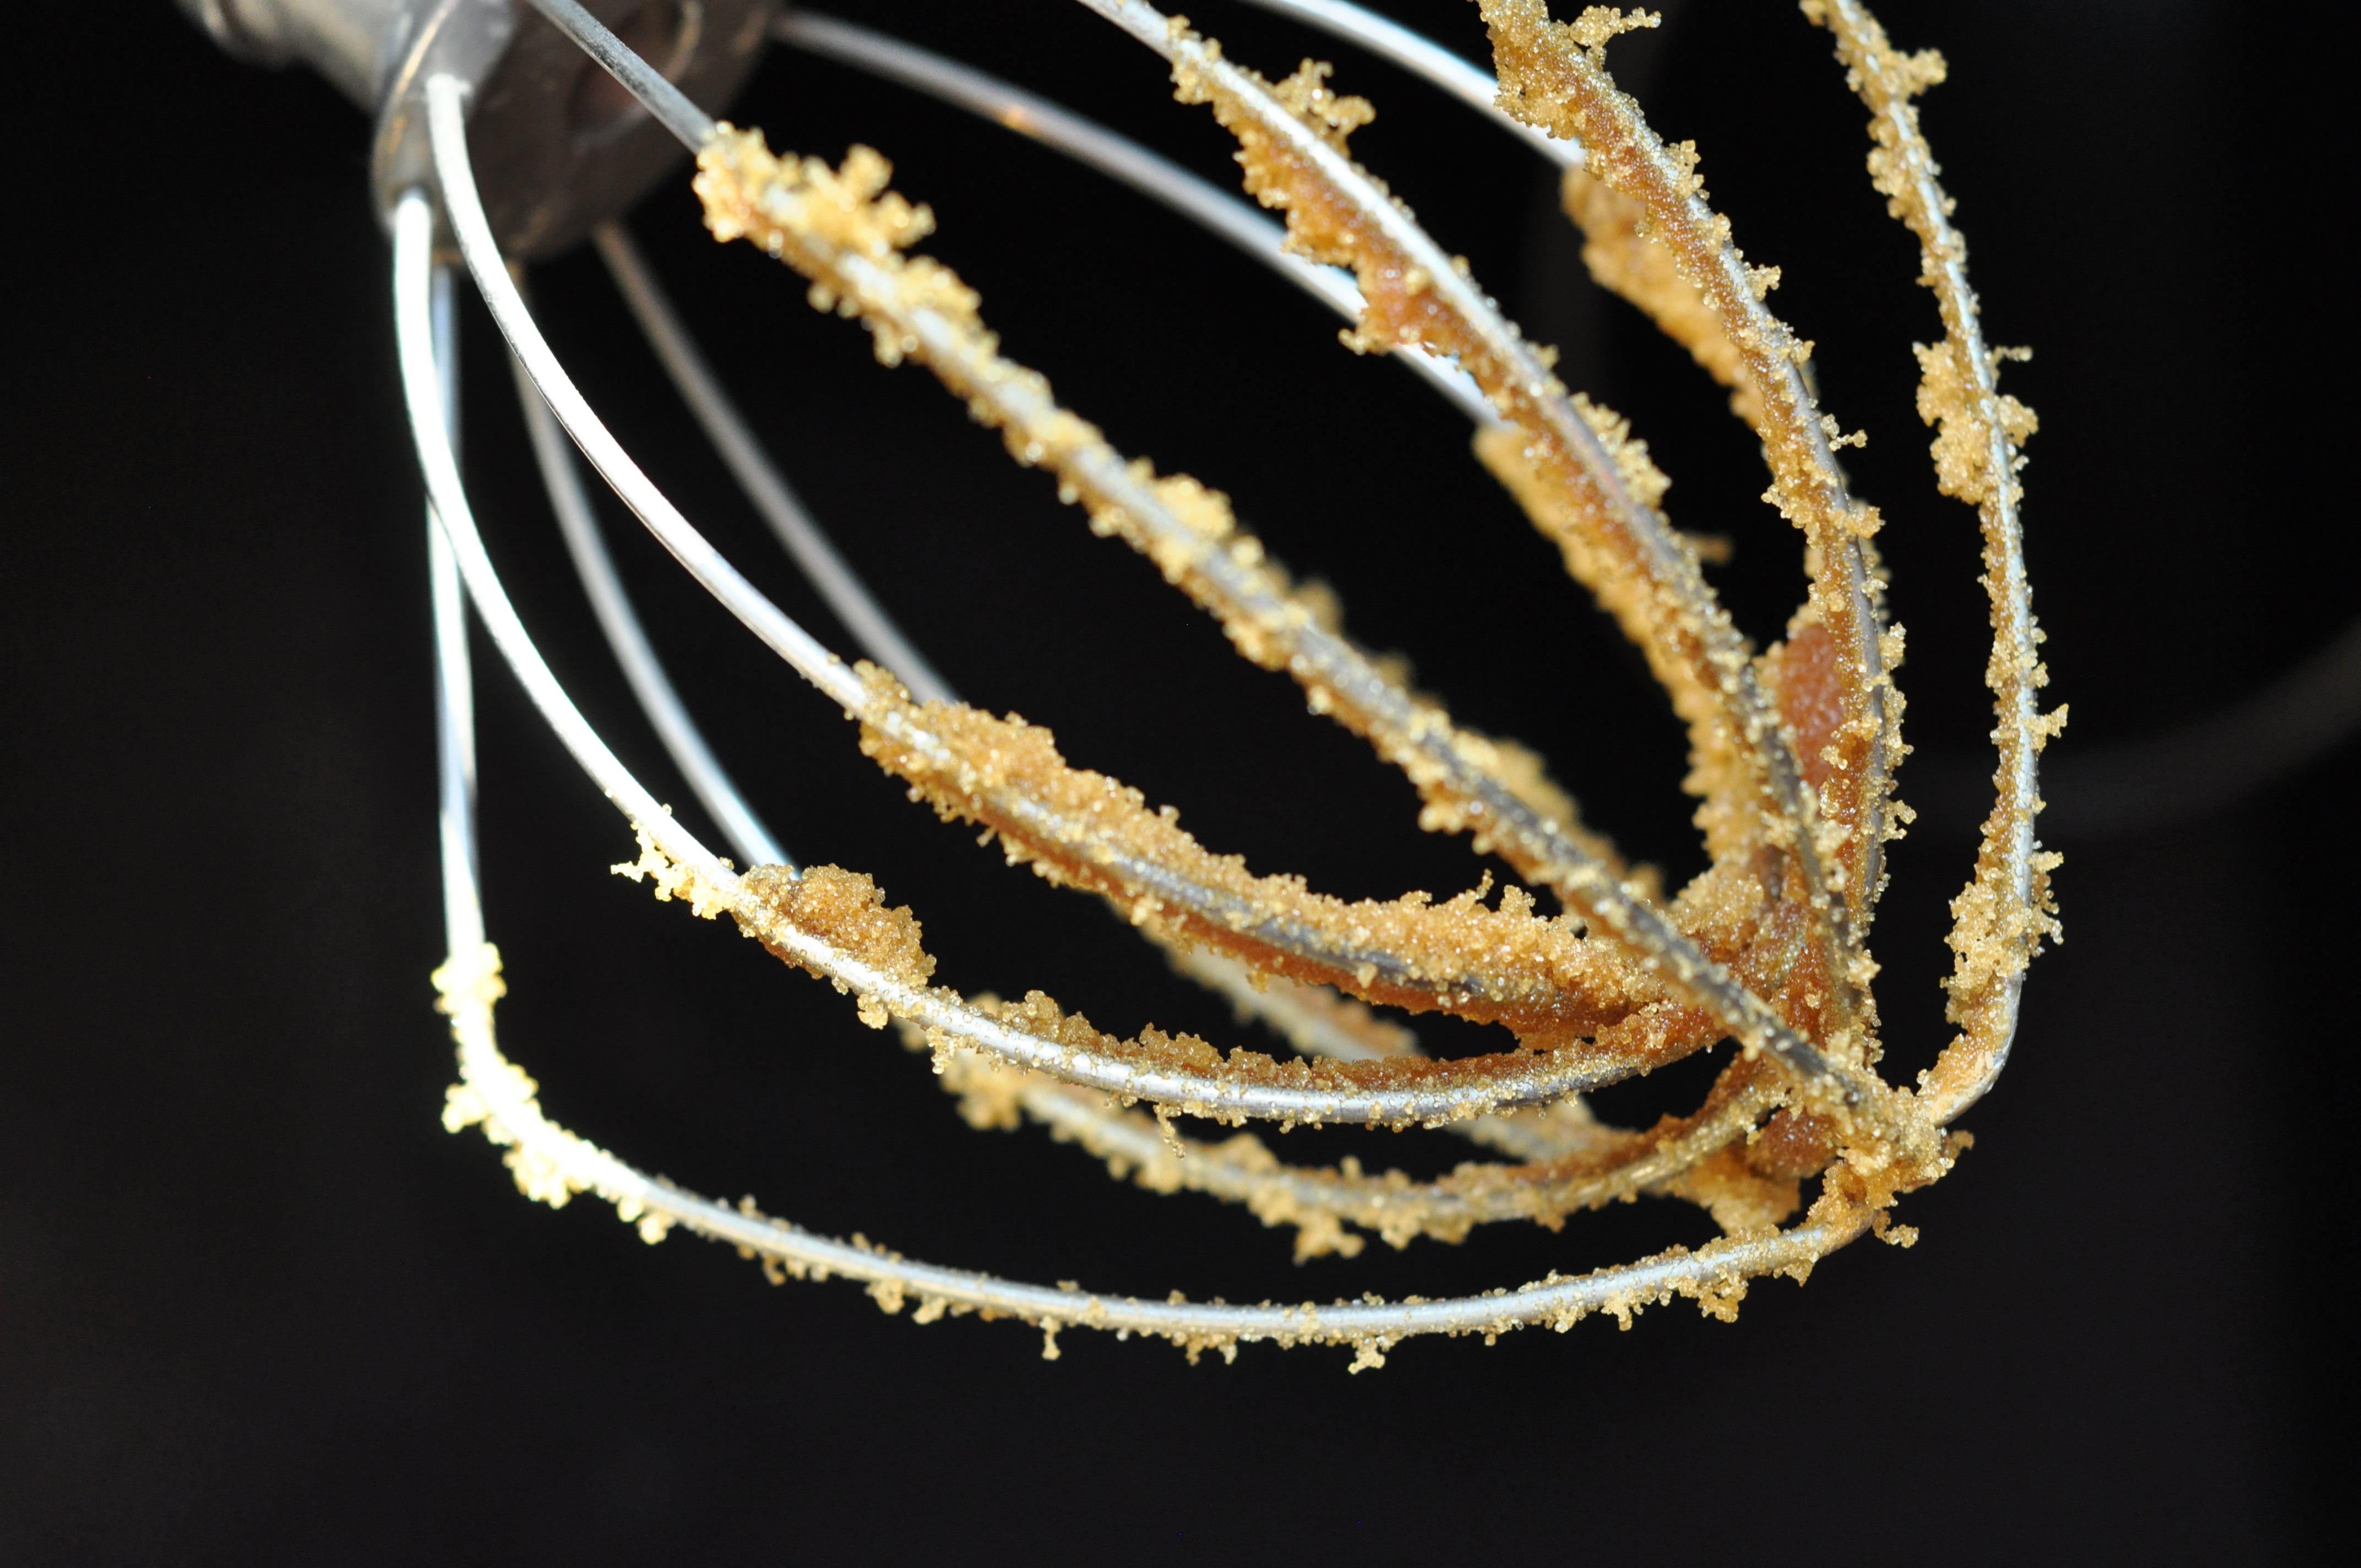
I was wondering how I was going to evenly distribute the molasses. Was I supposed to mix it with a fork? a whisk? with my most prized possession….
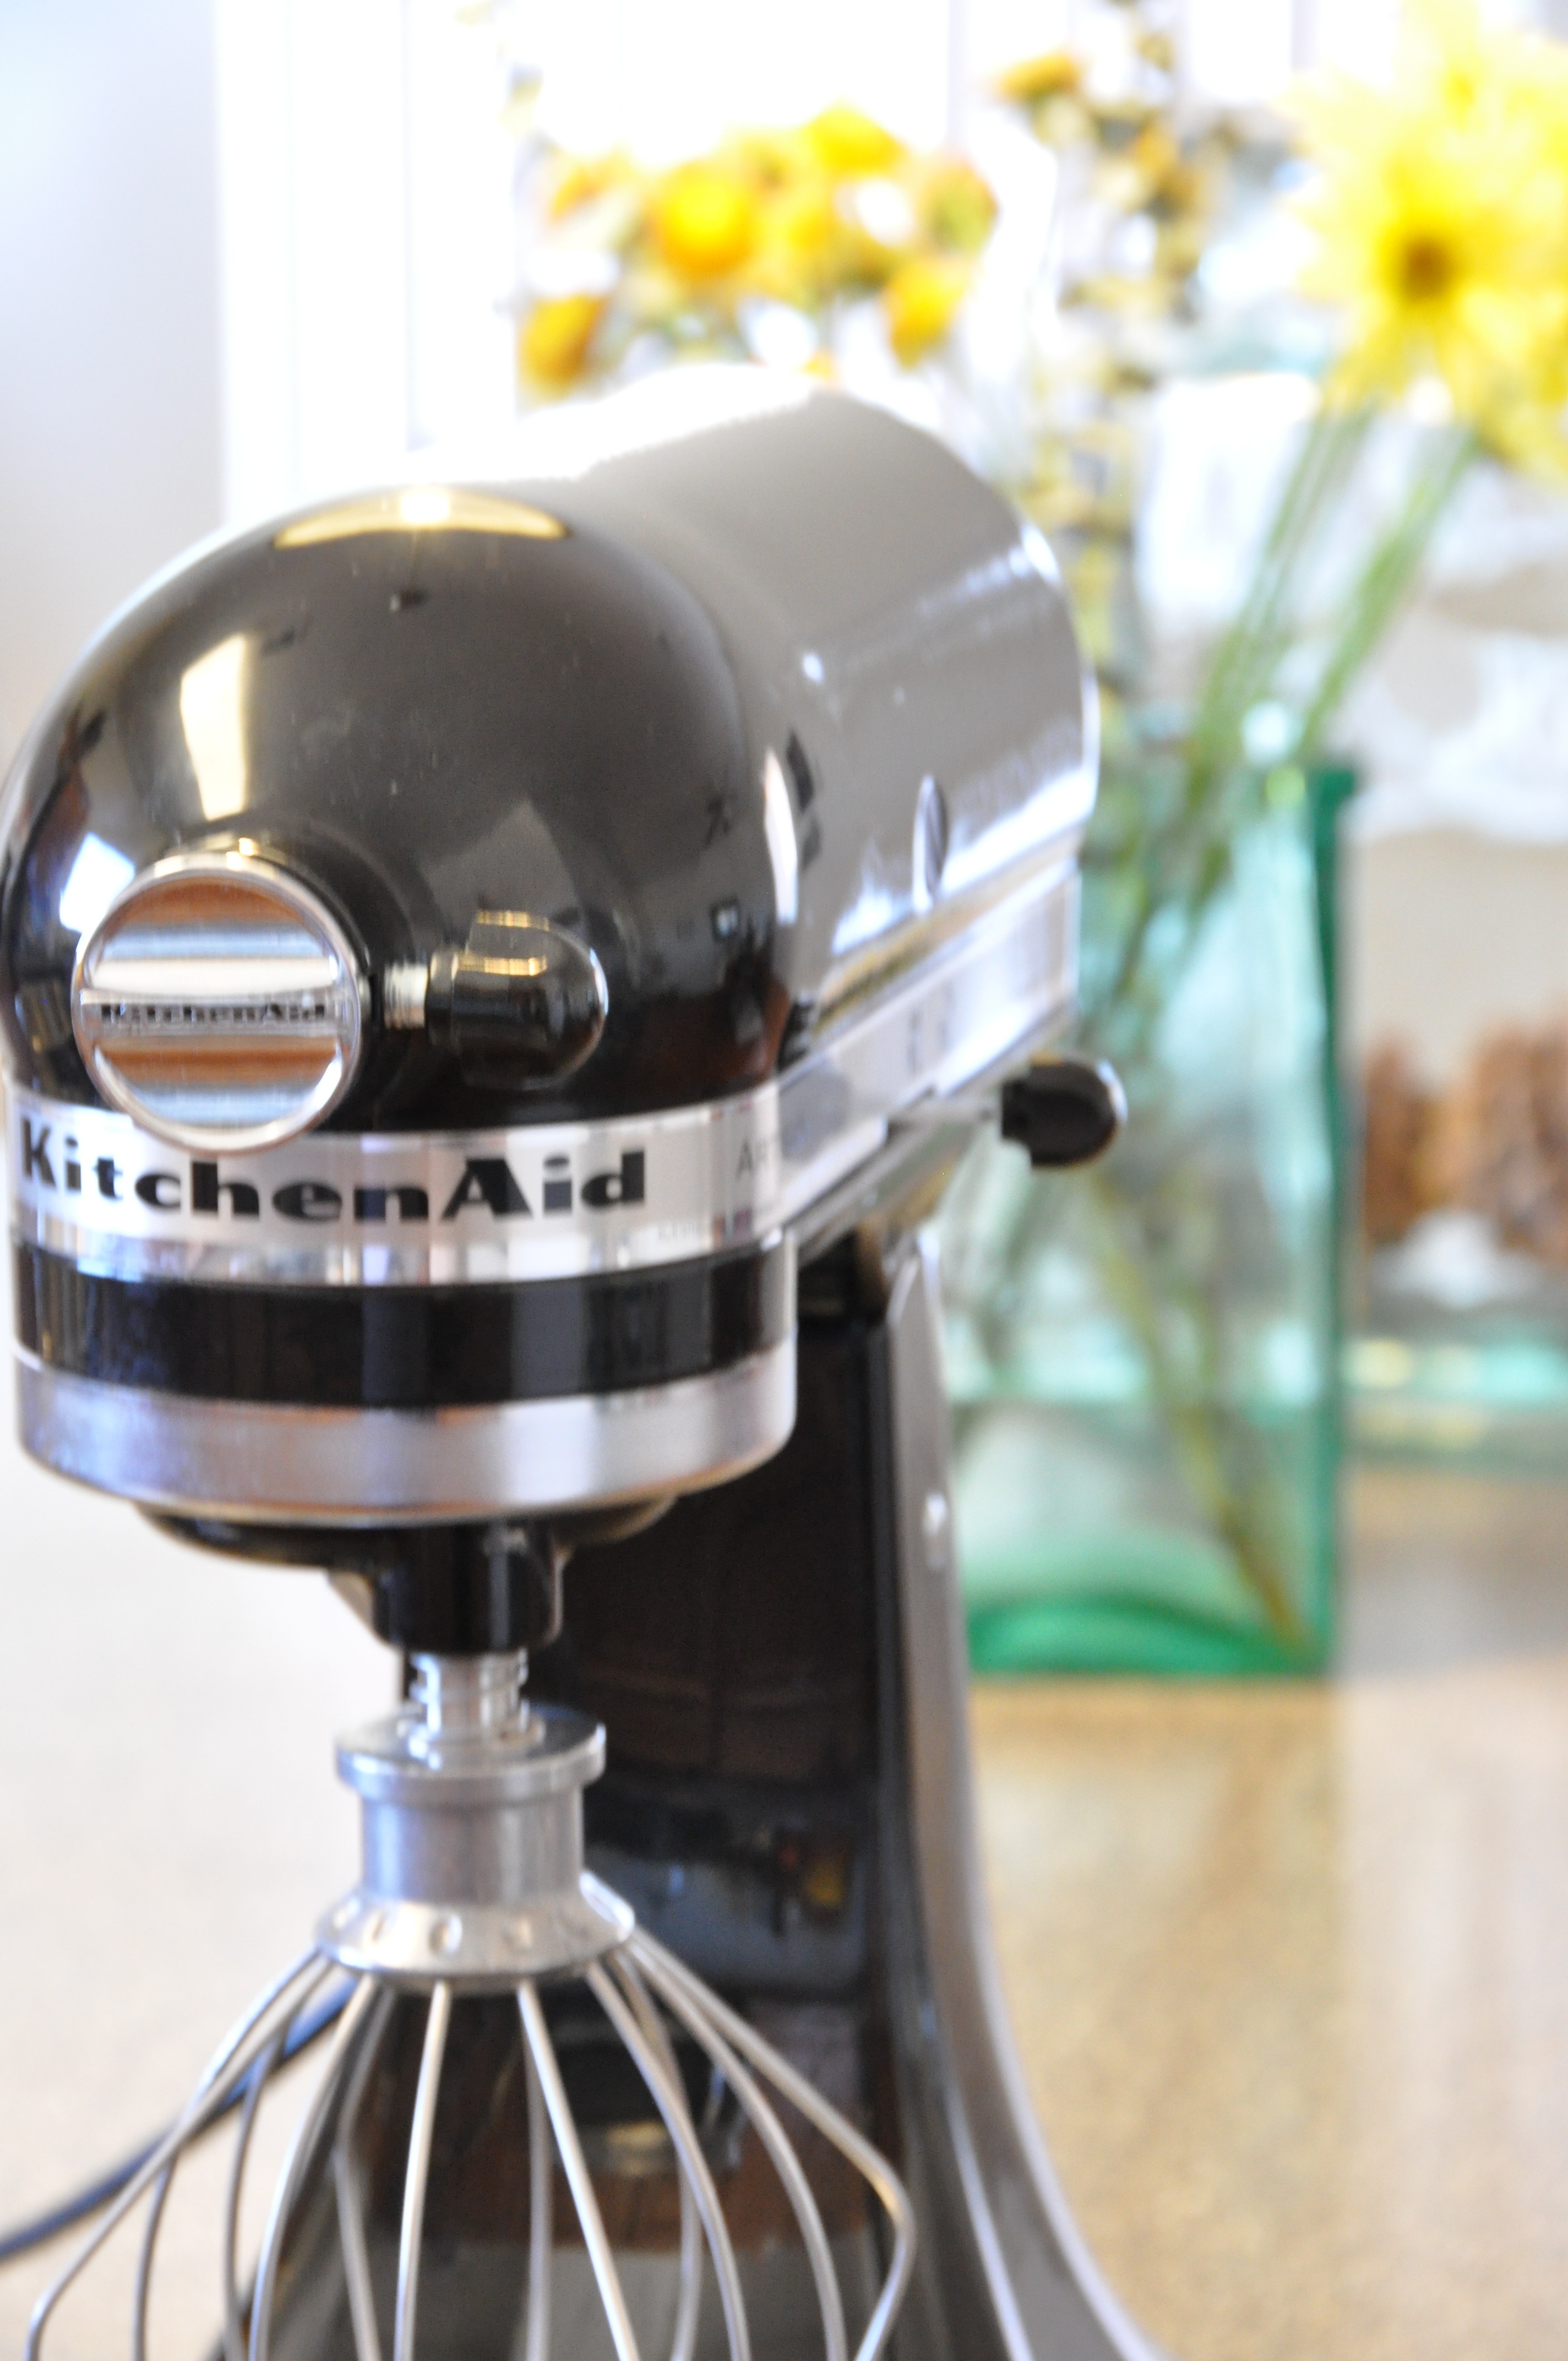
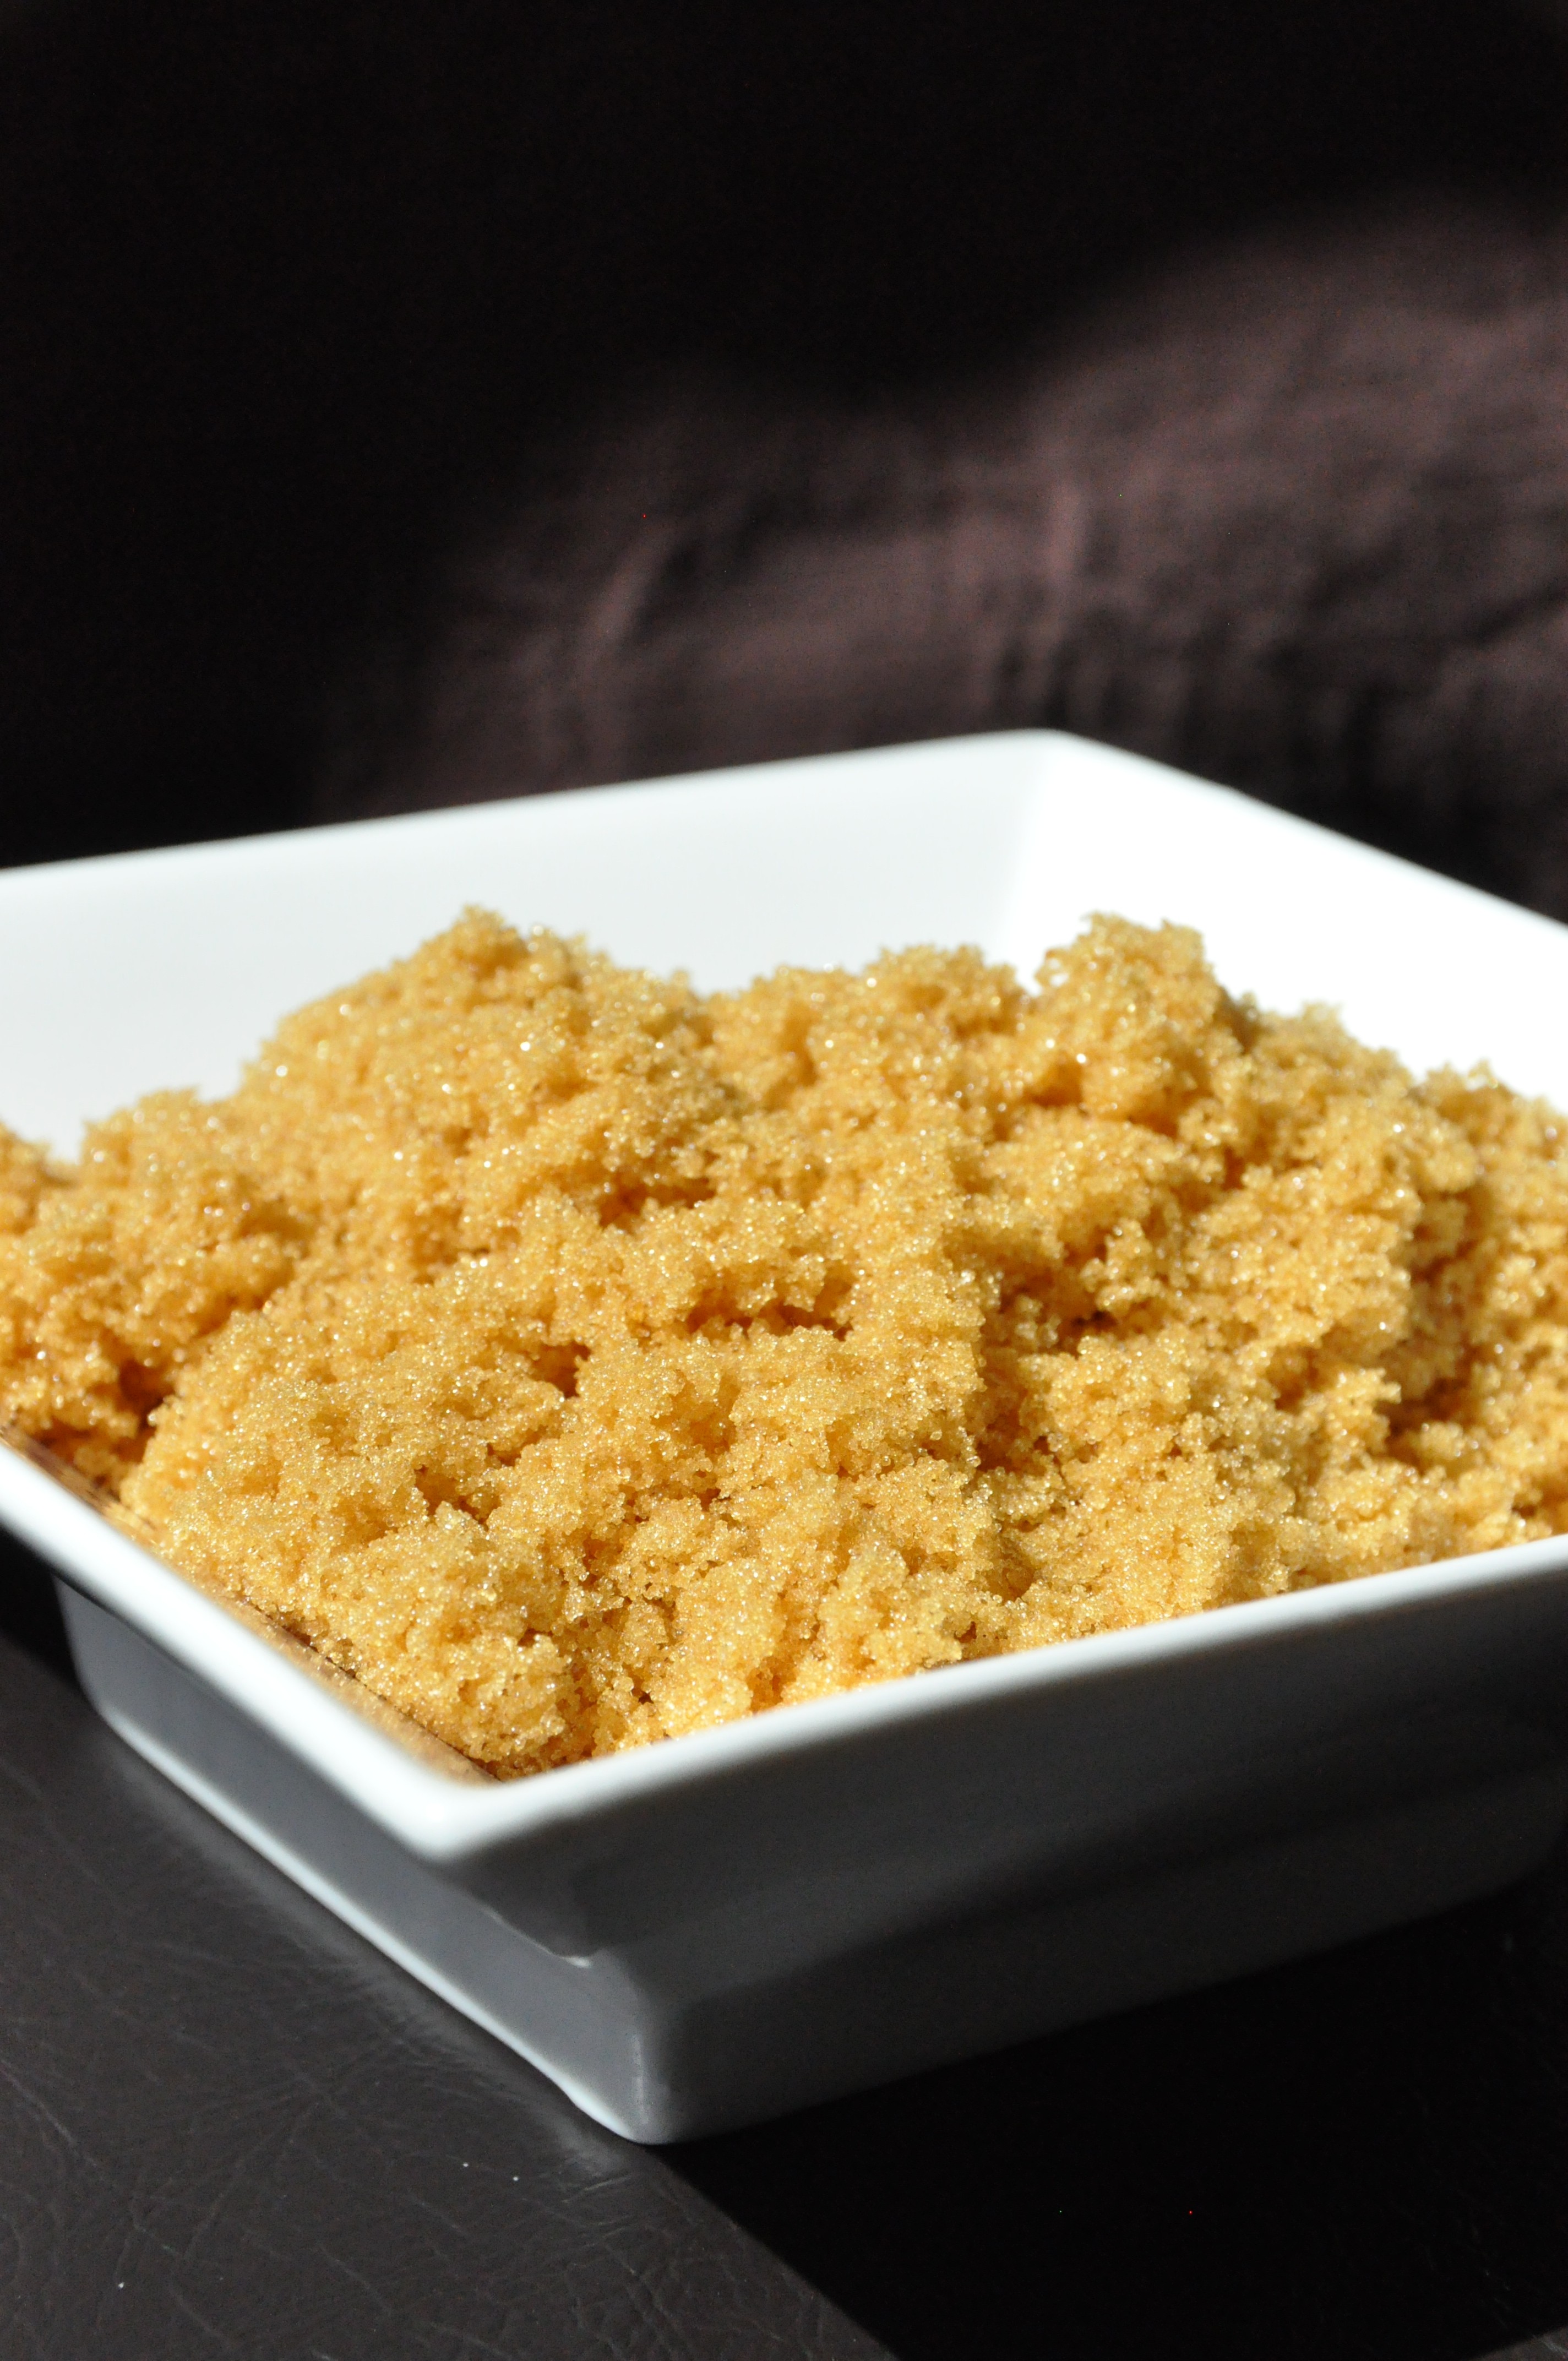
So, the KitchenAid was the perfect tool for whipping the molasses and sugar into this light, fluffy mixture. You do have to give it a good run in the mixer though…
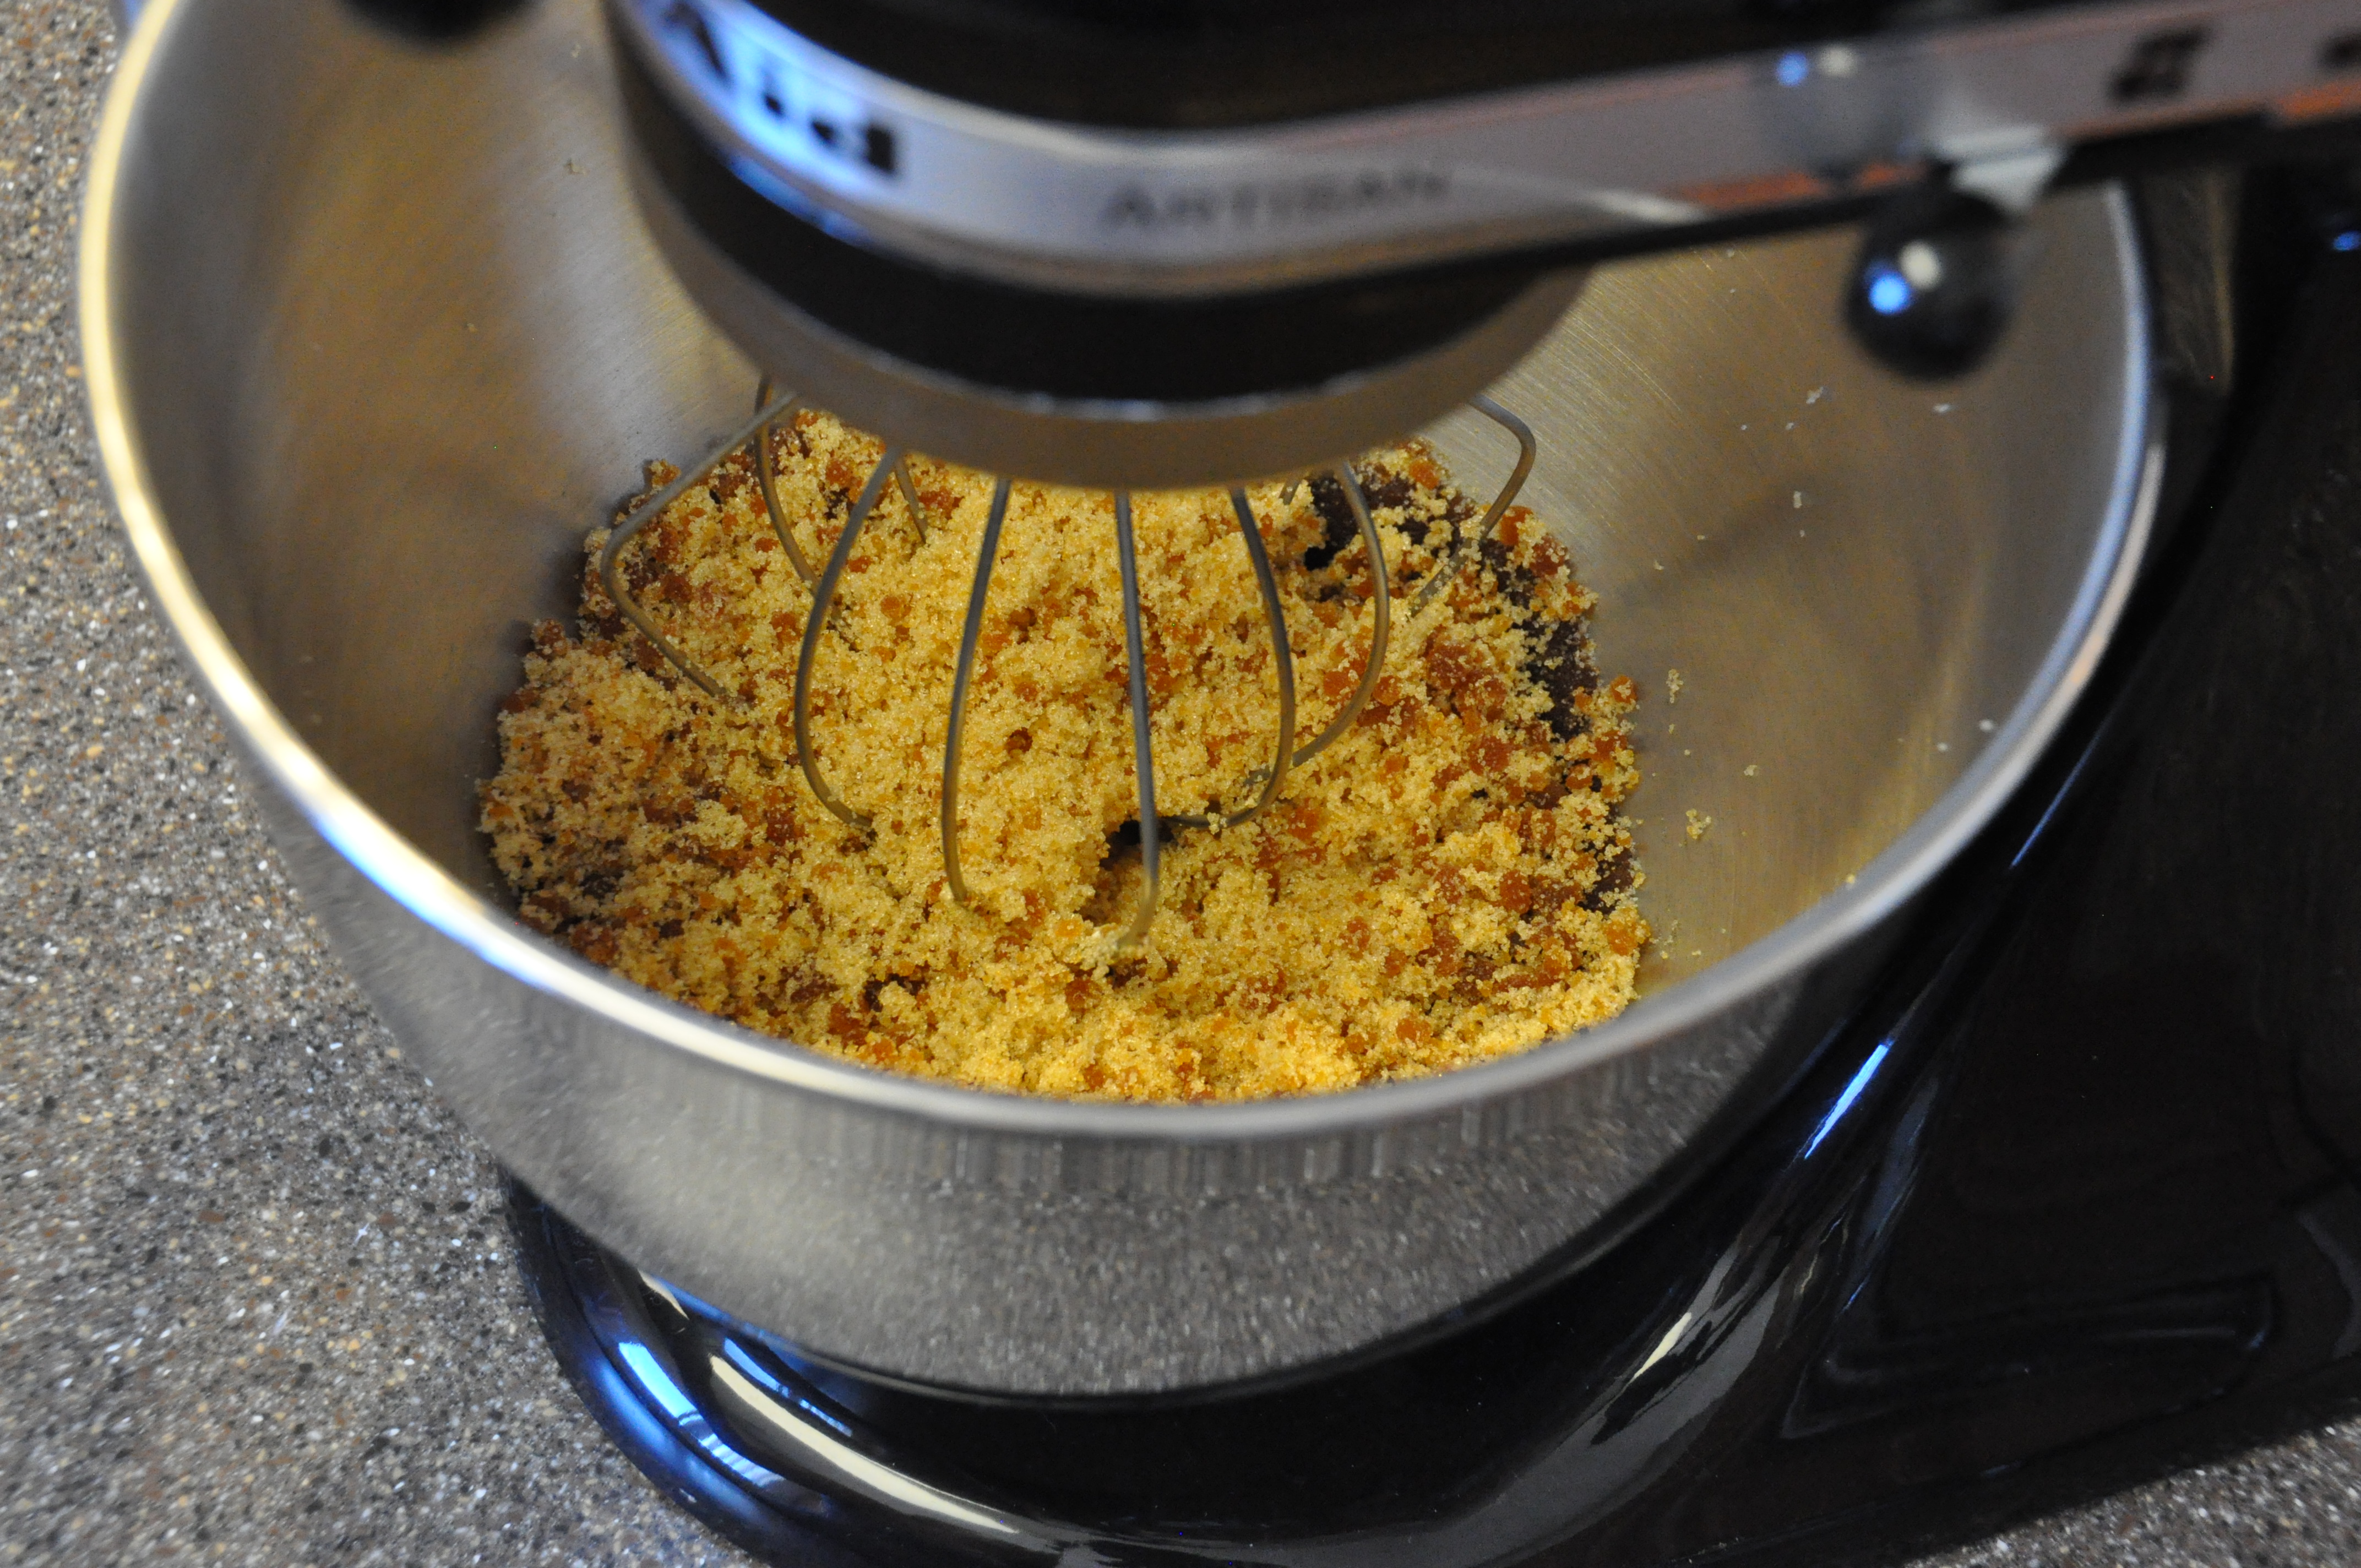
When you first start to mix the sugar and molasses, it will get a little clumpy. No fear!
Your sugar and molasses will continue to blend together, just keeeeep mixing….. persevere
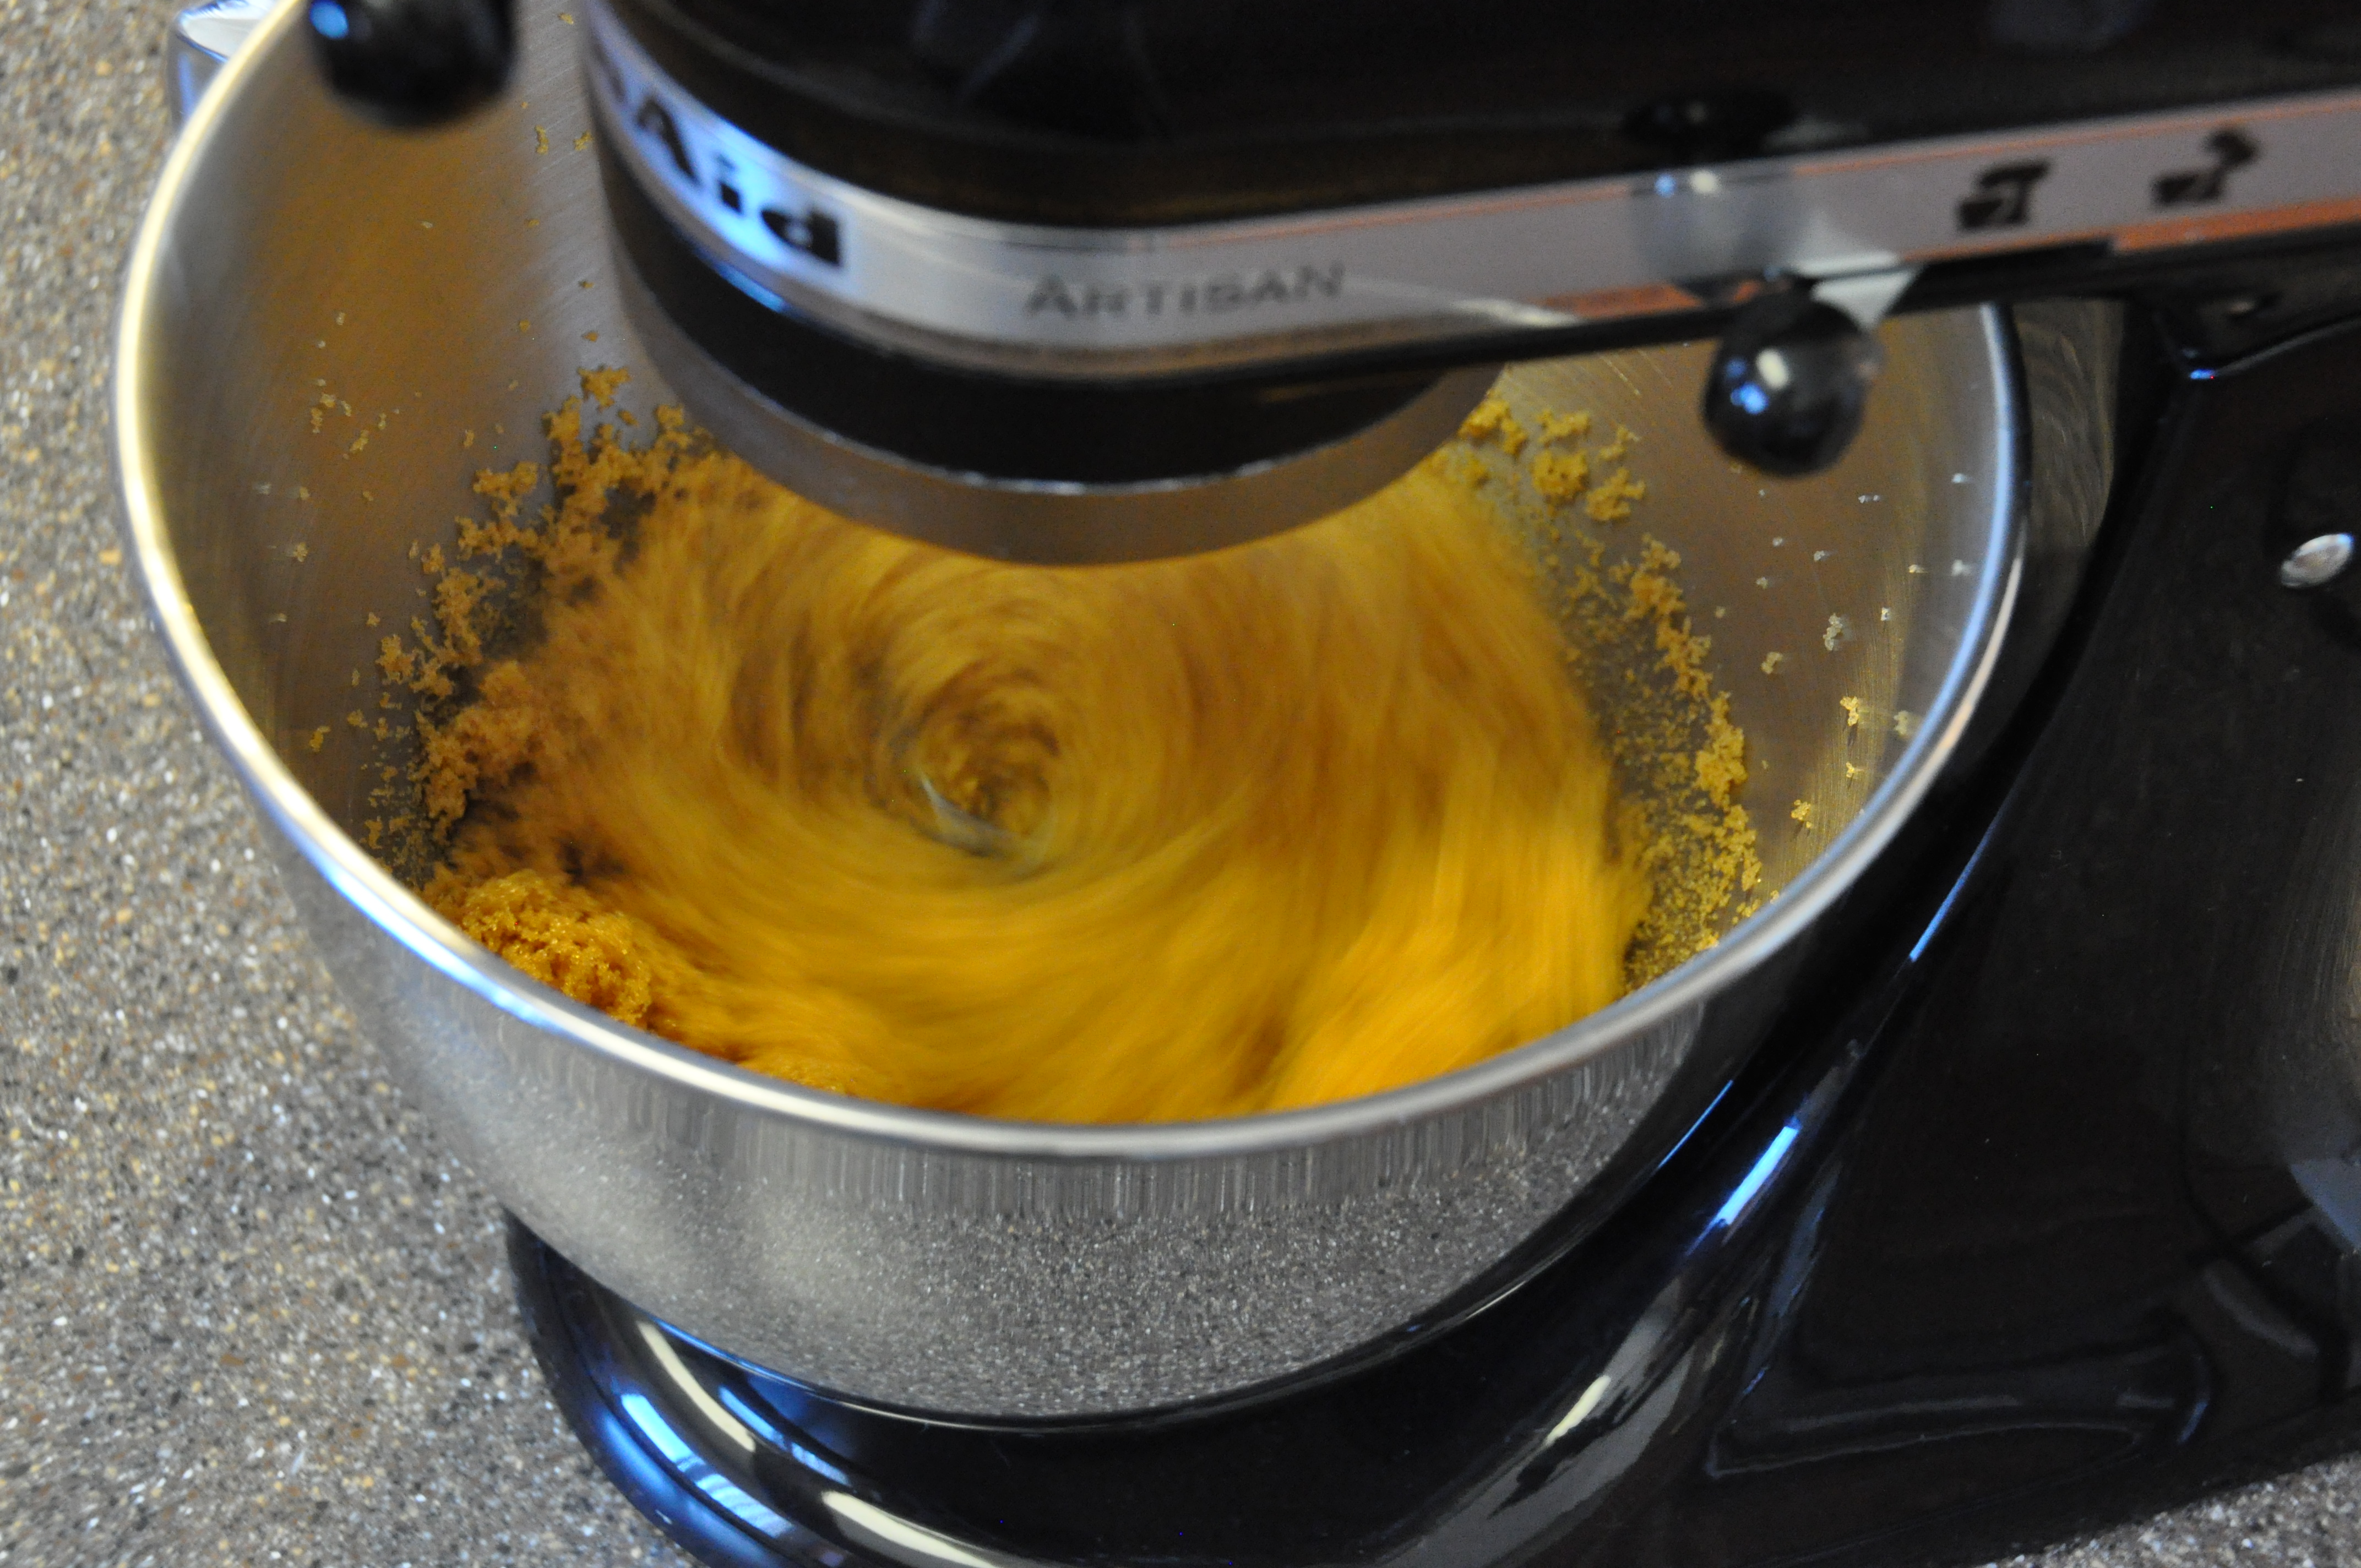
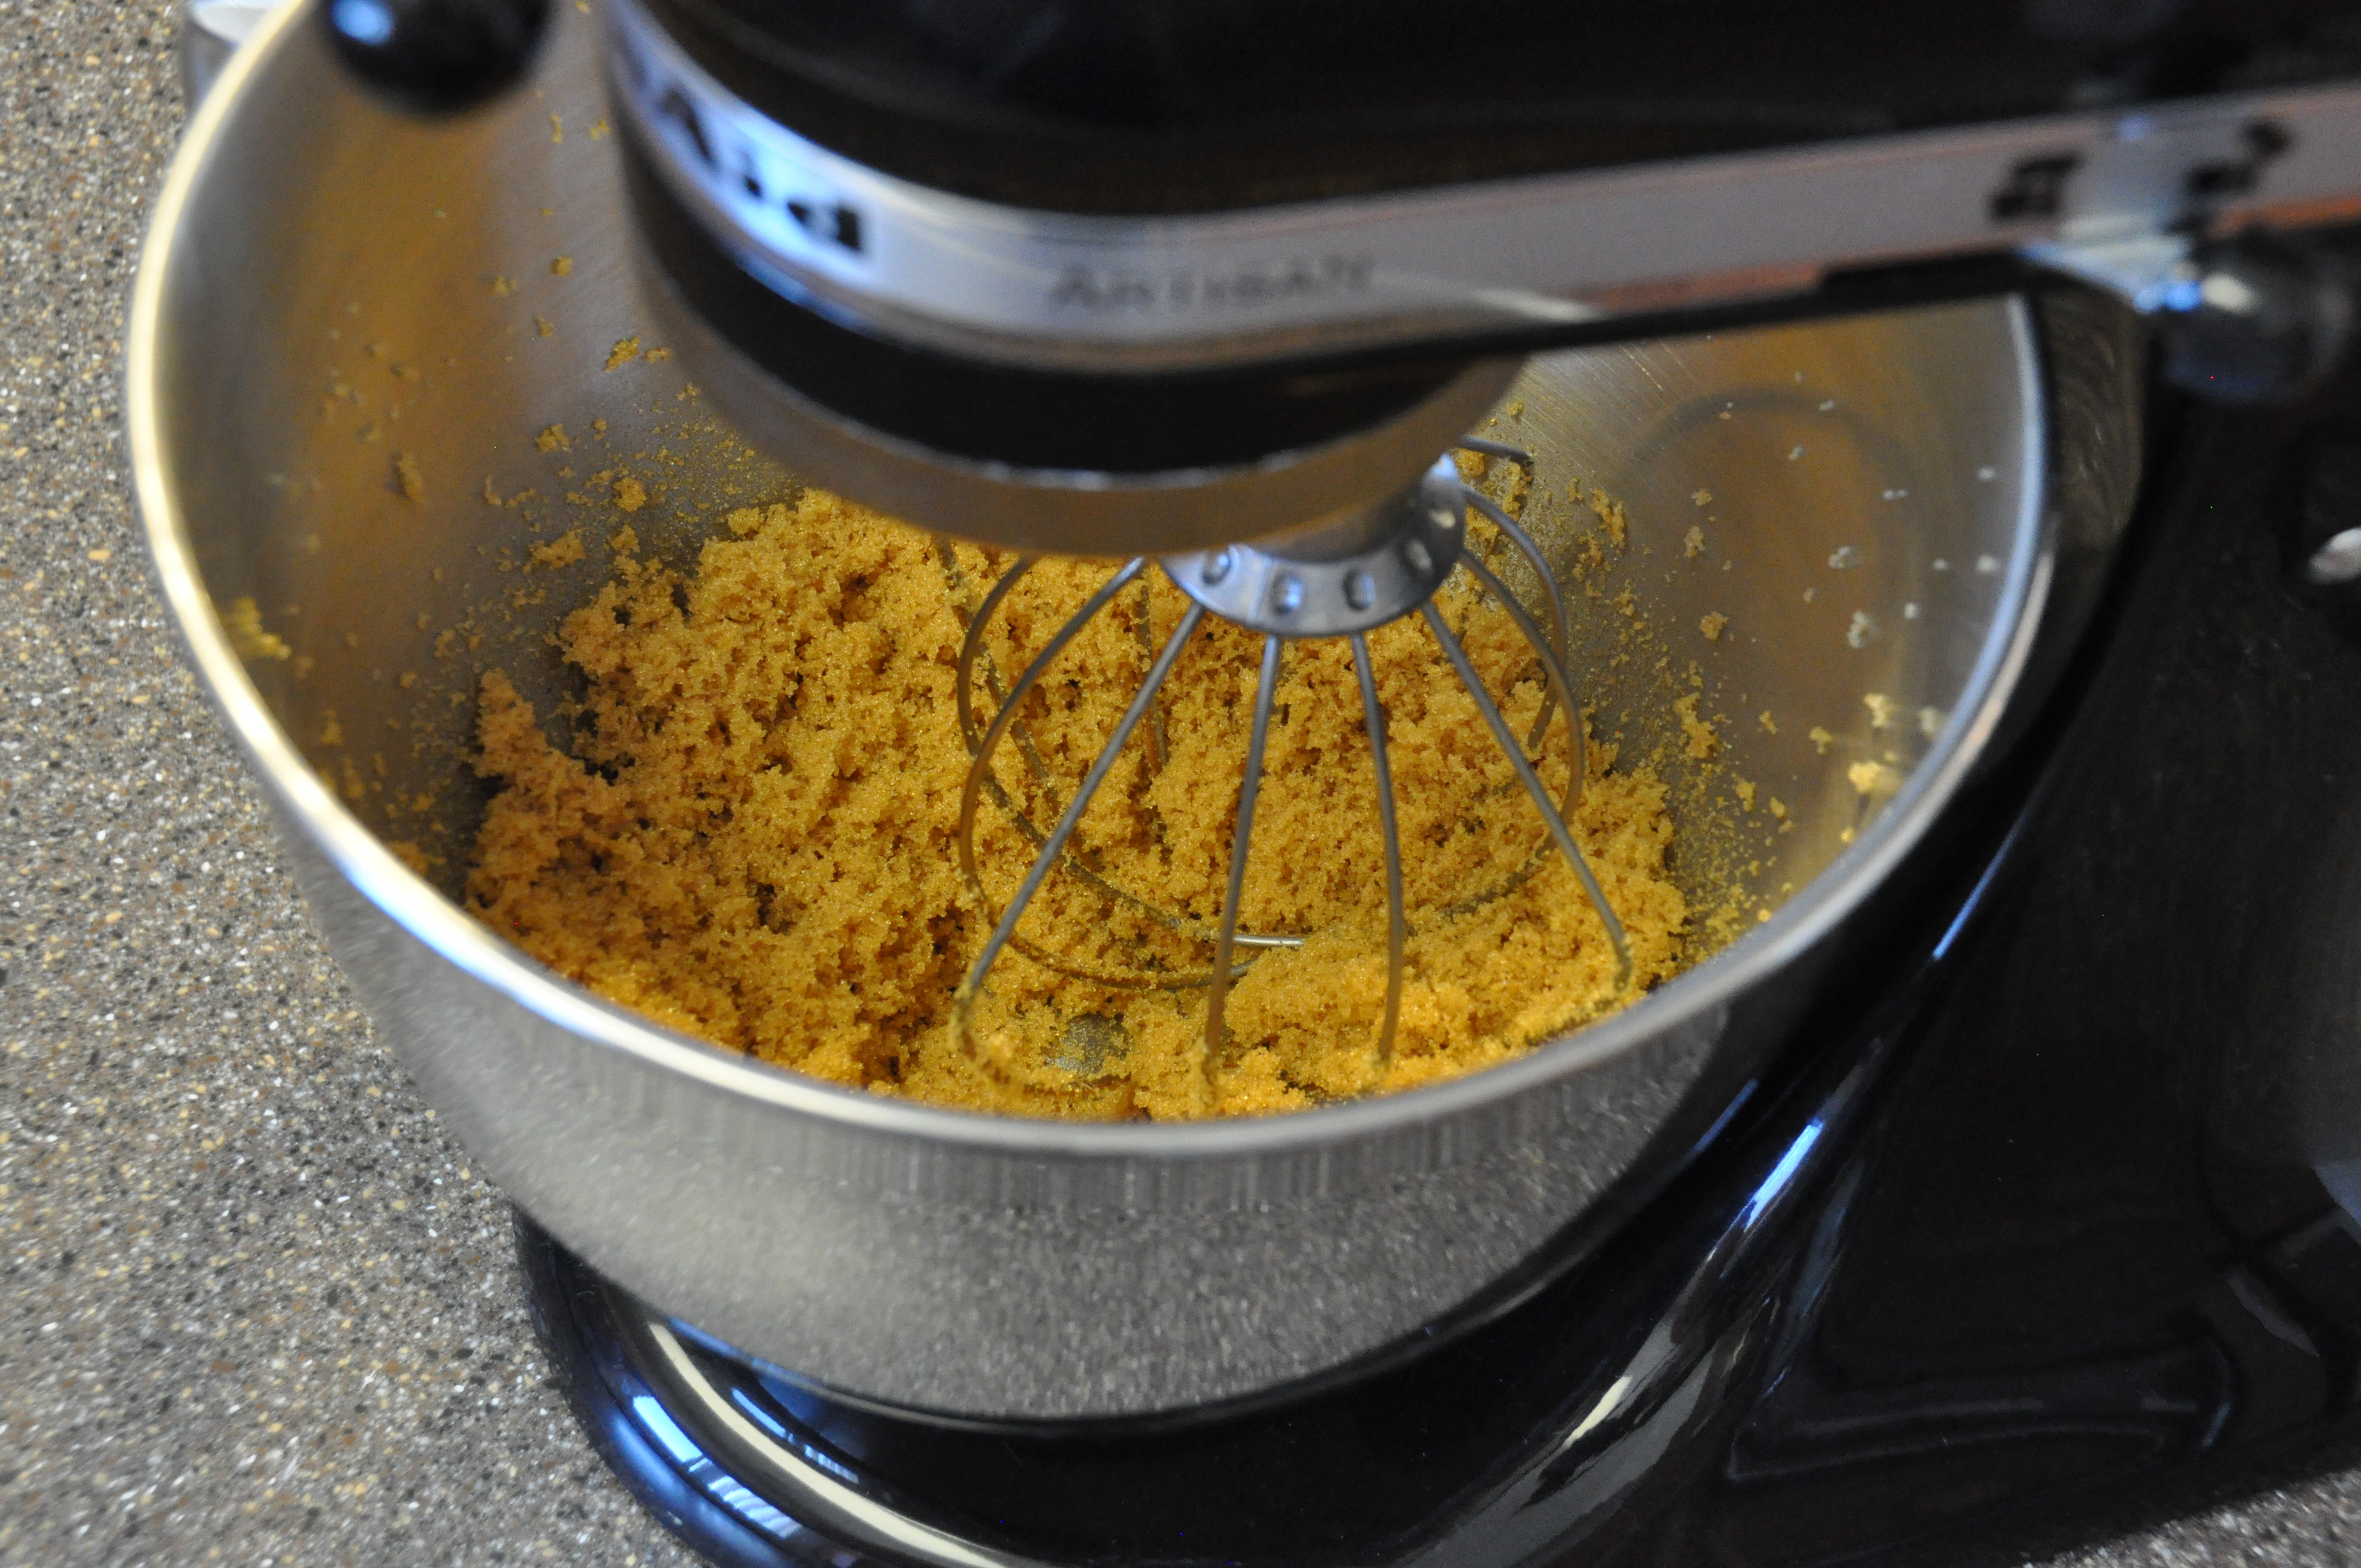 I always lick the batter from a whisk and this was no exception. I highly recommend turning the KitchenAid off first though.
- 1 cup sugar
- 2 Tbsp molasses
- Combine the sugar and molasses in a mixer
- Mix on medium speed for several minutes
- Store in an airtight container
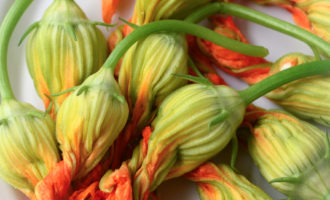
Preserved Lemons
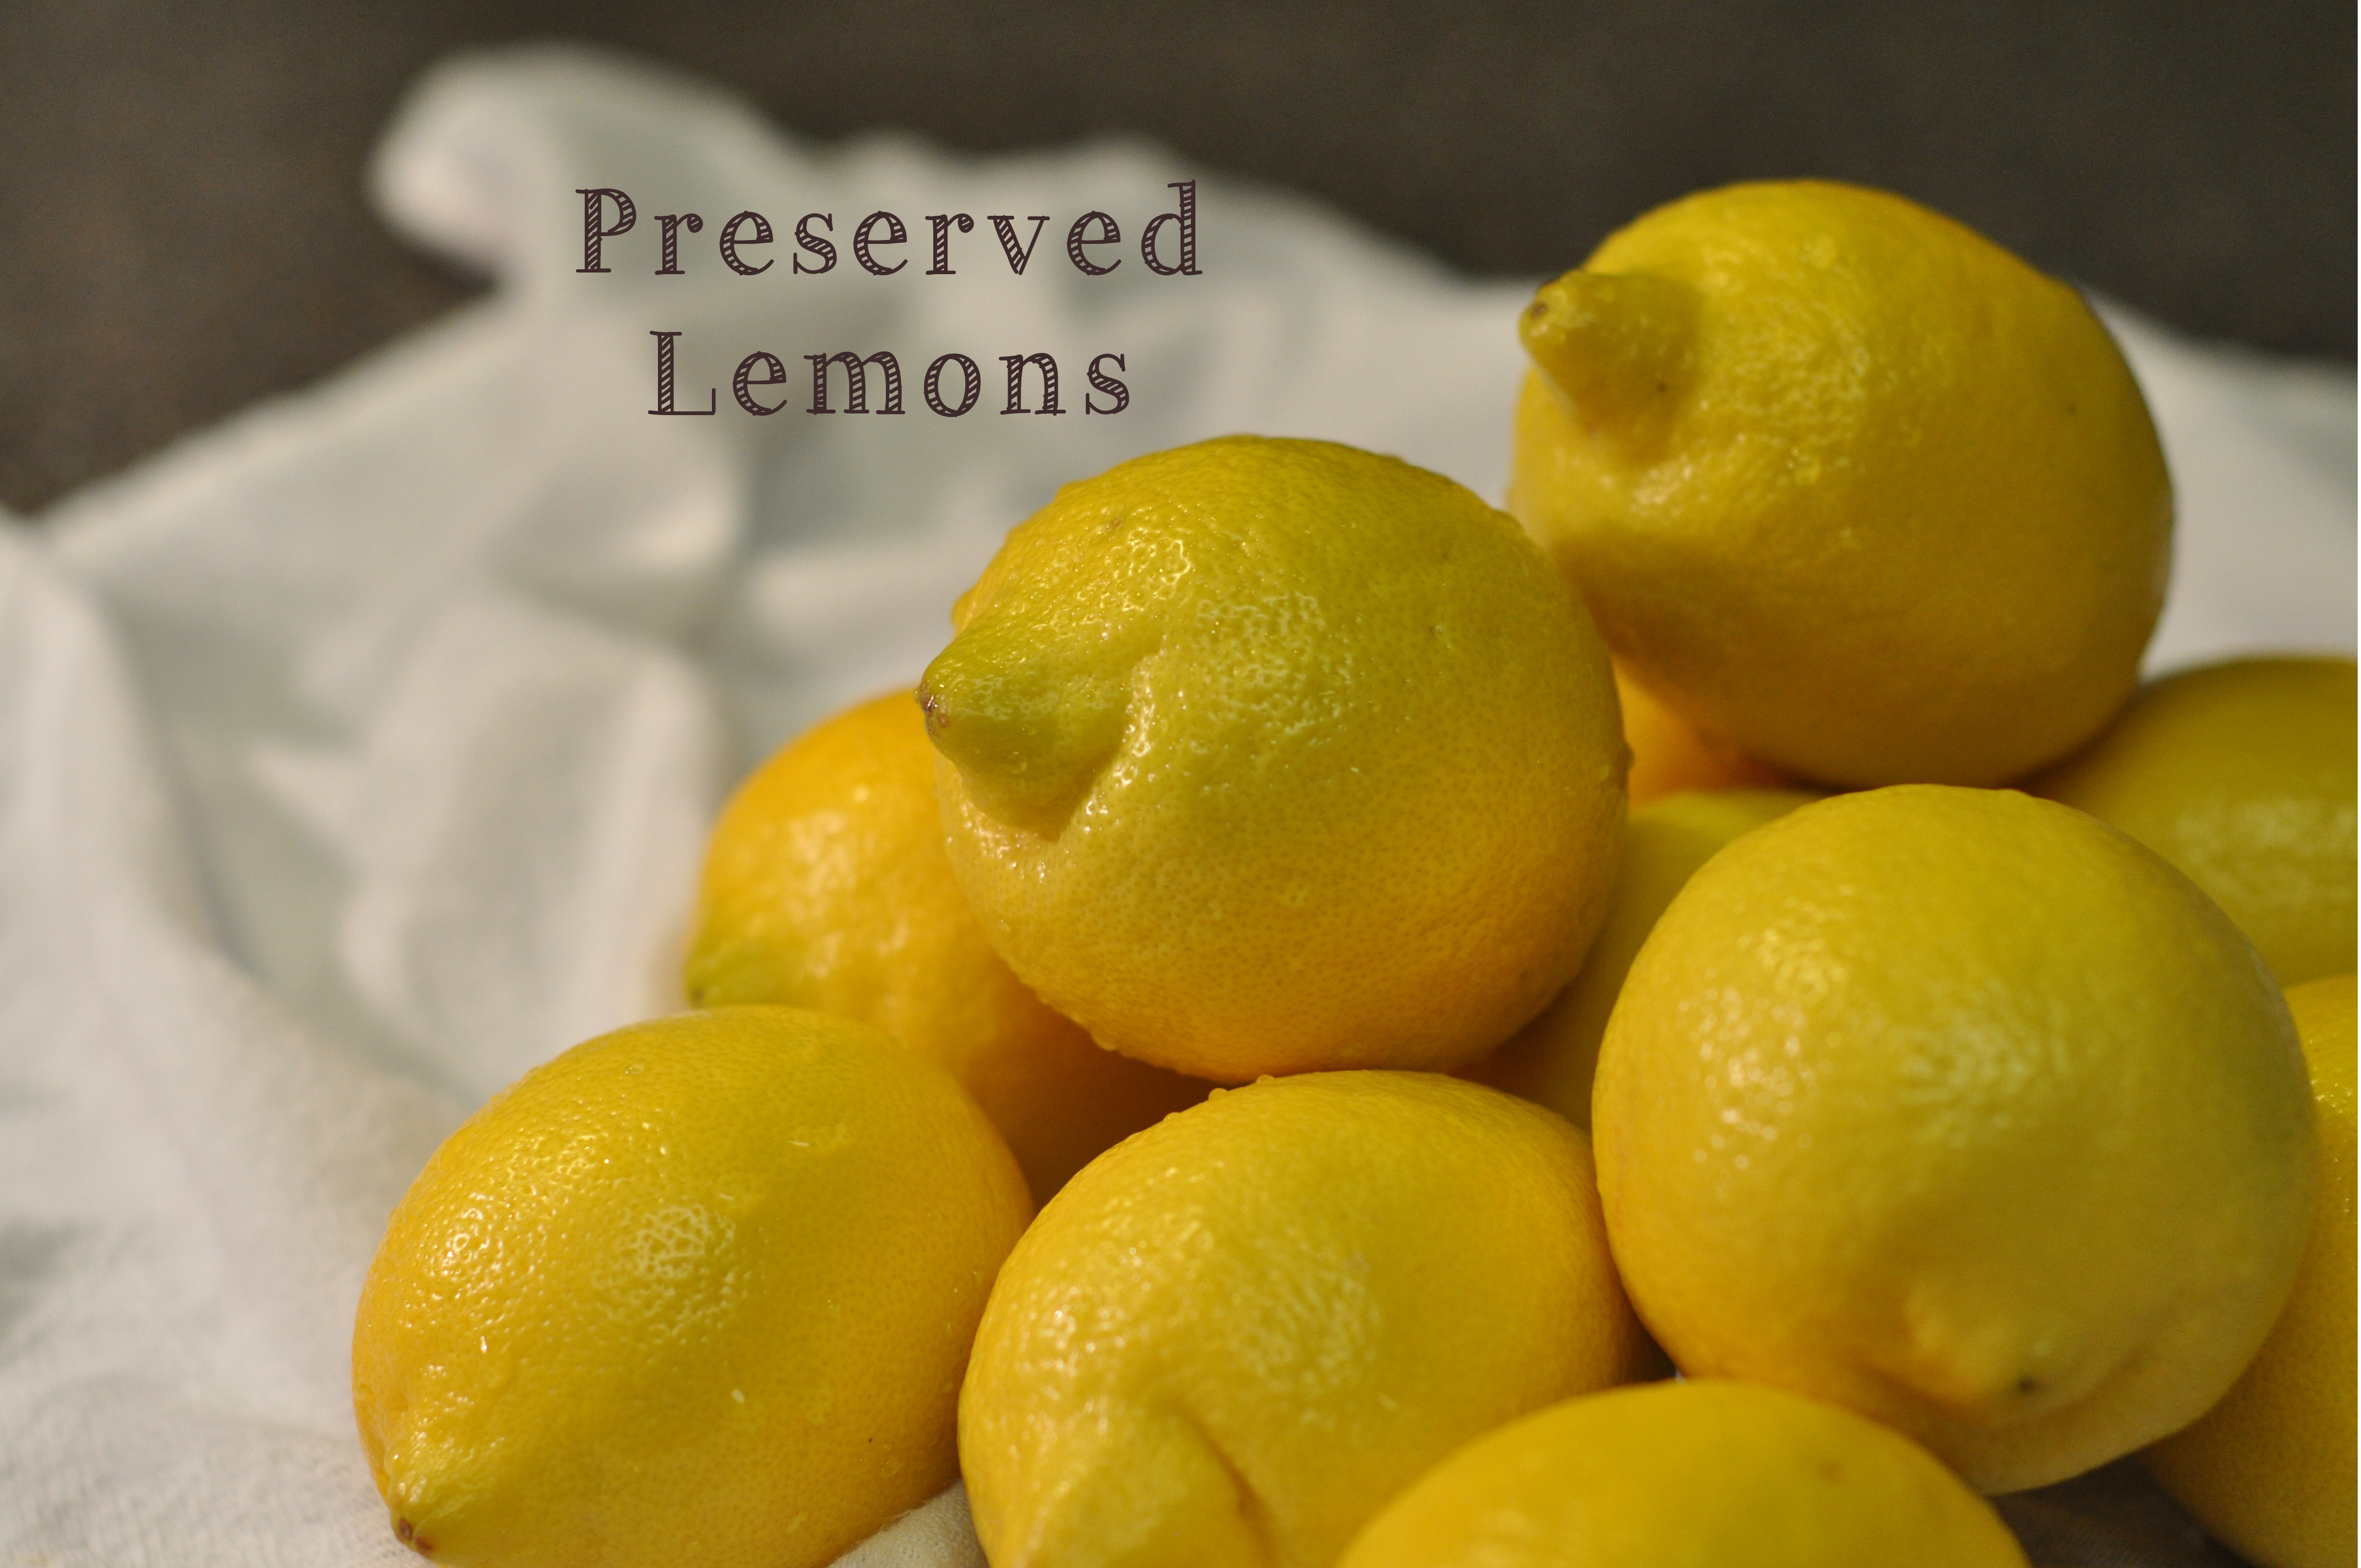

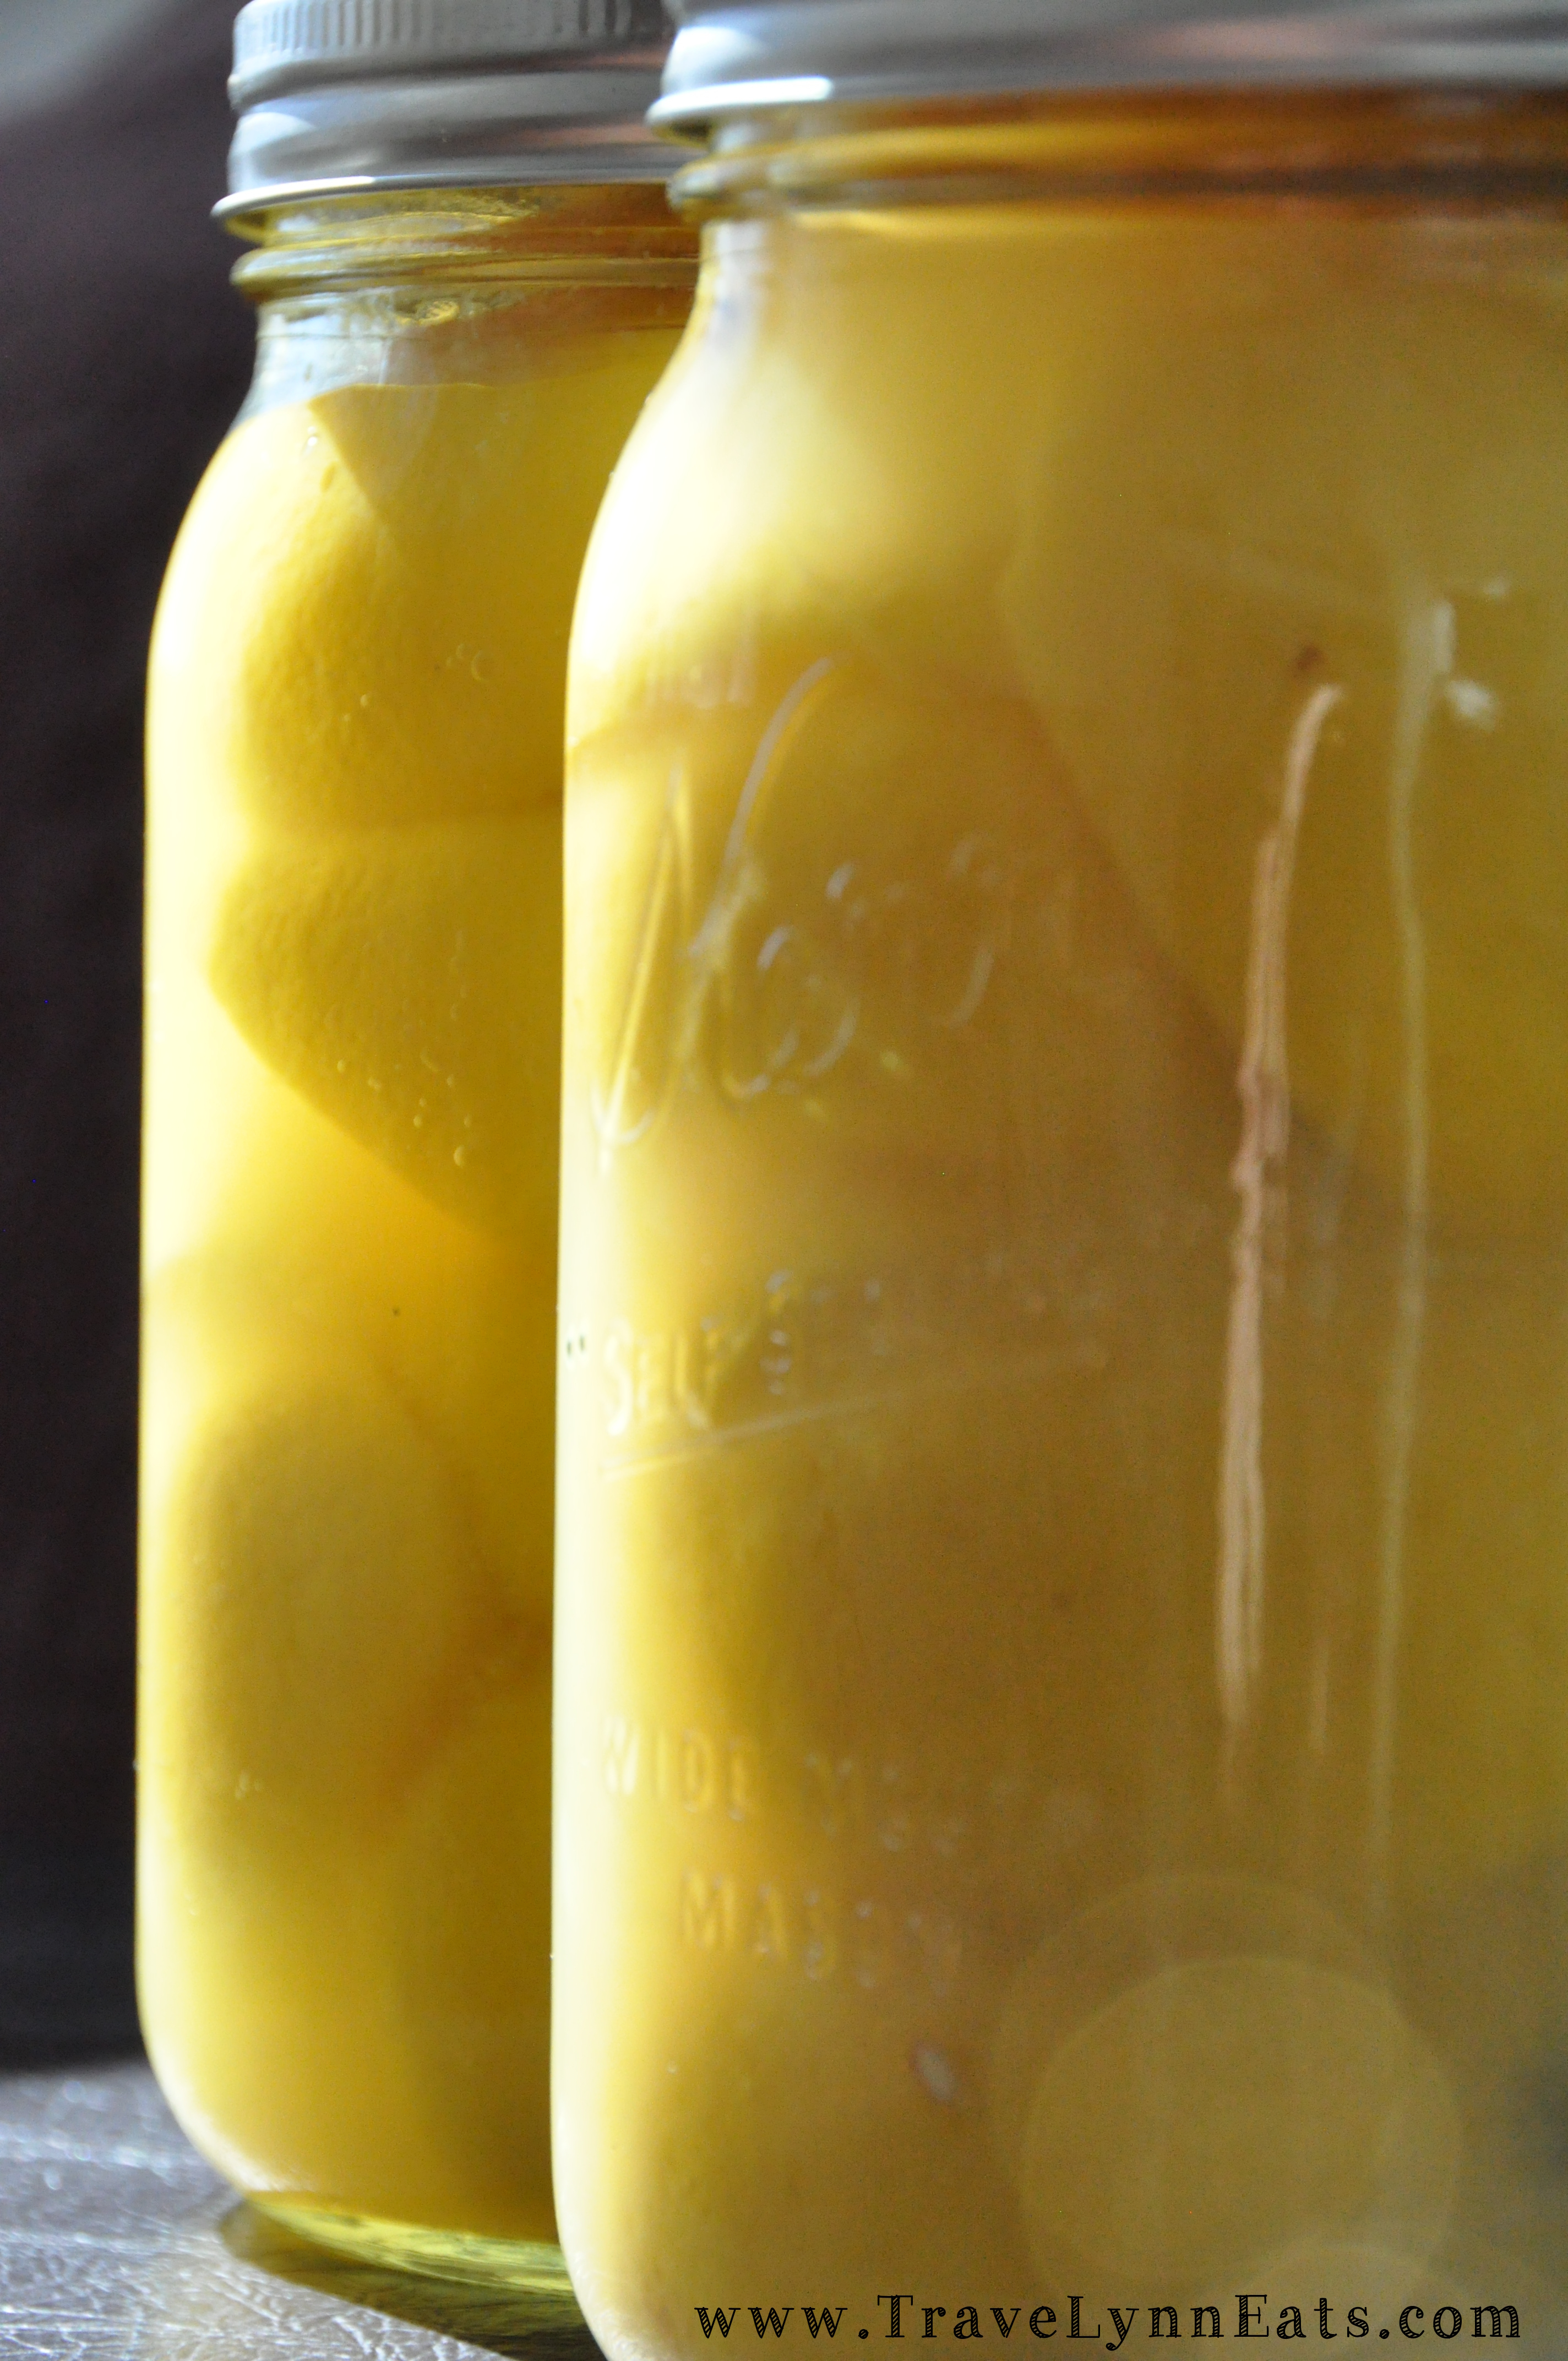
There is nothing like a big bowl of lemons on the counter to bring a little sunshine into your kitchen. But, if you live in a bone-dry arid climate like me, you know that lemons don’t last long if left out to be admired. I’ve stored lemons in a ziplock bag in the refrigerator for weeks. But, I decided I wanted to keep my lemons even longer. Sure enough, my new, favorite cookbook, The Art of Preserving, had just what I was looking for. These take a few weeks to preserve, but in the meantime….you have sunshine in a jar! I have all sorts of plans for these lemony little treats. Check back soon for some Mediterranean-focused dishes made with preserved lemons.
This recipe makes 2 one-quart jars of lemons.
Ingredients
-
10 firm lemons (Meyer lemons, if possible … they have a sweeter flavor)
- 12 Tbsp salt
- 3 cups fresh lemon juice (about 12-15 lemons)
Directions
Sterilize your jars and lids. Here is a simplified version of jar sterilization; however, I would recommend doing further research if you are interested in canning. In short…
- Wash the jars and lids in hot, soapy water.
- Heat water in a saucepan to 180 degrees and place the lids in the water. The water can simmer, but should not boil (use new lids each time you can/preserve). Leave the lids in the 180 degree water until you’re ready to use them.
- In a canning pot or other large pot (ensure you have a canning rack or homemade canning rack in the bottom of the pot), bring water to a boil. You should have enough water to cover the jars by at least 1 inch of water.
- Boil the jars for 10 minutes, turn off the heat and leave the jars in the hot water until you are ready to use them.
- Remove from the hot water with a jar lifter.
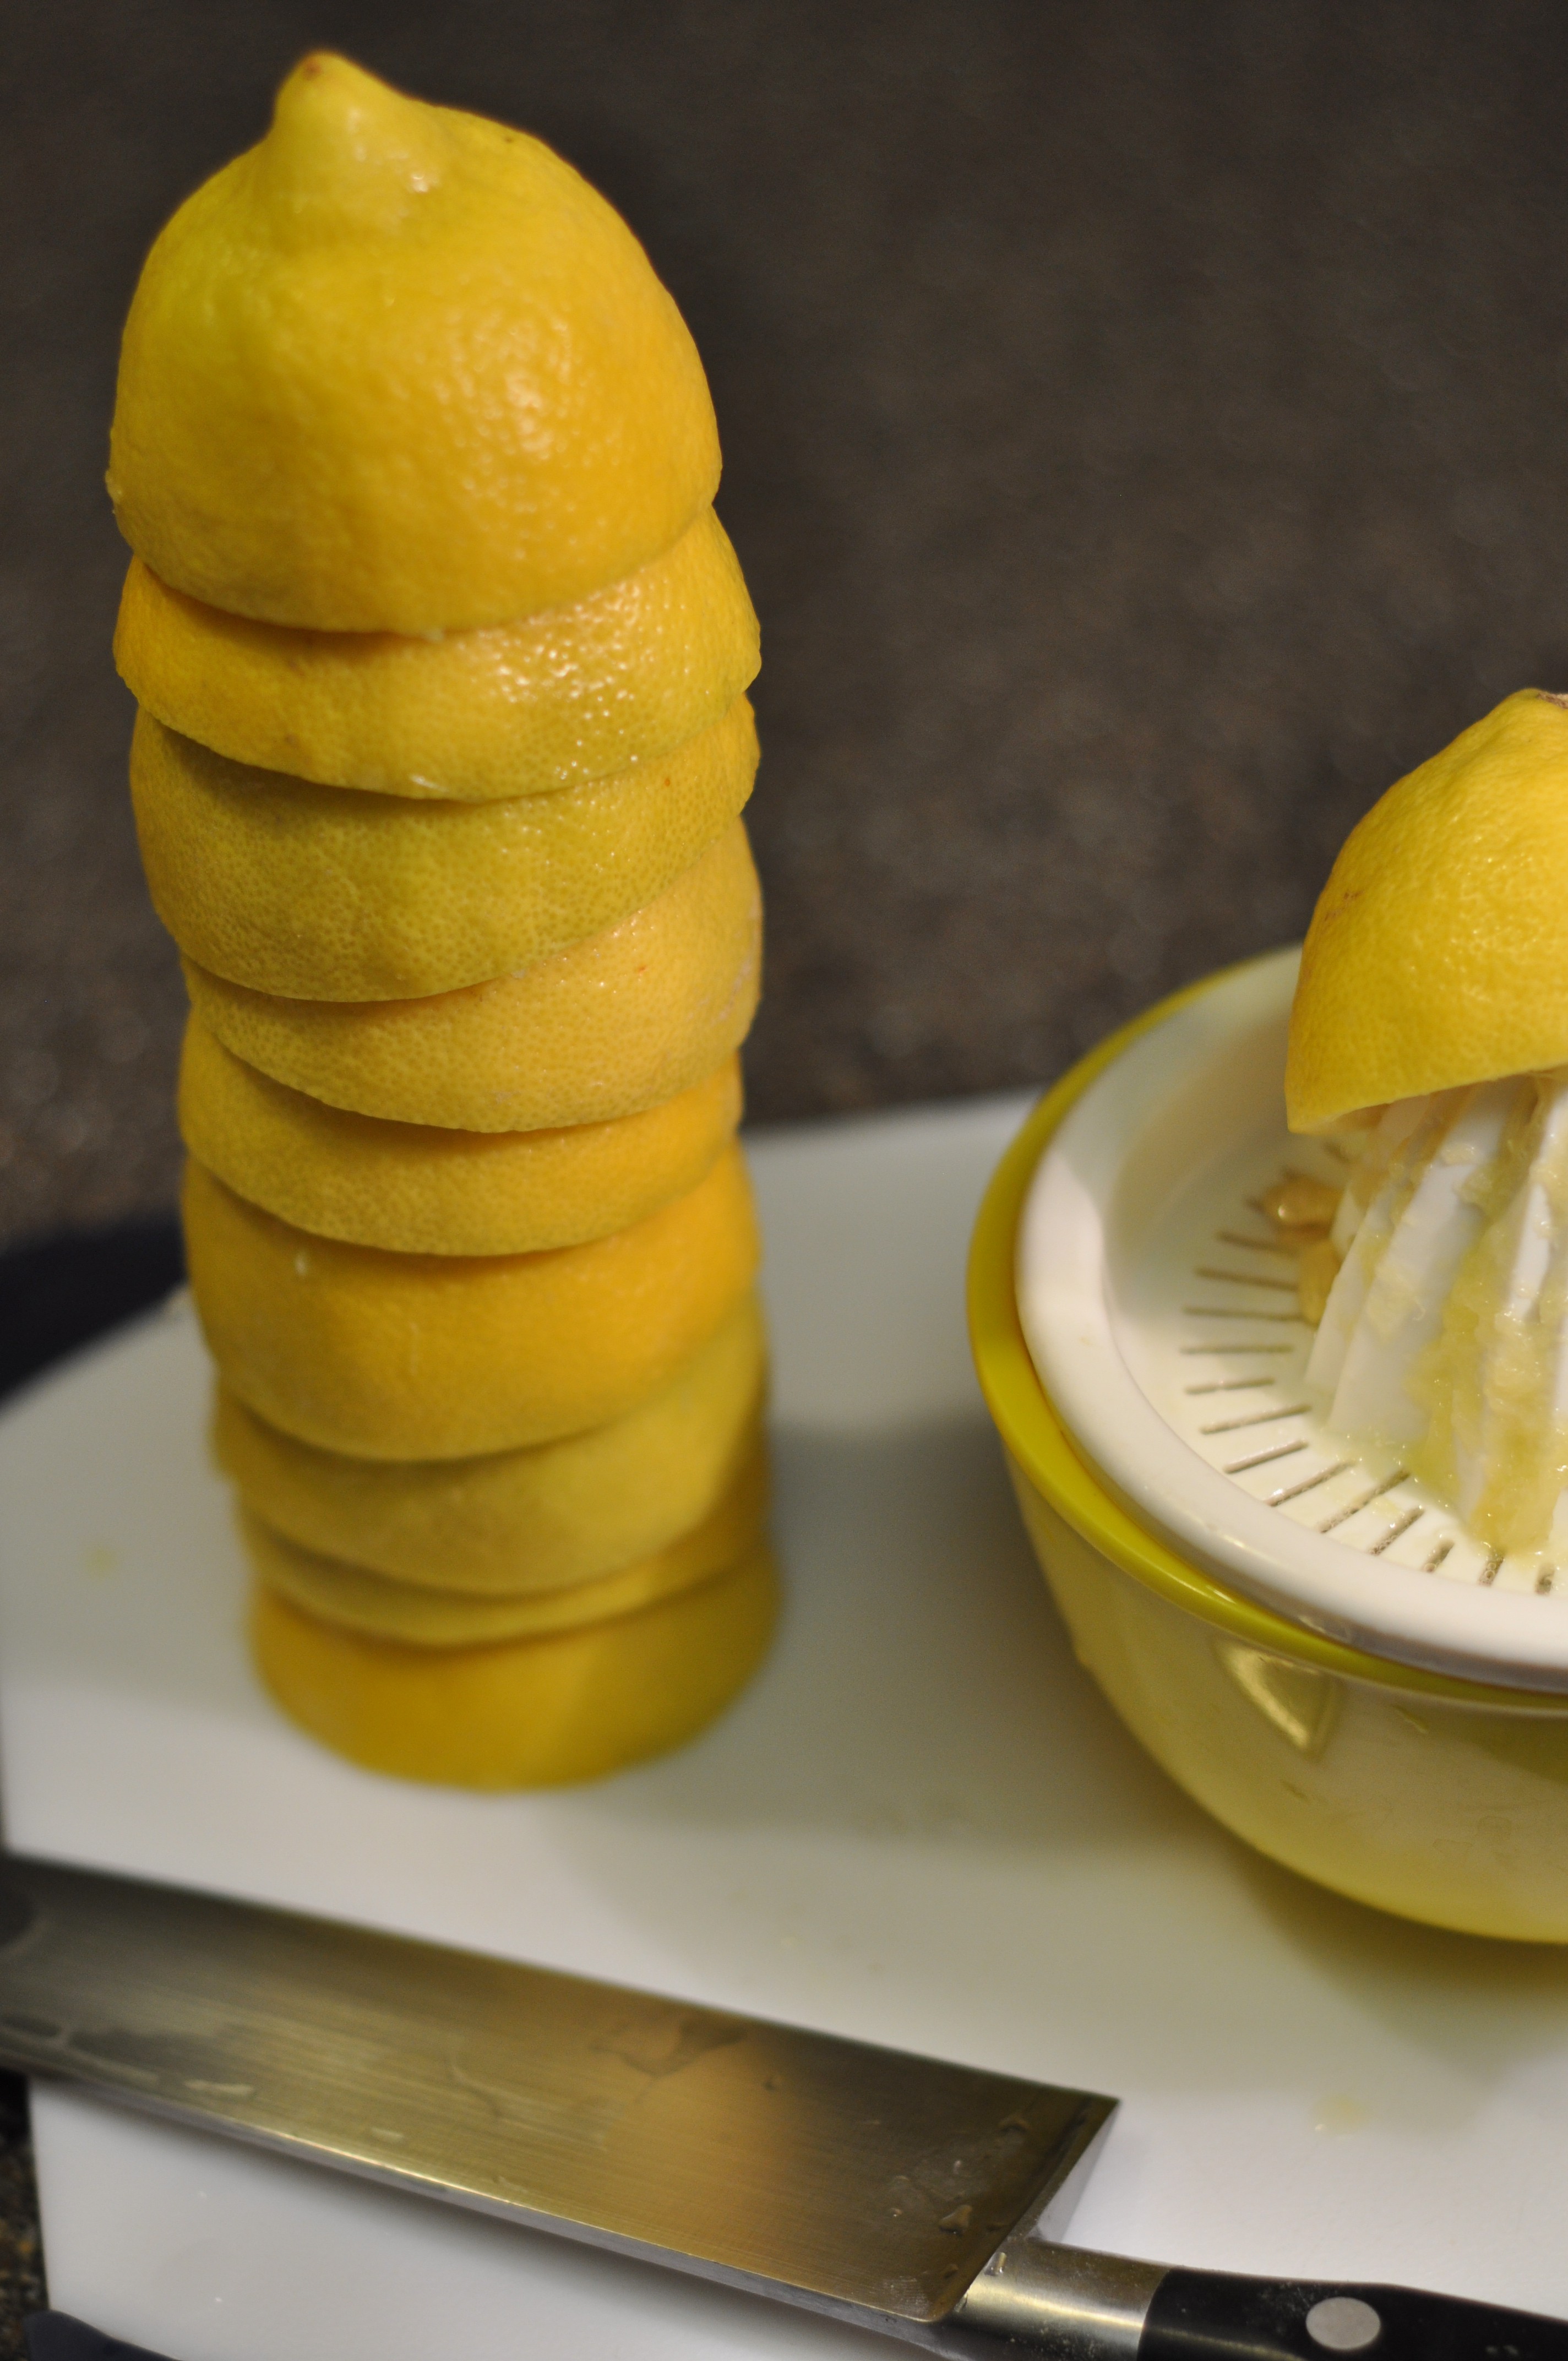
In a large pot, bring 3 quarts of water to a boil. While the water is coming to a boil, scrub the lemons under running water. When the water is boiling, add the lemons and return to a boil. Boil the lemons for 4-5 minutes, then remove with a slotted spoon and let them cool.

When the lemons are cool, cut the them lengthwise in quarters … but leave them attached at the stem end. Place 1 Tbsp of salt in each sterilized jar. Spread apart the lemon quarters and sprinkle 1 Tbsp of salt in the center of each lemon. Pack 5 salted lemons into each jar. You can really press the lemons down into the jar.
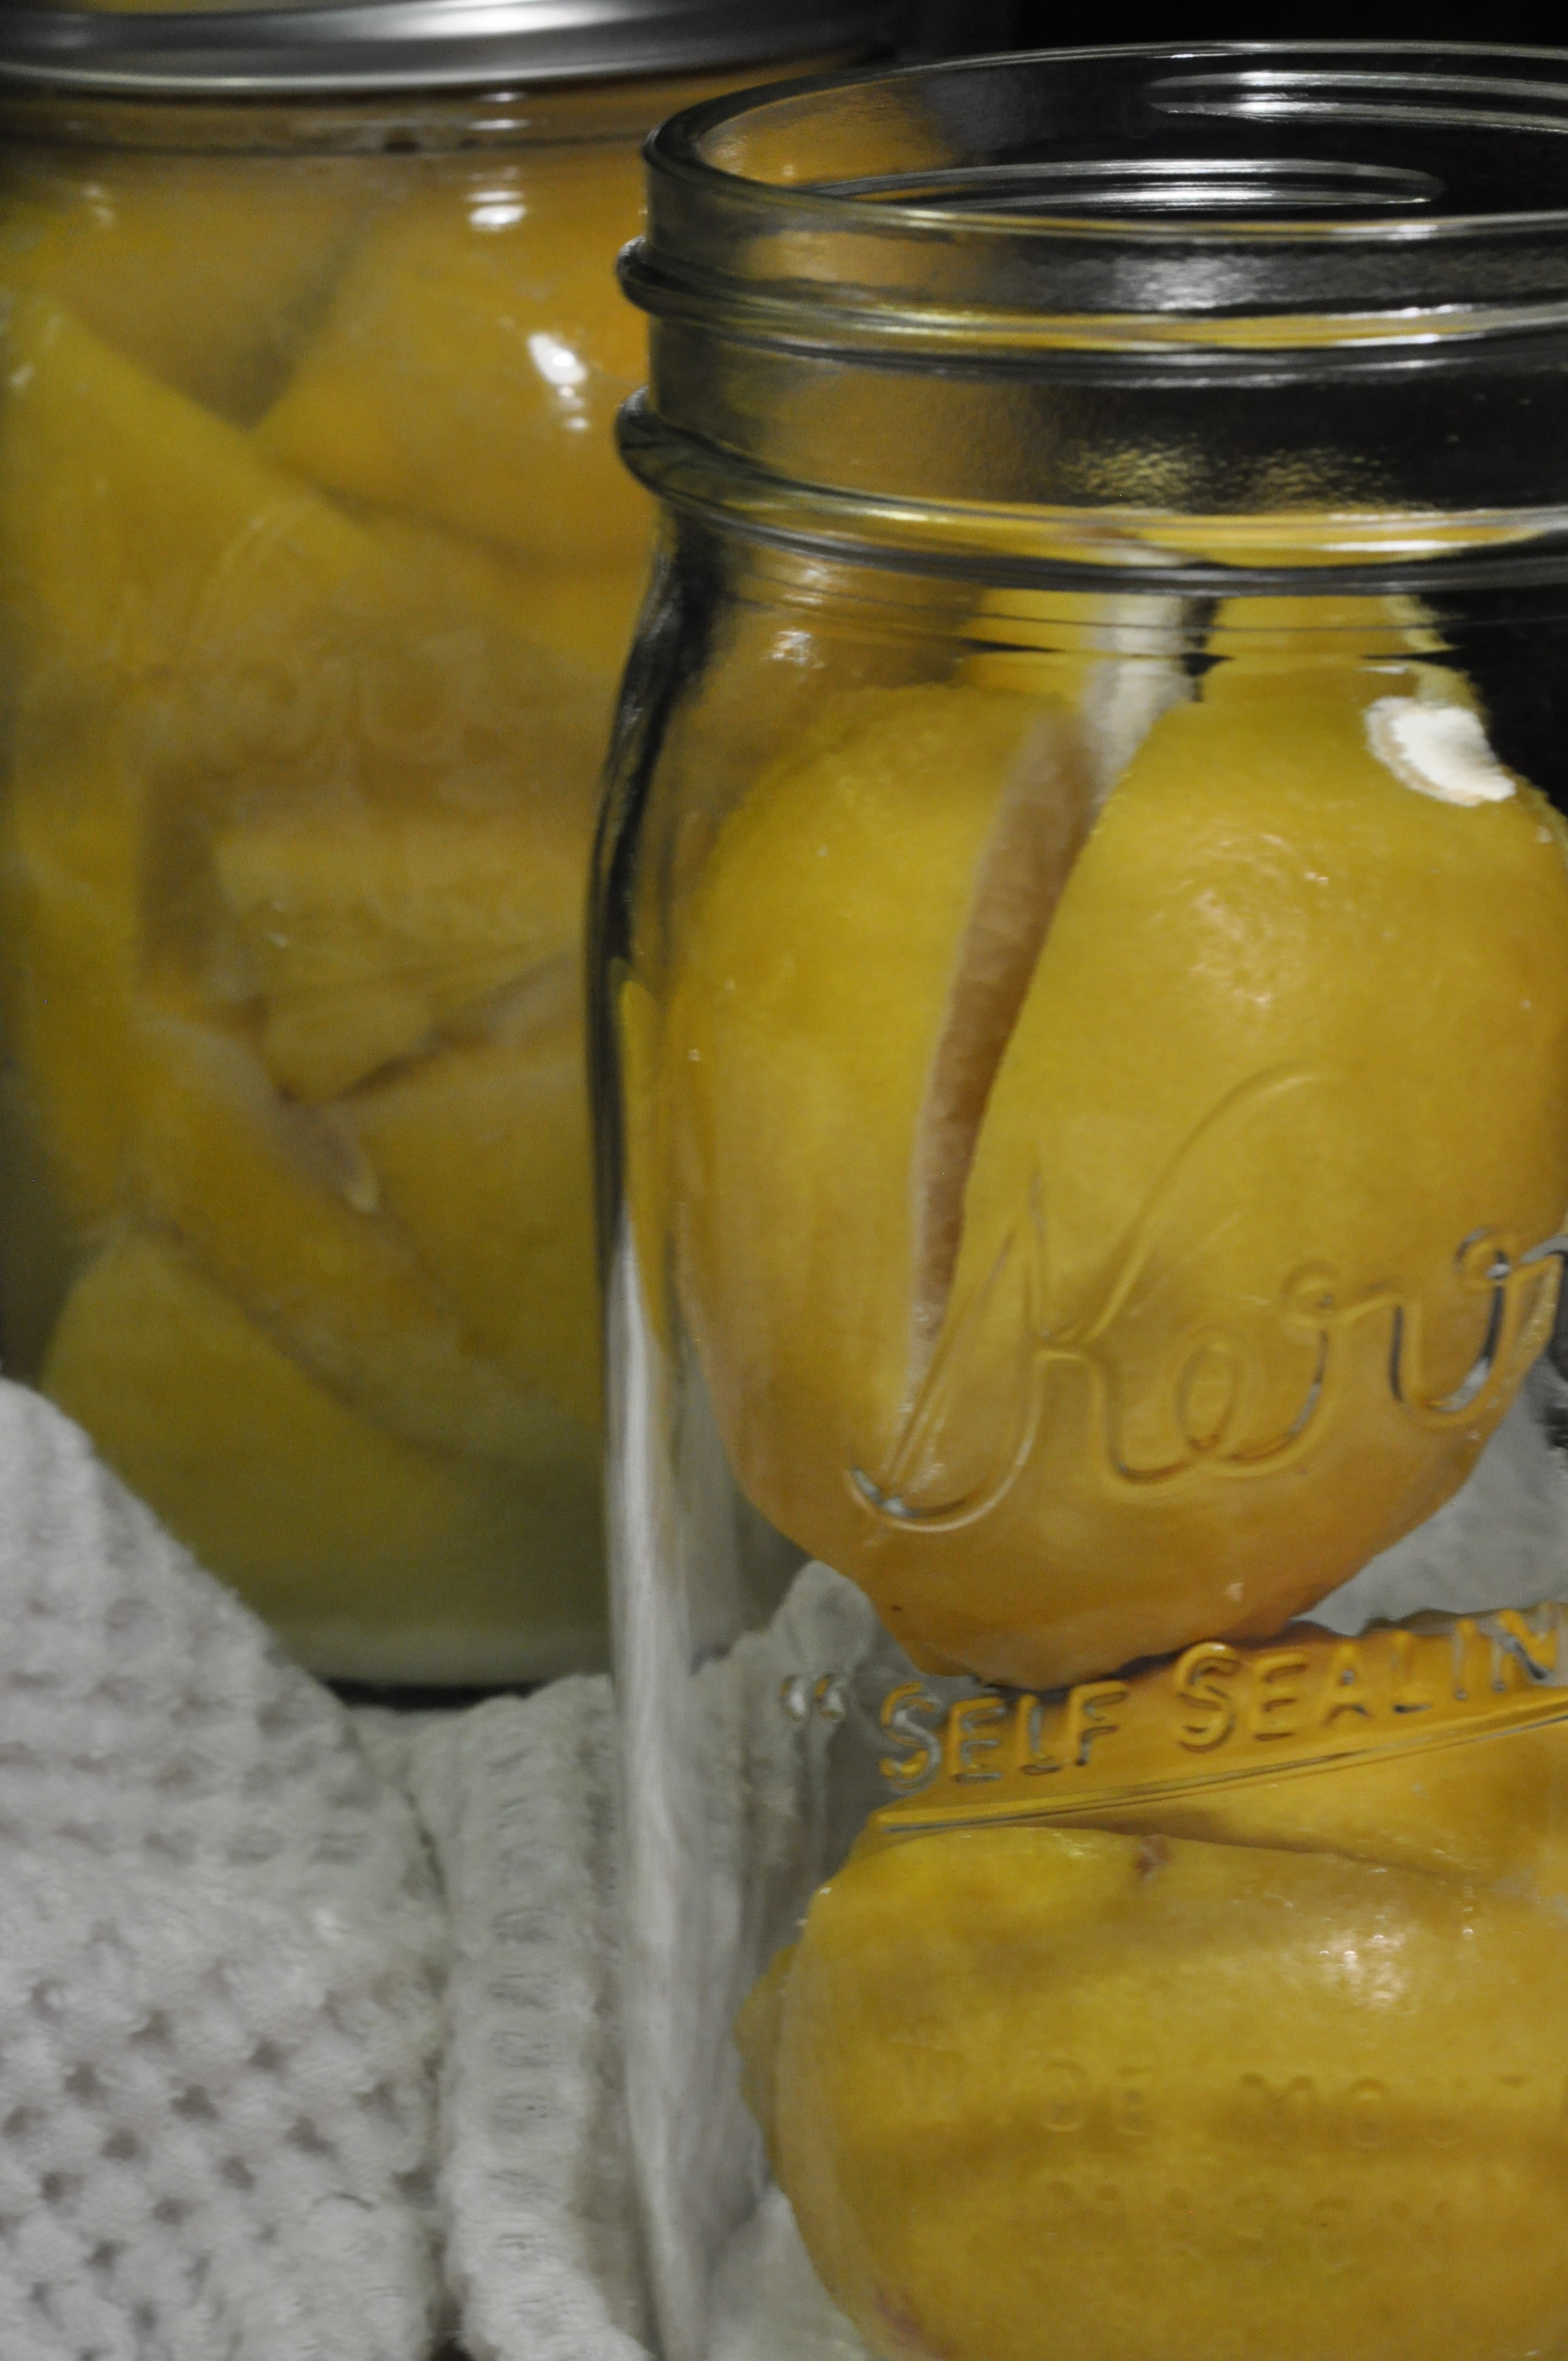
preserved lemons
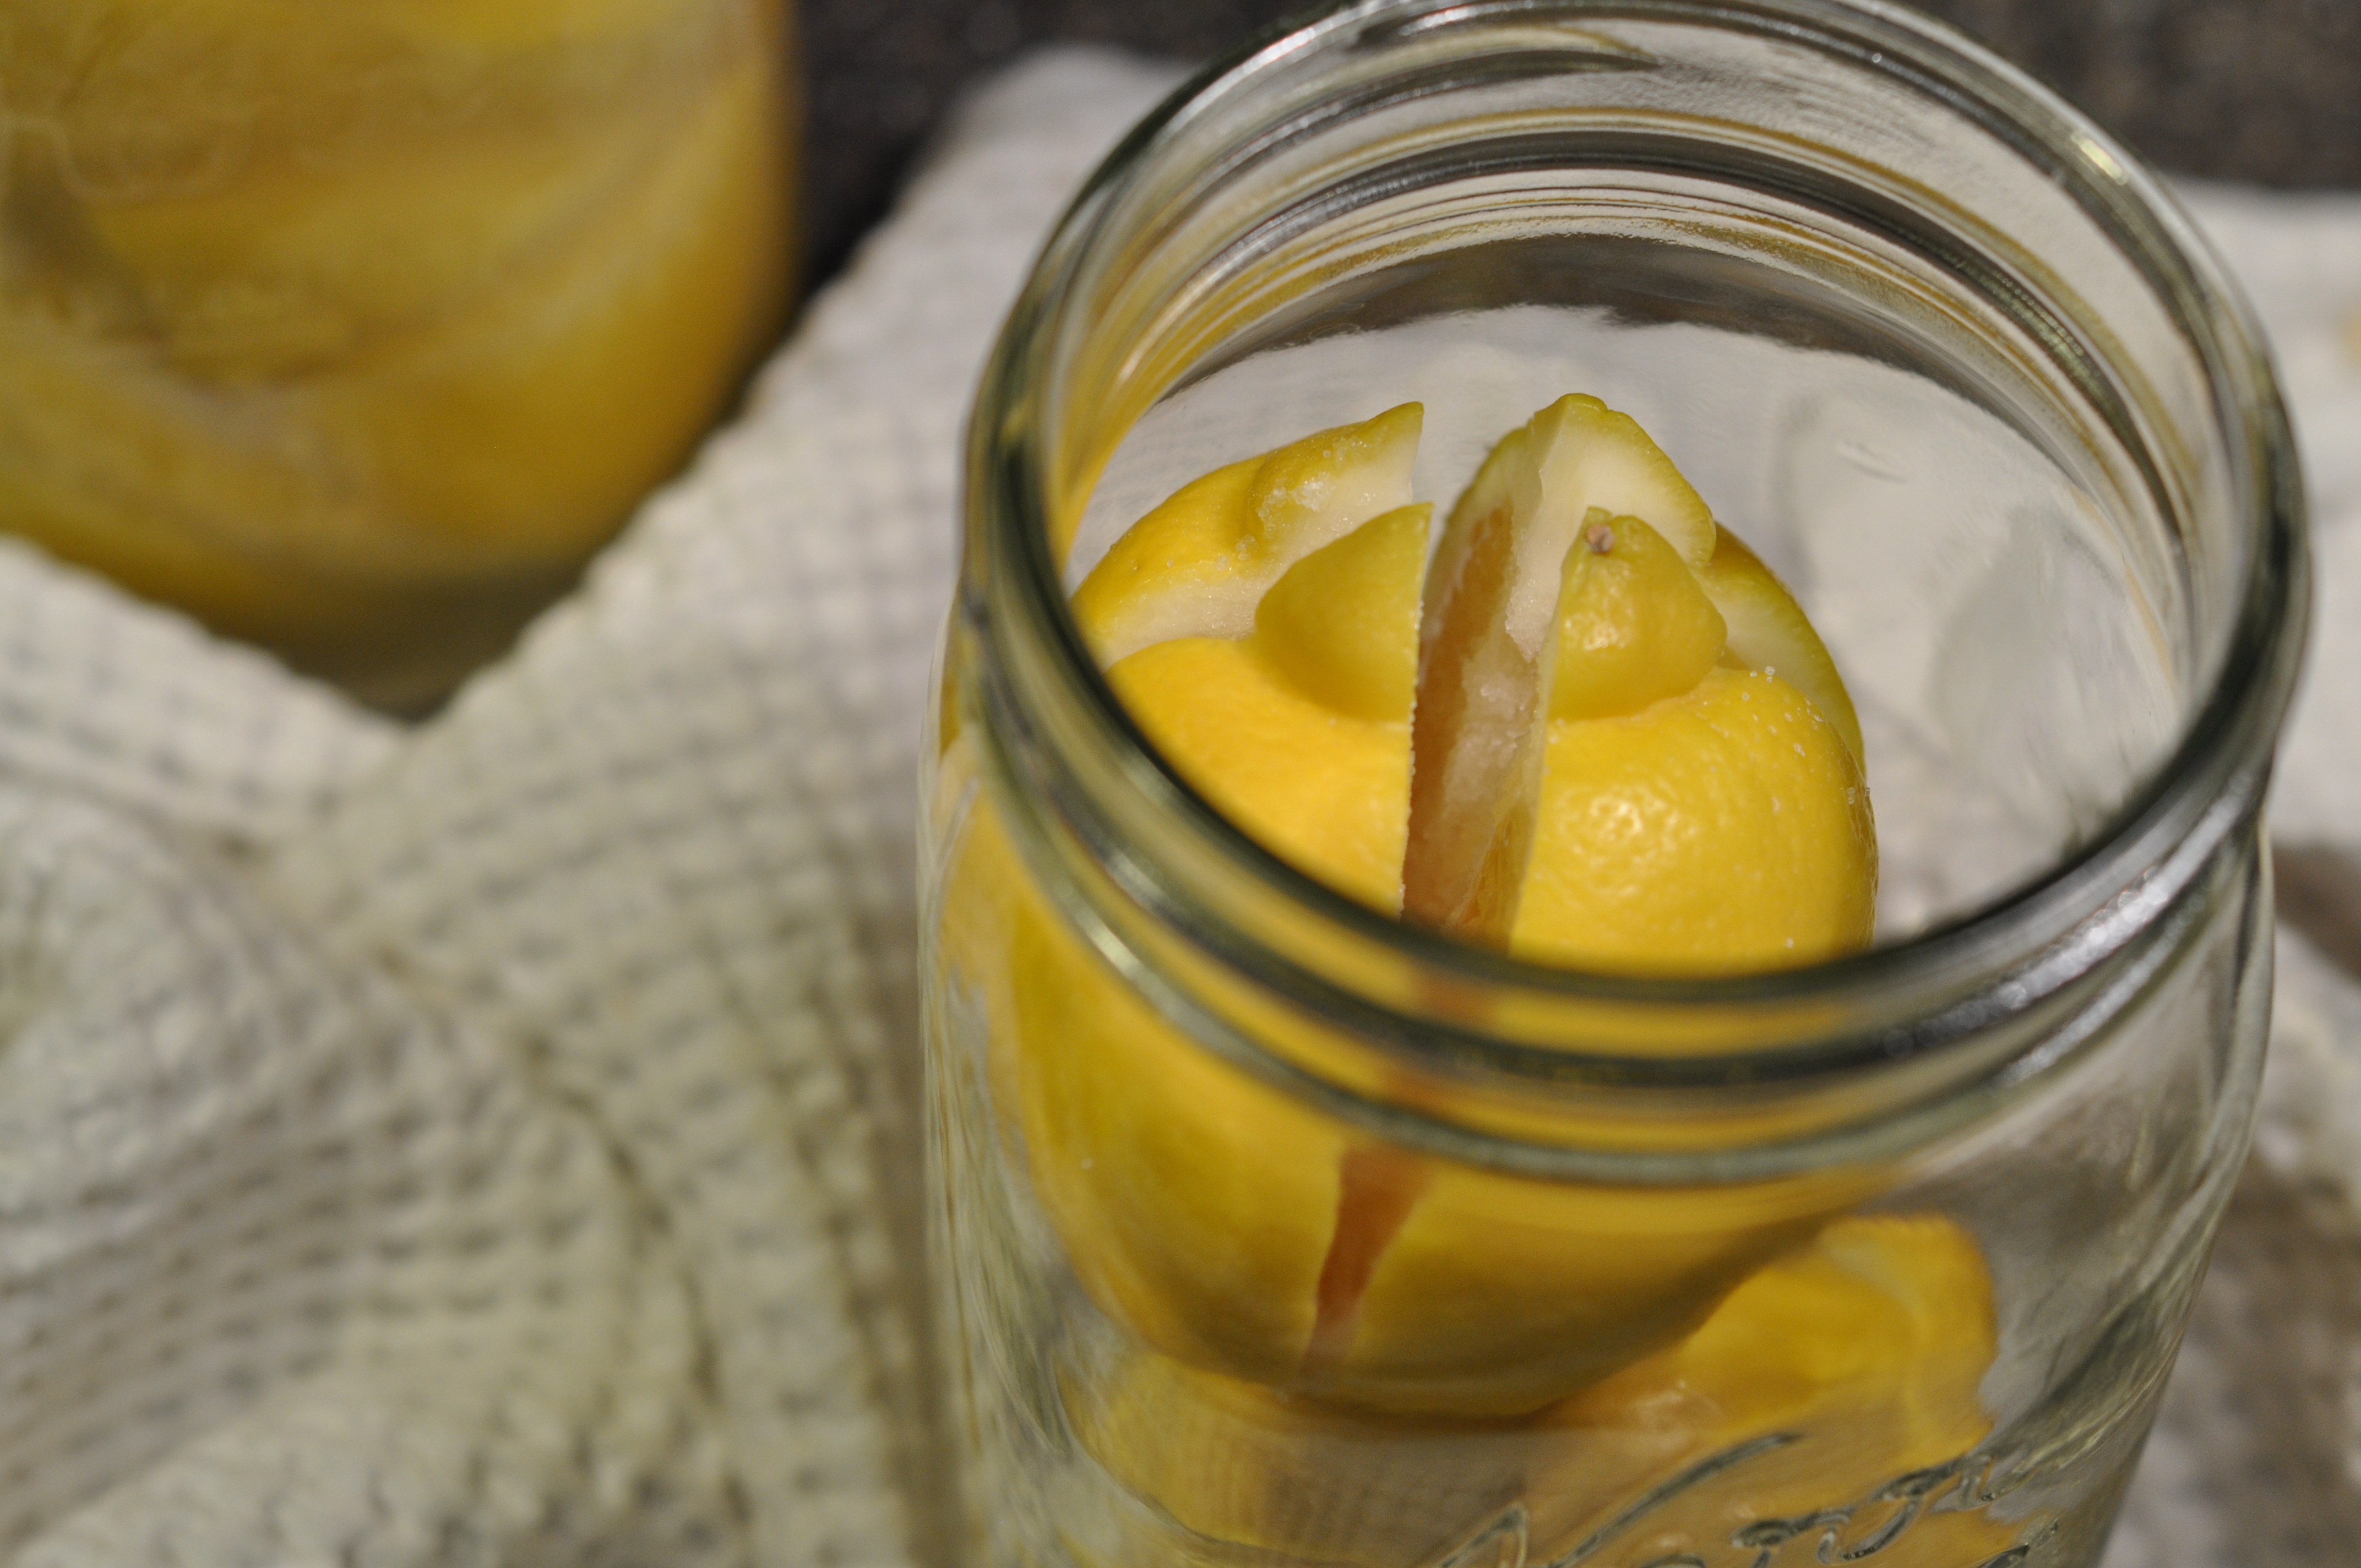
Fill the rest of each jar with fresh lemon juice and leave 1/2 inch of space at the top of each jar.
Seal the jars tightly. Store the lemons in a cool, dark place for 3 weeks and turn/tip the jars occasionally to distribute the salt and juice. You can store preserved lemons in the refrigerator for 6 months. Enjoy!
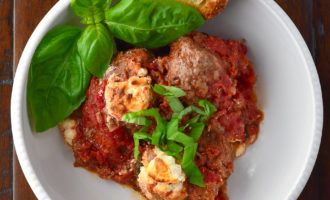
Chocolate Chipotle Bison Chili
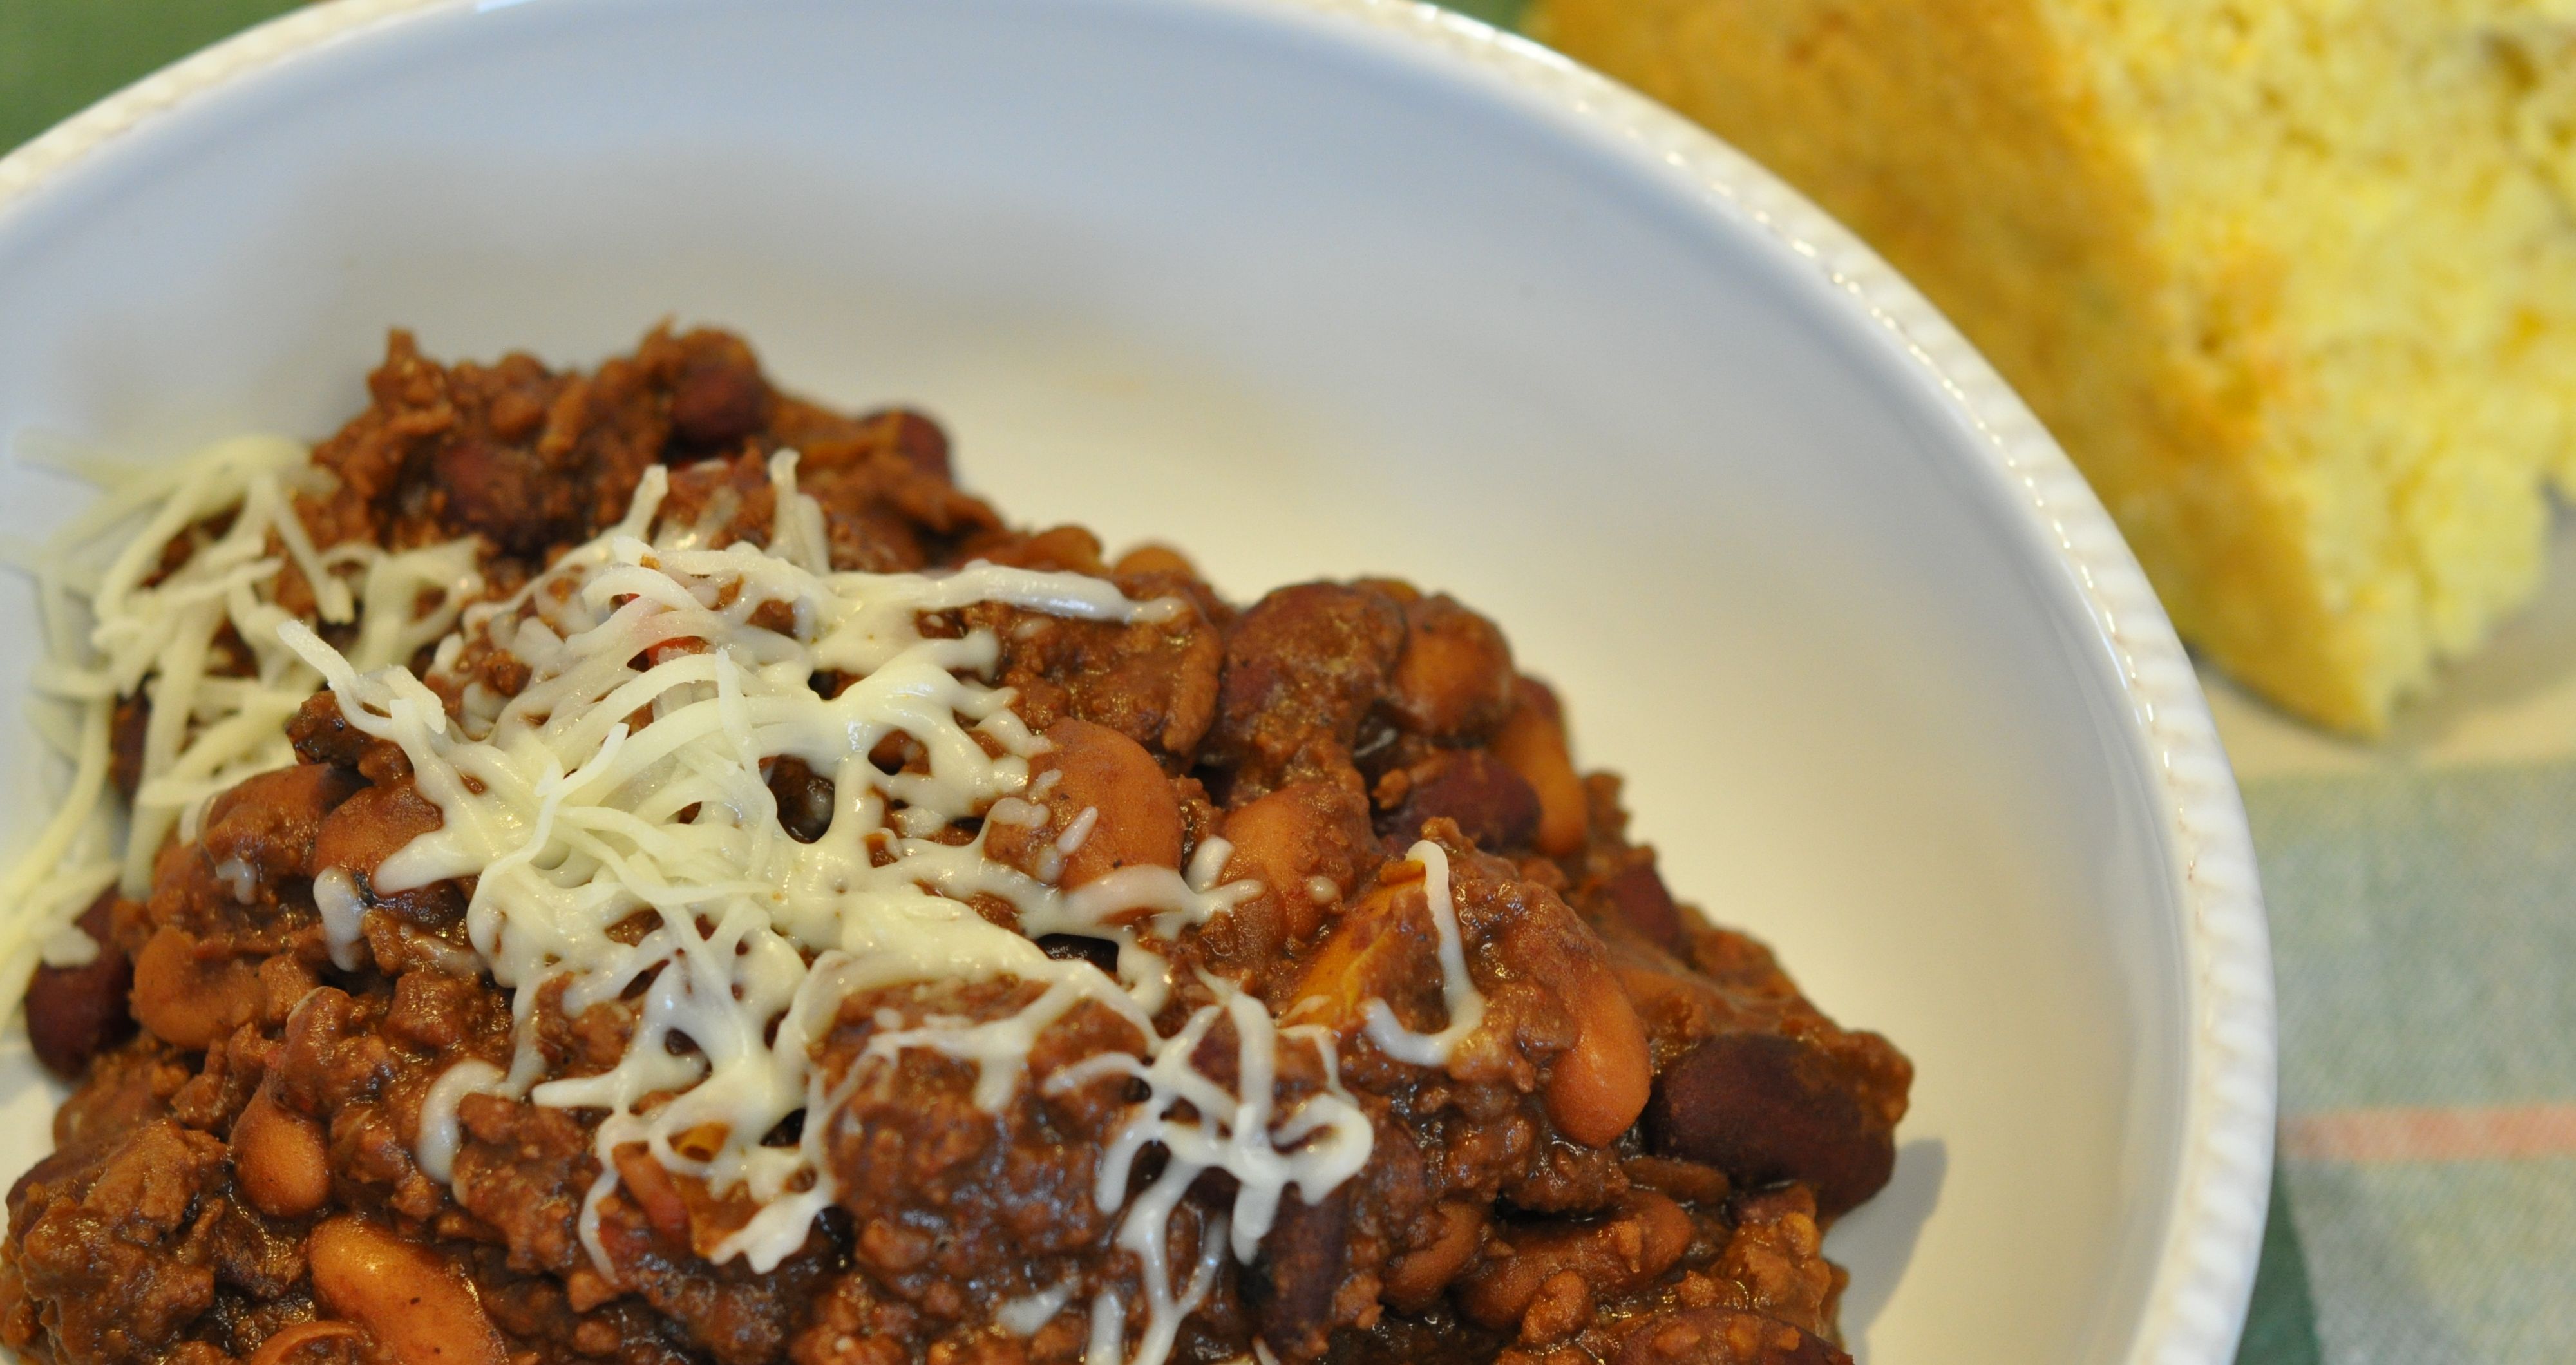
Chocolate Chipotle Bison Chili
There’s just something about the Rocky Mountains (and the foot of snow outside) that’s begging me to make chili. The first time I made this chili, my view outside was as you see it below (it’s certainly not a bad view). This weekend was a different story. We got socked in pretty good last week; the news was calling for blizzard conditions. I had just the emergency plan: curl up on the couch with a big bowl of chili.
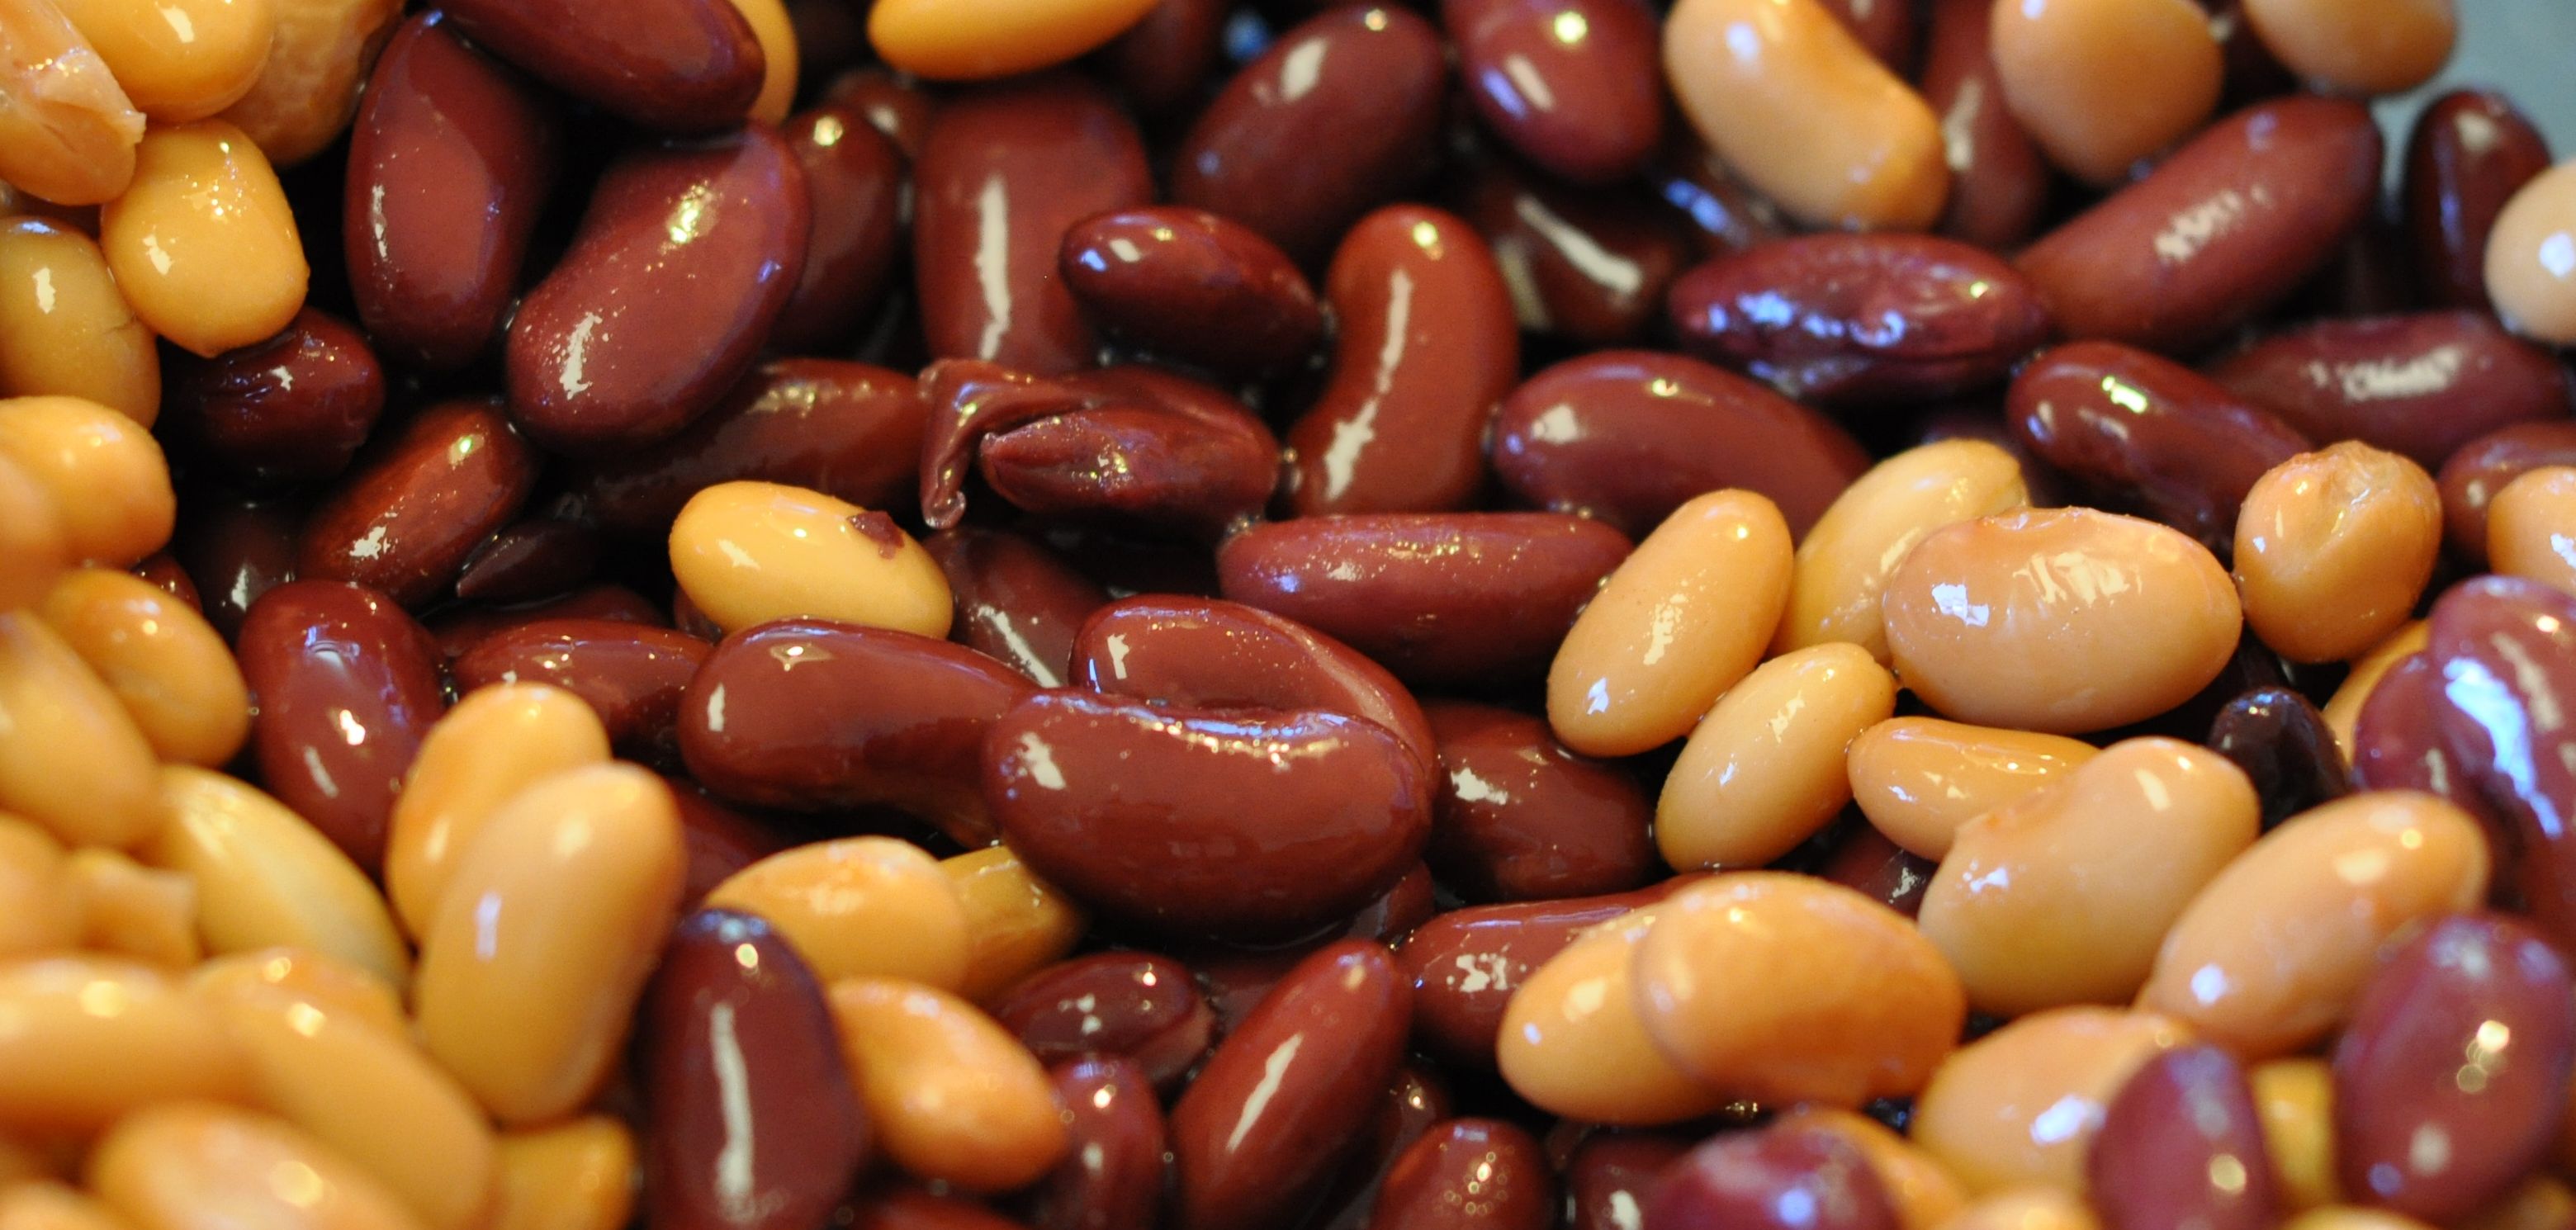
Another gem of a recipe adapted from the fall 2012 edible Front Range magazine. There are some interesting ingredients in this recipe, and you can get creative and mix them up. I’ve replaced some of the kidney and pinto beans with great northern white and garbanzo beans; chicken instead of beef stock; jalapenos instead of chipotle peppers; dark chocolate balsamic instead of traditional balsamic; only two cans of beans instead of four… chili is a really forgiving dish.
Did you do a double take when you read dark chocolate balsamic? Oh, I did when I saw it at The Olive Tap in Manitou Springs, Colorado. This is a great little shop with dozens of unique olive oils and balsamic vinegars. I snatched up the chocolate balsamic, a fig balsamic and a fancy Italian olive oil I couldn’t pronounce. The balsamic adds an interesting, tangy sweetness to this chili.
Another ingredient of note: the chipotle pepper. I’ve never really known what to do with chipotles, but I came across a small can of chipotles in adobo sauce at Walmart (yeah, I grocery shop there…). Since then, I’ve put these peppers in all sorts of dishes; they have a smoky, complex heat that will catch your attention. You can scrape the seeds out…or not, and I also add some of the adobo sauce along with the peppers. It’s a small can, but they go a long way. I froze several small portions for future use. Let me give you a little warning about these peppers though. They are sneaky hot and, like other peppers, the heat will linger on your fingers and end up in eyes and other unintended places… I learned this when, after bringing my pot of chili to a simmer, I ran upstairs for a quick shower. I realized lightning fast that chipotle peppers have staying power… when washing my face felt like I was giving myself a chemical peel. Lesson learned.
Snow, rain, shine….any day is a perfect one to make this chili.
Ingredients
- 3 Tbs olive oil
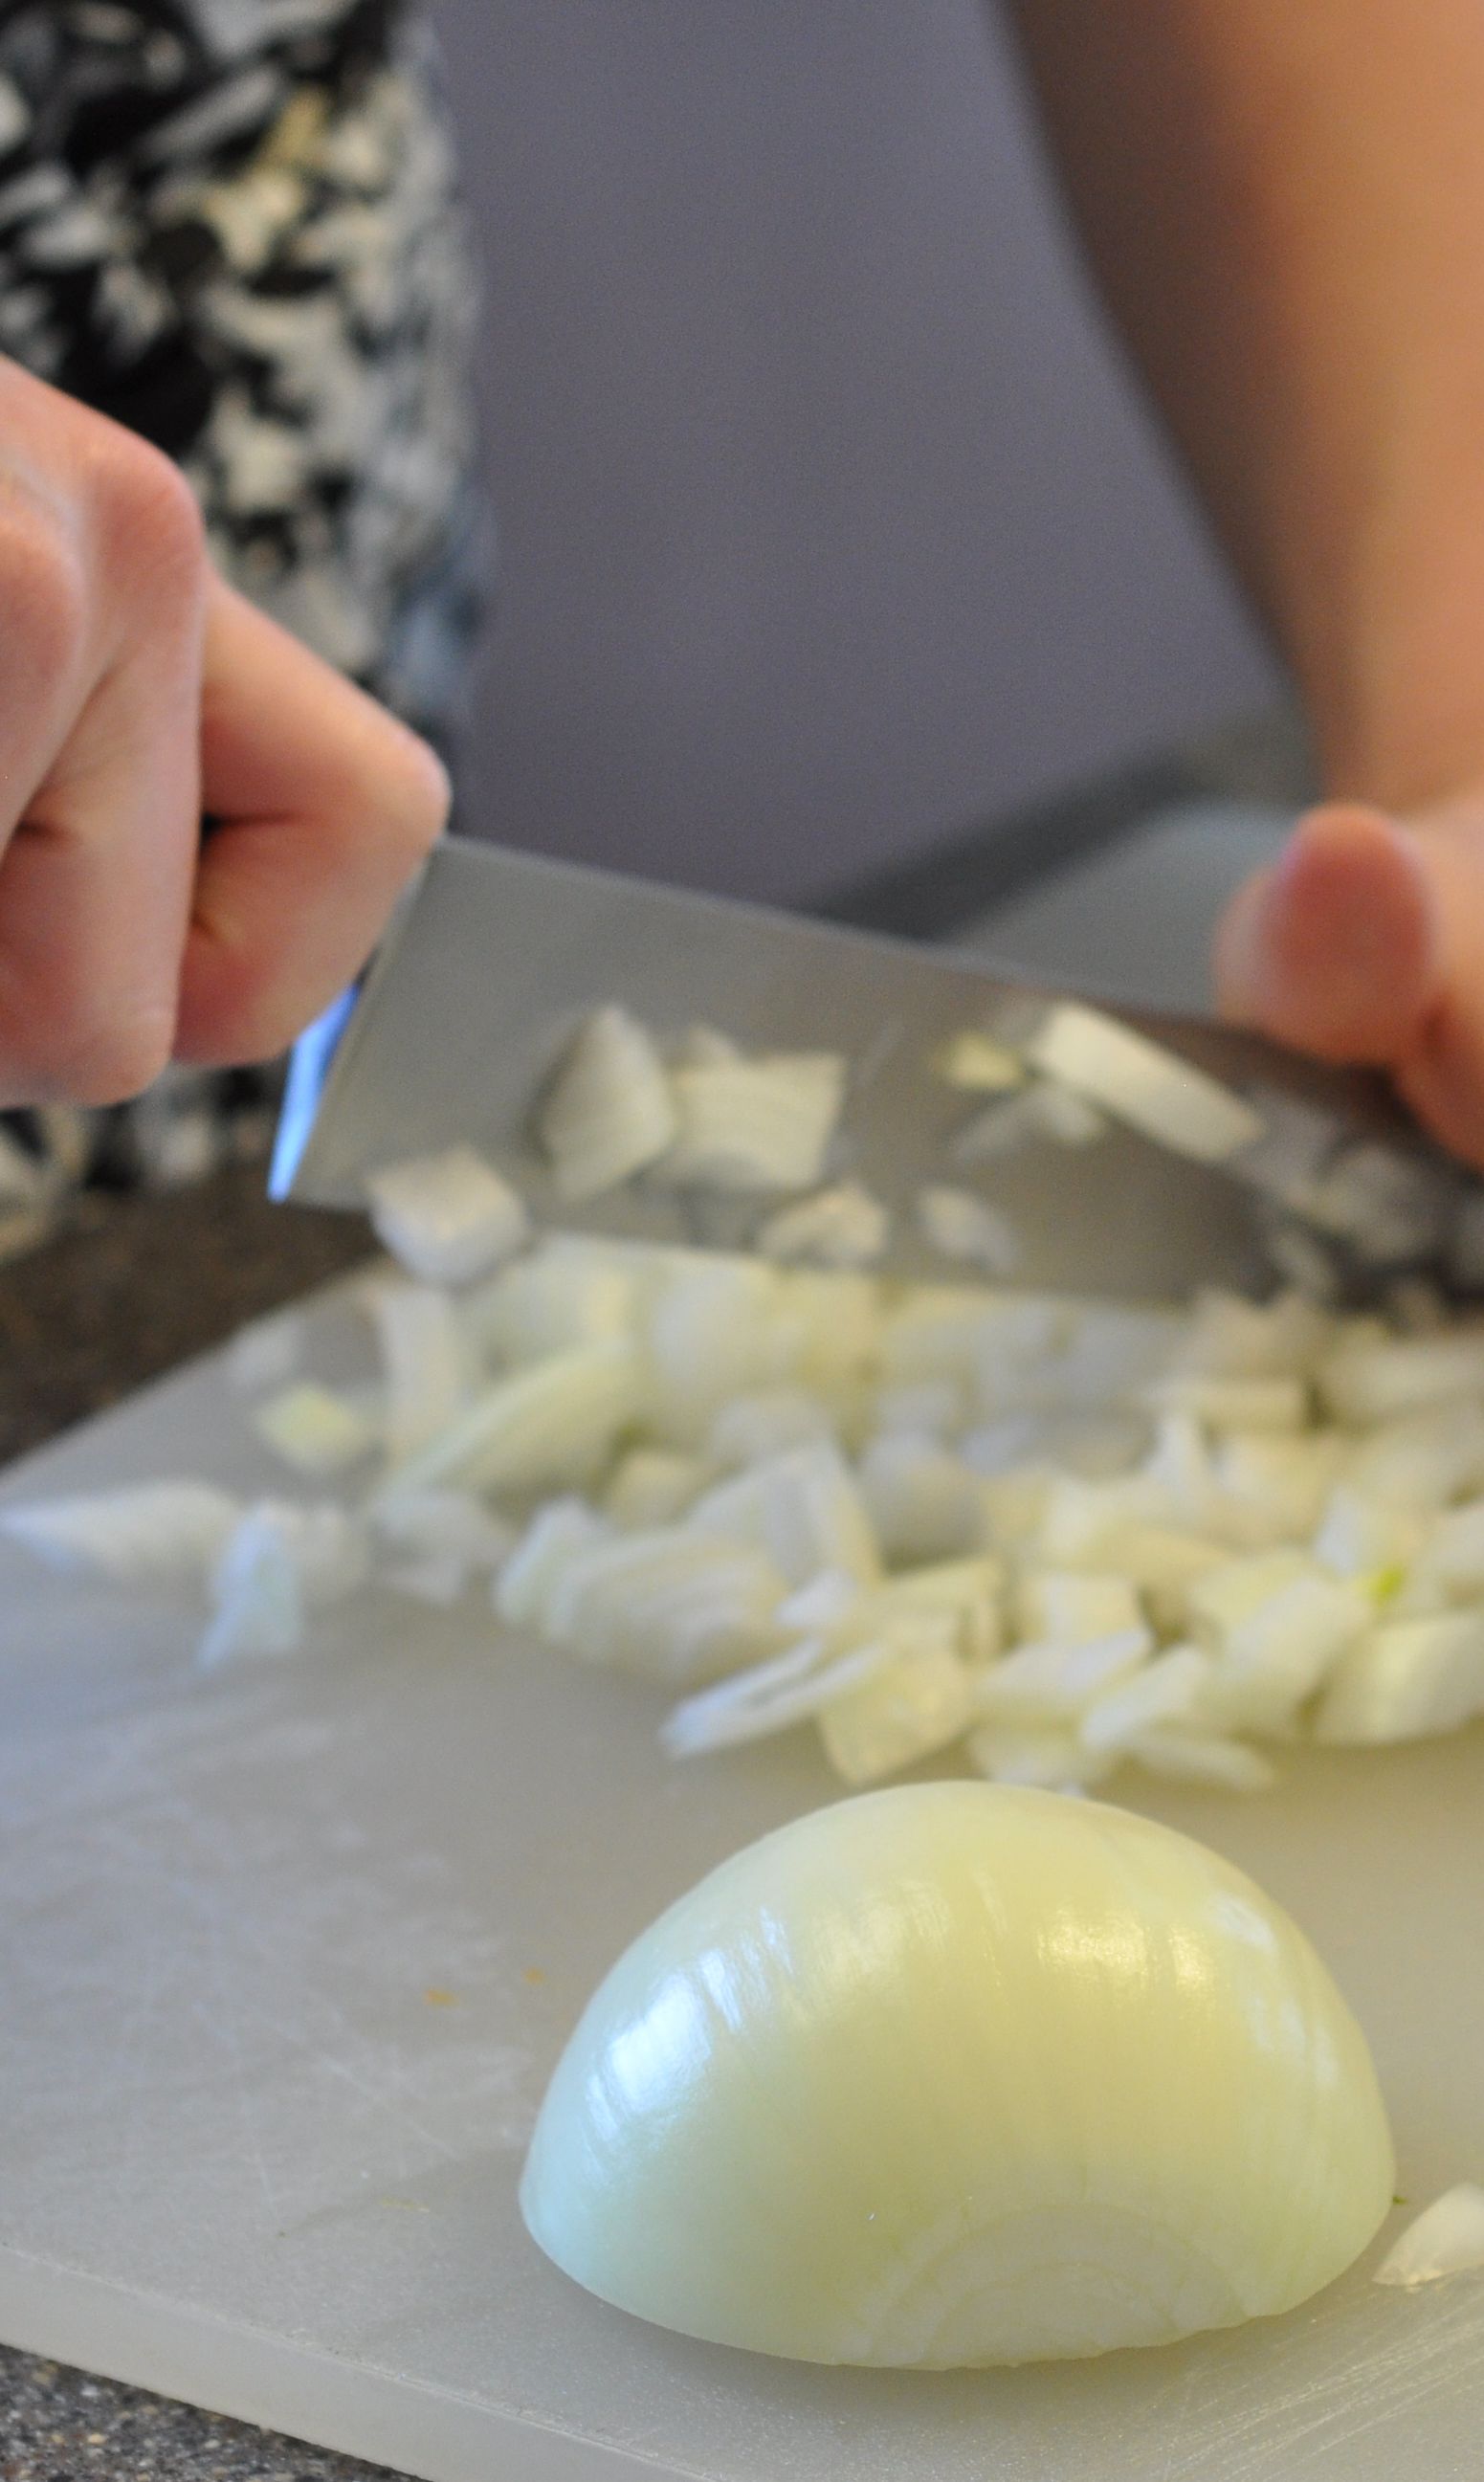
- 2 cups yellow onion, diced
- 4 cloves garlic, minced
- 1 yellow bell pepper, diced
- 1 red bell pepper, diced
- 1 lb bison meat
- 1/2 lb chorizo
- 2 (15 oz) cans kidney beans, drained & rinsed
- 2 (15 oz) cans pinto beans, drained & rinsed
- 1 (14.5 oz) can fire-roasted tomatoes
- 2 chipotle peppers in adobo sauce, diced …(add one more if you want some real heat!)
- 6 cups beef stock
- 1 tsp cayenne (easy on this if you get brave with the chipotles)
- 1 tsp Chinese five-spice powder
- 1/4 cup balsamic vinegar
- 3/4 cup bittersweet, dark chocolate (50% or more cacao)…I used Ghirardelli dark chocolate chips
- Sea salt and pepper, to taste

In a large pot, heat the olive oil on medium-high heat and add the onion, garlic and peppers. Sauté about 5 minutes until softened. Stir in the bison and chorizo and break up while cooking the meat through.
Stir in the beans and tomatoes and continue sautéing for another 6-8 minutes.
Stir in the chipotle peppers, briefly sauté, and then pour in the stock, cayenne and Chinese five-spice powder.
Bring the mixture to a boil then lower heat to a simmer.
Once simmering, stir in the balsamic vinegar.

Simmer chili for 2 – 3 hours. Don’t let all the liquid cook out or the consistency will become too thick (and dry).
At the end of cooking, stir in the chocolate. Don’t cook the chocolate on high heat…it will burn.
Serves 6-8 people. Yeehaw!

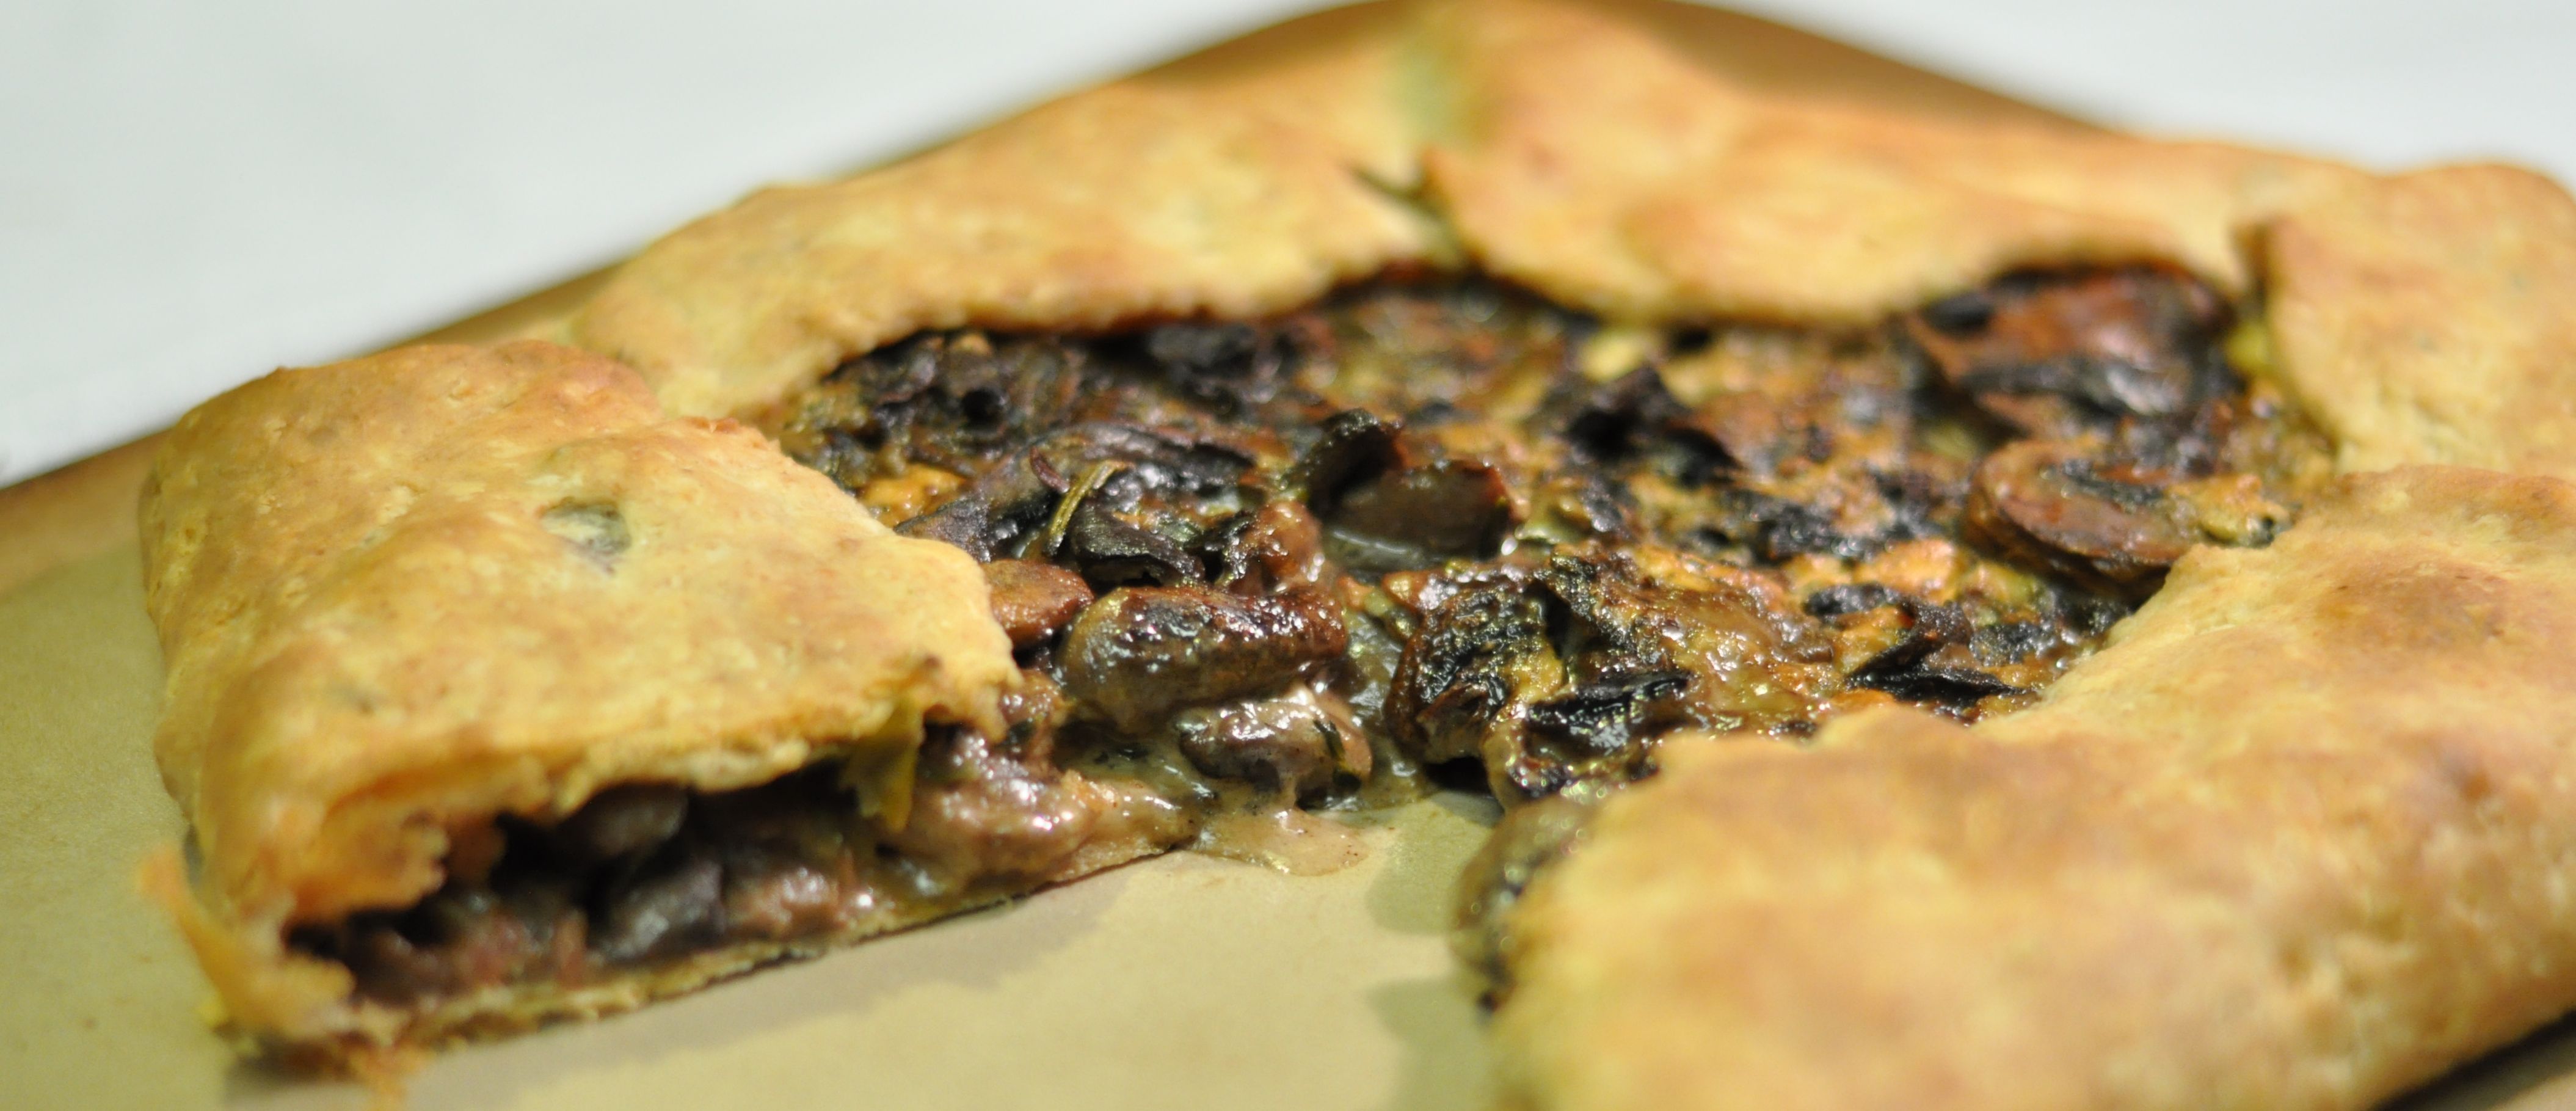
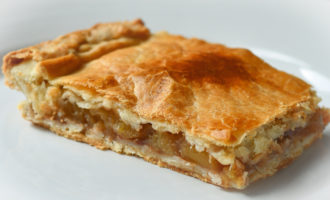
Rustic Mushroom Galette
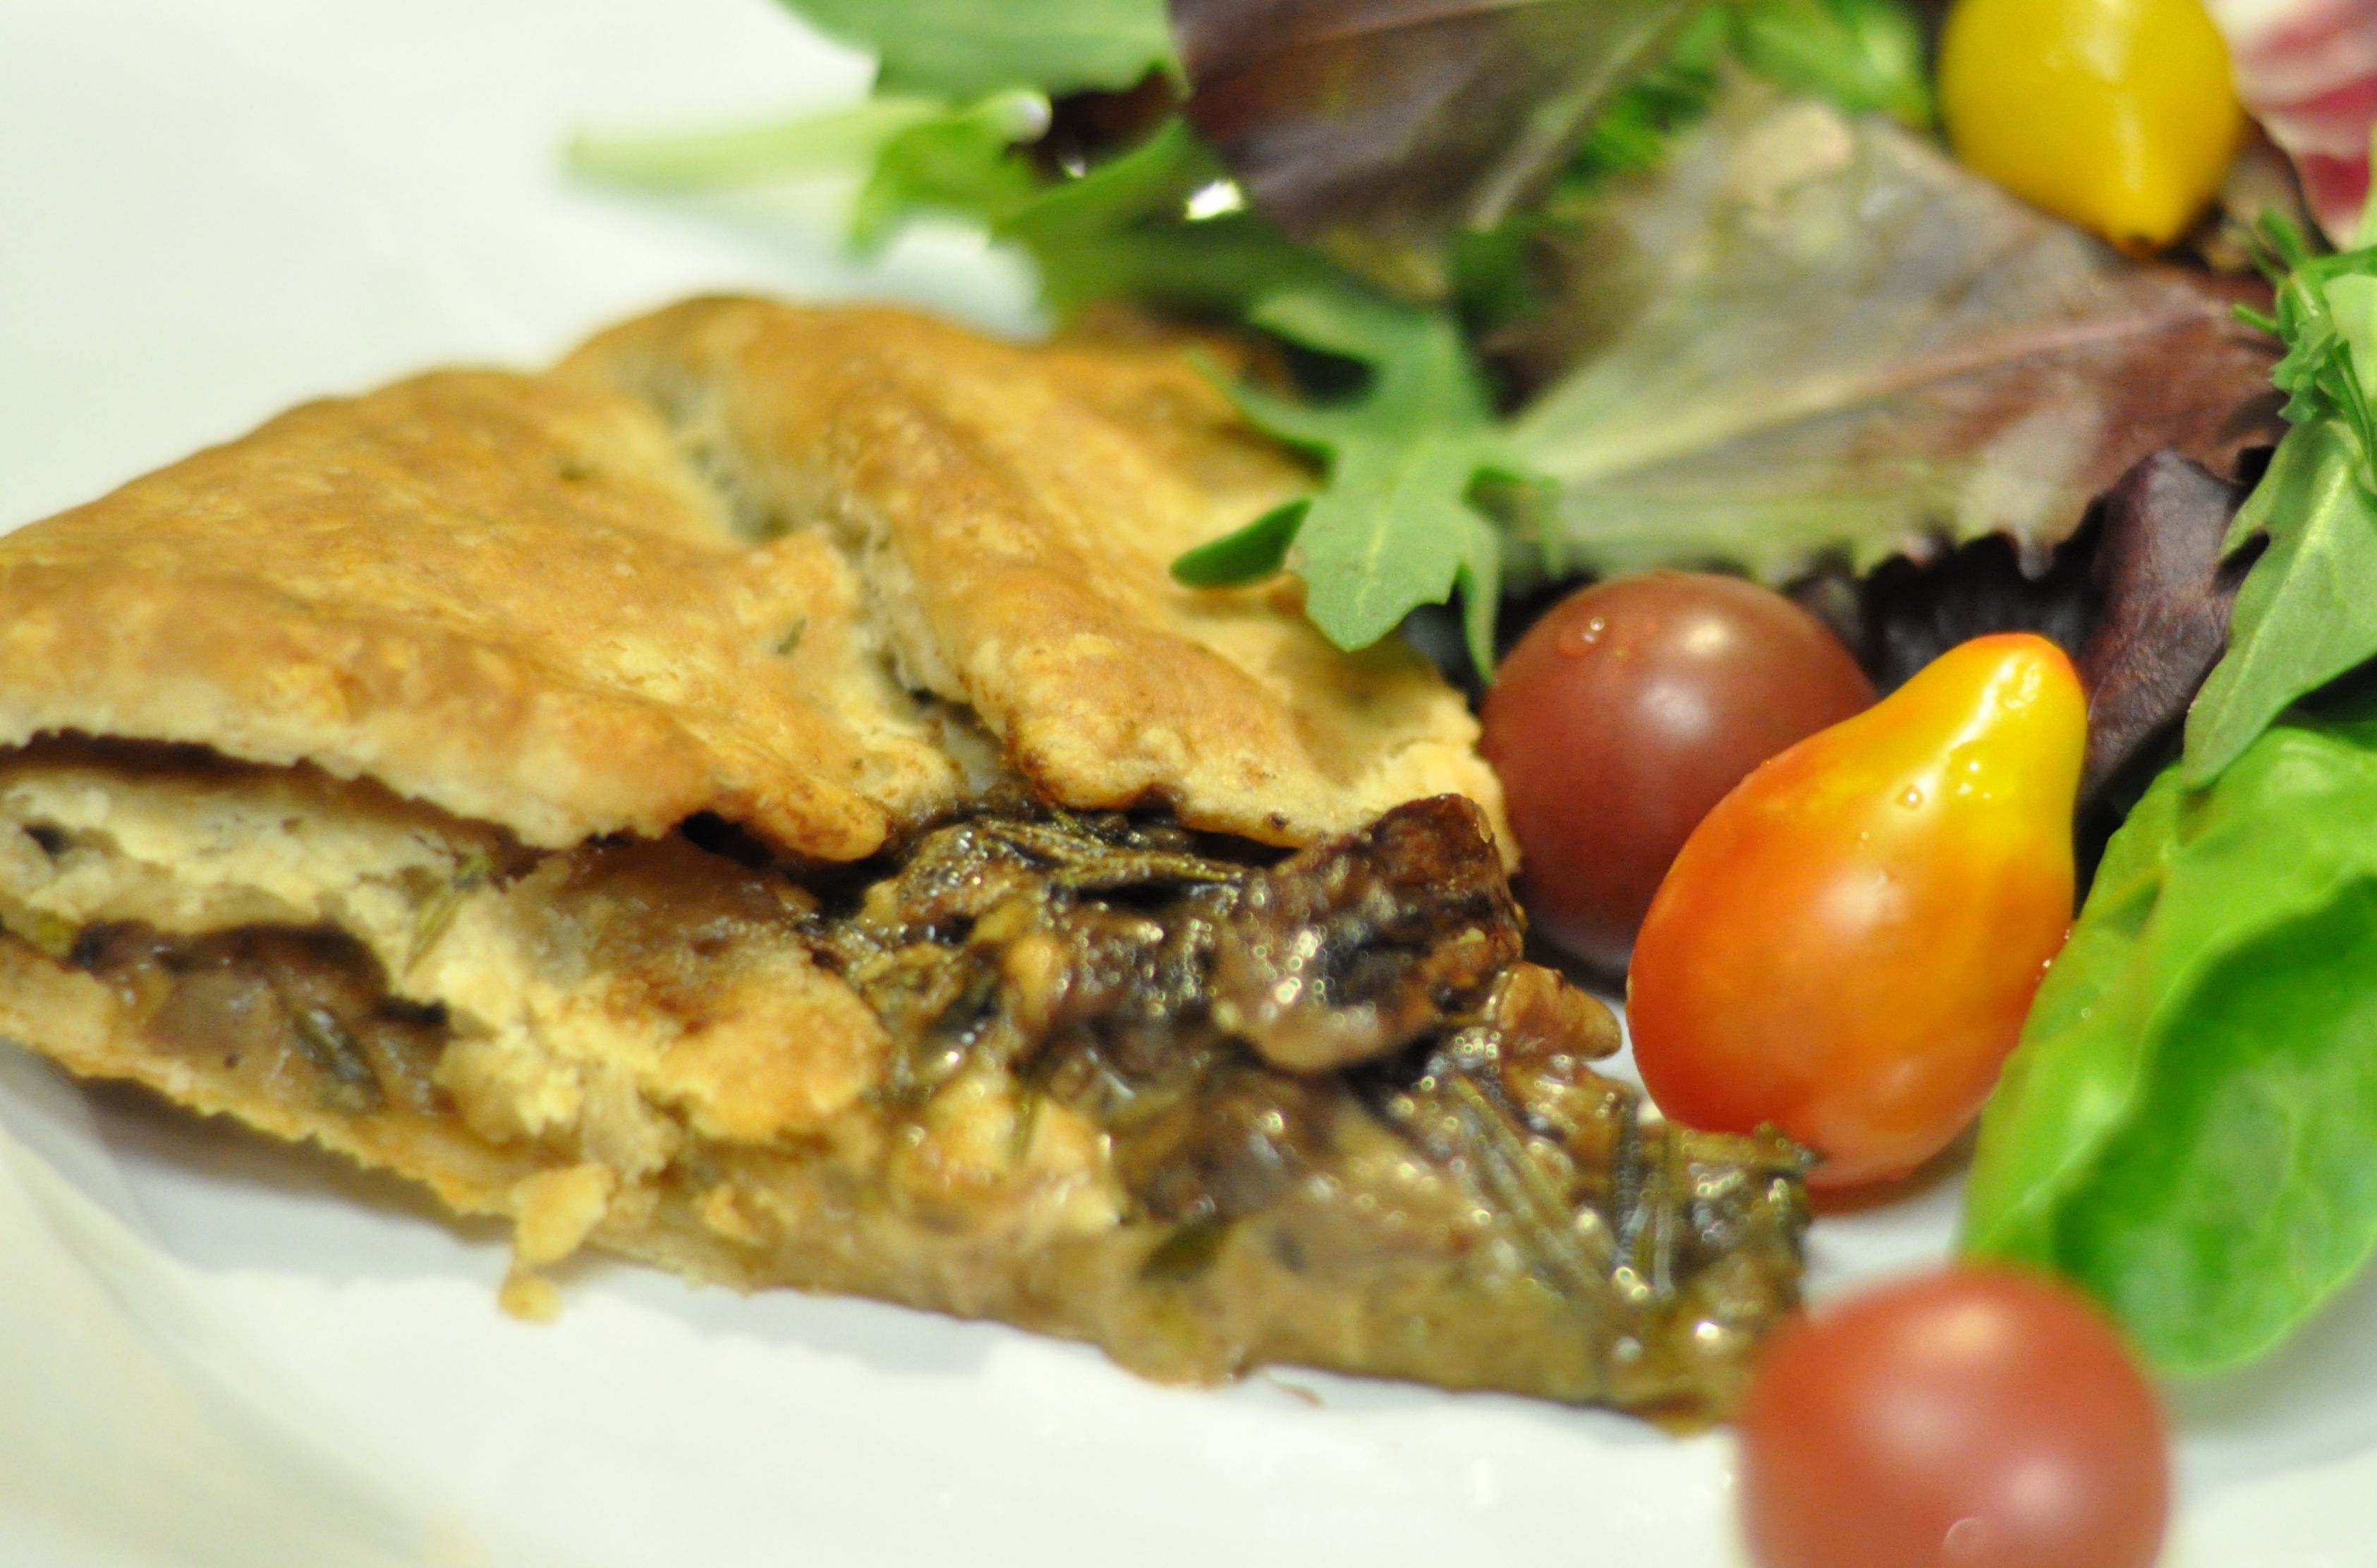

I WISH you could smell my house. Buttery, fresh baked bread; rich mushrooms and tangy blue cheese. What a treasure to find the “edible FRONT RANGE” in a local coffee shop. Mmmm….what a lovely magazine focused on seasonal, local food.
I thumbed through this magazine over coffee at Rico’s cafe in Colorado Springs, and then went straight to the grocery store to pick up the ingredients for this Rustic Mushroom Galette. I’ve made it several times since and it just gets better and better. Serve a wedge of this galette with soup or a side salad.
Ingredients
Crust
- 1 cup all purpose flour
- 1/4 cup whole wheat flour
- 1/2 teaspoon salt
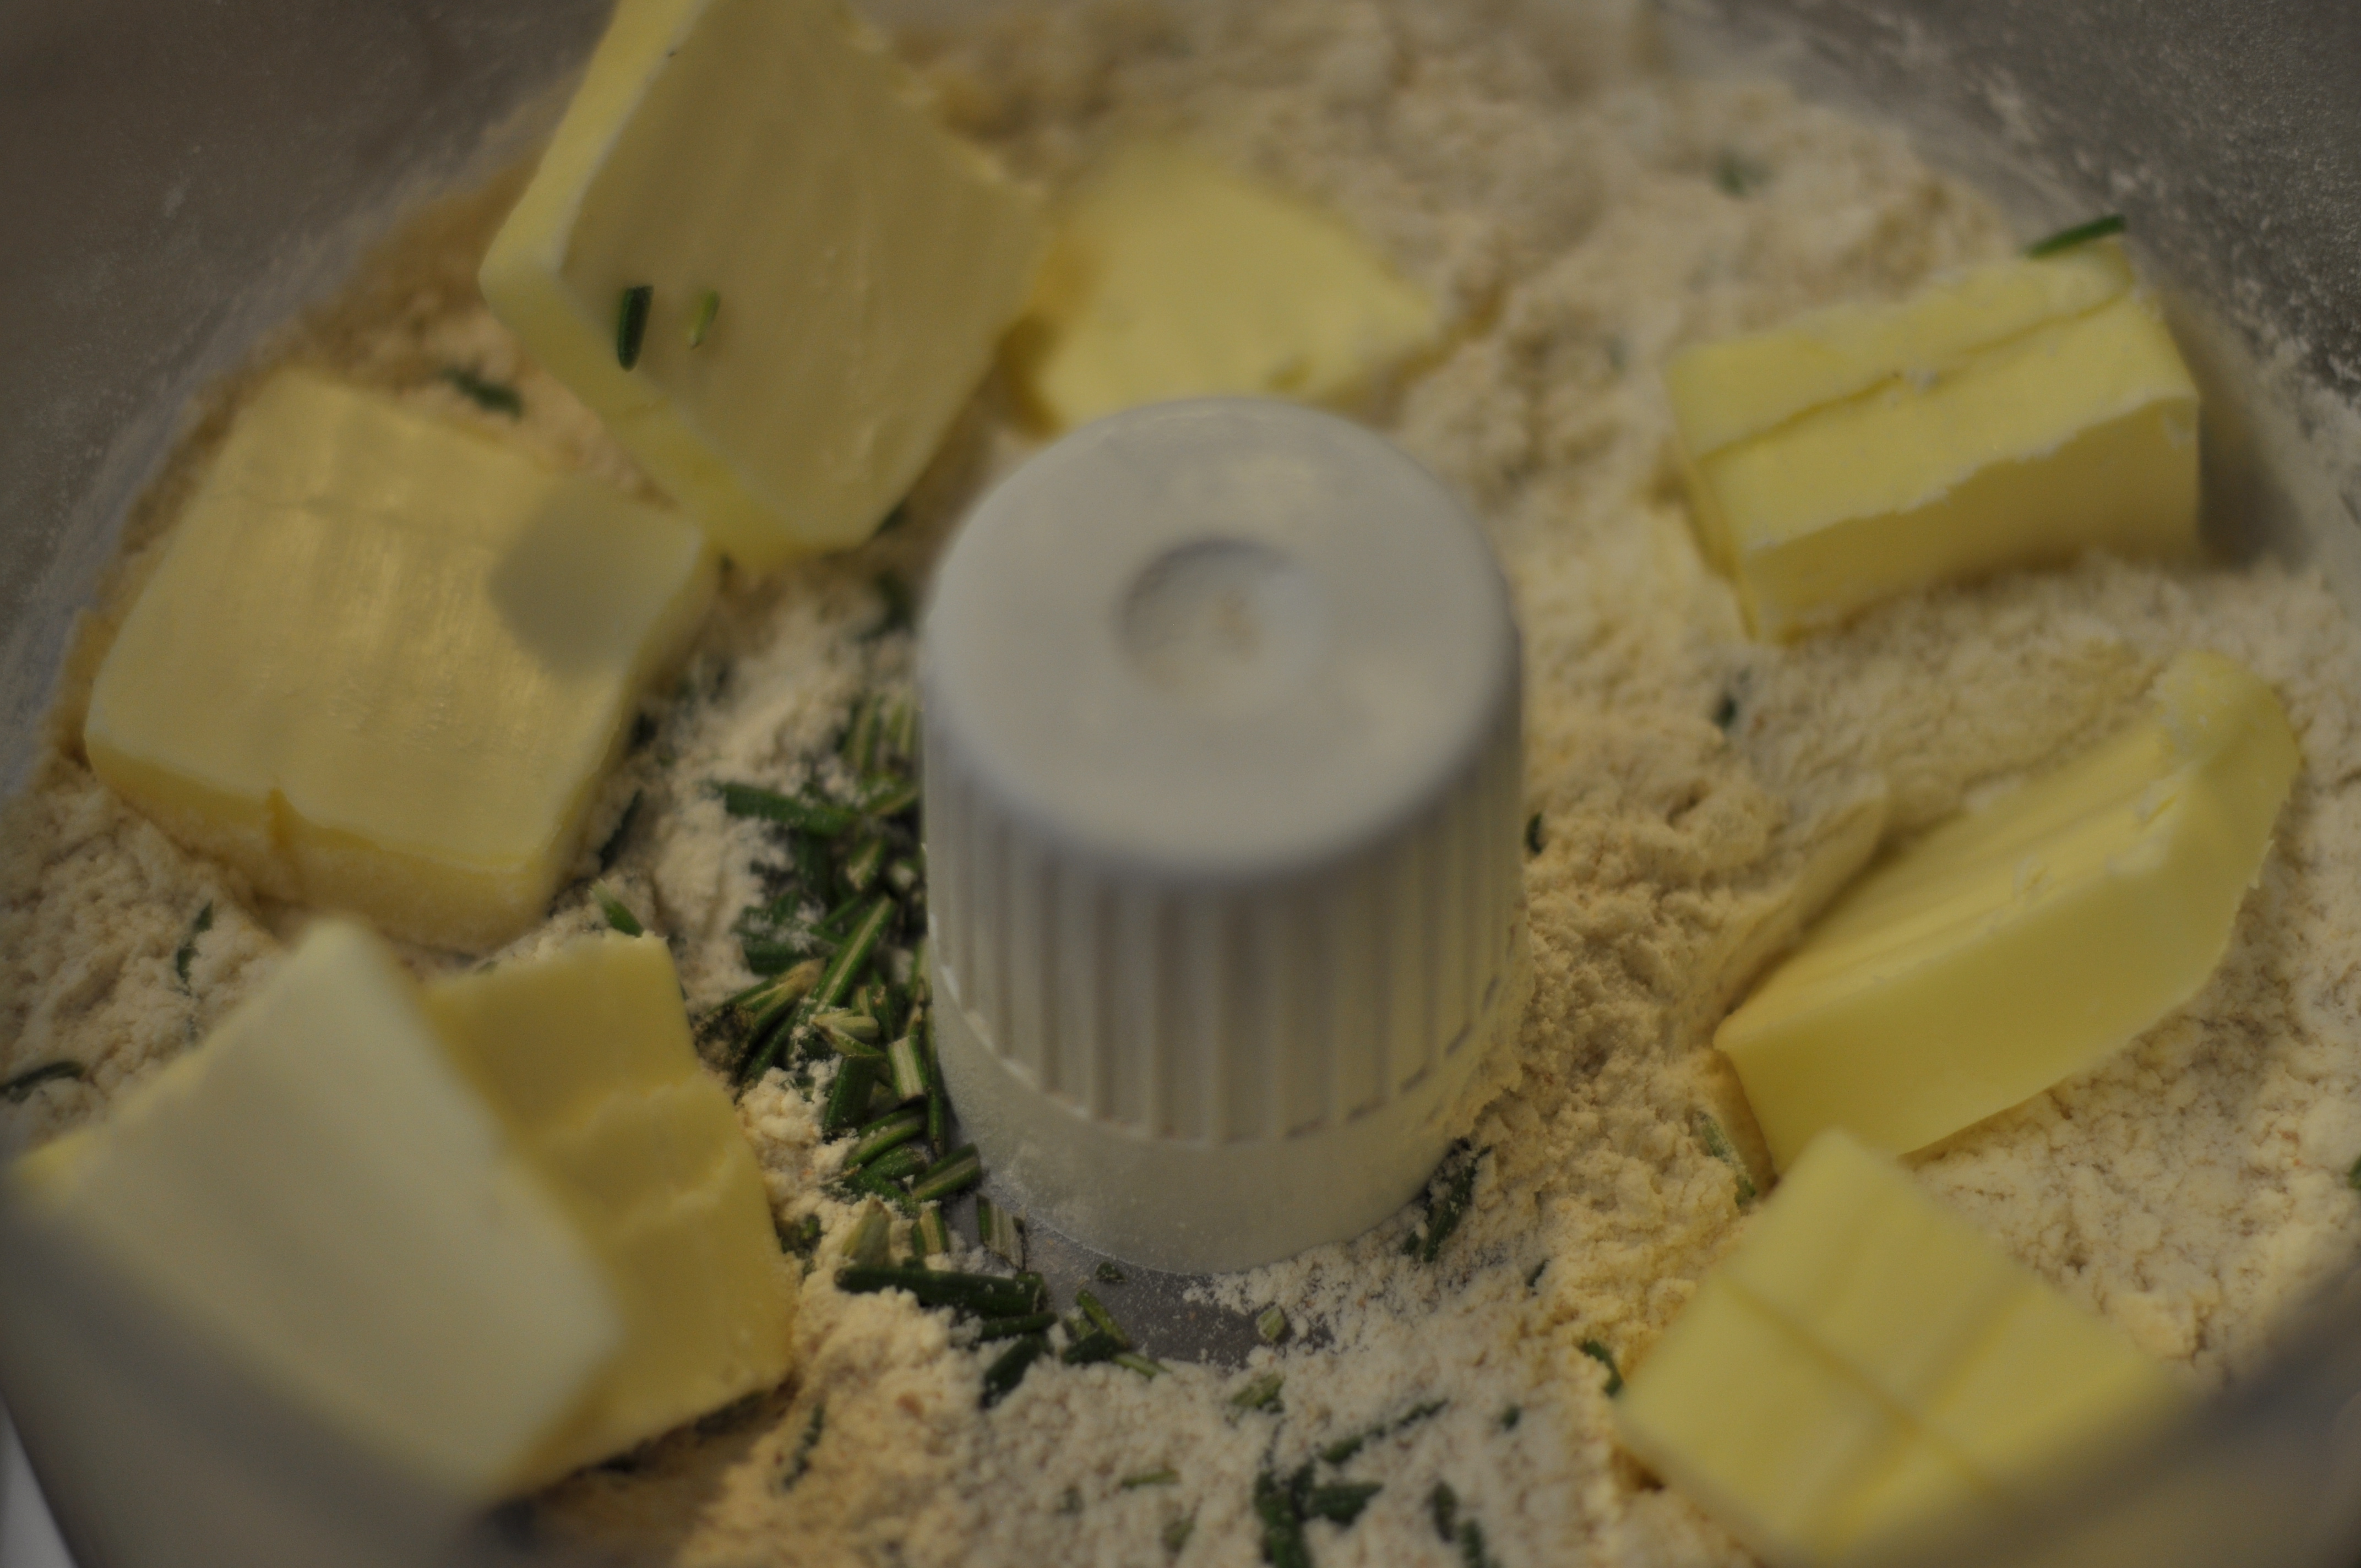
- 1 tablespoon rosemary (fresh, chopped)
- 8 tablespoons unsalted butter (sliced)
- 4 tablespoons sour cream
- 2 teaspoons lemon (fresh, squeezed)
- 1/2 cup ice water
Mushroom Filling
- 1/4 oz porcini mushrooms (dry…you can find these packaged near the fresh mushrooms)
- 1 cup boiling water
- 2 tablespoons unsalted butter
- 6 green onions (thinly sliced)
- 1/2 teaspoon rosemary (fresh, chopped)
- 1/2 teaspoon thyme (fresh, chopped)
- 1/2 teaspoon sage (fresh, chopped)…I buy the poultry seasoning blend which contains all three herbs
- 1 lb white mushrooms (sliced)
- Salt & pepper (to taste)
- 4 oz blue-veined cheese (Maytag Blue, Gorgonzola or Roquefort)
Crust:

In a food processor, add flour, salt, sliced butter and chopped rosemary. Pulse until butter is in small pieces (like breadcrumb consistency with some butter pieces no more than the size of peas).
Whisk sour cream, lemon juice and water together.
Pour flour mixture in a large bowl, make a well and pour half the liquid mixture in the well. Stir in the middle with a wooden spoon until chunks form. Add remaining liquid and mix until the dough holds together (with no dry pieces hanging around).
Form the dough into a ball, cover in plastic wrap and set in the refrigerator for 1 hour.
Mushroom filling:
Place dry porcini mushrooms in a bowl of boiling water and cover; let it sit for 20-30 minutes. Drain the liquid (you can save for another recipe). Finely mince porcini mushrooms.
Heat oven to 400 degrees.
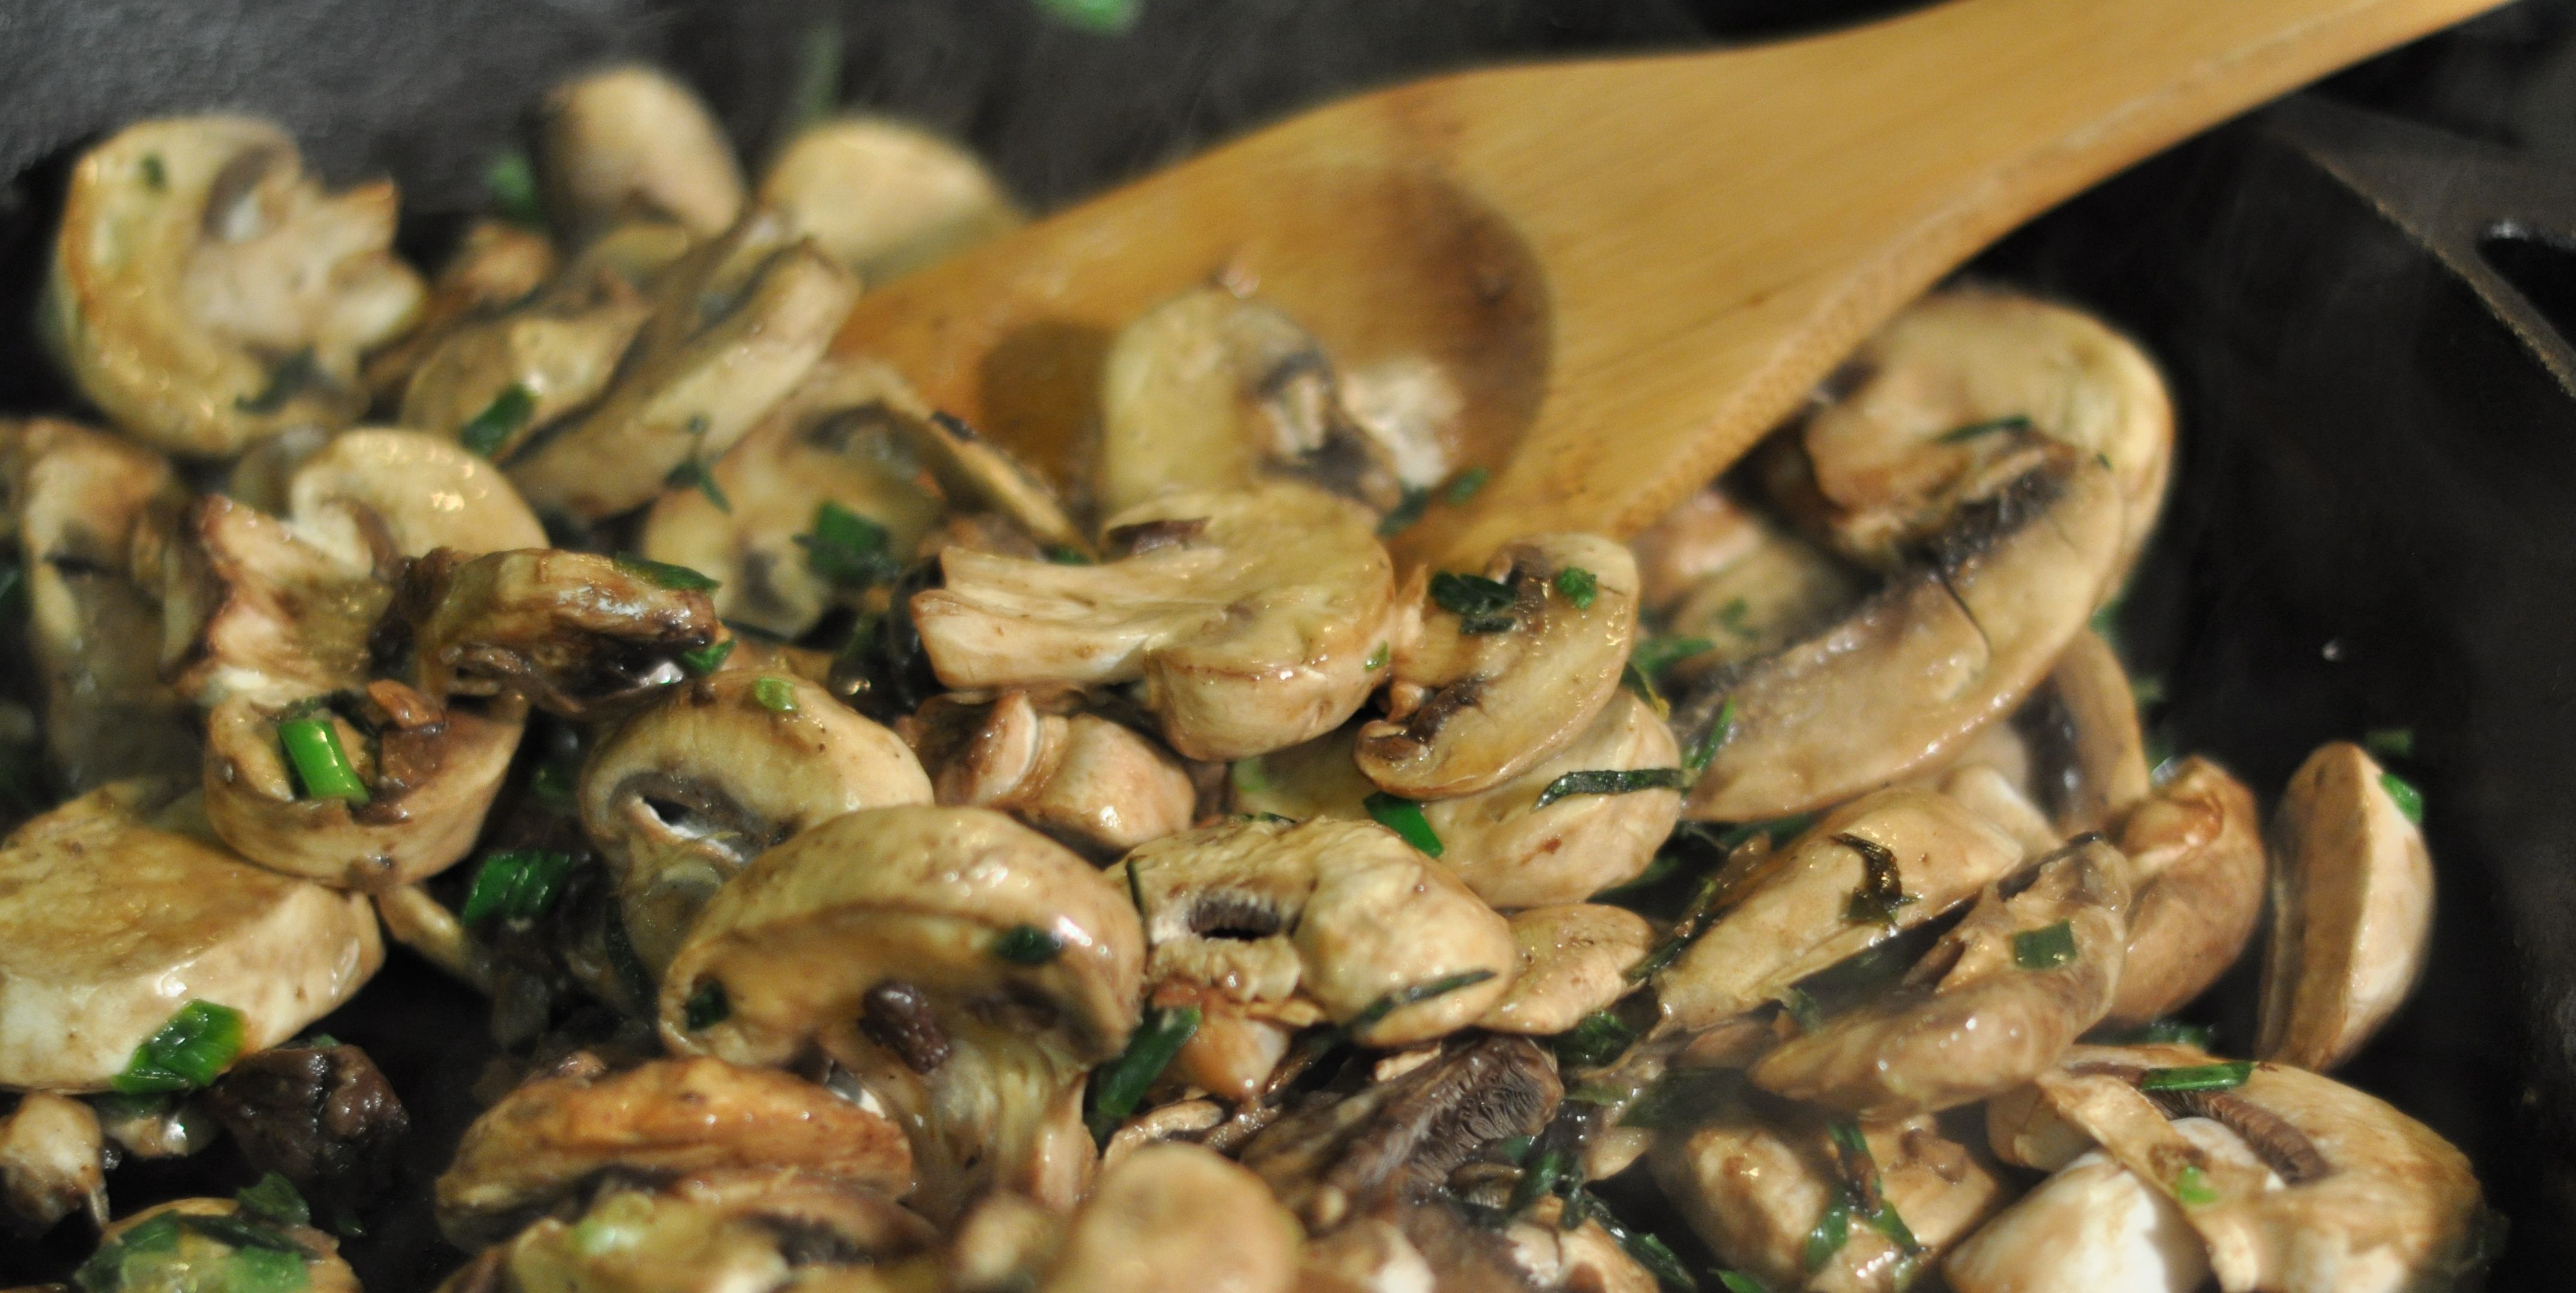
Melt 2 Tbs of butter in large pan over medium heat. Add green onions and cook until soft (about 5 minutes).
Add herbs and cook another minute. Increase heat to high and add white and porcini mushrooms. Cook about 6-8 minutes or until the liquid has cooked out. Take mushrooms out of pan and place in a glass bowl to cool. Season to taste with salt and pepper (easy on the salt as the cheese can be quite salty).
Assemble galette:
Take dough out of refrigerator and roll out on floured surface to 12 inch round shape. Place on parchment-covered baking sheet or flat stone baking sheet (like a Pampered Chef stone). Add crumbled cheese to the bowl of cooled mushrooms and then spread over dough.
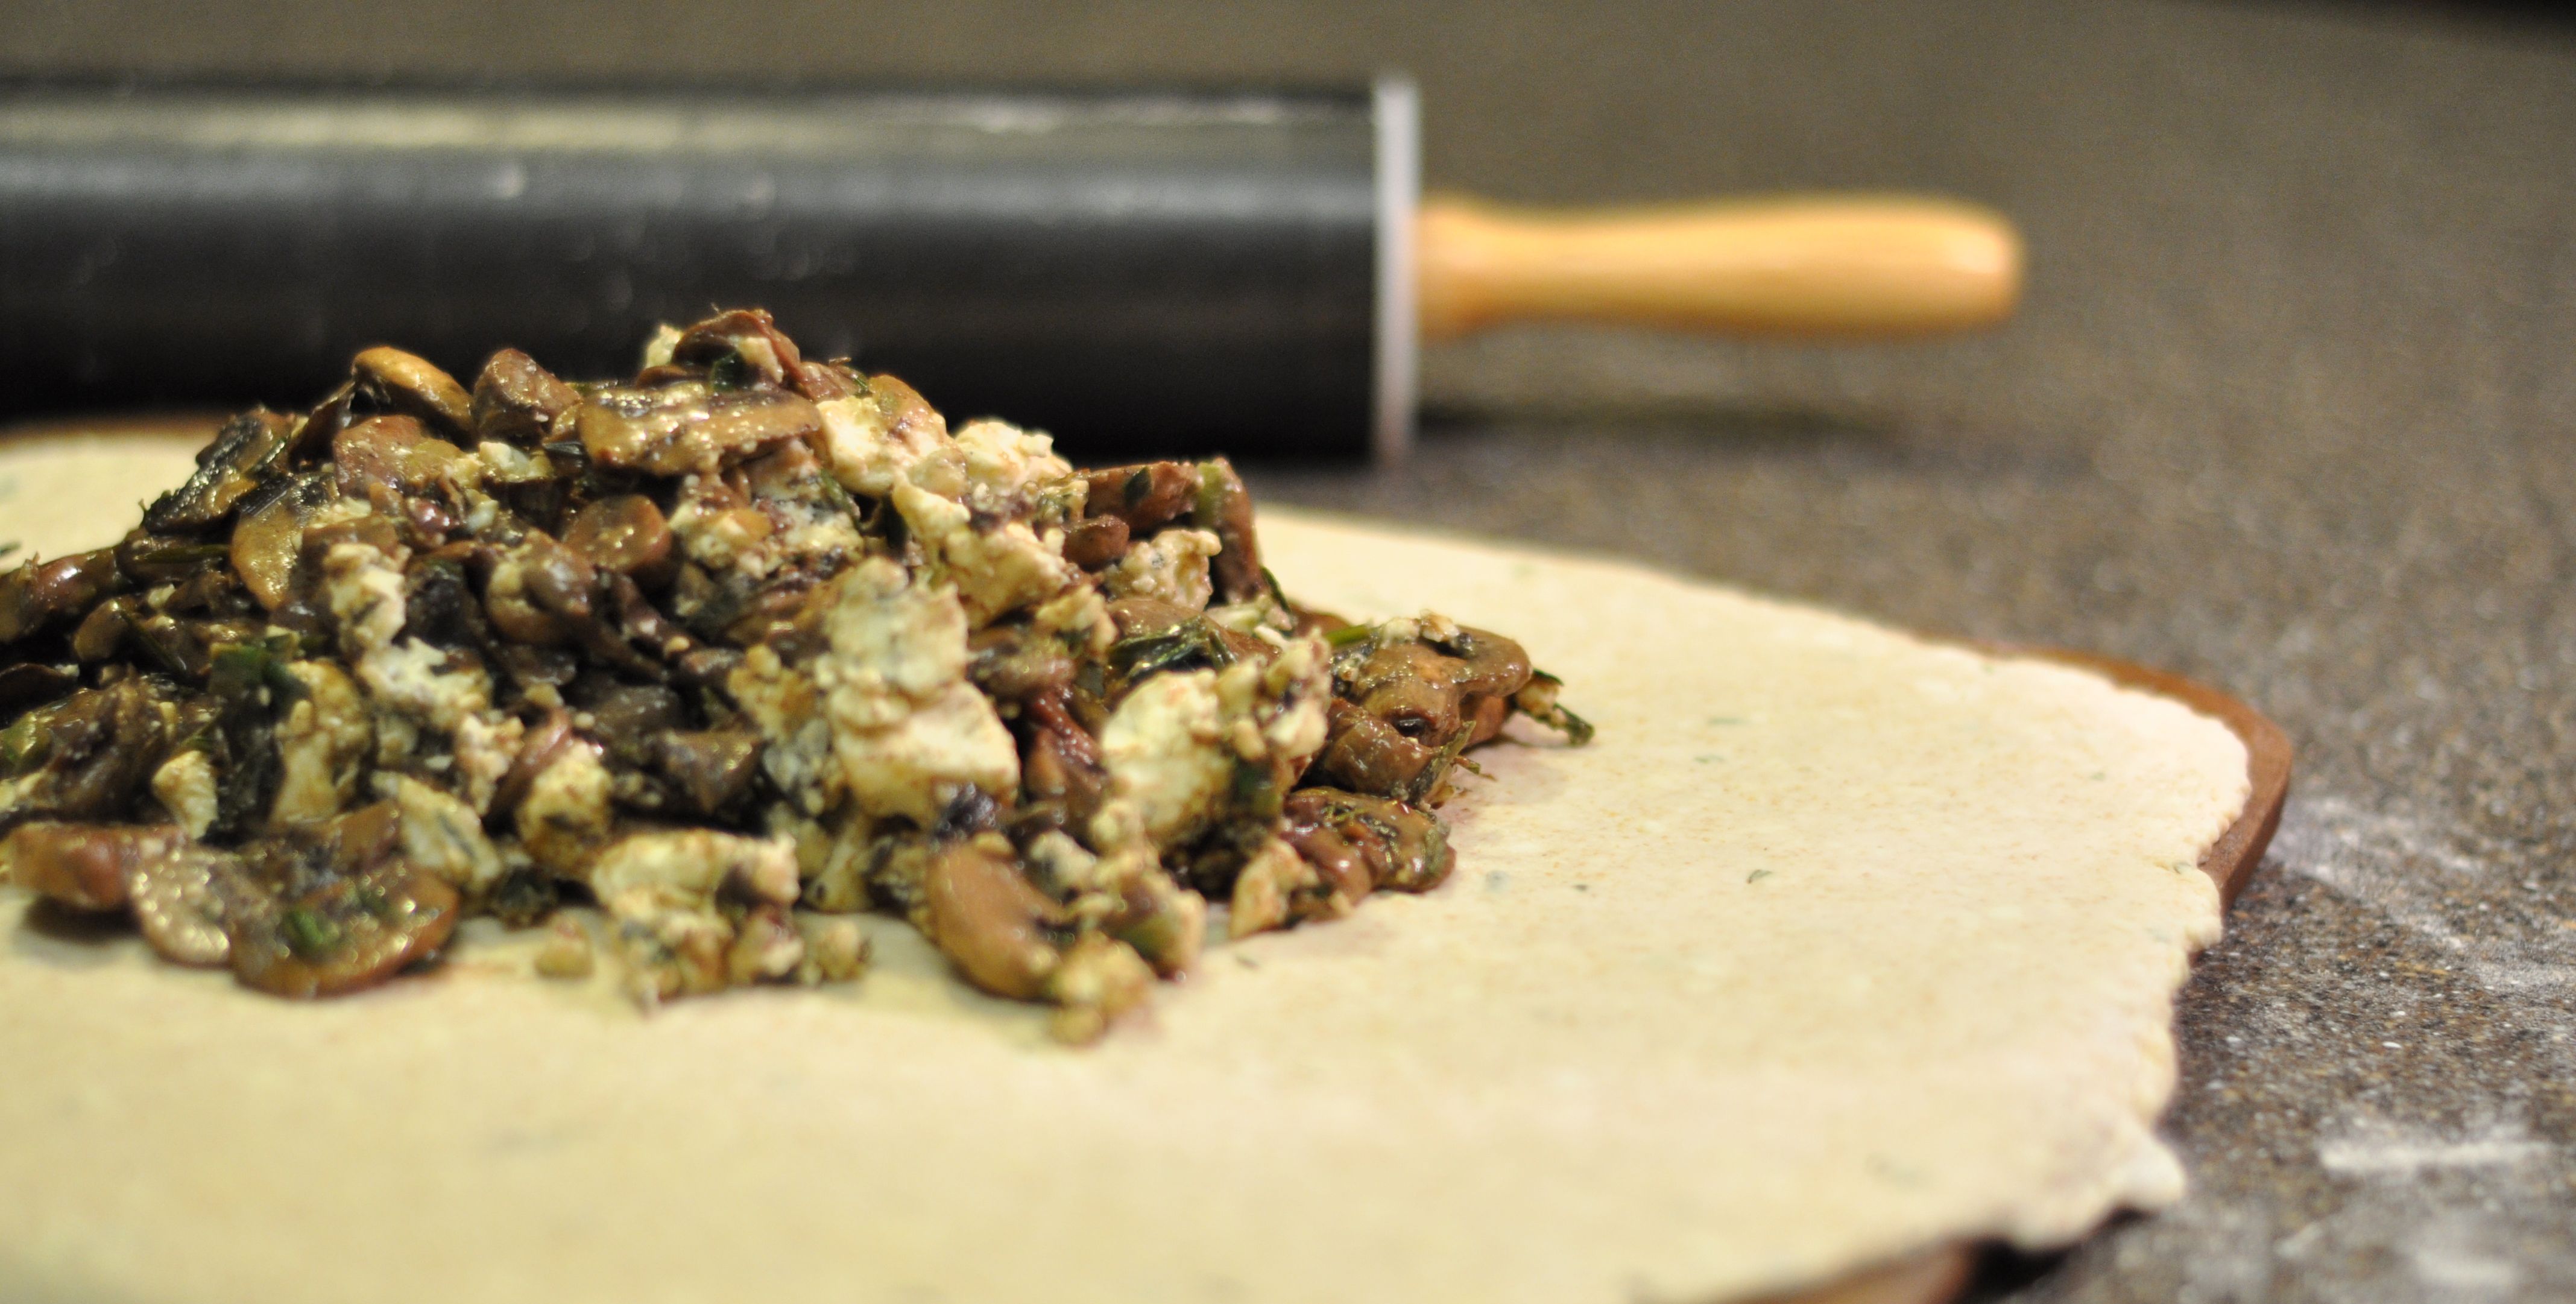
Leave a 2 inch border and fold dough border over the mushroom/cheese mixture, but leave open in the center.
Bake 30-45 minutes until golden brown. Remove from the oven and let the galette cool for 5 minutes. Serve hot or at room temperature.