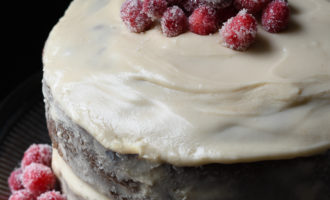
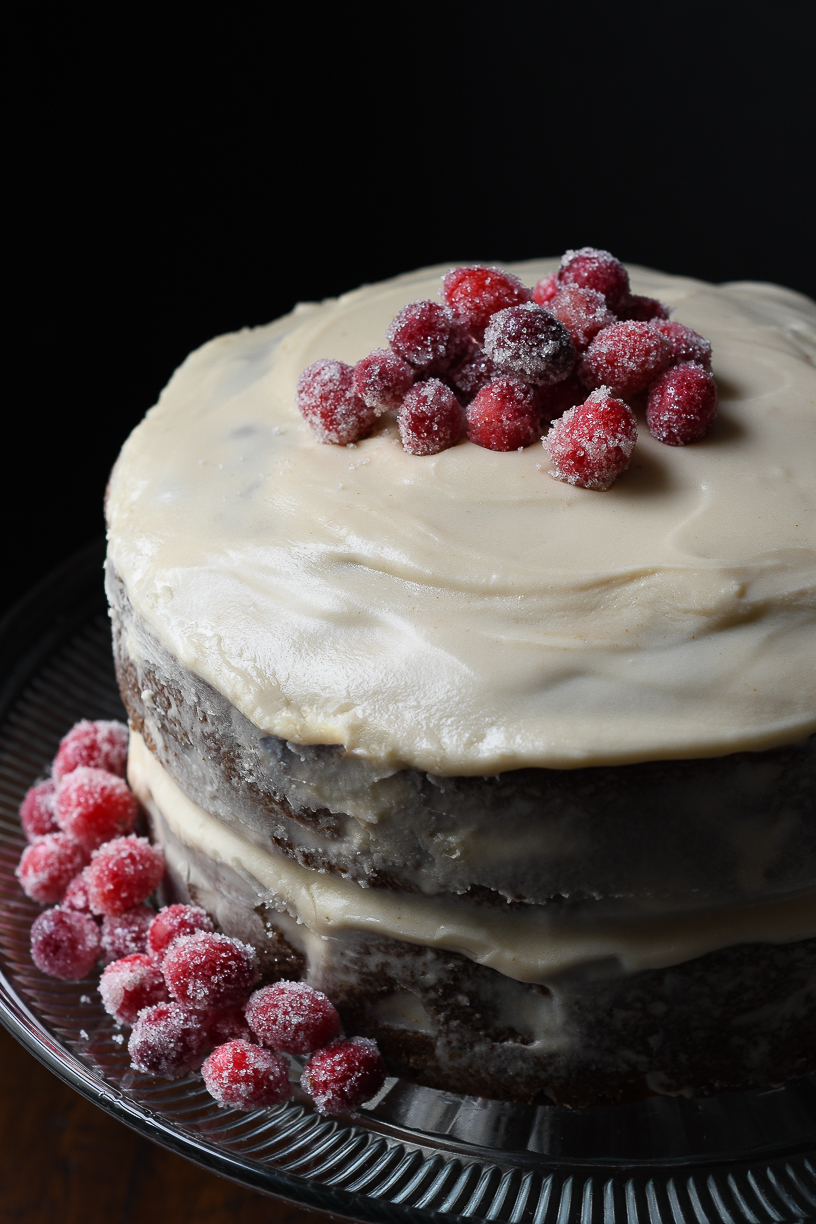
Spiced Apple Cake
You know those things you find yourself always going back to…? That dish at your favorite restaurant. That old, snuggly sweater. You go back because it’s good. You wear it because it’s comforting. It’s “tried and true.” That’s this cake. When I want a cake with “nailed it” results every time, I make this one. Well, also because it’s chock full of apple chunks, and so that’s healthy… And, if you read my Apple Slab Pie post, you know I eat desserts for breakfast. Only certain desserts, like this one! I’m not a savage…
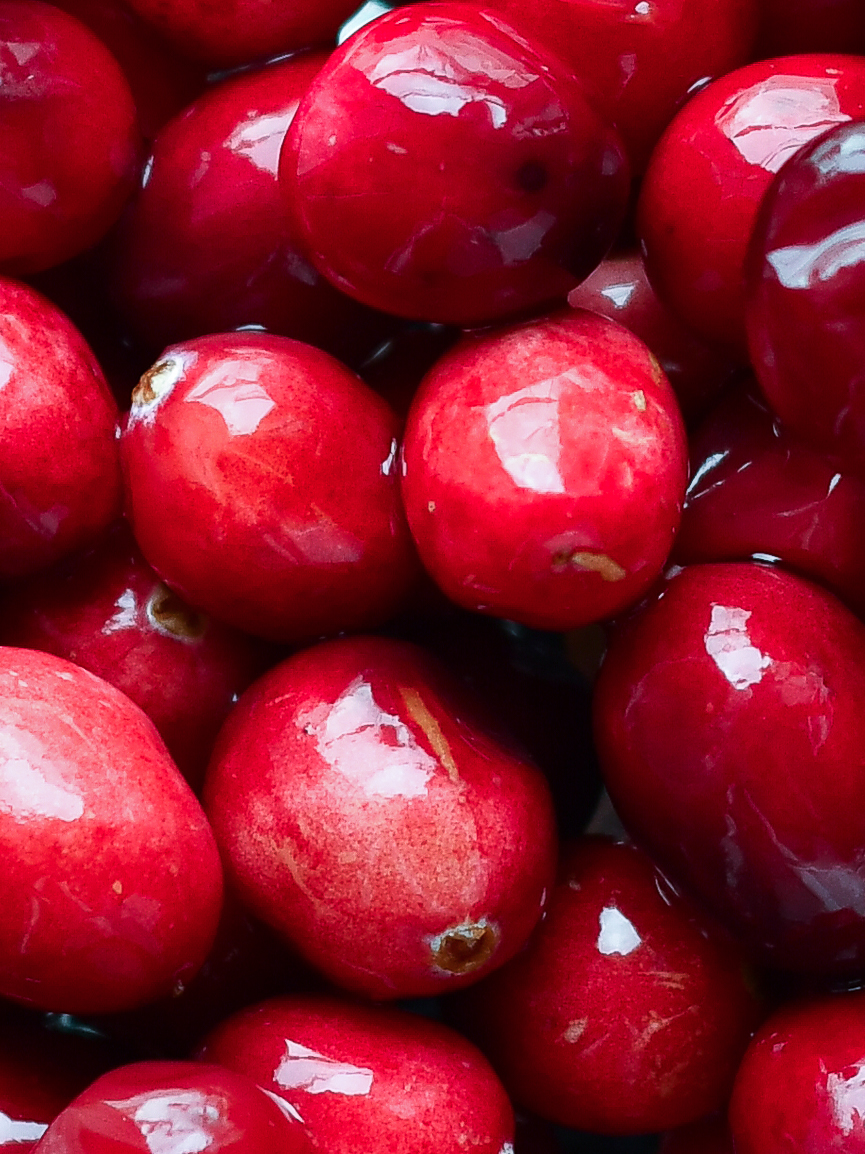
This cake comes together so simply! It’s perfectly moist. You can make this as a bundt, but a layer cake is absolutely delightful for this recipe. Slather some apple butter between the layers and top with sugared cranberries. You have just found a little slice of heaven.
Check out how easy this cake comes together in my video:
The sugared cranberries are very easy to make, but you’ll want to prepare the cranberries in the simple sugar syrup the day before you need them. Sugared cranberries pair perfectly with this spiced apple cake. They’re festive and fun for the holidays, and you’ll love the sweet-tart *pop* of the cranberry through the crunchy sugar coating when you bite into one.
I made this cake for a brunch with my dear friends before we walked to the Old Town Alexandria Scottish Christmas Parade and it was a hit! This cake is a perfect fit during the holidays, but you’ll see… it is fitting for any time of year and should be eaten at any time of day!
This cake was inspired by the Dishing Up Virginia cookbook. It’s a fantastic cookbook that focuses on regional cooking in Virginia.
Spiced Apple Cake

This spiced apple cake is a must for your holiday menu! Chunks of apples, raisins, spices...and it's the most perfectly moist cake ever!
Ingredients
- Spiced Apple Cake
- 3 cups all-purpose flour
- 2 cups sugar
- 2 teaspoons baking soda
- 2 teaspoons ground cinnamon
- 1 1/2 teaspoons allspice
- 1 teaspoon salt
- 2 eggs
- 1/2 cup applesauce
- 1/2 cup grape seed (or vegetable) oil
- 4 cups peeled, finely chopped apples (baking apples are best)
- 1/2 cup golden raisins
- 1/2 cup chopped pecans (or walnuts)
- 2 tablespoons fresh lemon juice
- Glaze
- 2 cups confectioners sugar
- 1 teaspoon vanilla extract
- 4-6 tablespoons heavy cream
- Sugared Cranberries
- 2 cups fresh cranberries
- 1/2 cup water
- 1/2 cup sugar (for the simple syrup)
- 1 cup sugar for coating cranberries (+ 1/2 cup of superfine sugar for final coating, optional)
Instructions
Sugared Cranberries (make the day before you need them)
In a small pot, heat the water and 1/2 cup of sugar until the mixture comes to a simmer and the sugar is dissolved.
Let the water / sugar mixture cool just a bit and then add the cranberries.
Note: if the simple syrup is too hot, the cranberries will pop. You don't want this. You can test out the heat by putting a few cranberries in the syrup to ensure they don't pop. When it has cooled just enough, add the cranberries to the simple syrup.
Allow the cranberries to soak in the simple syrup overnight (you can soak them for at least 1 hour, but overnight is best).
After the cranberries have soaked, strain them (keep the liquid...you now have a cranberry simple syrup!) and place the cranberries on a wire rack covered with parchment paper. Let the cranberries dry out for at least 1 hour.
Place 1 cup of sugar on a plate and roll the cranberries in the sugar to coat them. You can also place superfine sugar on another plate and roll the sugar-coated cranberries in the superfine sugar. It gives the cranberries that extra 'snowy' look!
Use that same day for garnish or as a fun addition to your appetizer spread. They will keep for a couple days in the refrigerator, but they get 'weepy' pretty quick-- so plan to use them the same day you roll them in sugar.
Spiced Apple Cake
Preheat the oven to 350 degrees and coat two 8-inch cake pans or a bundt cake pan in butter or cooking spray.
Whisk the flour, sugar, baking soda, cinnamon, allspice, and salt together in a large mixing bowl. Make a well in the center and add the eggs, applesauce, and oil. Stir to combine the wet and dry ingredients.
Fold in the chopped apples, raisins, nuts, and lemon juice. The batter will be stiff. Scrape the batter into the prepared pan(s) and bake 1 hour or until golden brown and a toothpick comes out clean (from the center of the cake).
Cool the cake in the pan for 10 minutes and then invert onto a wire rack to cool completely.
Glaze
While the cake is cooling, make the glaze by mixing the confectioners sugar, vanilla, and 4 tablespoons of the cream in a medium bowl. Add an additional tablespoon of cream until the glaze is smooth. You don't want it to be stiff and you also don't want it to be runny.
If you've made a layer cake, place the bottom layer on your cake plate and spread a filling of your choice on the bottom layer. I've used the glaze (you'll need to make a double batch if you use the glaze), salted caramel, and apple butter as the filling between the cake layers. My personal favorite is the apple butter! Place the top cake layer on top of the filling coated bottom layer. Pour or spoon the glaze over the top of the cooled cake and let it run down so you can lightly glaze the sides of the cake. Top with sugared cranberries. Ta da!
https://www.travelynneats.com/2018/12/16/spiced-apple-cake/
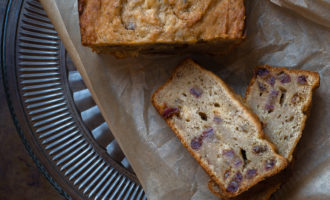
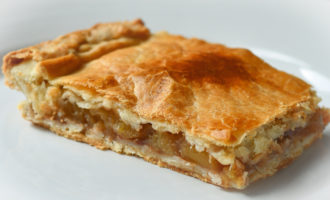
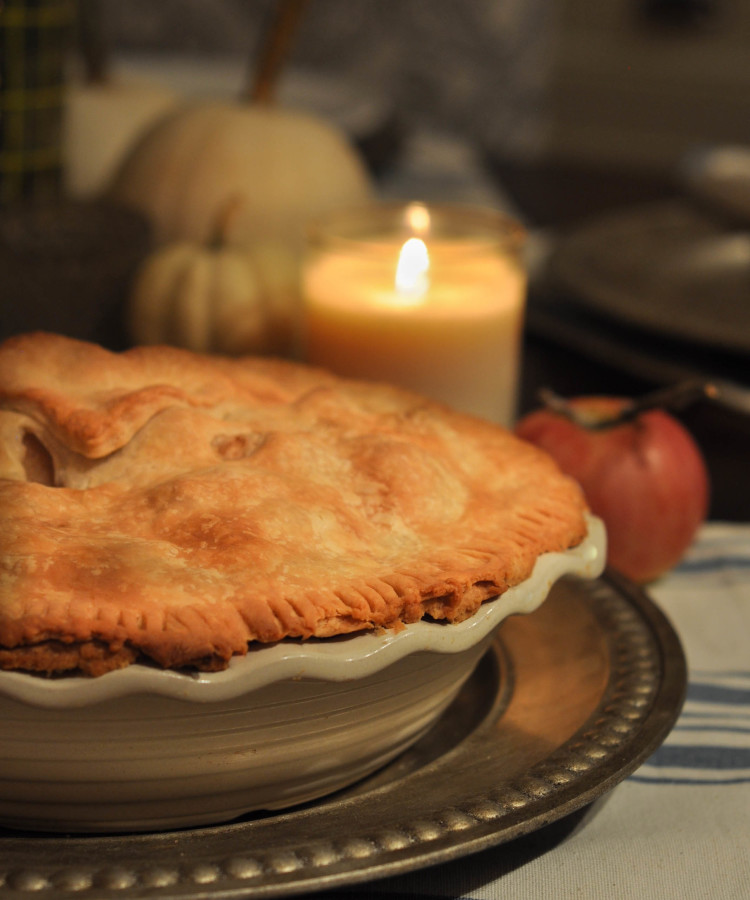
Apple Slab Pie
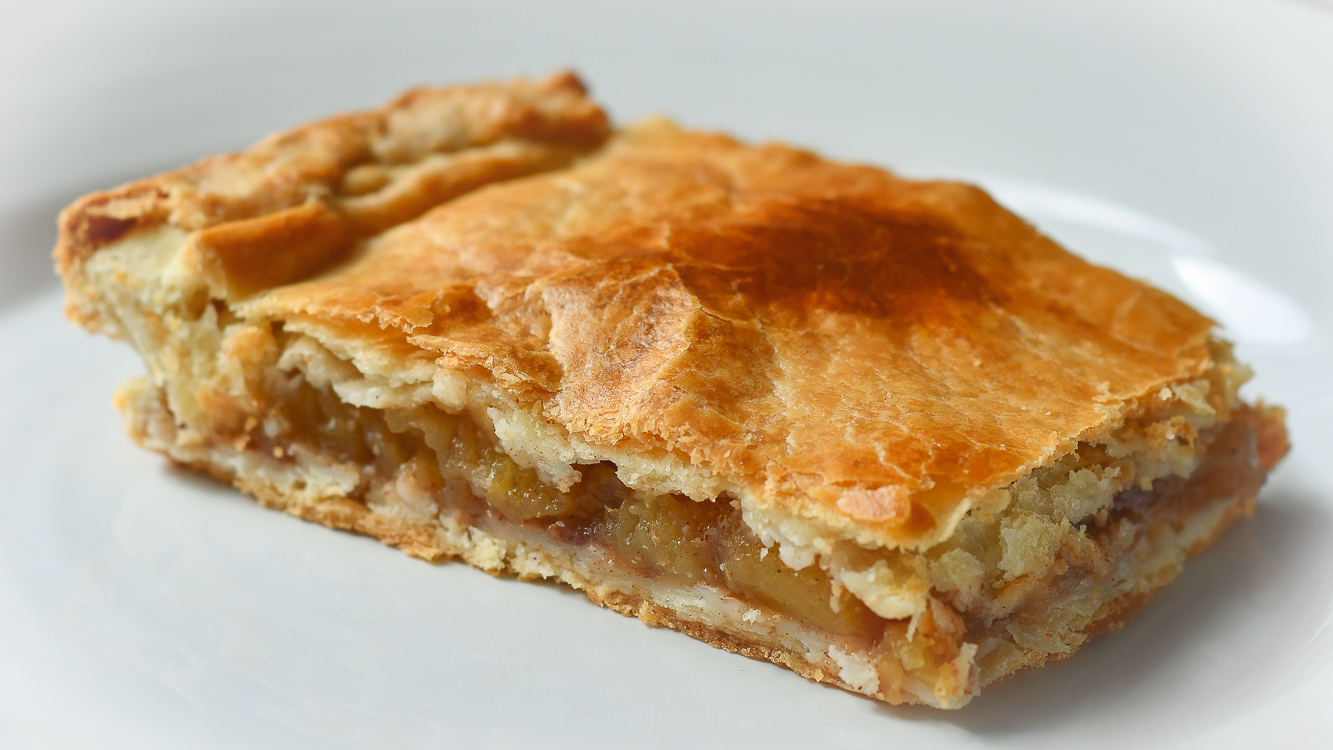
I have been trying to rationalize apple pie as breakfast food for years. I don’t know why I love it for breakfast so much, but I do. Maybe it’s the perfect pairing with coffee. Maybe it’s the excuse to stand at the refrigerator and spray canned whipped cream in my mouth first thing in the morning. I don’t know what it is, but I love apple pie in the morning. This year, I took a different approach to my post-apple picking pie making: the slab pie. With my favorite crust recipe and some inspiration from Smitten Kitchen, I was eager to test the slab pie ratio of crust to apples. I loved it and something else happened– the “apple pie for breakfast dilemma” was over. The slab pie was invented to eliminate the guilt of pie for breakfast. Think: healthy pop tart. You’re welcome. 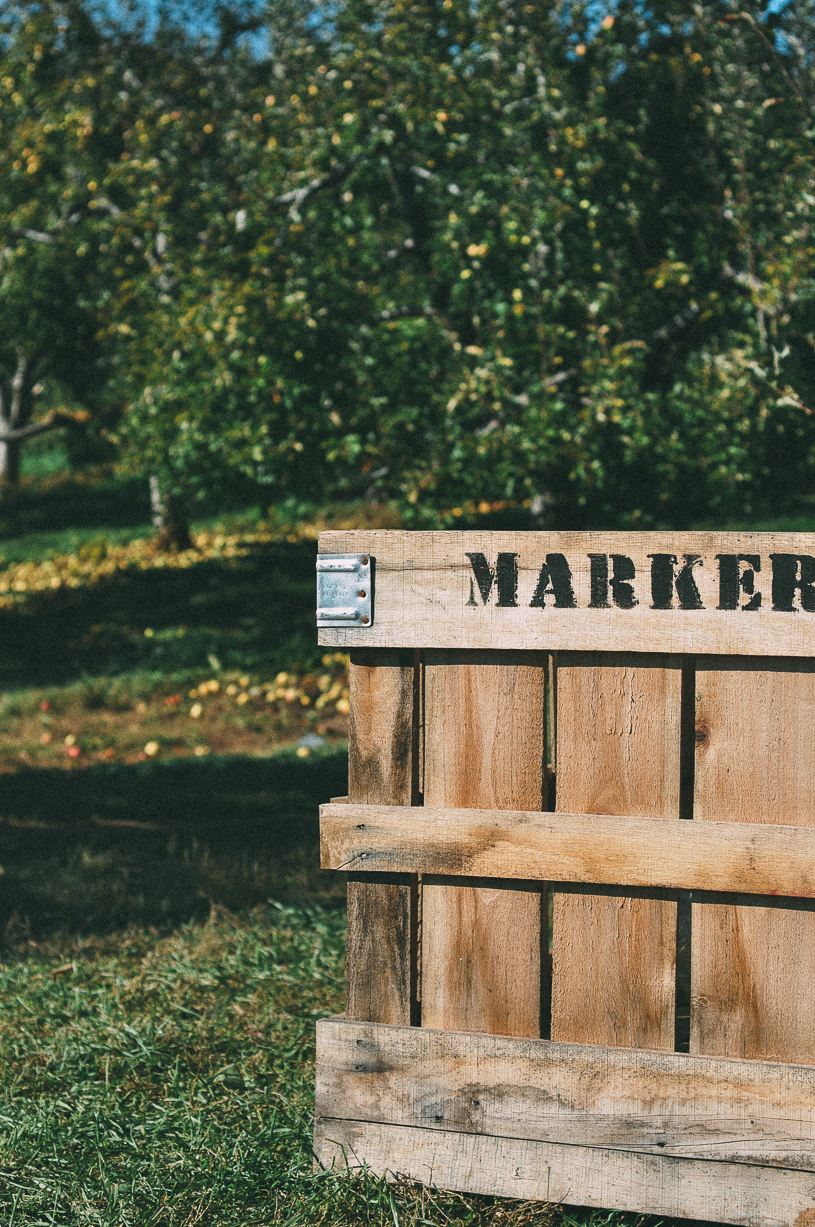
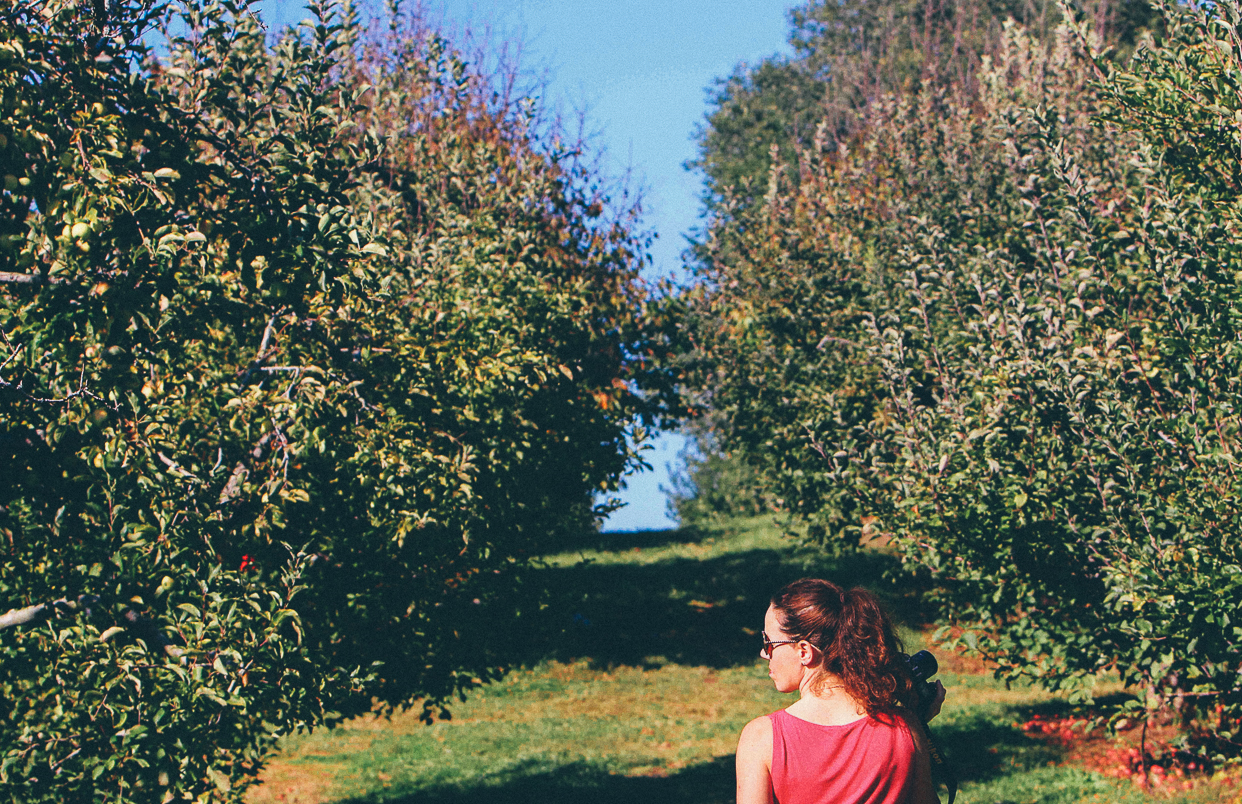
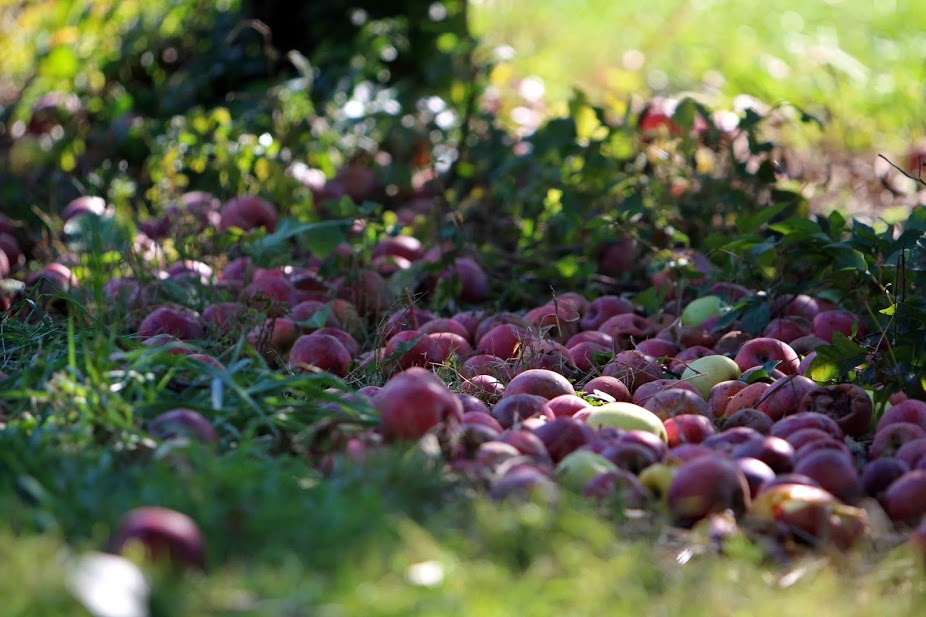
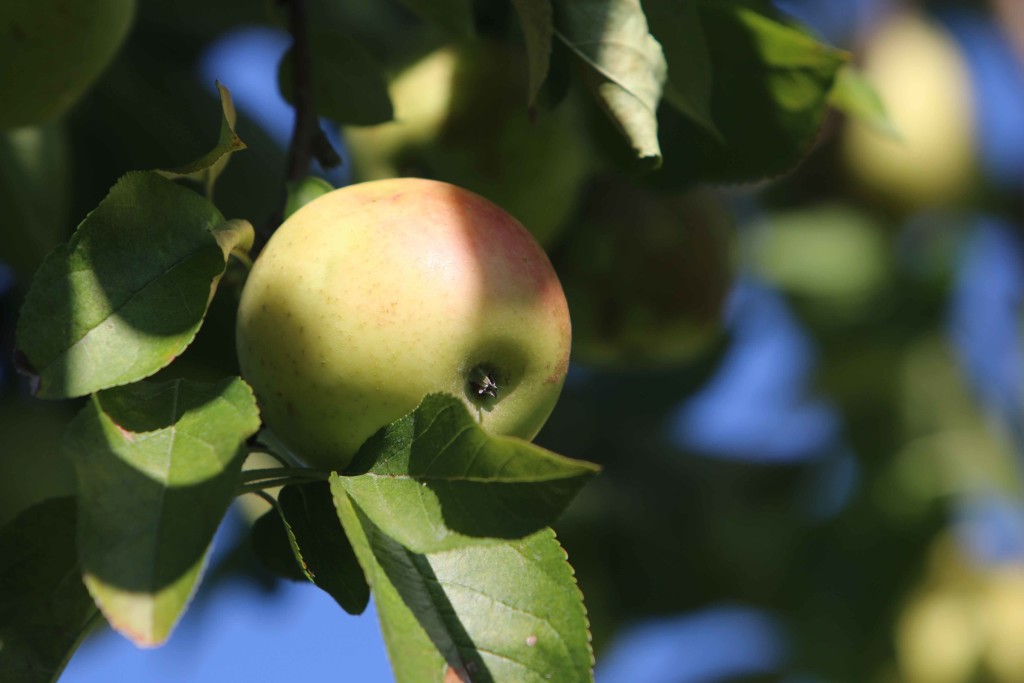
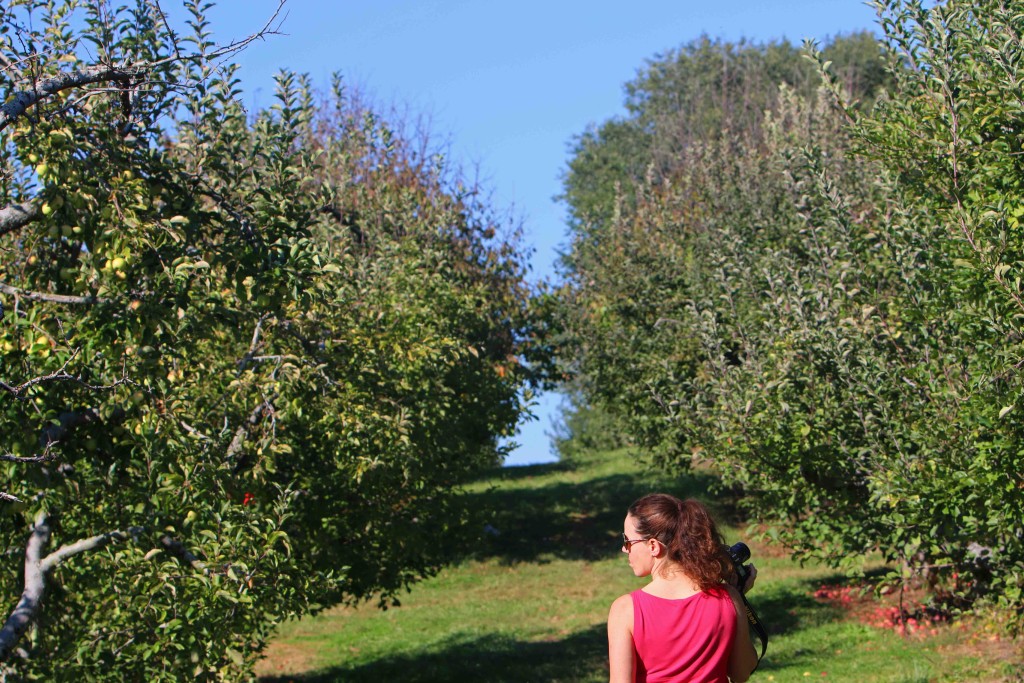
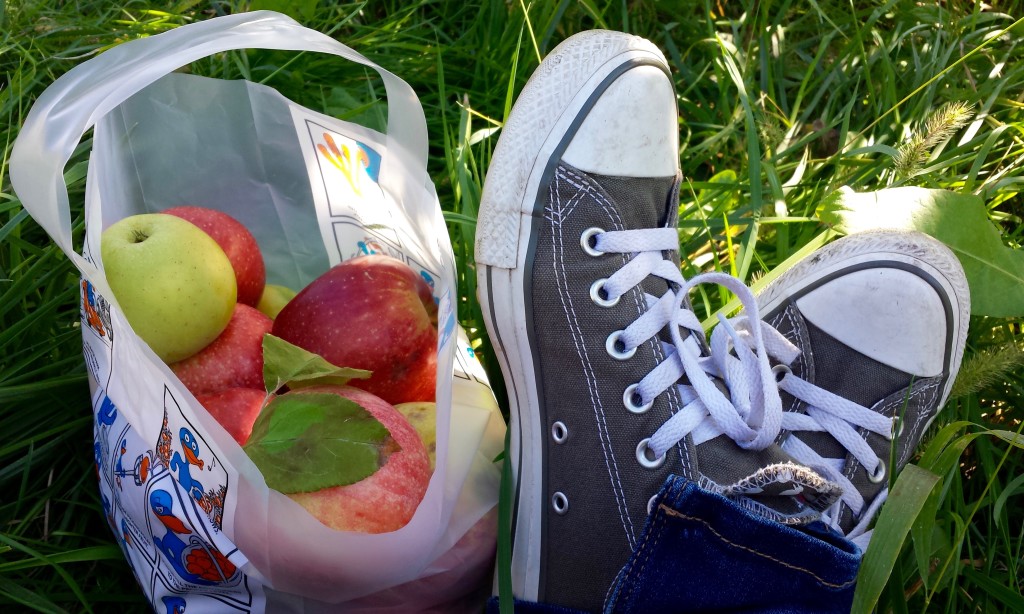
I look forward to the annual trek to the Virginia countryside to pick apples each fall. Stribling Orchard has become one of my favorites. Picking them off the tree, all the varieties, unwaxed, imperfect apples. I love them. I prefer Stayman apples for apple pie, which they have plenty of at Stribling. This year, I added some Arkansas Blacks to my pie. My friend, Lisa, has been talking about Arkansas Black apples for quite some time. Arkansas Black apples date back to 1870 and are native to Arkansas and Missouri; they are a variety of the Winesap.
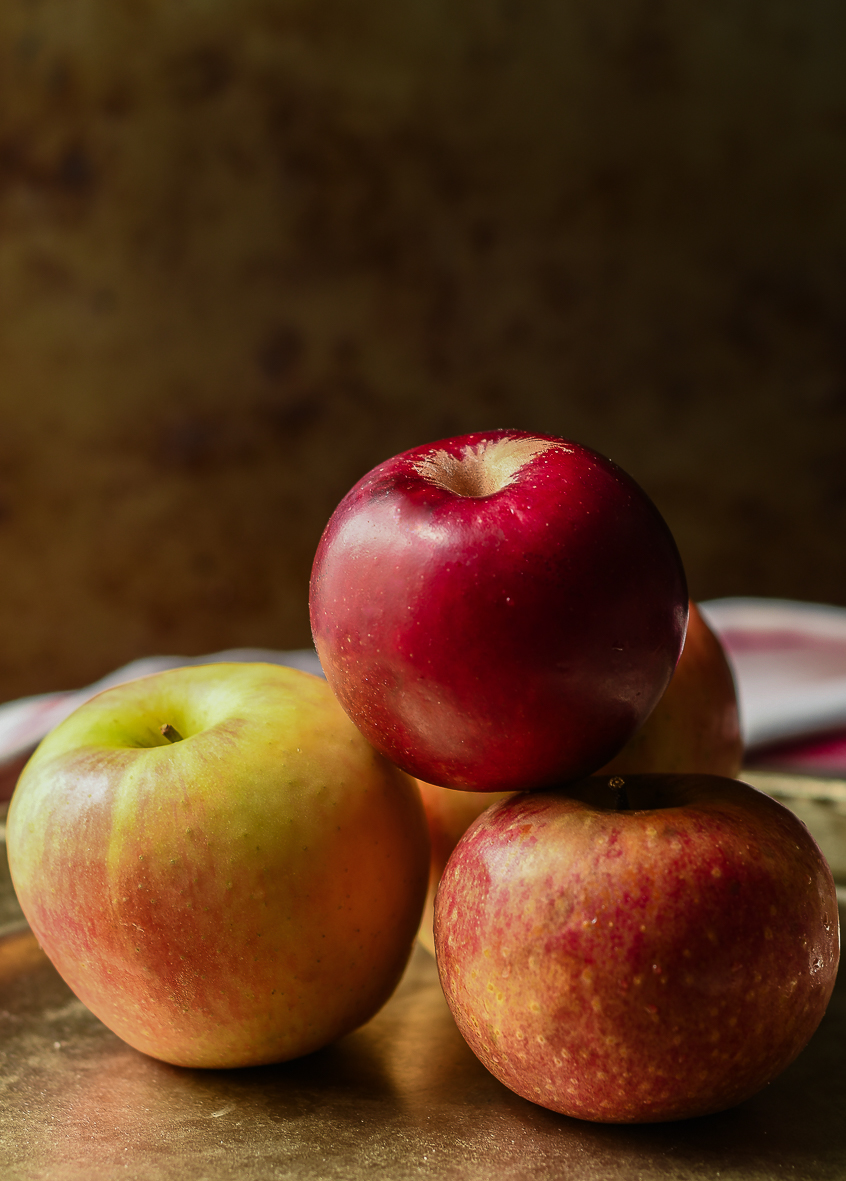
When I met with Lisa for dinner recently, she handed me a big ‘ole bag of Southern treats (just thinking about it makes me all “bless her sweet Southern heart”). The treats included Arkansas Black apples; Pure Sorghum Molasses (because I once blurted out “what the hell is sorghum?” when she described what she had placed on her buttered biscuit); Mountain Comb Honey; and Sweet Red Pepper Jelly. Arkansas Black apples (the top apple in the picture below) are medium size, dark brilliant red, and the flesh has a slight honey flavor. They’re beautiful. I felt like I put a little history and some Southern love in my apple slab pie. Bless your sweet Southern heart, Lisa!
Lisa is an incredibly talented person. Accomplished professional, emergency responder in New York City on 9/11, published poet. There are lifetimes of experience in this one amazing person. If you’re lucky enough to dig into her story, you’ll find it slathered with Southern charm, poured over with passion, infused with intellect, and sprinkled with wit. She’s a deep, intriguing soul. Here is a taste of her poetry.
Penitence Enough
If I thought it was penitence enough
for turning my back,
for this fraudulence I wear
like a pond film over my skin,
I’d return home,
and lay deep
in that Old Dominion soil.
I’d pull the hollyhocks close,
sprout pennyroyal – pungent mint
and purple bloom – from my teeth,
my eyes full of nothing
but the backs of Blue Ridge steeps,
ears tipped with corn tassels
and calamus root and nothing
but the roll of the Shenandoah,
the ring of a banjo carried down
on mountain wind.
I would stand still and long
as August heat
till the kudzu took me over,
wound itself through me,
anchored me to that land
I can still see under my nails
after months of scrubbing.
I’d press my face to the cool damp
of the cannery walls,
my knees against the porch boards.
I’d open veins and spill
against the sycamore roots,
give myself over,
give myself back,
and lay me down
in that red Virginia clay –
if I thought it would have me.
~ Lisa J. Parker
Apple Slab Pie

Ingredients
- Crust:
- 4 cups all purpose flour
- 1 3/4 cups unsalted butter
- 1 tablespoon sugar
- 2 teaspoons salt
- 1 tablespoon apple cider vinegar
- 1 egg
- 1/2 cup cold water
- Filling:
- Approximately 4 pounds apples (peeled, cored, chopped into 1/2-inch chunks; about 8 cups)
- 1/2 lemon
- 2/3 cup sugar (you can add up to 3/4 cup sugar if you like sweeter pie)
- 3 tablespoons cornstarch
- 1 teaspoon ground cinnamon
- 1/4 teaspoon ground nutmeg
- 1/4 teaspoon ground allspice
- 1/4 teaspoon ground ginger
- 1/8 teaspoon cayenne pepper
- 1/8 teaspoon table salt
- 1 egg for the egg wash
Instructions
Crust:
In a large mixing bowl, mix the flour, 1 tablespoon of sugar, salt, and cut in cold butter until the butter is pea sized or smaller and the butter/flour mixture is crumb-like. I use a hand-held pastry blender to cut in the butter. In a small bowl, whisk the vinegar, egg and cold water. Add this liquid to the flour mixture and, with your hands, mold the dough into a ball. Divide the dough in half (make one slightly larger and use that for the bottom crust). Cover the dough with plastic wrap and chill for at least 30 minutes. The dough can be made in advance and refrigerated for 3 days. If you make it ahead, take it out of the refrigerator 15 minutes before you roll it out.
Heat the oven to 375 degrees and line the bottom of a 10 x 15 x 1-inch baking sheet with parchment paper.
Slab Pie Filling:
In a large bowl, toss the cut apples with lemon juice. Then, mix in the sugar, cornstarch, cinnamon, nutmeg, allspice, ground ginger, cayenne pepper, and salt and stir to evenly coat the apples.
Assemble:
On a lightly floured surface, roll the larger dough half into an 18 x 13-inch rectangle. Work quickly, keeping the dough as cold as possible and using flour so it doesn’t stick to the counter. Transfer the rolled out dough to the prepared baking sheet; lightly press the dough into the sides and corners of the pan. Some of the dough will drape over the cookie sheet; trim this to 3/4-inch with scissors or a knife.
Pour apple mixture over and spread evenly in the dough-covered pan.
Roll the second and slightly smaller dough half into a 16 x 11-inch rectangle. Drape this over the apple filling and fold the bottom crust overhang over the edge of the top crust and seal them together with your fingers or by pressing with a fork. Cut small slits (vents) on the top piece of dough.
Brush the top dough with an egg wash and bake for 40 - 45 minutes until the crust is golden and the filling is bubbling.
Transfer to a wire rack until just warm (about 30 minutes). Serve with vanilla ice cream, whipped cream or enjoy plain as a hand pie!
This pie will keep at room temperature for 3 days.
Note: This slab pie cuts easily with a pizza cutter.
https://www.travelynneats.com/2018/11/25/apple-slab-pie/Almond, Orange & Saffron Cake
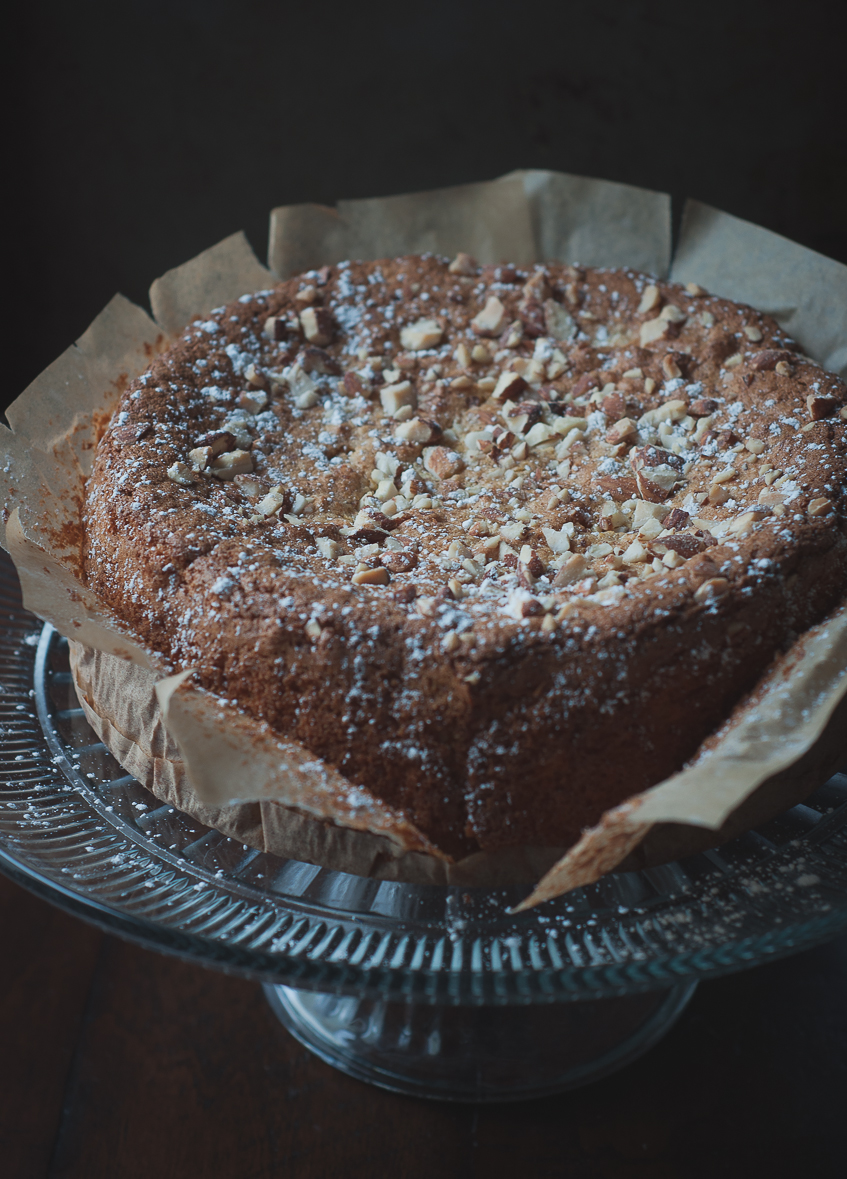
I love contrast. Light, dark, bitter, sweet, soft, strong, black, white, whisper, loud, cause, effect, beginning, end. Sometimes it’s not enough to luxuriate in the gray area; you have to stretch your arms wide and reach out to the fringes. You know, pull the ends together to a point of juxtaposition… Maybe that’s this cake for me. Bright, dark, nutty, deep, citrus spark, spicy, intense, playful.
Besides the delightful contrast in flavors, there is much to love about this cake. It’s a gluten-free sweet, under 10 ingredients, and surprisingly easy to make! If you’re wanting something different, don’t wait.
Sublime upon sublime scarcely presents a contrast, and we need a little rest from everything, even the beautiful.
~ Victor Hugo
Almond, Orange & Saffron Cake
2017-04-02 14:17:42
Serves 8
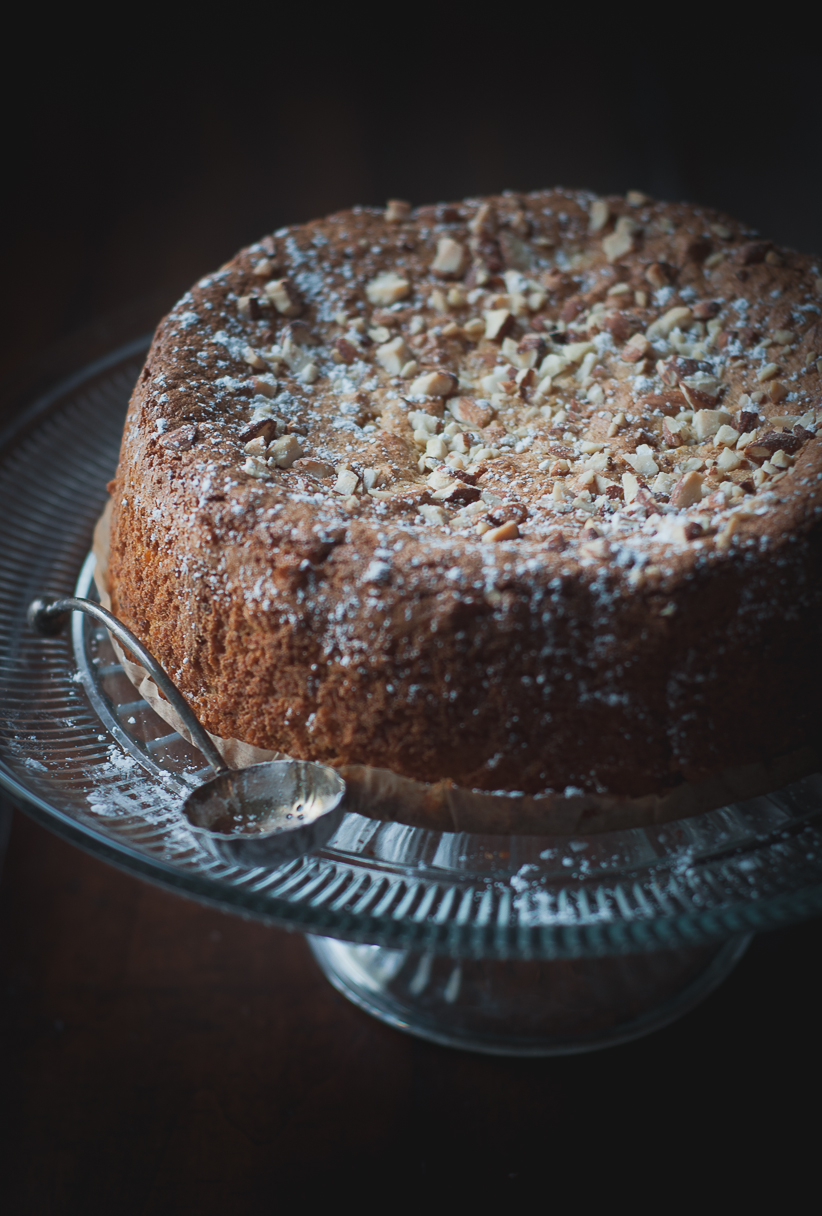
Moist, light, bittersweet orange mixed with spicy notes and subtle almond flavors. This cake is gluten free, delicious, and sure to catch your guest's attention.
Prep Time
15 min
Cook Time
50 min
Total Time
1 hr 5 min
Nutrition Facts
Serving Size
135g
Servings
8
Amount Per Serving
Calories 386
Calories from Fat 188
% Daily Value *
Total Fat 22g
34%
Saturated Fat 3g
13%
Trans Fat 0g
Polyunsaturated Fat 5g
Monounsaturated Fat 13g
Cholesterol 117mg
39%
Sodium 49mg
2%
Total Carbohydrates 39g
13%
Dietary Fiber 5g
19%
Sugars 32g
Protein 12g
Vitamin A
5%
Vitamin C
29%
Calcium
14%
Iron
11%
* Percent Daily Values are based on a 2,000 calorie diet. Your Daily Values may be higher or lower depending on your calorie needs.
Ingredients
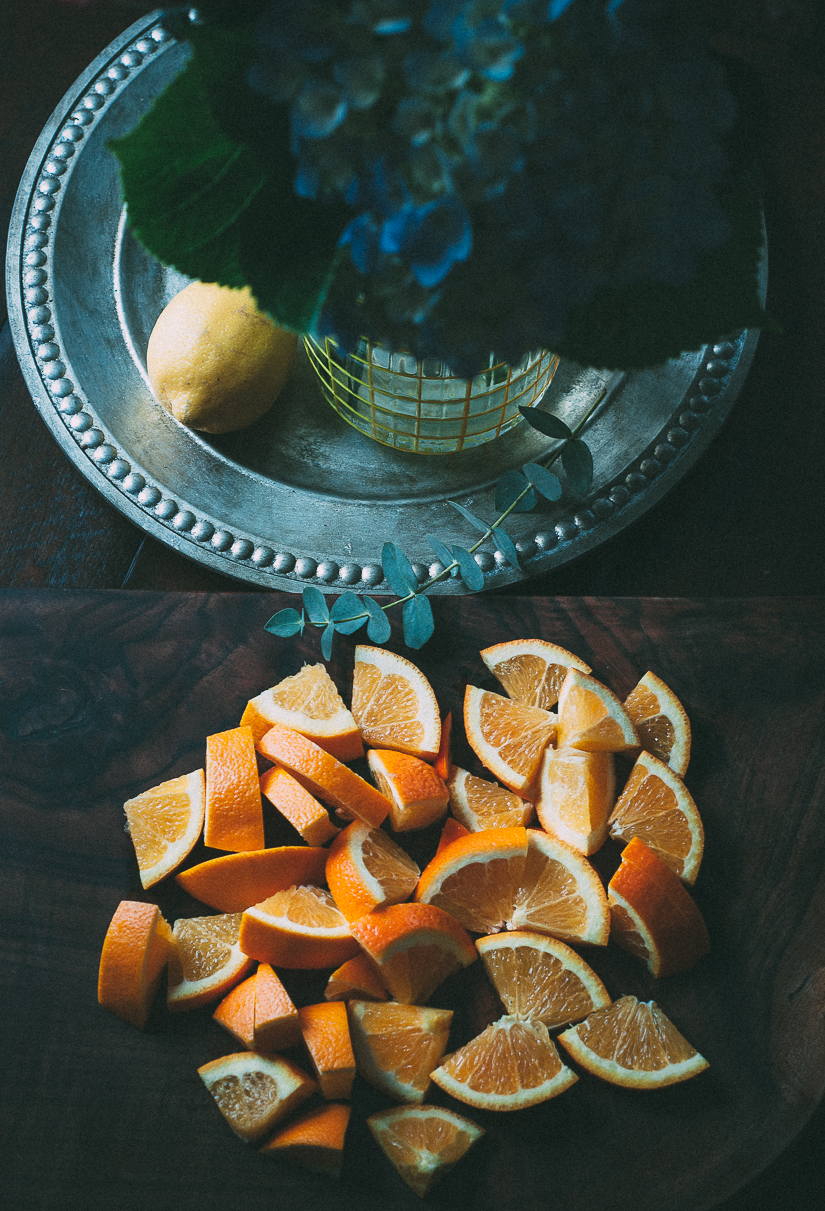
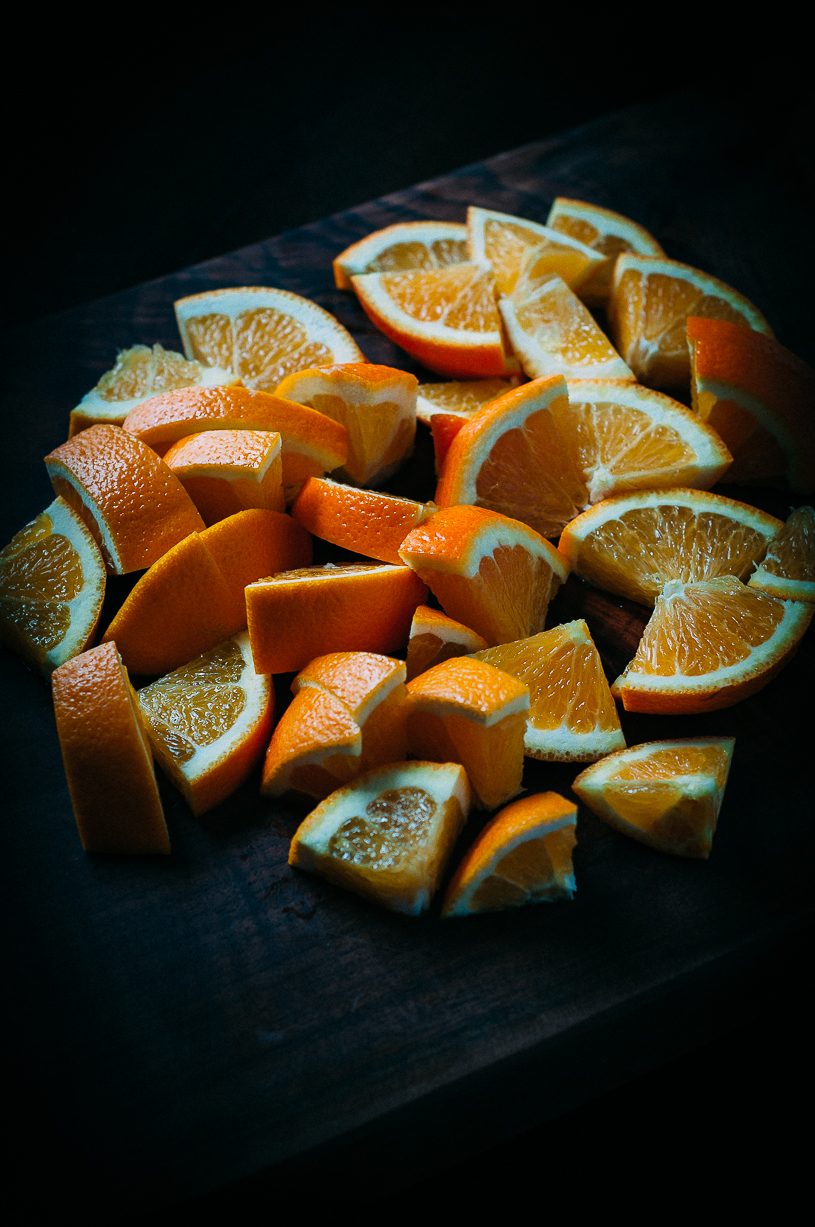
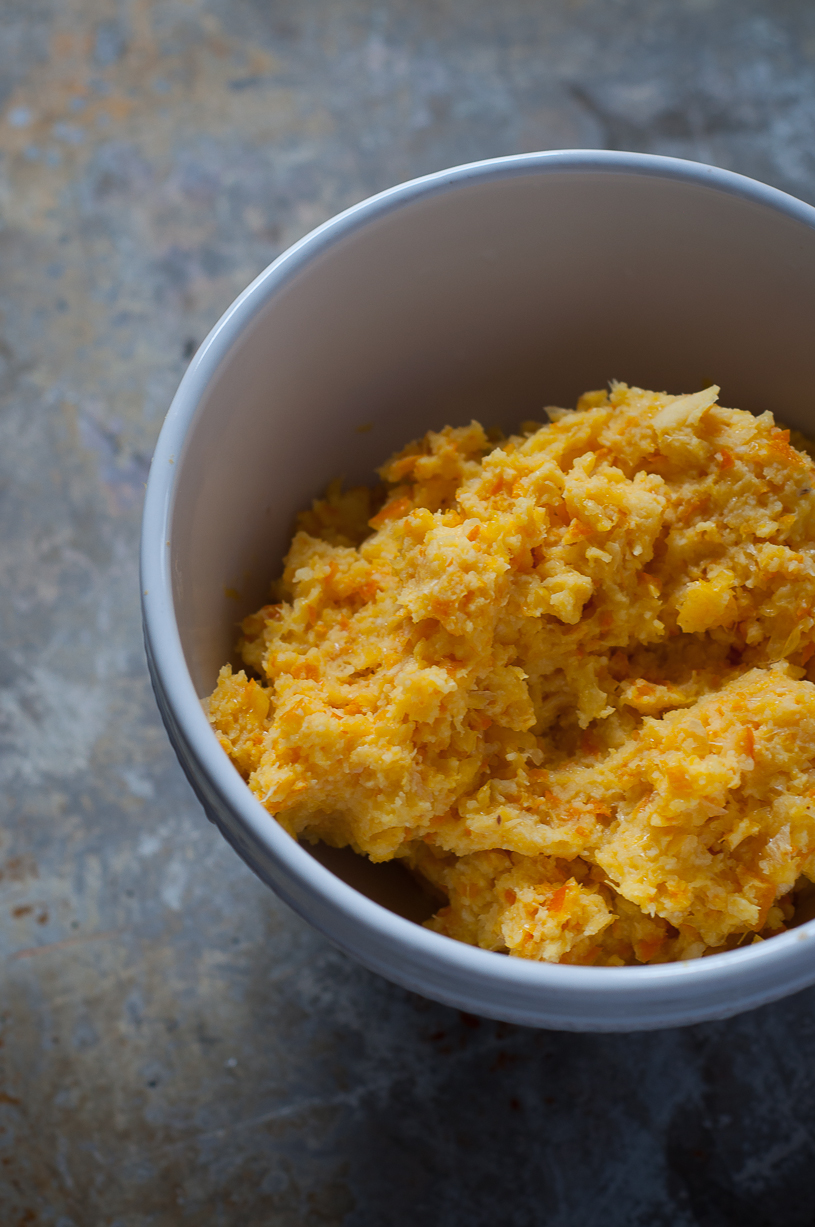
- 2 medium oranges, chopped (including peel)
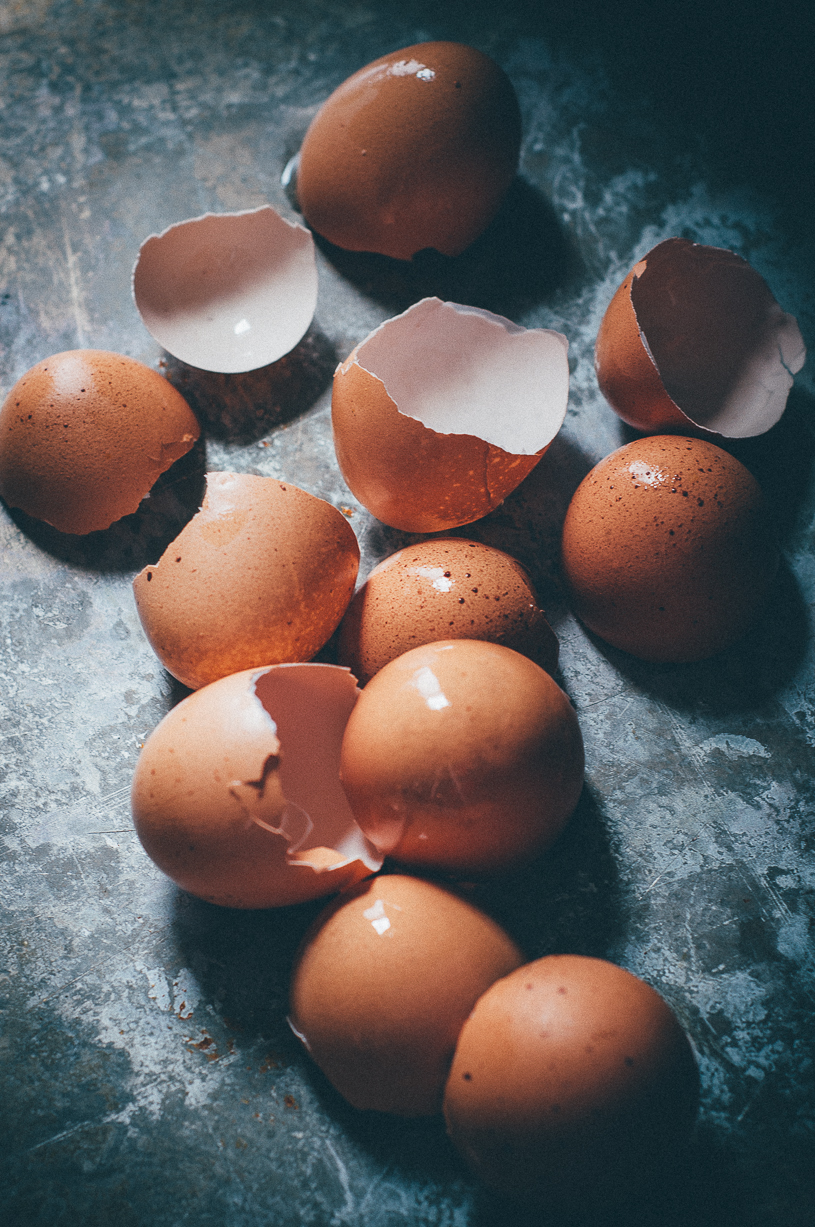
- 5 eggs, separated
- Pinch of ground cardamom
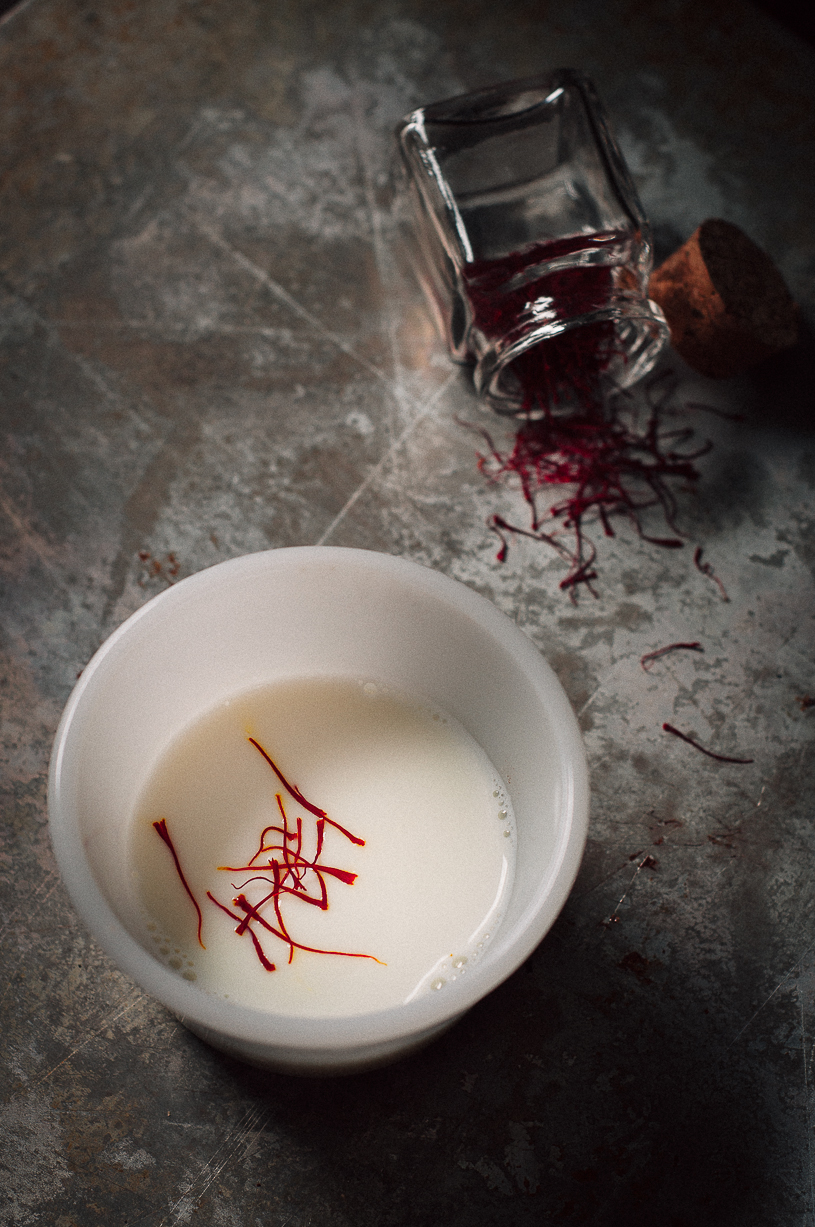
- Pinch of saffron threads
- 1/4 cup milk (or unsweetened original almond milk), for soaking saffron threads
- 1 cup superfine sugar
- 2 cups ground raw almonds (grind to a flour consistency in a food processor)
- 2 tablespoons sliced or finely chopped raw almonds
- 2 tablespoons powdered sugar
Instructions
- Preheat oven to 350 degrees F. Line the base and sides of a 9-inch cake pan with parchment paper.
- Warm the milk (or almond milk) for 30 seconds in the microwave in a small bowl. Remove the milk from the microwave and place a small pinch (5-6) of saffron threads in the warm milk. Soak the threads in the milk for 30 minutes.
- While the saffron is soaking, heat the chopped oranges in a pan over low heat with 1 tablespoon of water. Cover and cook with a gentle simmer for 30 minutes, until the oranges are soft and the liquid has evaporated. Remove the pan from the heat and let cool. When cool, finely chop the oranges in a food processor.
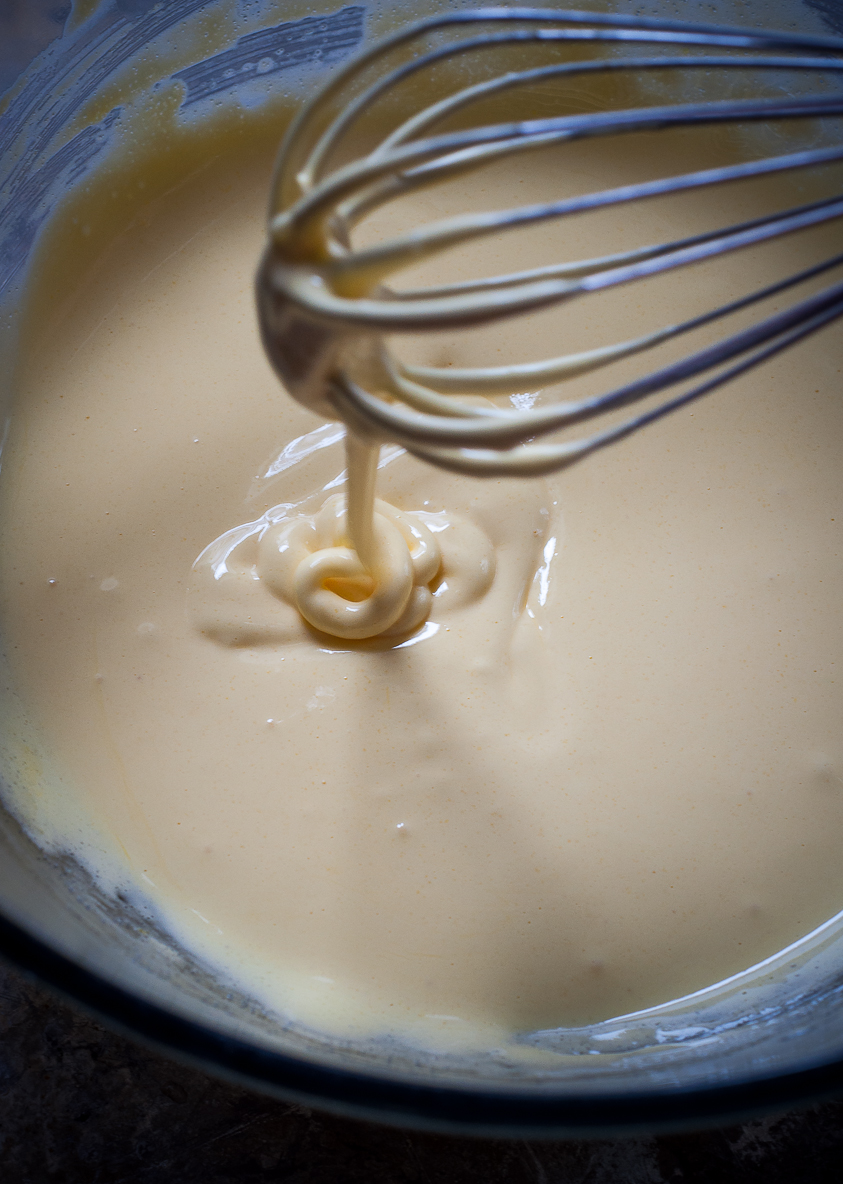
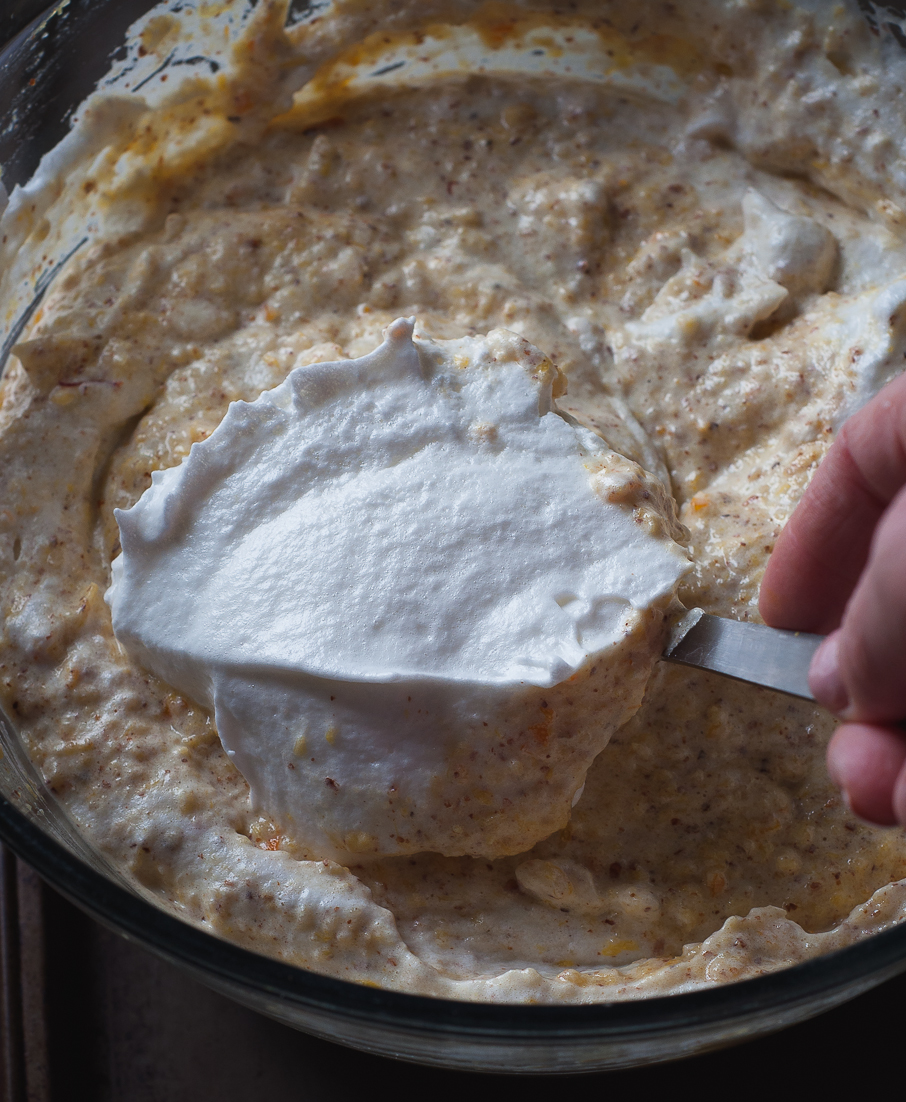
- Whisk the egg whites in a clean, dry bowl until soft peaks form. Gradually stir in the superfine sugar and continue to whisk for 1 minute.
- In a separate bowl, whisk the egg yolks together with the remaining superfine sugar for 2-3 minutes. Whisk in the oranges and then fold in the ground almonds, ground cardamom, and saffron (with the soaking milk). With a large metal spoon, fold in spoonfuls of egg whites until everything is well combined.
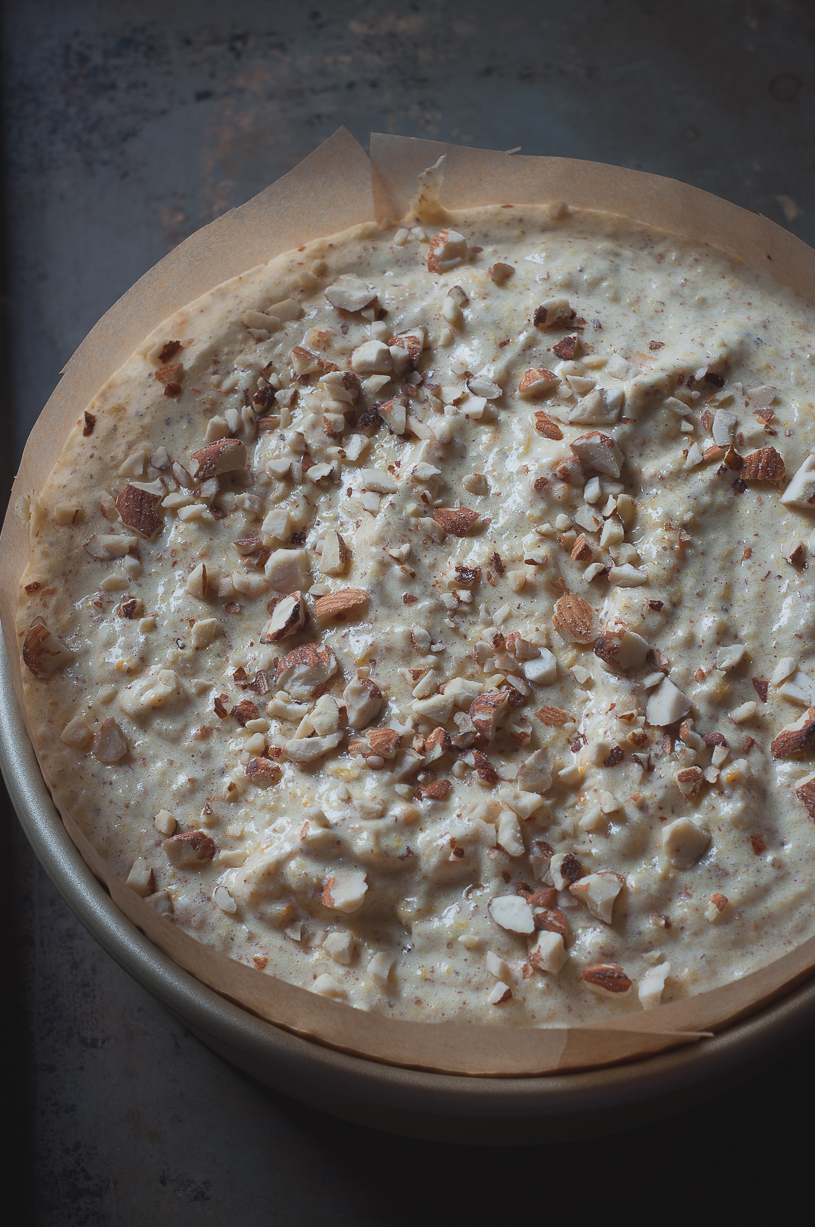
- Pour the mixture into the prepared cake pan, sprinkle with sliced or chopped almonds and bake in the oven for 50-55 minutes (or until golden brown). Check every 20 minutes while baking.
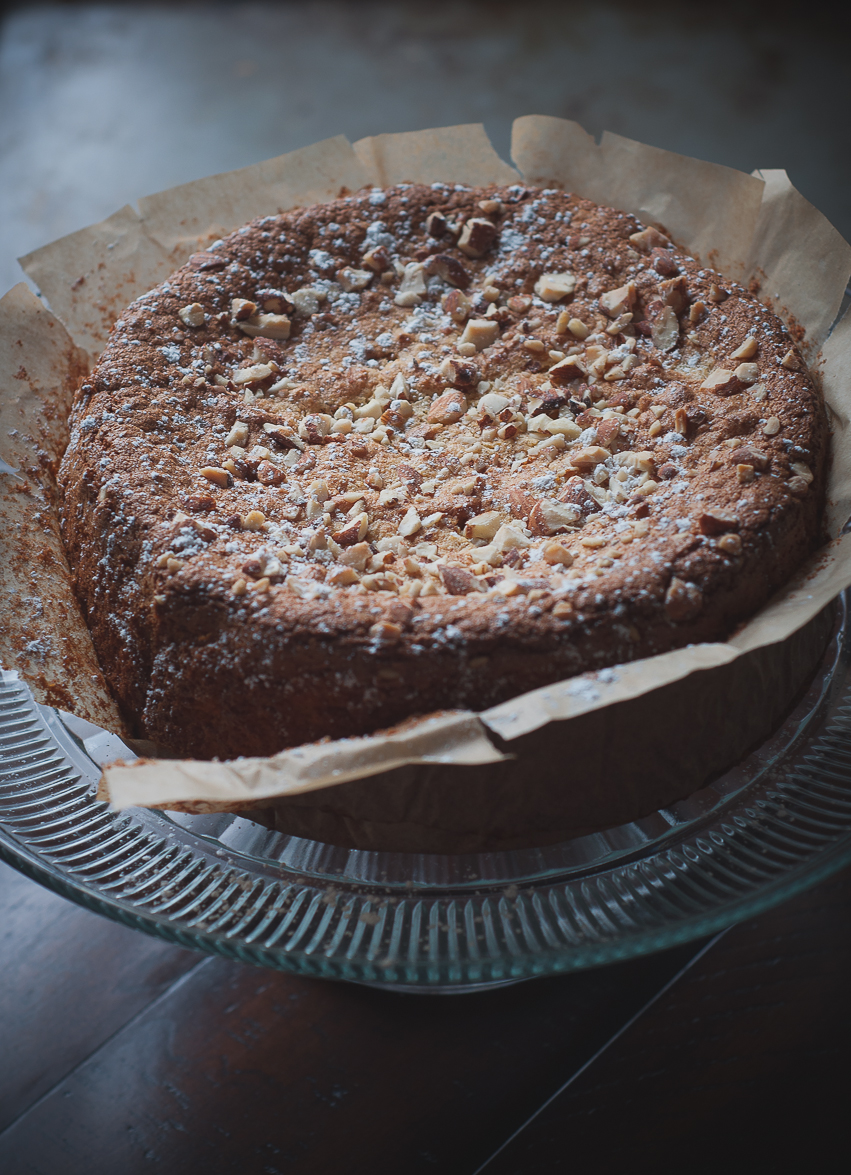
- Let the cake cool in the pan before turning out and dusting with powdered sugar.
- Store in an airtight container for 3 days.
Adapted from My Indian Cookbook
Adapted from My Indian Cookbook
TraveLynn Eats https://www.travelynneats.com/
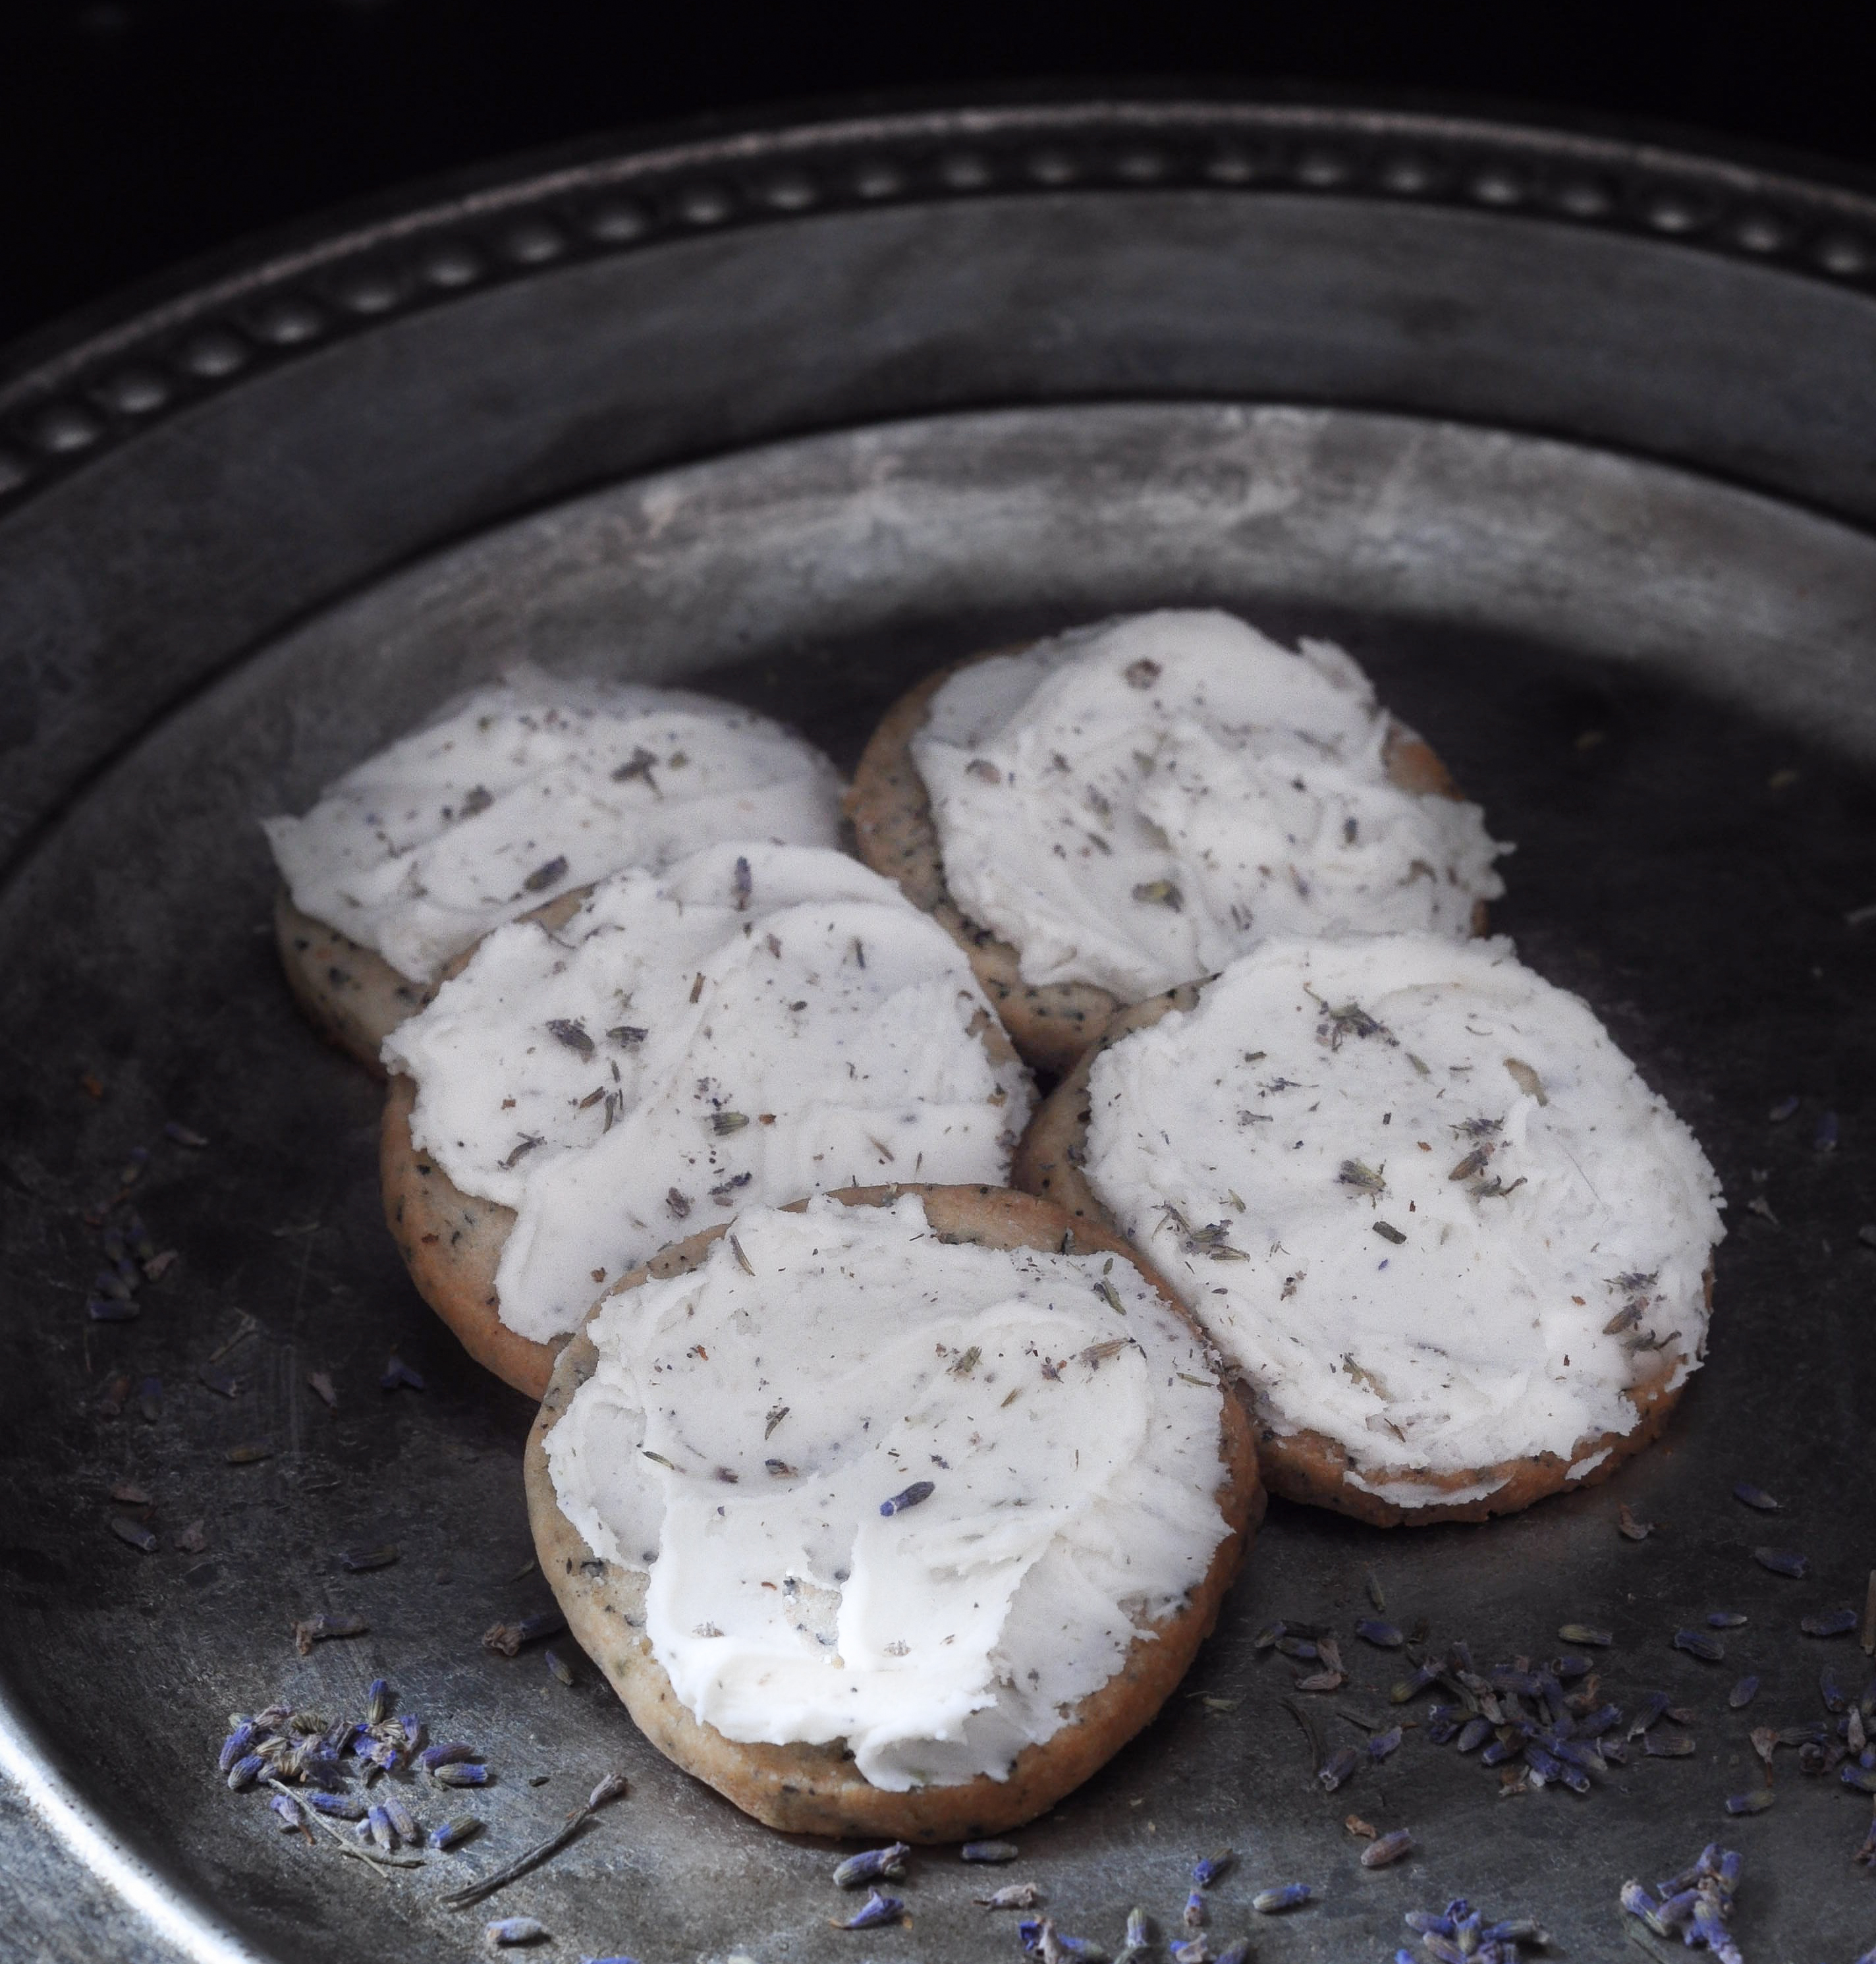
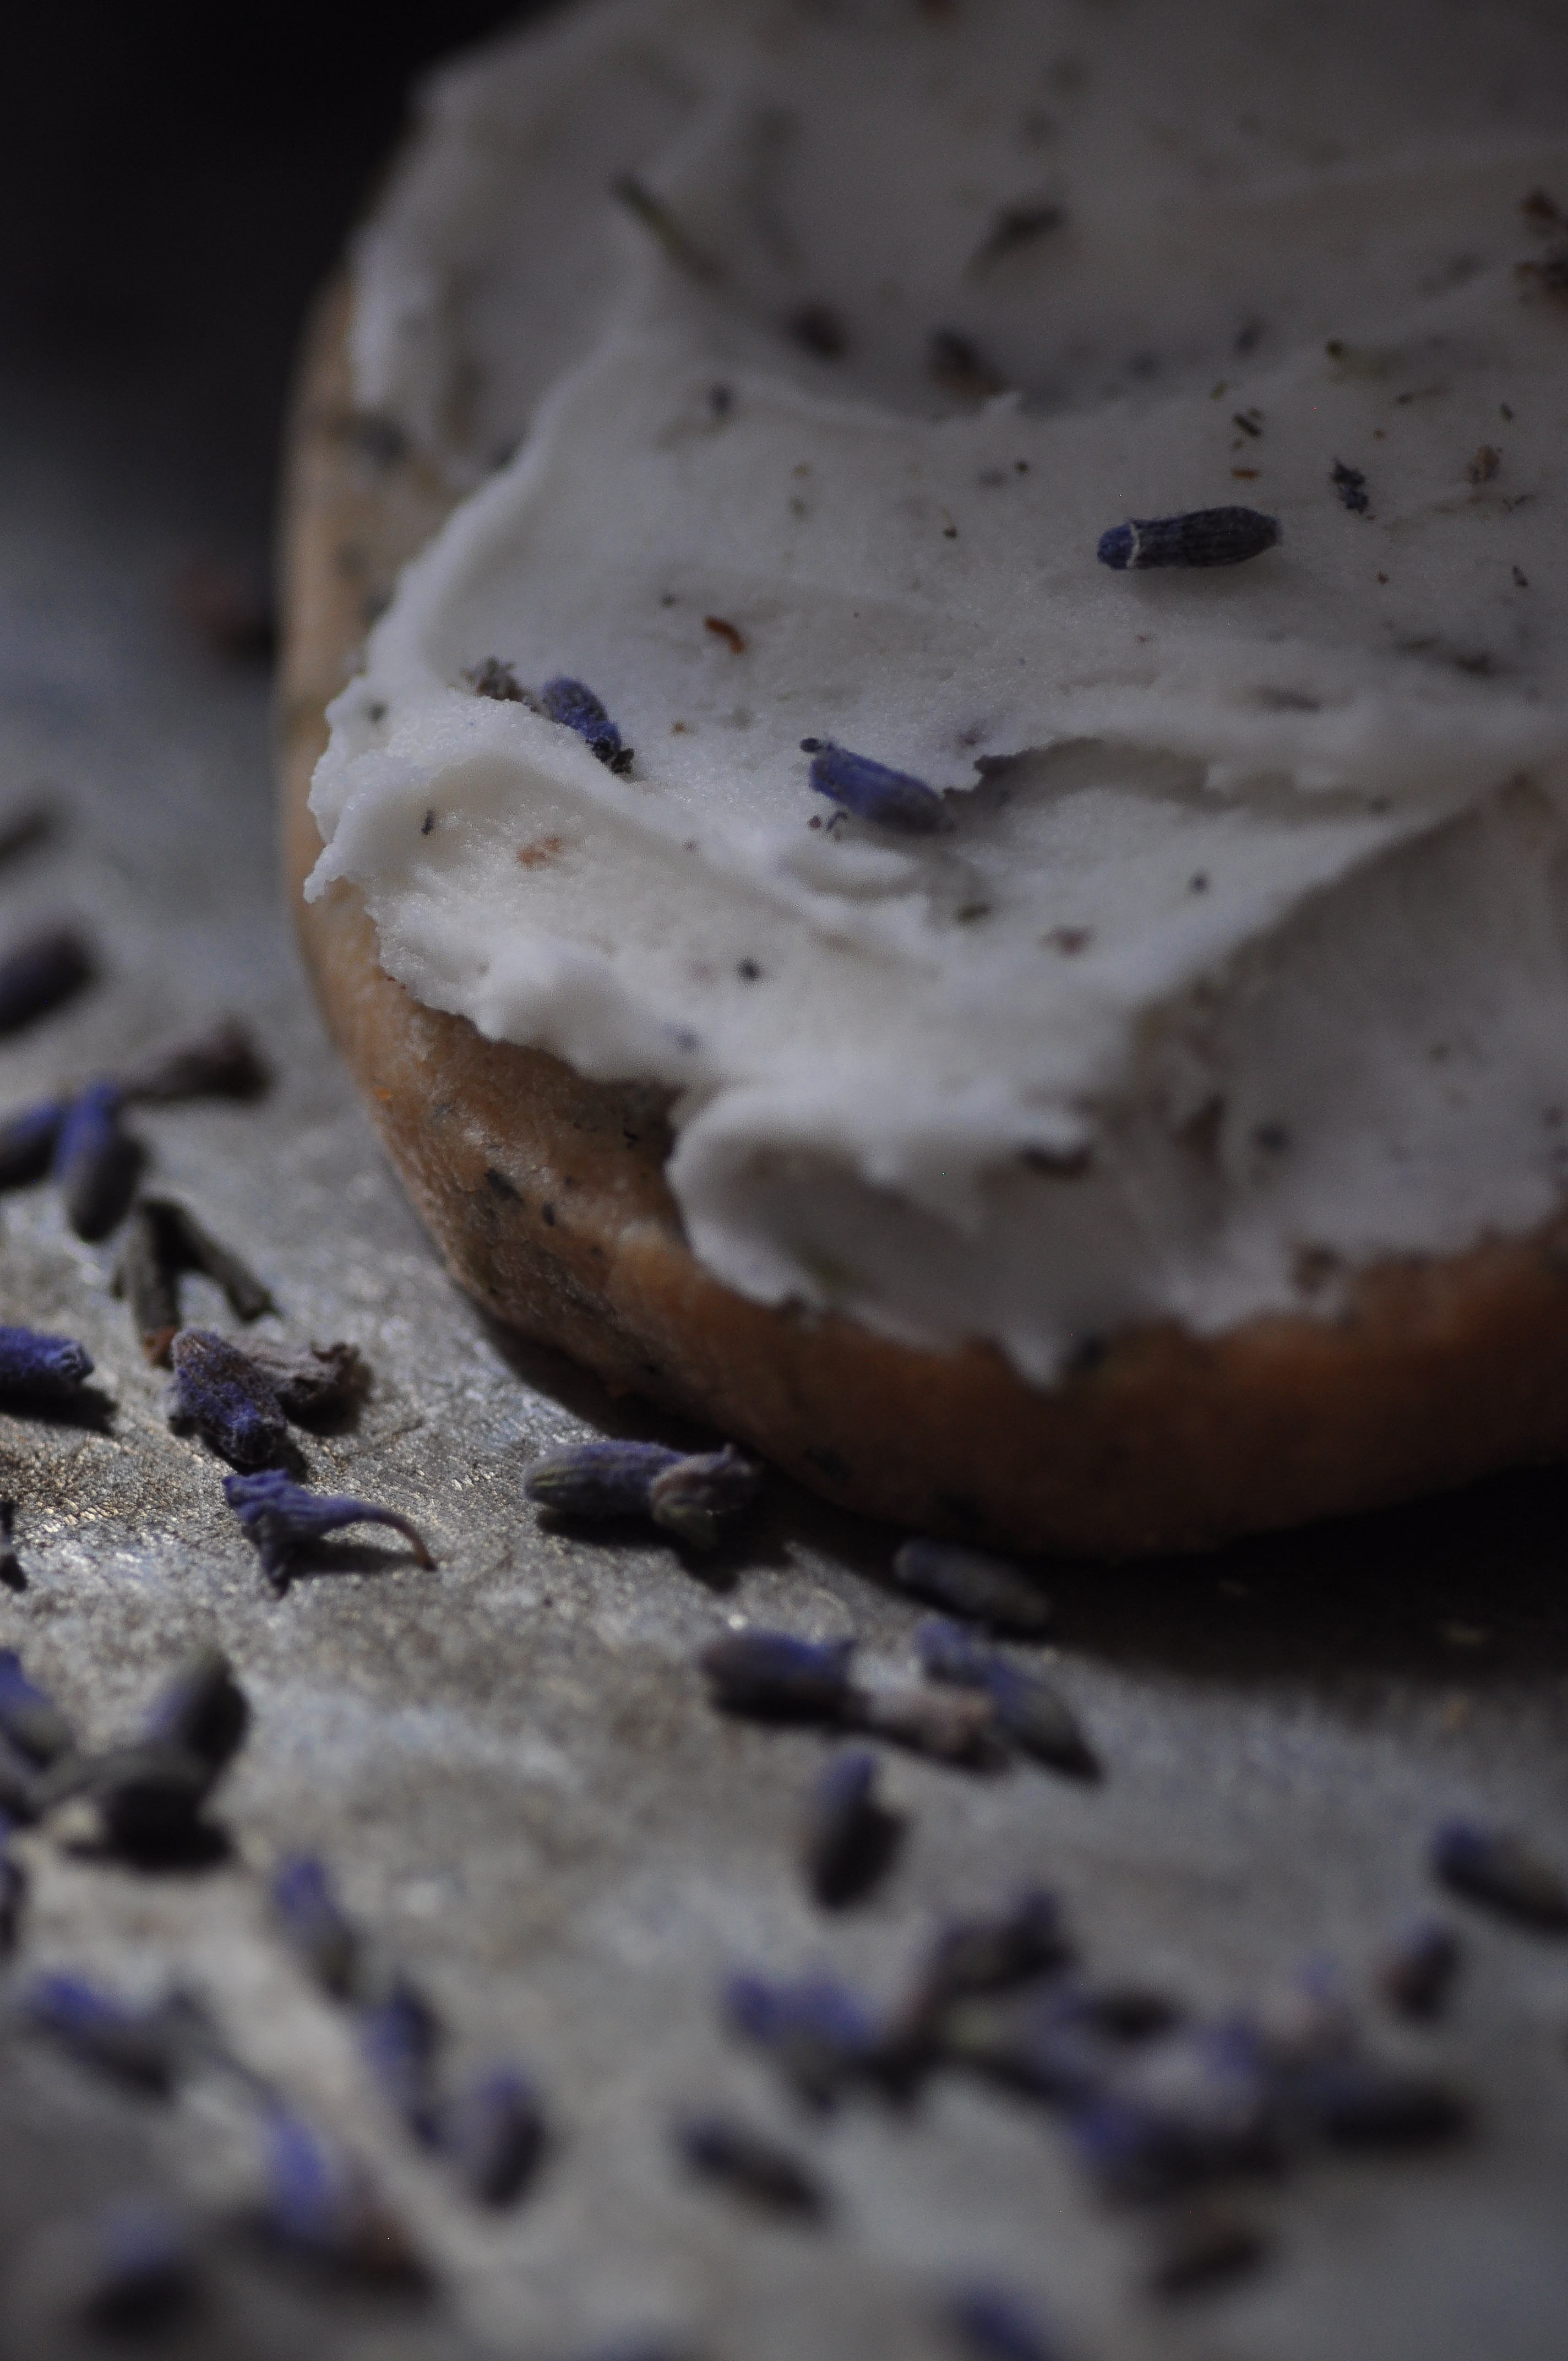
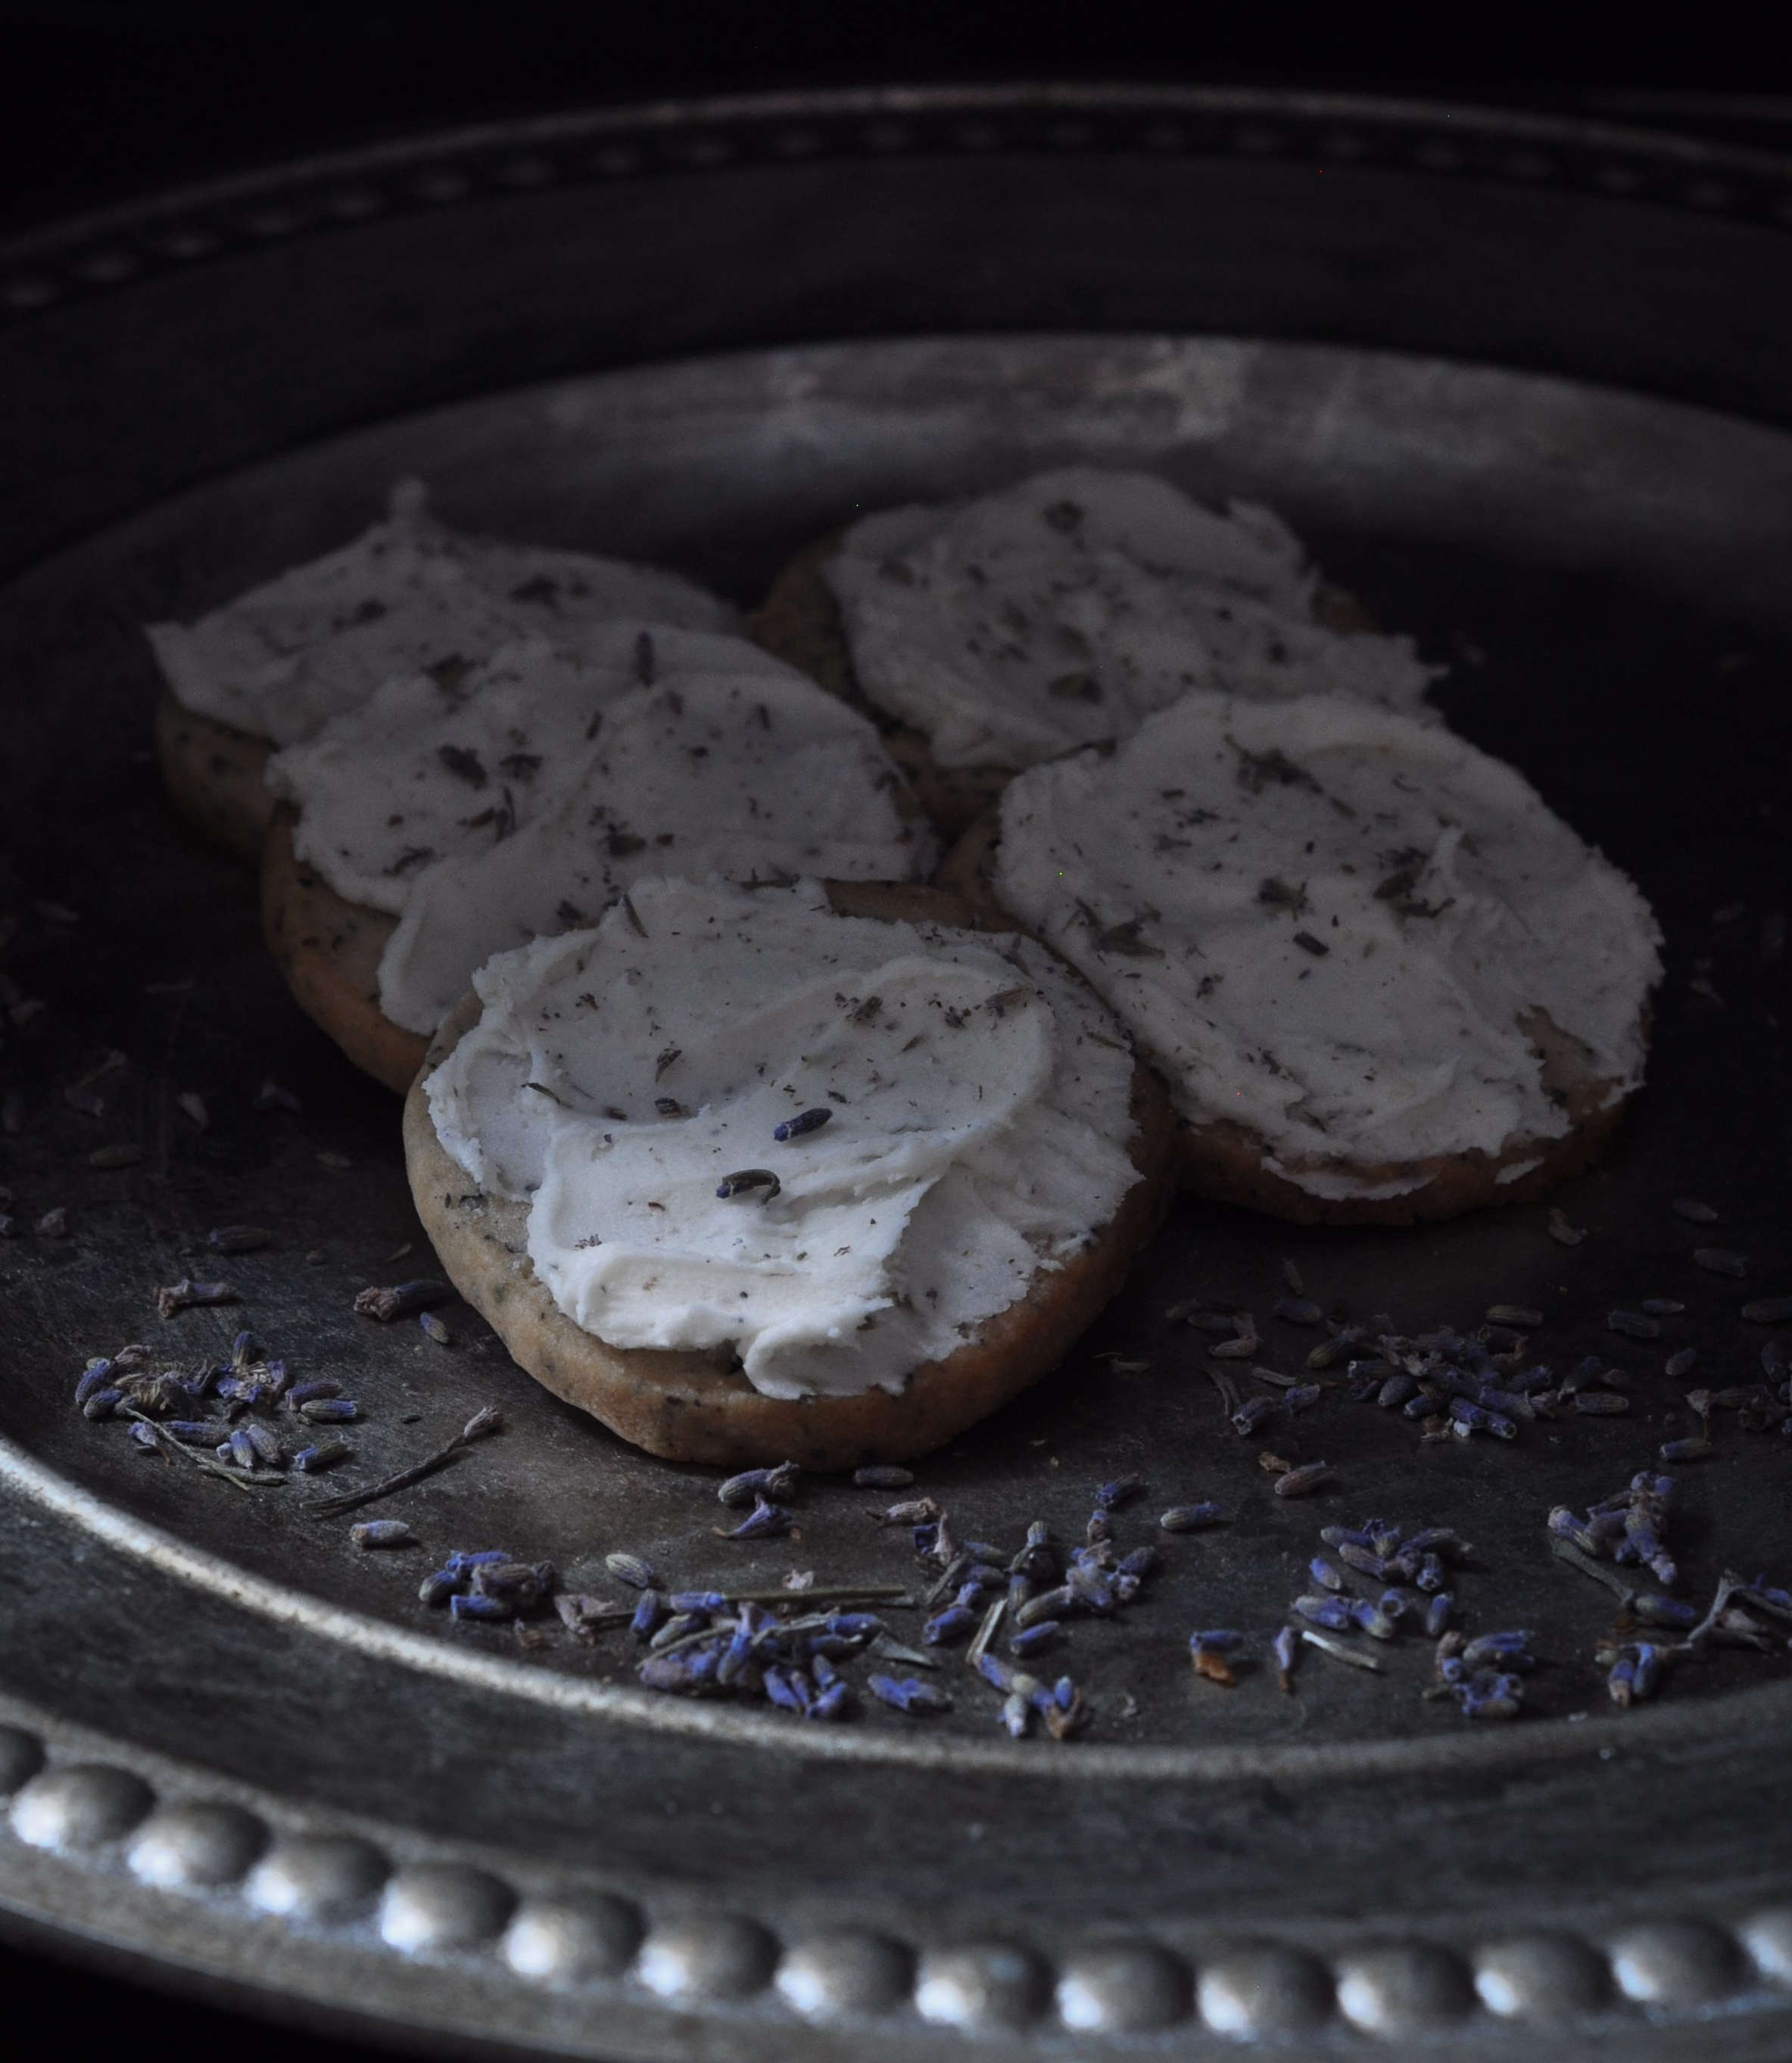
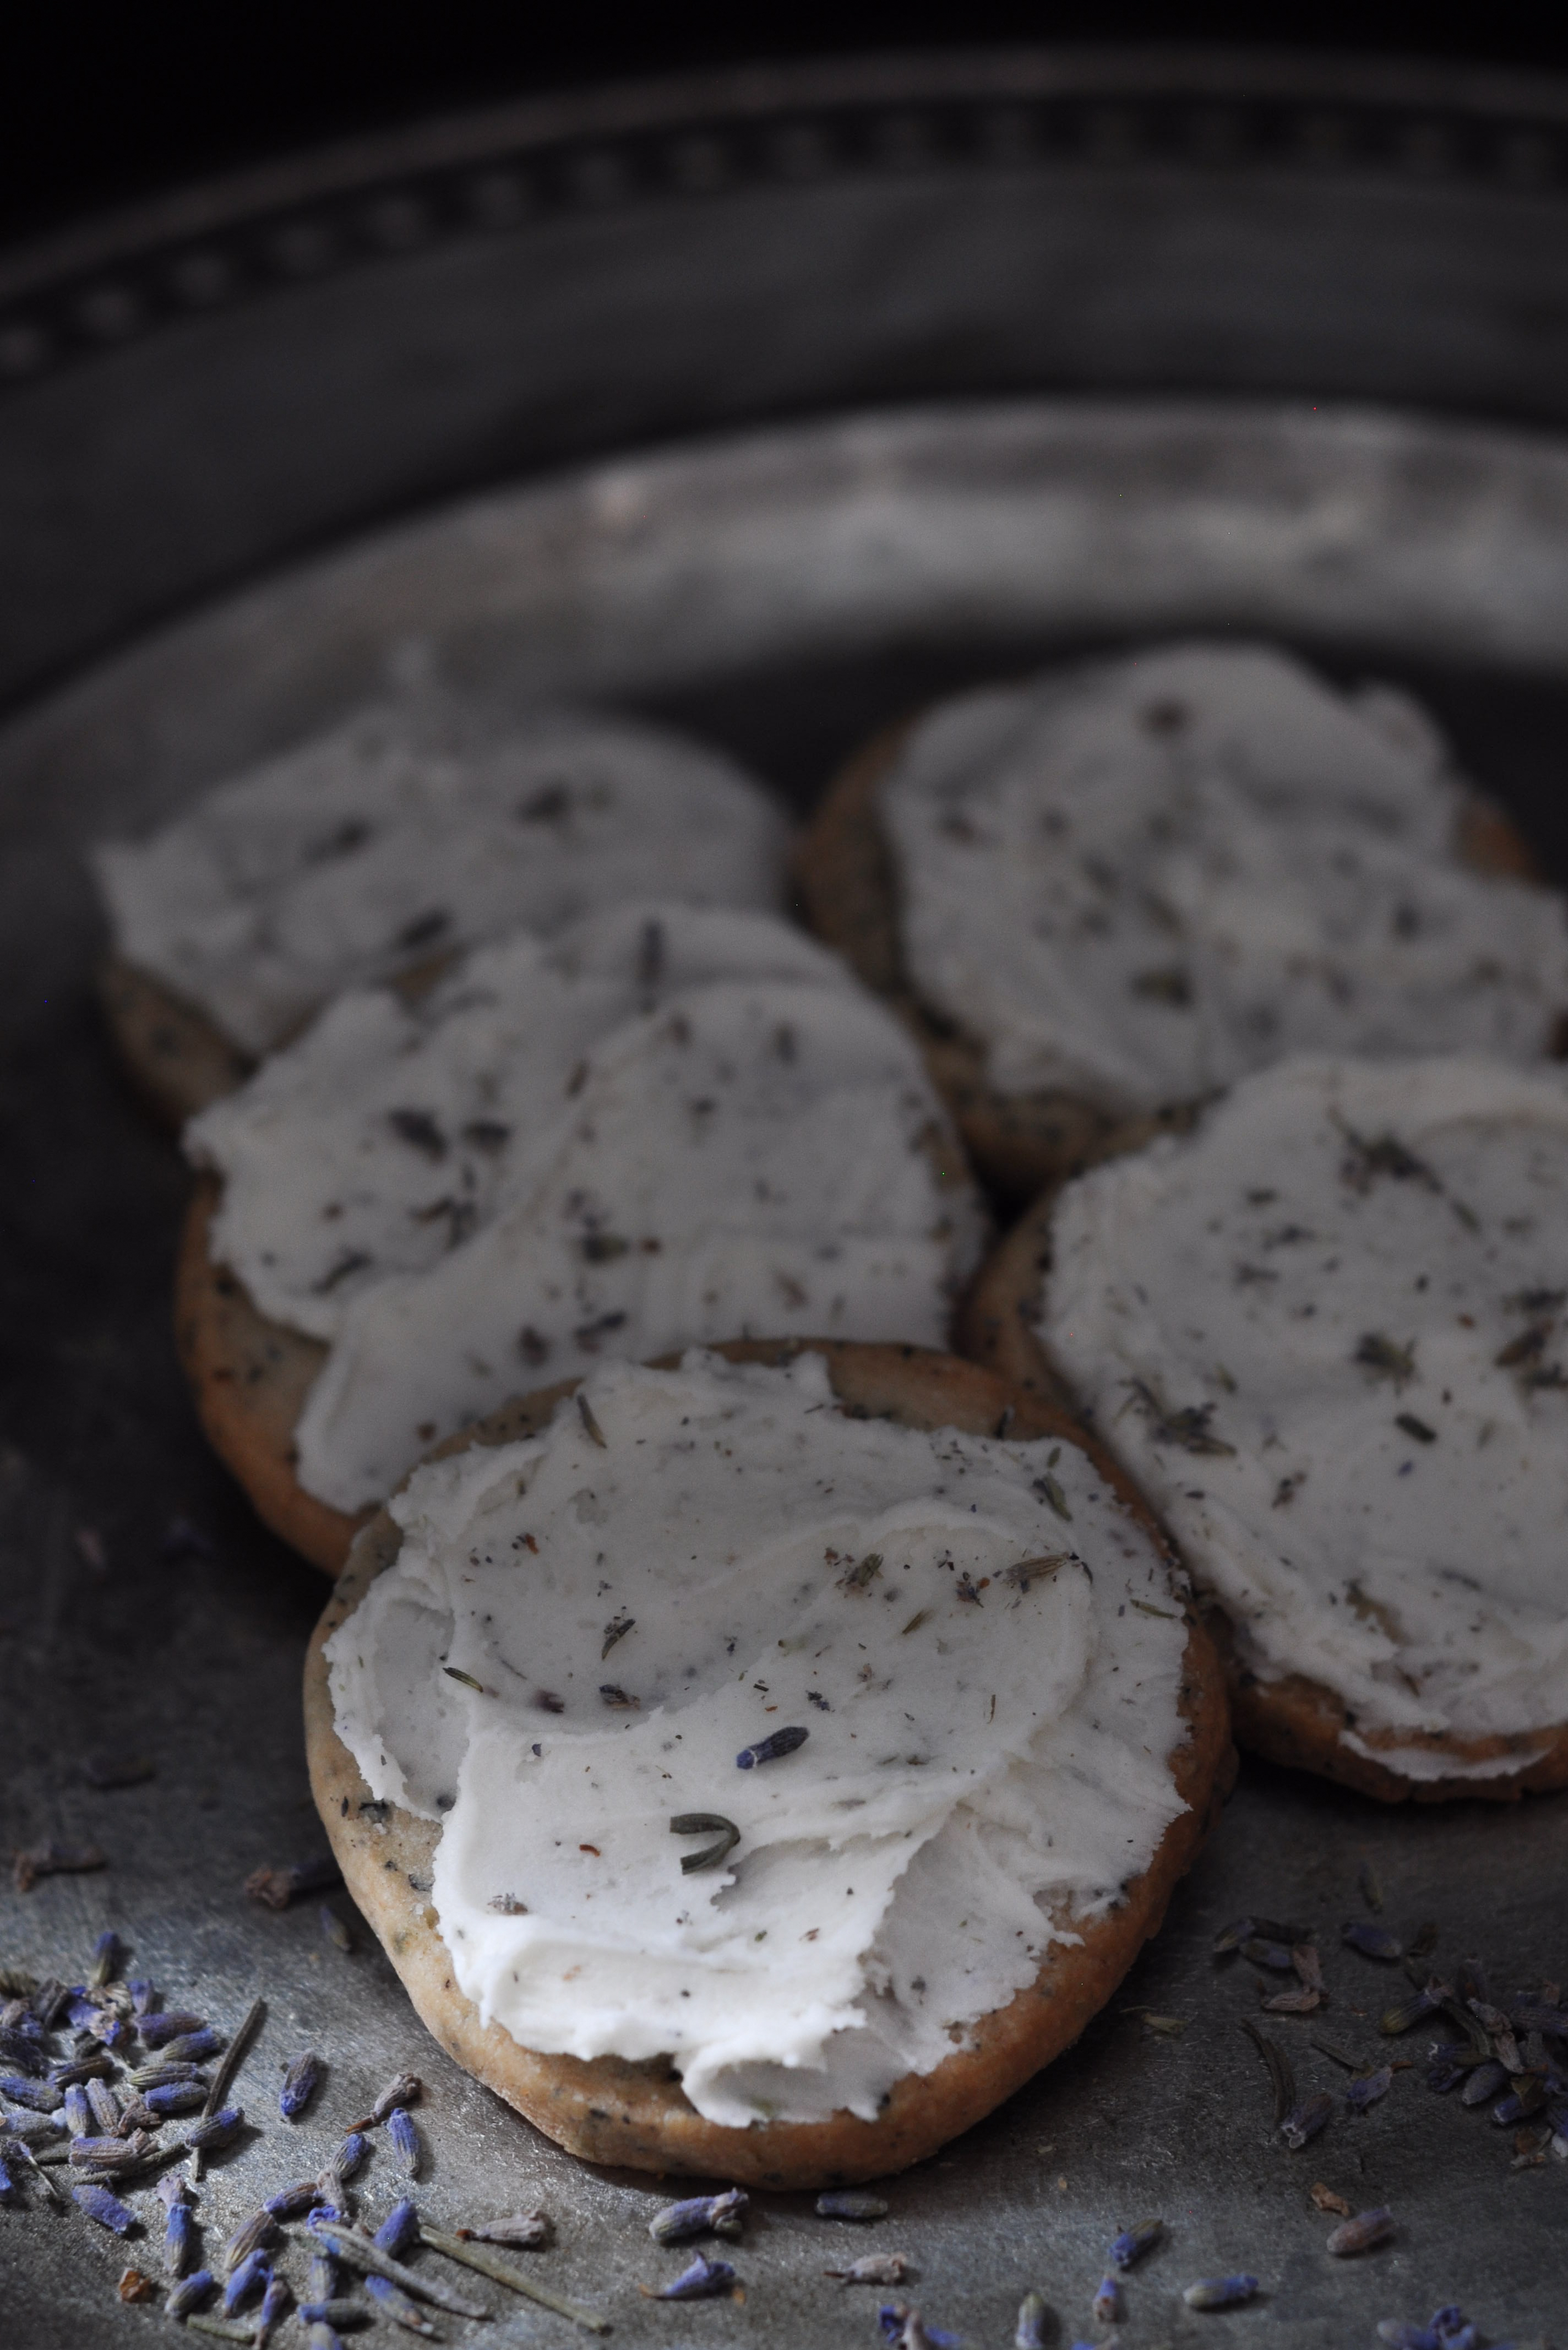
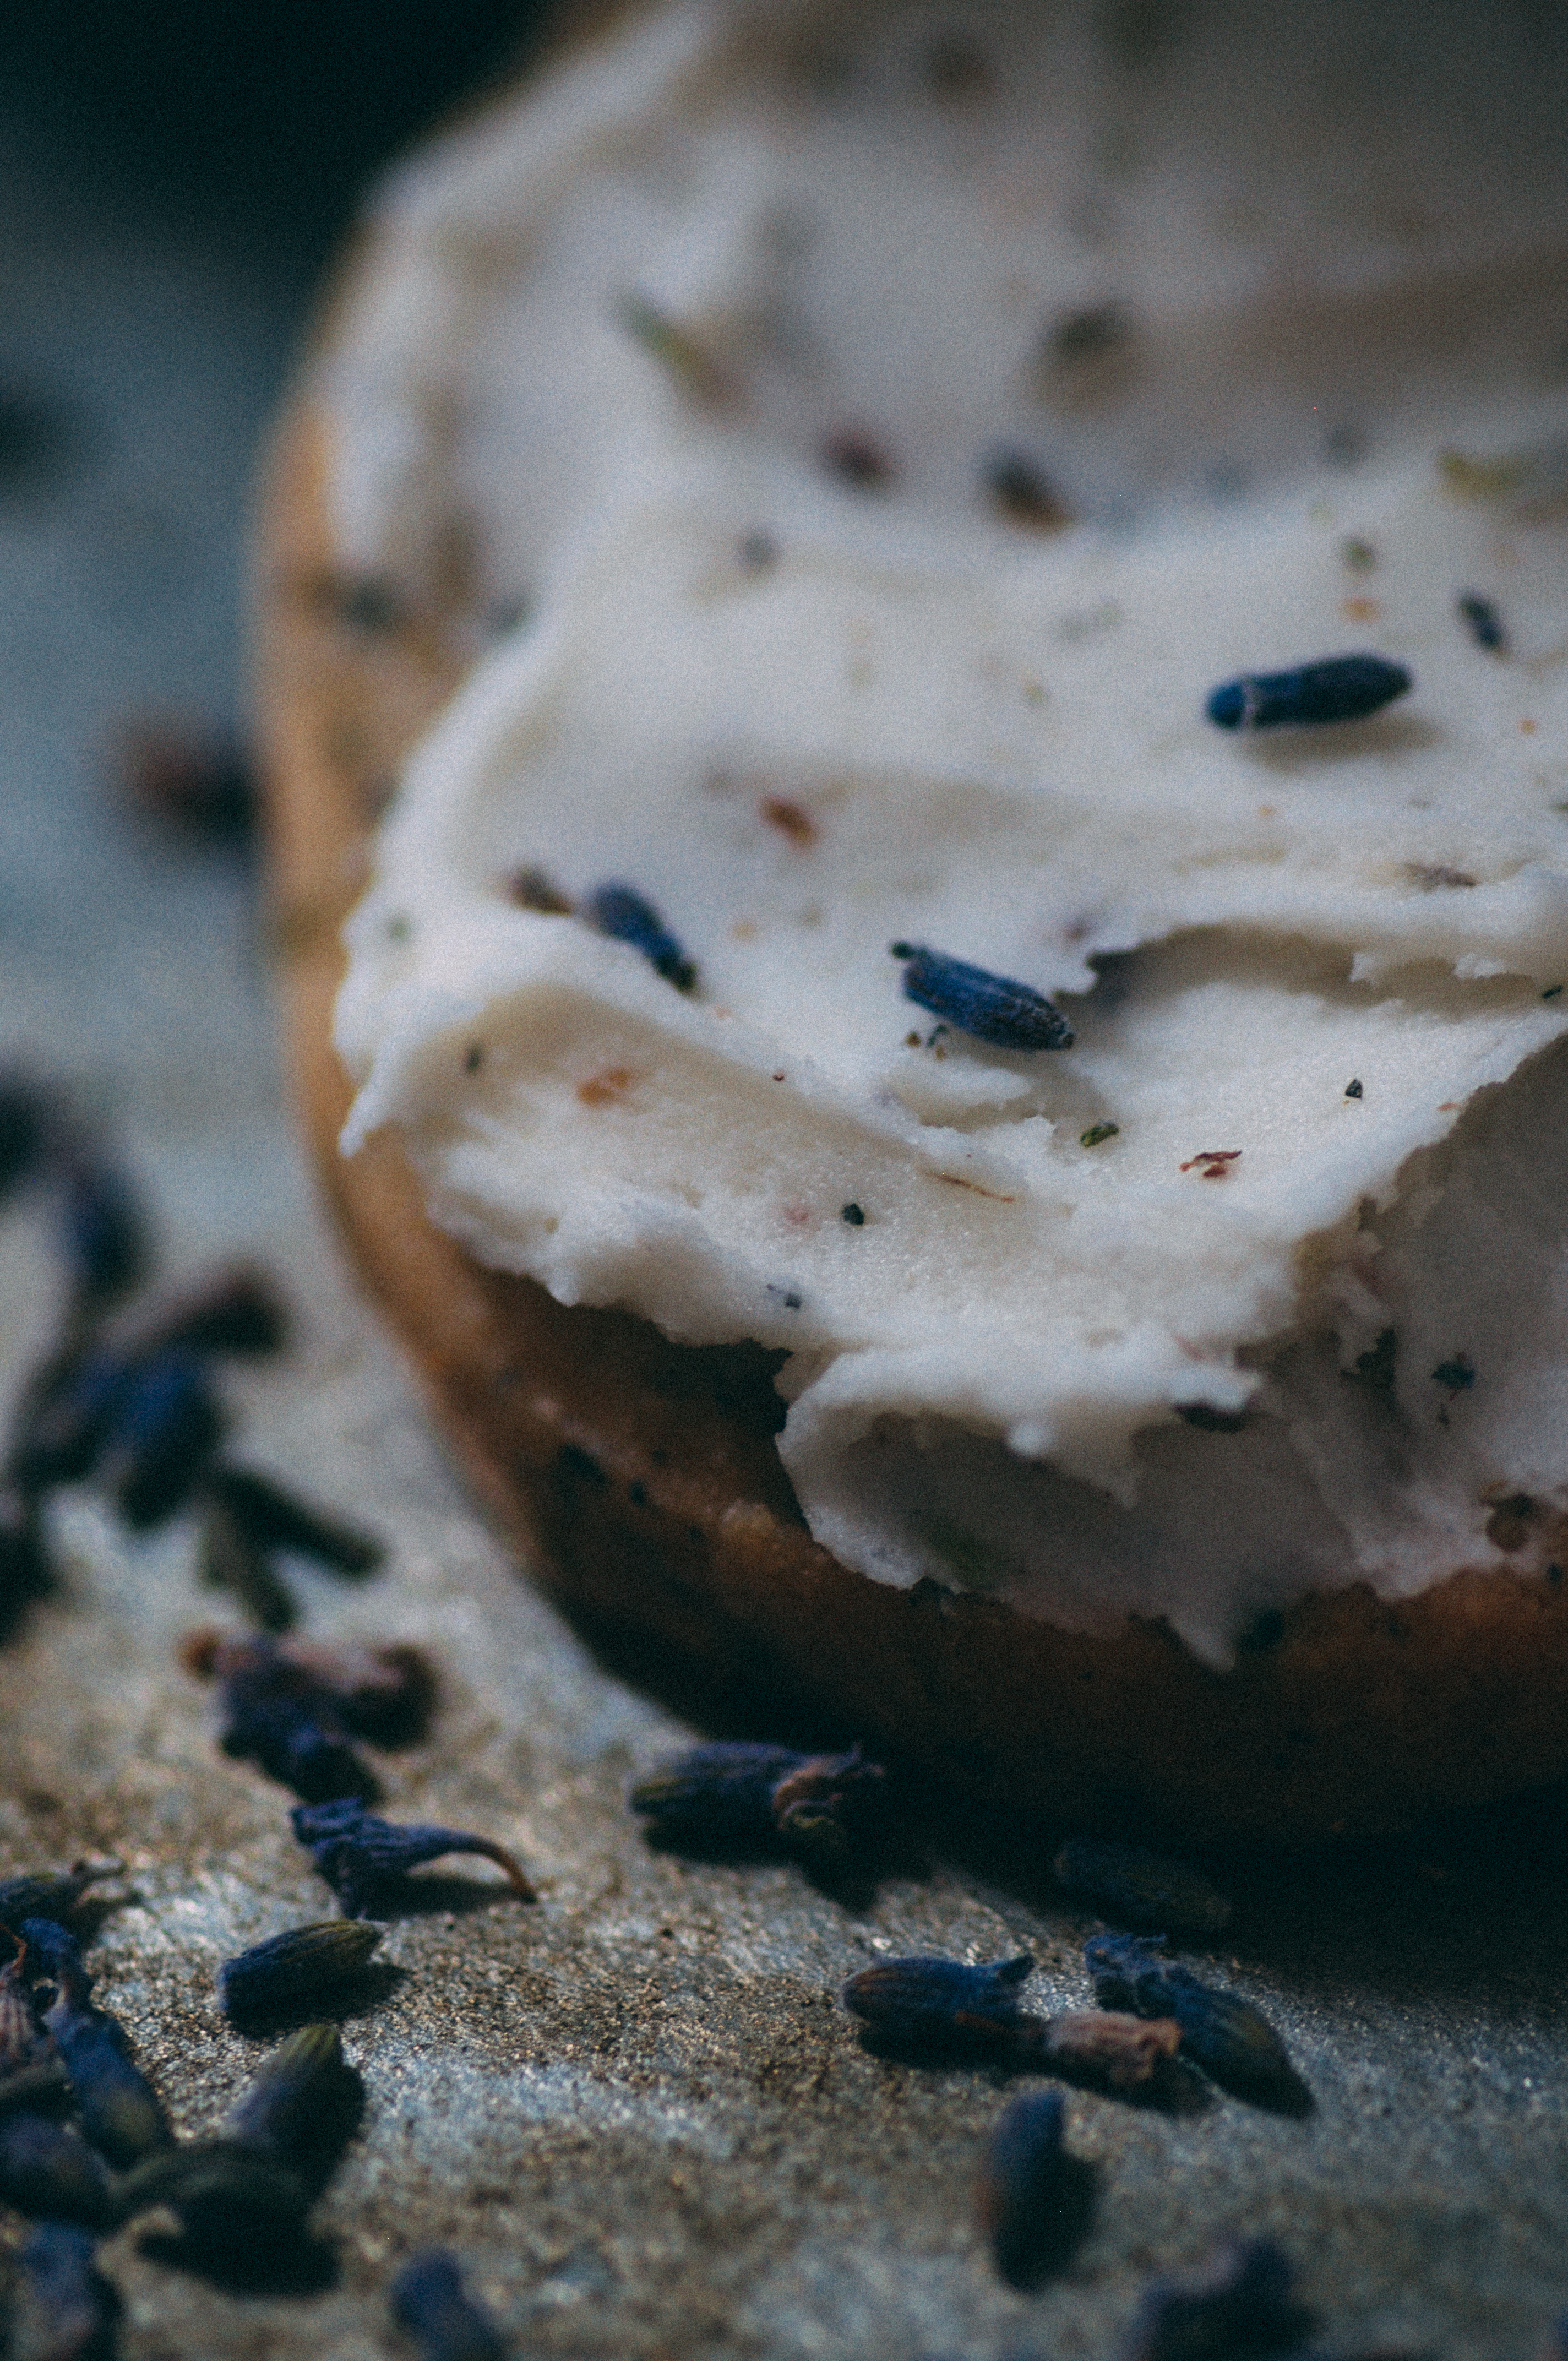
Earl Grey Shortbread with Lavender Buttercream
I went full on Christmas this year. Ok, well, I had some B- gift giving moments, cards that never went out, and I got a tad bit cranky at the fifth office holiday party event. Overall, though, I gave this year’s Christmas a valiant effort. I type this as I’m on my fourth back-to-back viewing of the 24-hour A Christmas Story extravaganza that plays on TBS each year. #familytradition…
I had a holiday first this year though: a Christmas Cookie Exchange, courtesy of my dear friend, Josie. Right, I know, how do you get to 40-something (aka ’29 again’) before attending your first Cookie Exchange?… I don’t “do” Christmas cookies. Don’t get me wrong, that wasn’t an uppity “don’t do” … that was a baking hesitance on my part. In fact, baking is actually quite intimidating to me. Cooking is an art; baking is a science. I’m a ‘dash of this, dash of that, throw it in a pan’ kind-of-gal. You ask me to add a cup of flour and there’s a good chance I’m gonna plunge my hand into the flour bag and scoop out about a cuppa flour… As much as I want to believe it’s just a ‘dash of this, a splash of that, pop it in the oven and forget about it’ –this doesn’t work in baking. So, I gave great thought to what I was going to take to my inaugural Cookie Exchange.
I knew I wanted to combine Earl Grey and Lavender in some combination, and I had been thinking about this for quite some time. I figured two dozen would be more than enough (well, two dozen minus the few I burned… it happens…). I found out later (i.e., reading the “bring 4 dozen” invite right before driving to the event) that the goal of a Cookie Exchange is not to bring your most unique recipe. The goal is to bring a shit ton of cookies, the Christmas kind. So, I kinda did this “Ahh, Lynn, epic fail on the Cookie Exchange” when I re-read the invite. Then, I swirled some Lavender Buttercream on my Earl Grey shortbread, took a bite, and soliloquized: “Ohhhh, Lynn, epic cookie win…epic.cookie.win…”
As I mentioned, I have been wanting to bring Earl Grey and Lavender together. Two delicate, intriguing flavors. Both so distinct, yet there is clear harmony between these two flavors. I opened up my tin of Earl Grey tea, then I twisted off the top of a glass jar full of organic culinary lavender buds, and I took a big whiff of both. It took me back to sipping a cup of tea while admiring my little garden when I lived in Harrogate, England. Then, my daydreaming went off in another direction and I embraced a big ‘ole dose of sentimentality over some amazing friendships I’ve made as I’ve moved around over the past 20 years. One of them: my wonderful gal pal, Josie. My little baking “lightbulb” went on and I knew Earl Grey and Lavender were going to come together in a non-traditional Christmas cookie for her Cookie Exchange.
…and how could I not get sentimental when, a few weeks ago, Josie sent me a picture album from a trip we took to Disney World & Epcot Center for New Year’s Eve about 8 years ago. When I met up with Josie in Florida way back on that day, she gave me a huge hug and then immediately provided one condition for our trip: we were wearing matching outfits and it would include mouse ears. How could I resist?… I still have my shirt…


“The most beautiful discovery true friends make is that they can grow separately without growing apart.”
~Elizabeth Foley
You can check out this shortbread recipe at the FeedFeed’s website as featured on the Shortbread Feed.
FeedFeed is a great resource for recipes and connecting home chefs, food lovers, bloggers!
Earl Grey Shortbread with Lavender Buttercream
2016-12-19 20:05:06
Yields 24
Fragrant, delicate with perfect floral notes. Earl Grey tea and lavender combine in this delightful little cookie.
Prep Time
45 min
Cook Time
12 min
Total Time
1 hr
Nutrition Facts
Serving Size
50g
Yields
24
Amount Per Serving
Calories 241
Calories from Fat 119
% Daily Value *
Total Fat 14g
21%
Saturated Fat 9g
43%
Trans Fat 1g
Polyunsaturated Fat 1g
Monounsaturated Fat 3g
Cholesterol 36mg
12%
Sodium 52mg
2%
Total Carbohydrates 29g
10%
Dietary Fiber 0g
1%
Sugars 21g
Protein 1g
Vitamin A
8%
Vitamin C
0%
Calcium
1%
Iron
1%
* Percent Daily Values are based on a 2,000 calorie diet. Your Daily Values may be higher or lower depending on your calorie needs.
Shortbread
- 2 cups all-purpose flour
- 2 tablespoons loose Earl Grey tea leaves
- 1/2 teaspoon Kosher salt
- 3/4 cup powdered sugar
- 1 teaspoon pure vanilla extract
- 1 cup unsalted butter, room temperature
Lavender Buttercream
- 3/4 cups unsalted butter, room temperature
- 3 1/2 cups powdered sugar
- 1 teaspoon dried culinary lavender, finely chopped
- 1 teaspoon pure vanilla extract
- 1 tablespoon milk or cream, if needed, to thin buttercream
Shortbread
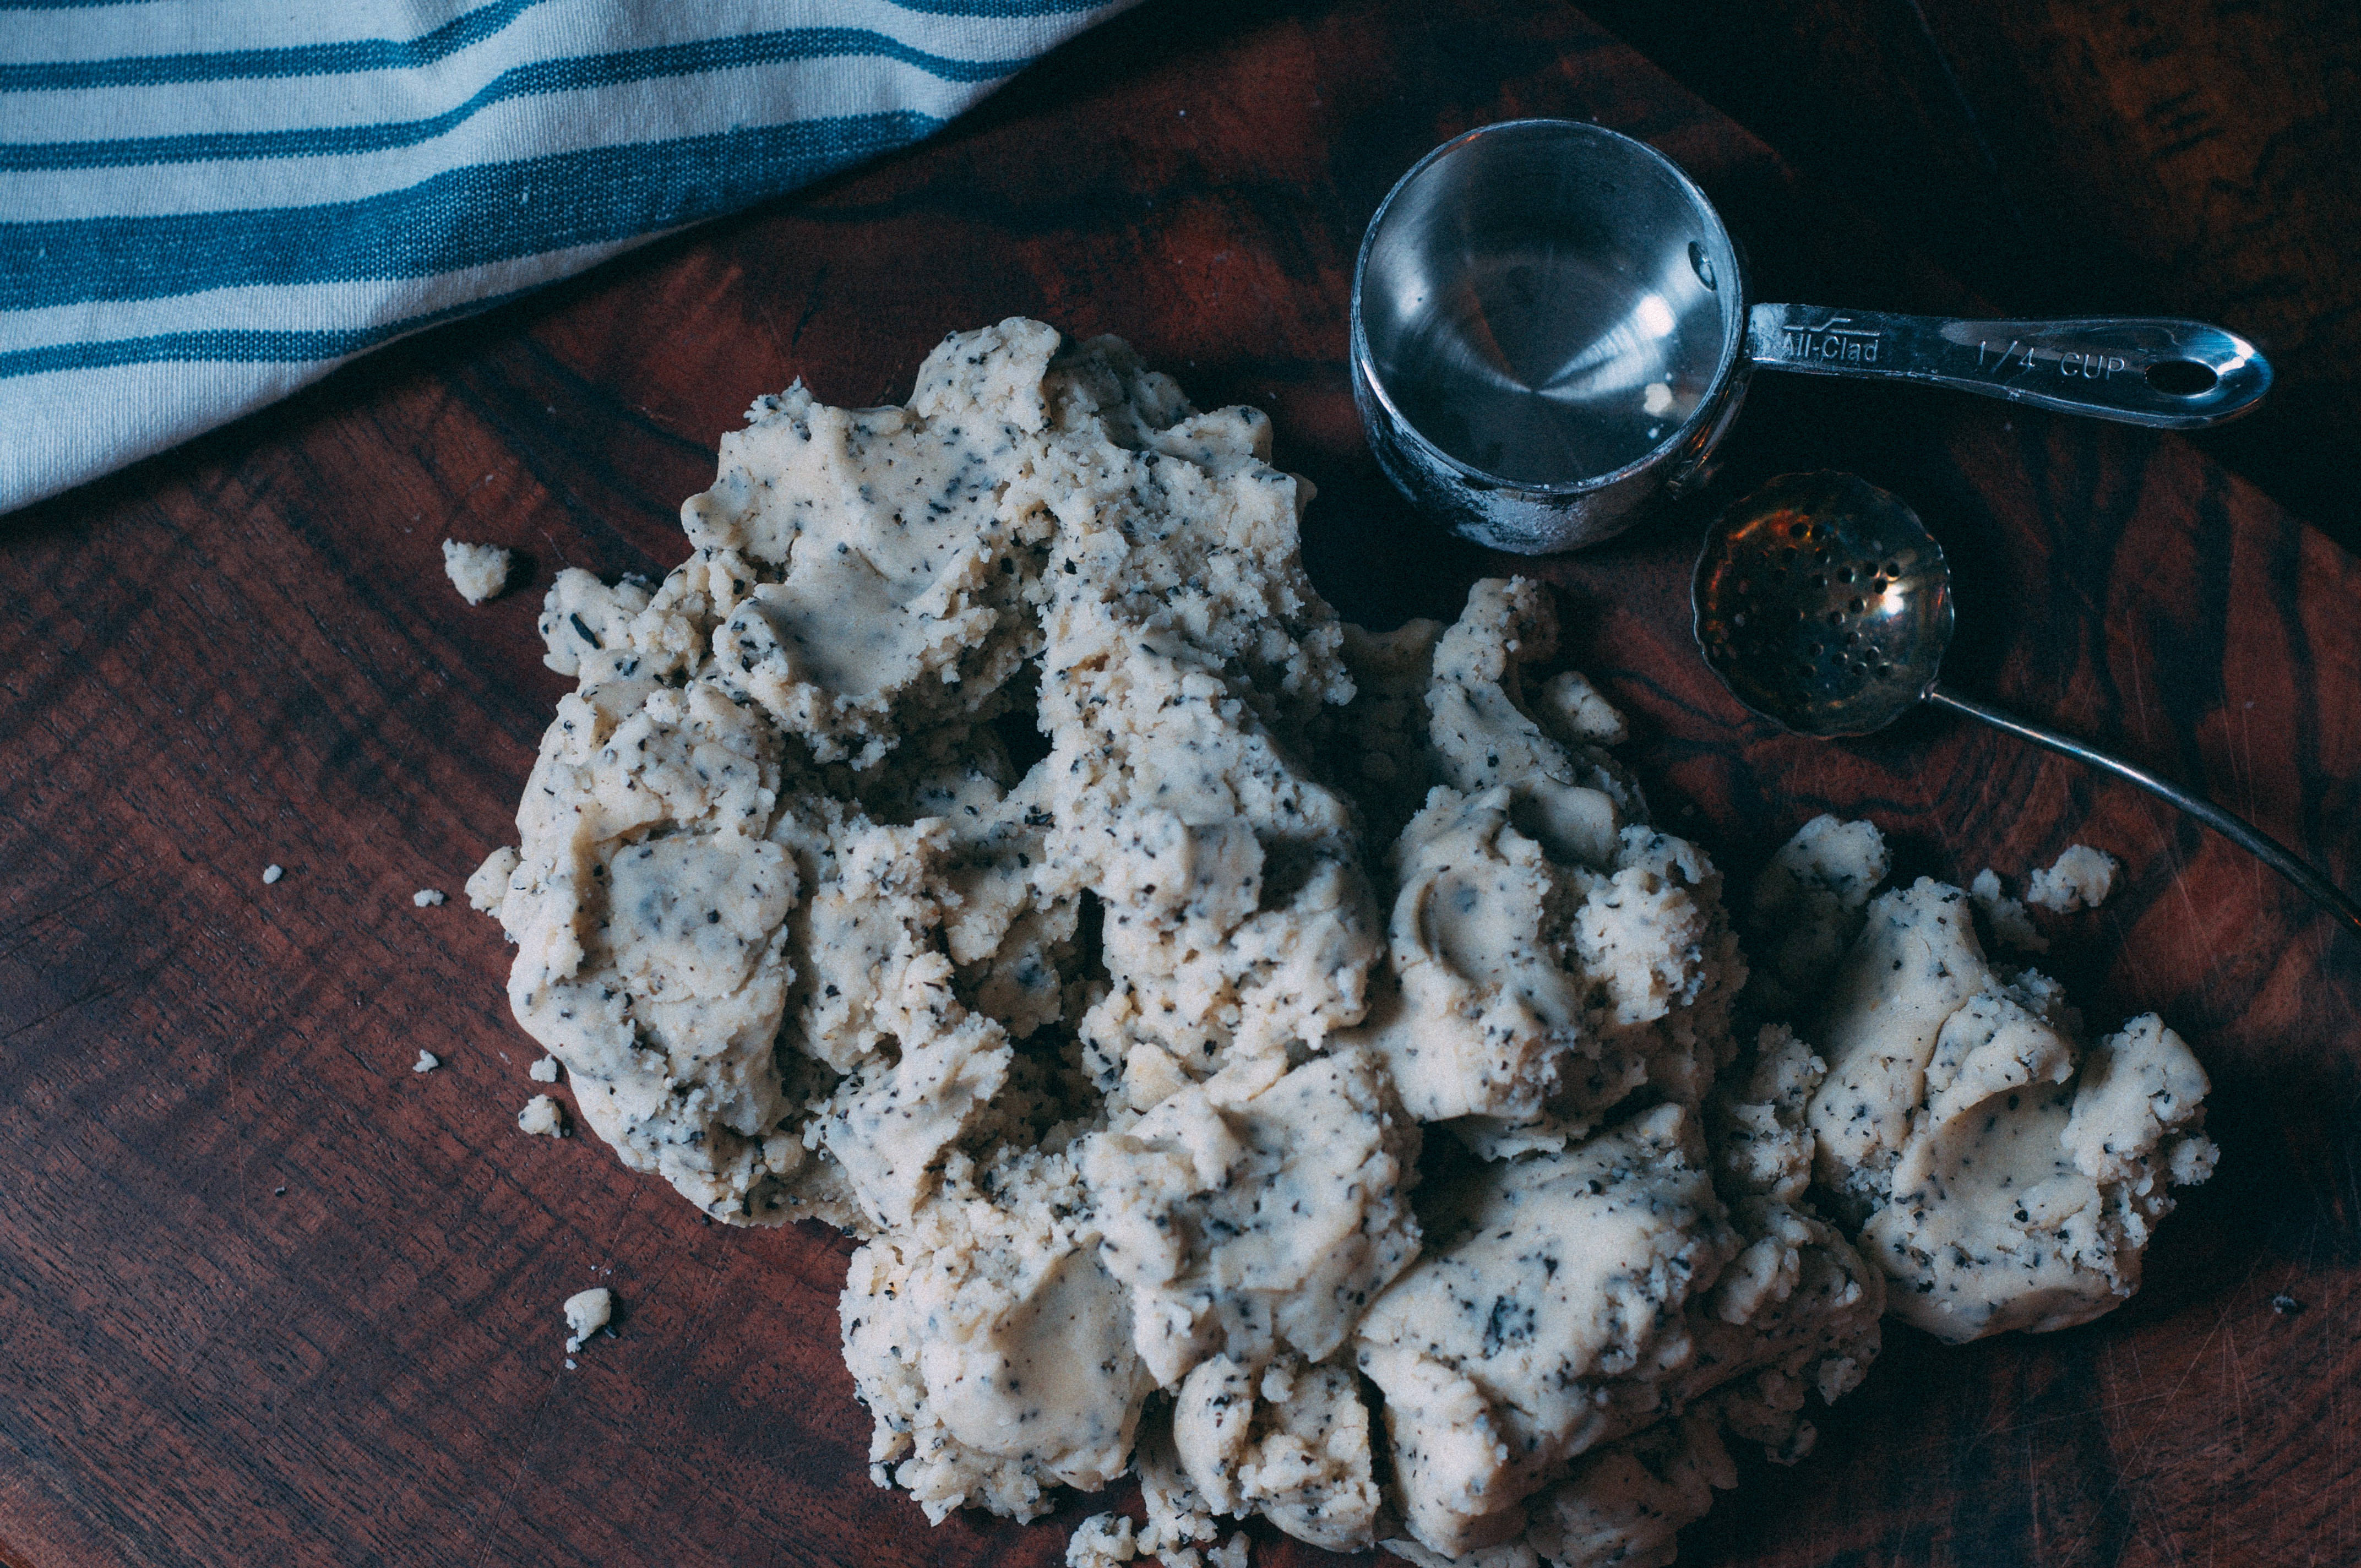
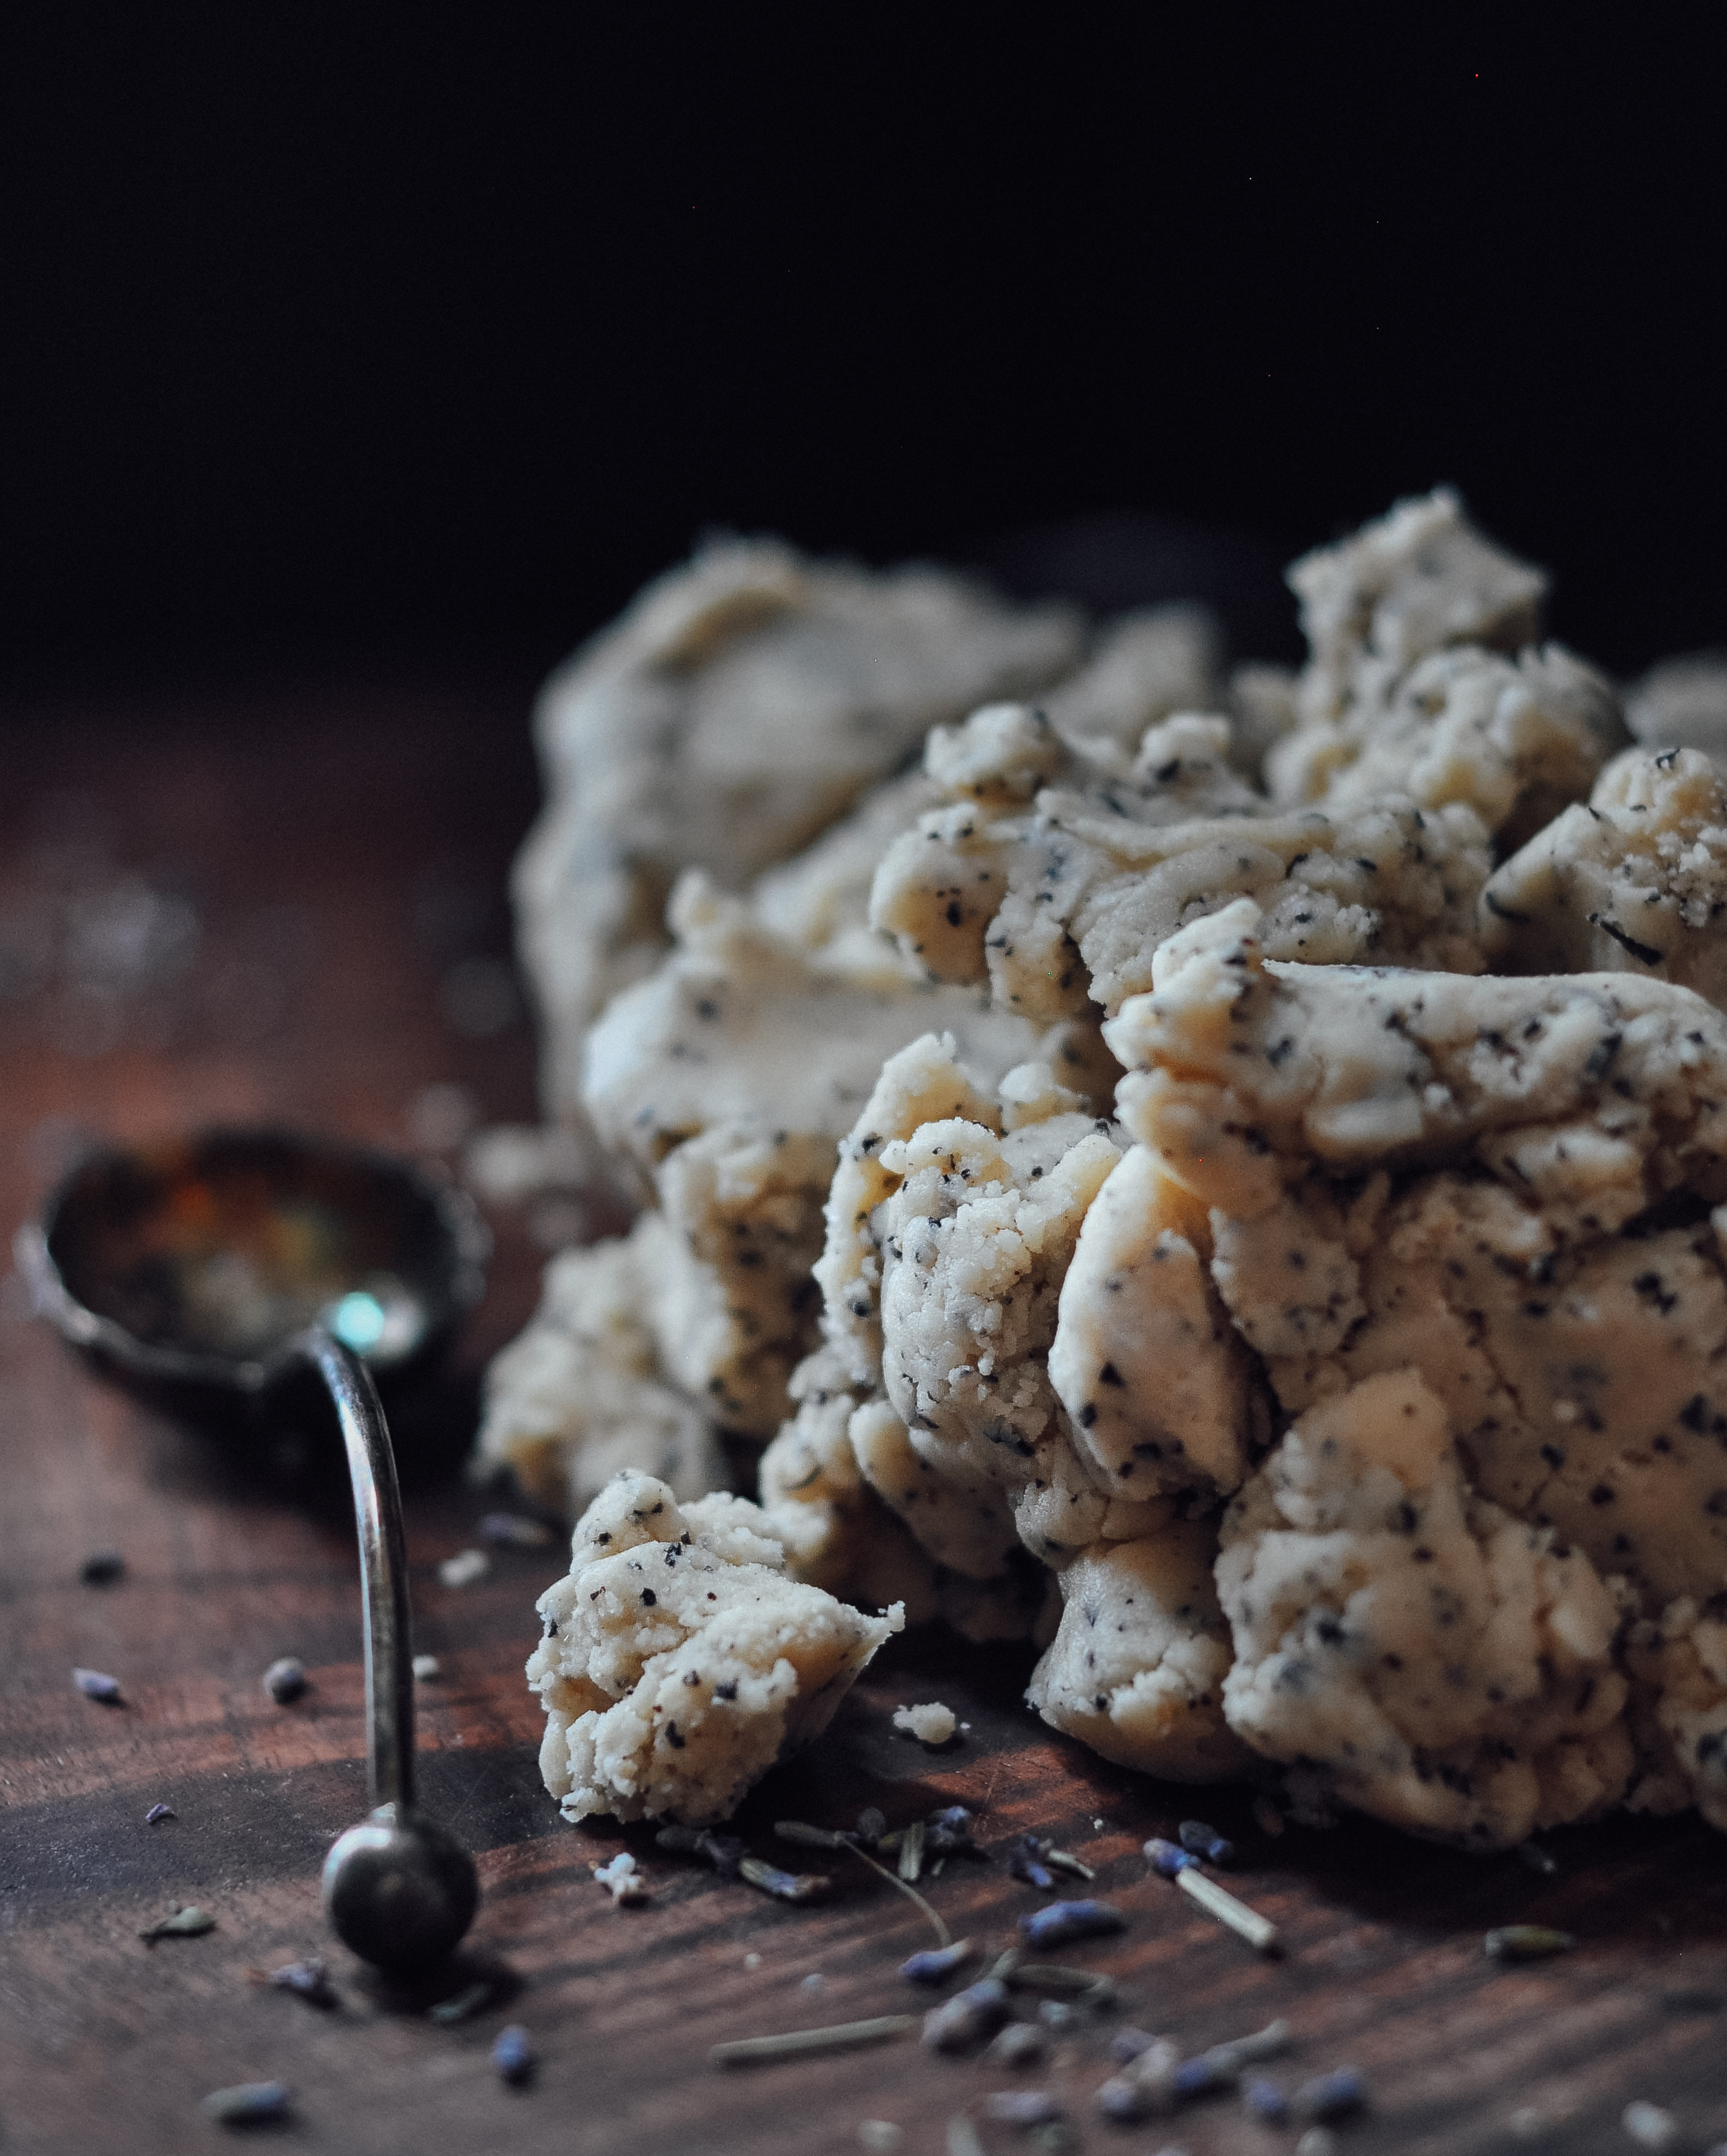
- In a food processor, pulse together the flour, tea, and salt, until the tea is just spotted throughout the flour. Add the powdered sugar, vanilla, and butter. Pulse together just until a dough is formed. Place the dough on a sheet of plastic wrap and roll into a log (about 2 1/2-inches in diameter). Tightly twist each end of the plastic wrap and chill in the refrigerator for 30 minutes.
- Preheat oven to 375 degrees F.
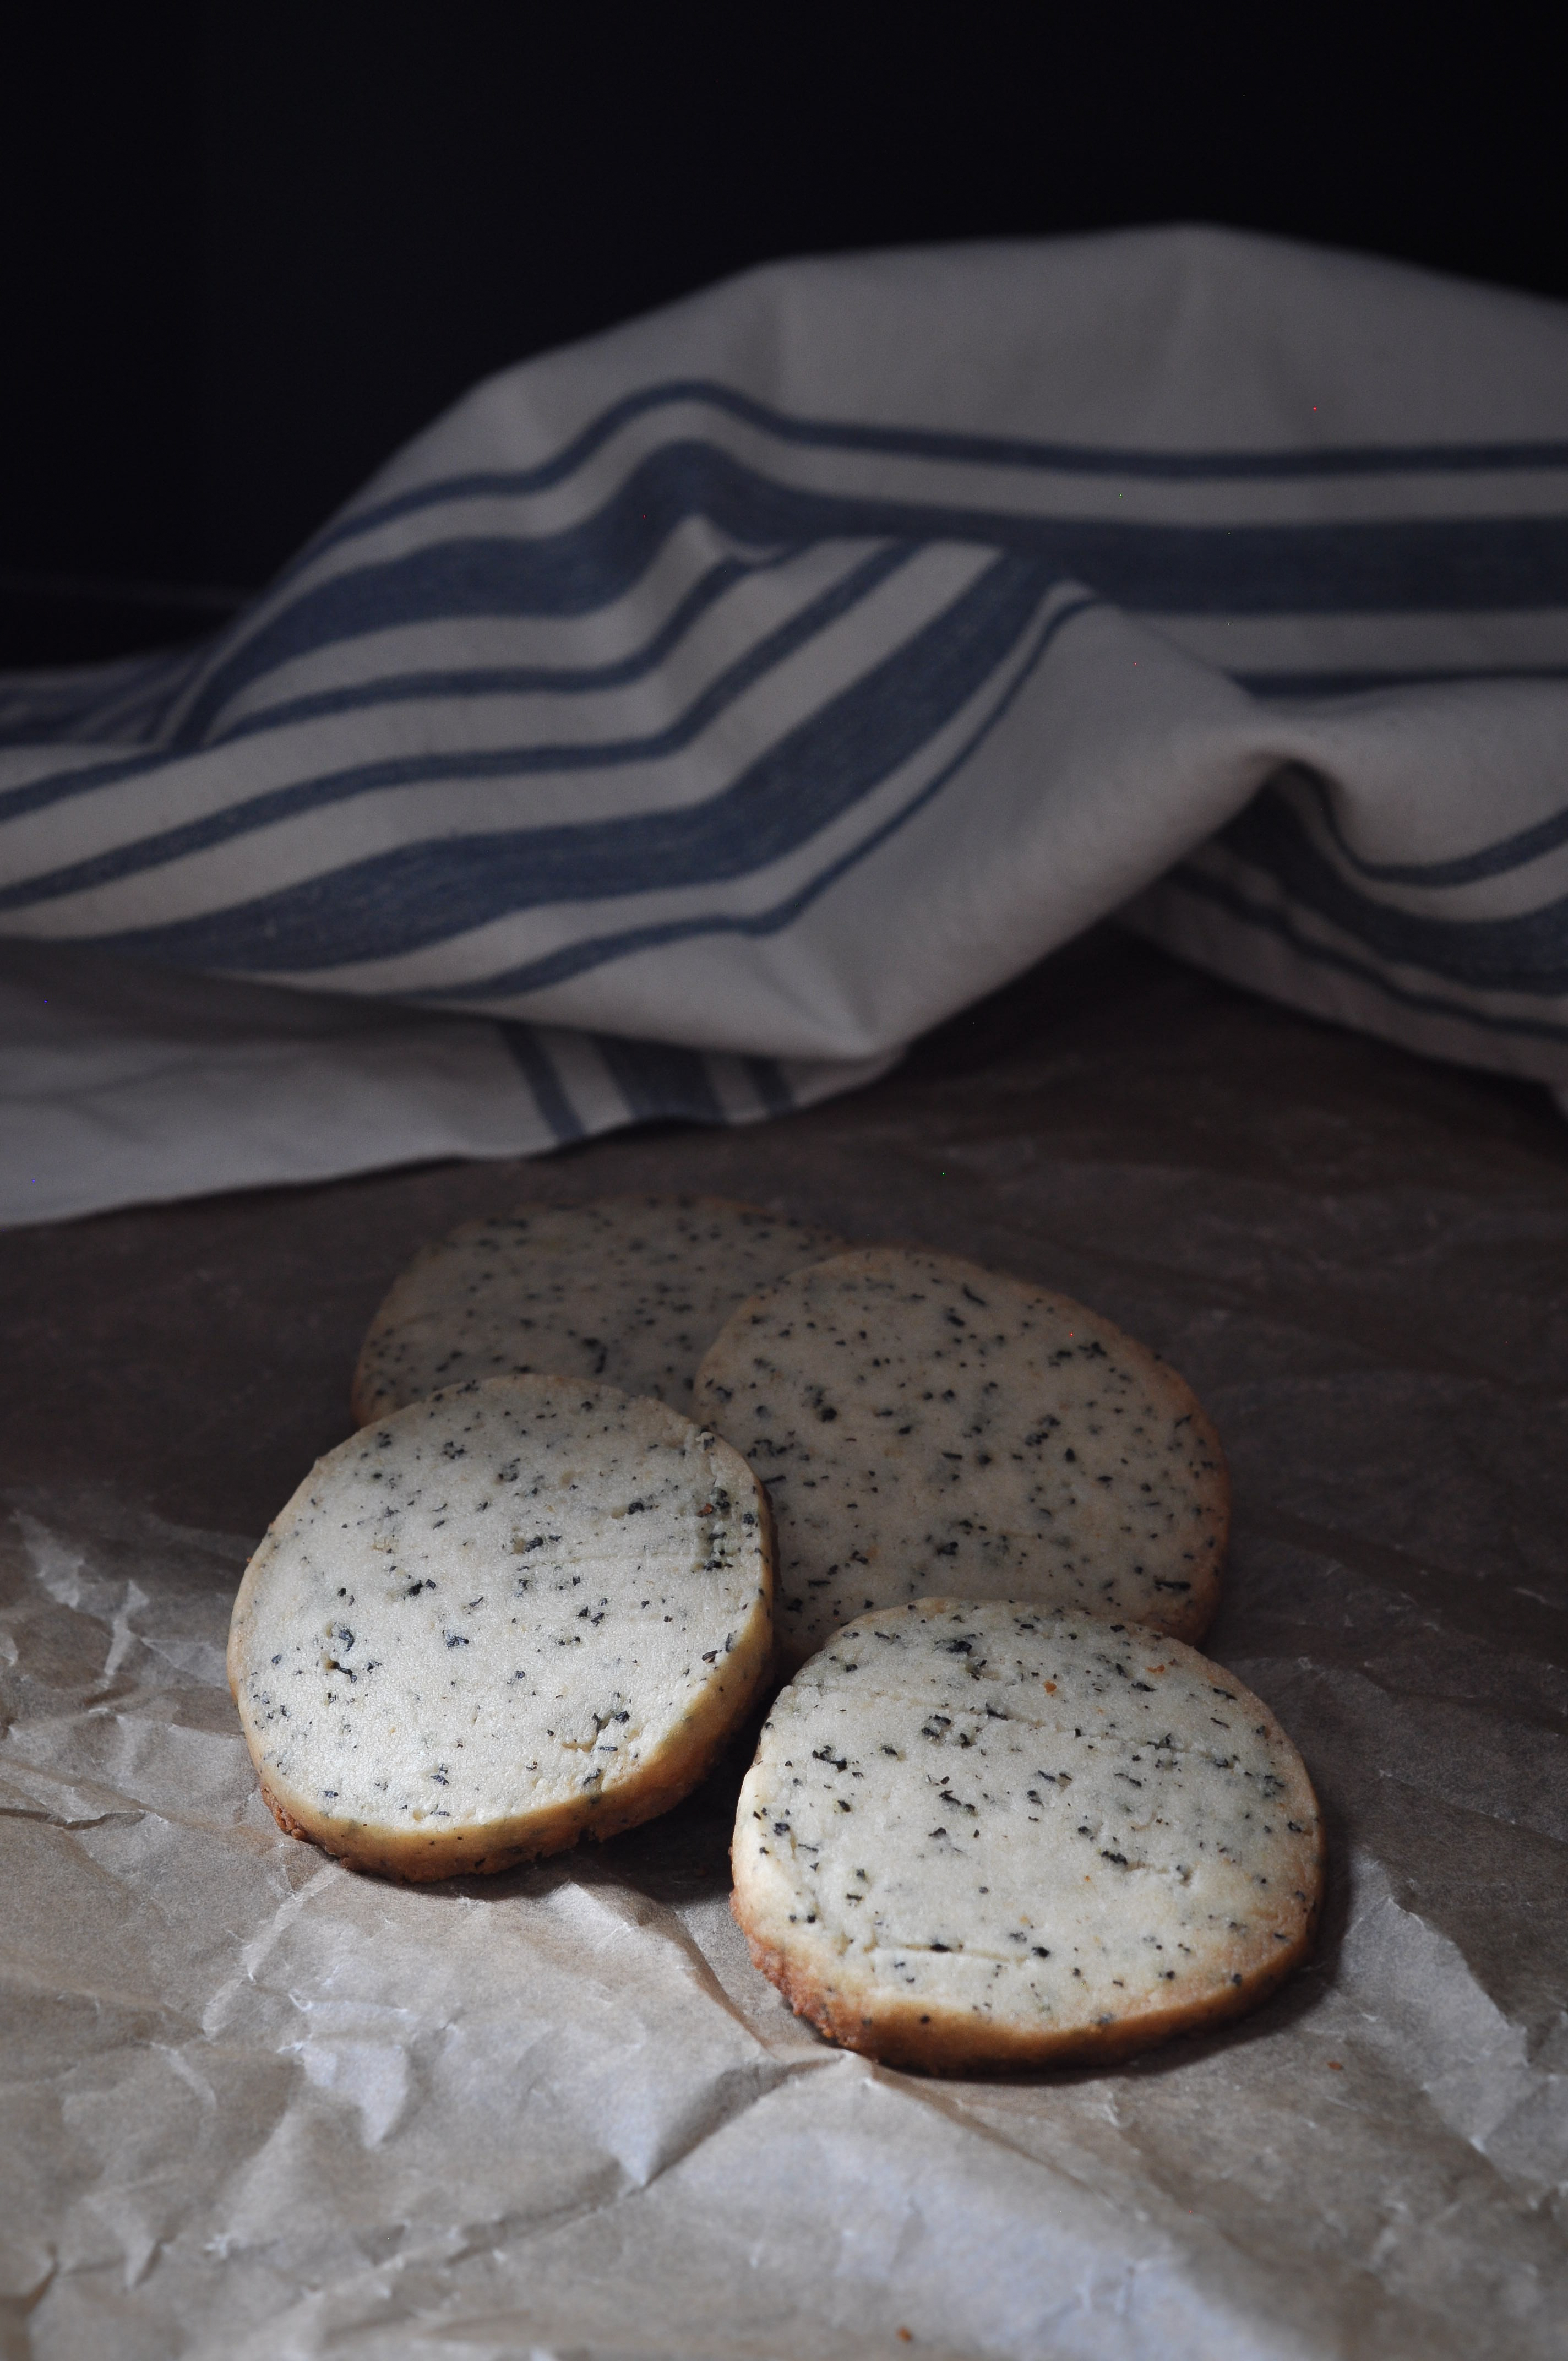
- Slice the log into 1/3-inch thick disks. Place on parchment lined baking sheets, 2 inches apart. Bake until the edges are just lightly brown, about 12 minutes. Watch the time carefully, these cookies are thin and will burn quickly. Let the shortbread cool on the cookie sheets for 5 minutes and then transfer to wire racks and cool to room temperature.
Lavender Buttercream
- Add butter to the bowl of your electric mixer fitted with the paddle attachment and beat until creamy. With the mixer on low speed, gradually add the powdered sugar and finely chopped lavender. Increase the speed of the mixer, scrape down the sides, if needed, and beat the frosting until fluffy and combined. Beat in the vanilla extract.
- If the frosting seems too thick, beat in a tablespoon of milk at a time. If it seems to runny or too thin, you can beat in more powdered sugar. Frost the shortbread when they are completely cool. Top with a few lavender buds, if you wish.
TraveLynn Eats https://www.travelynneats.com/
Apple Cider Caramels
I feel like November just cruised by, top-down-with-the-heater on, leaves floating by, beep-beep, get outta the way… Now, the tree is up, lights twinkling, foggy mornings, forecast snow, humming baby it’s cold outside, peeking over my shoulder and wondering how Autumn just zipped on by. It didn’t even ease it’s foot off the accelerator.
Autumn in Virginia was lovely and it was short-lived. I gave it my all; I really did. Pumpkin Spice Lattes (they taste different when you drink them with a big, chunky home-made yarn scarf hugging your neck…they do…); fall leaf peeping; apple picking in the orchards; the Hunt Races at Montpelier; sneaking gorgeous chunks of squash into unsuspecting dishes; getting nostalgic watching It’s the Great Pumpkin, Charlie Brown; and just, well, you know… soaking in the seasonal slow down.
Somewhere, on a country road, at a stand filled with apples and gourds, at a location I’ll never remember, I picked up some apple cider. This isn’t the clear jug of apple cider on Aisle 9 that looks curiously like the apple juice snuggled up next to it. This is the cloudy, thick, spicy, rich, country stand apple cider. I’ve also found some great, seasonal apple ciders in the refrigerator section at the grocery store. Both Trader Joe’s and Whole Food’s apple ciders are deelishussss.
So, farewell Autumn. Just before I get into the Christmas cookie swing of things, I’m saying au revoir to your color-filled days with these: Apple Cider Caramels.
“Autumn is as joyful and sweet as an untimely end.”
― Rémy de Gourmont
Apple Cider Caramels
2016-12-06 18:54:18
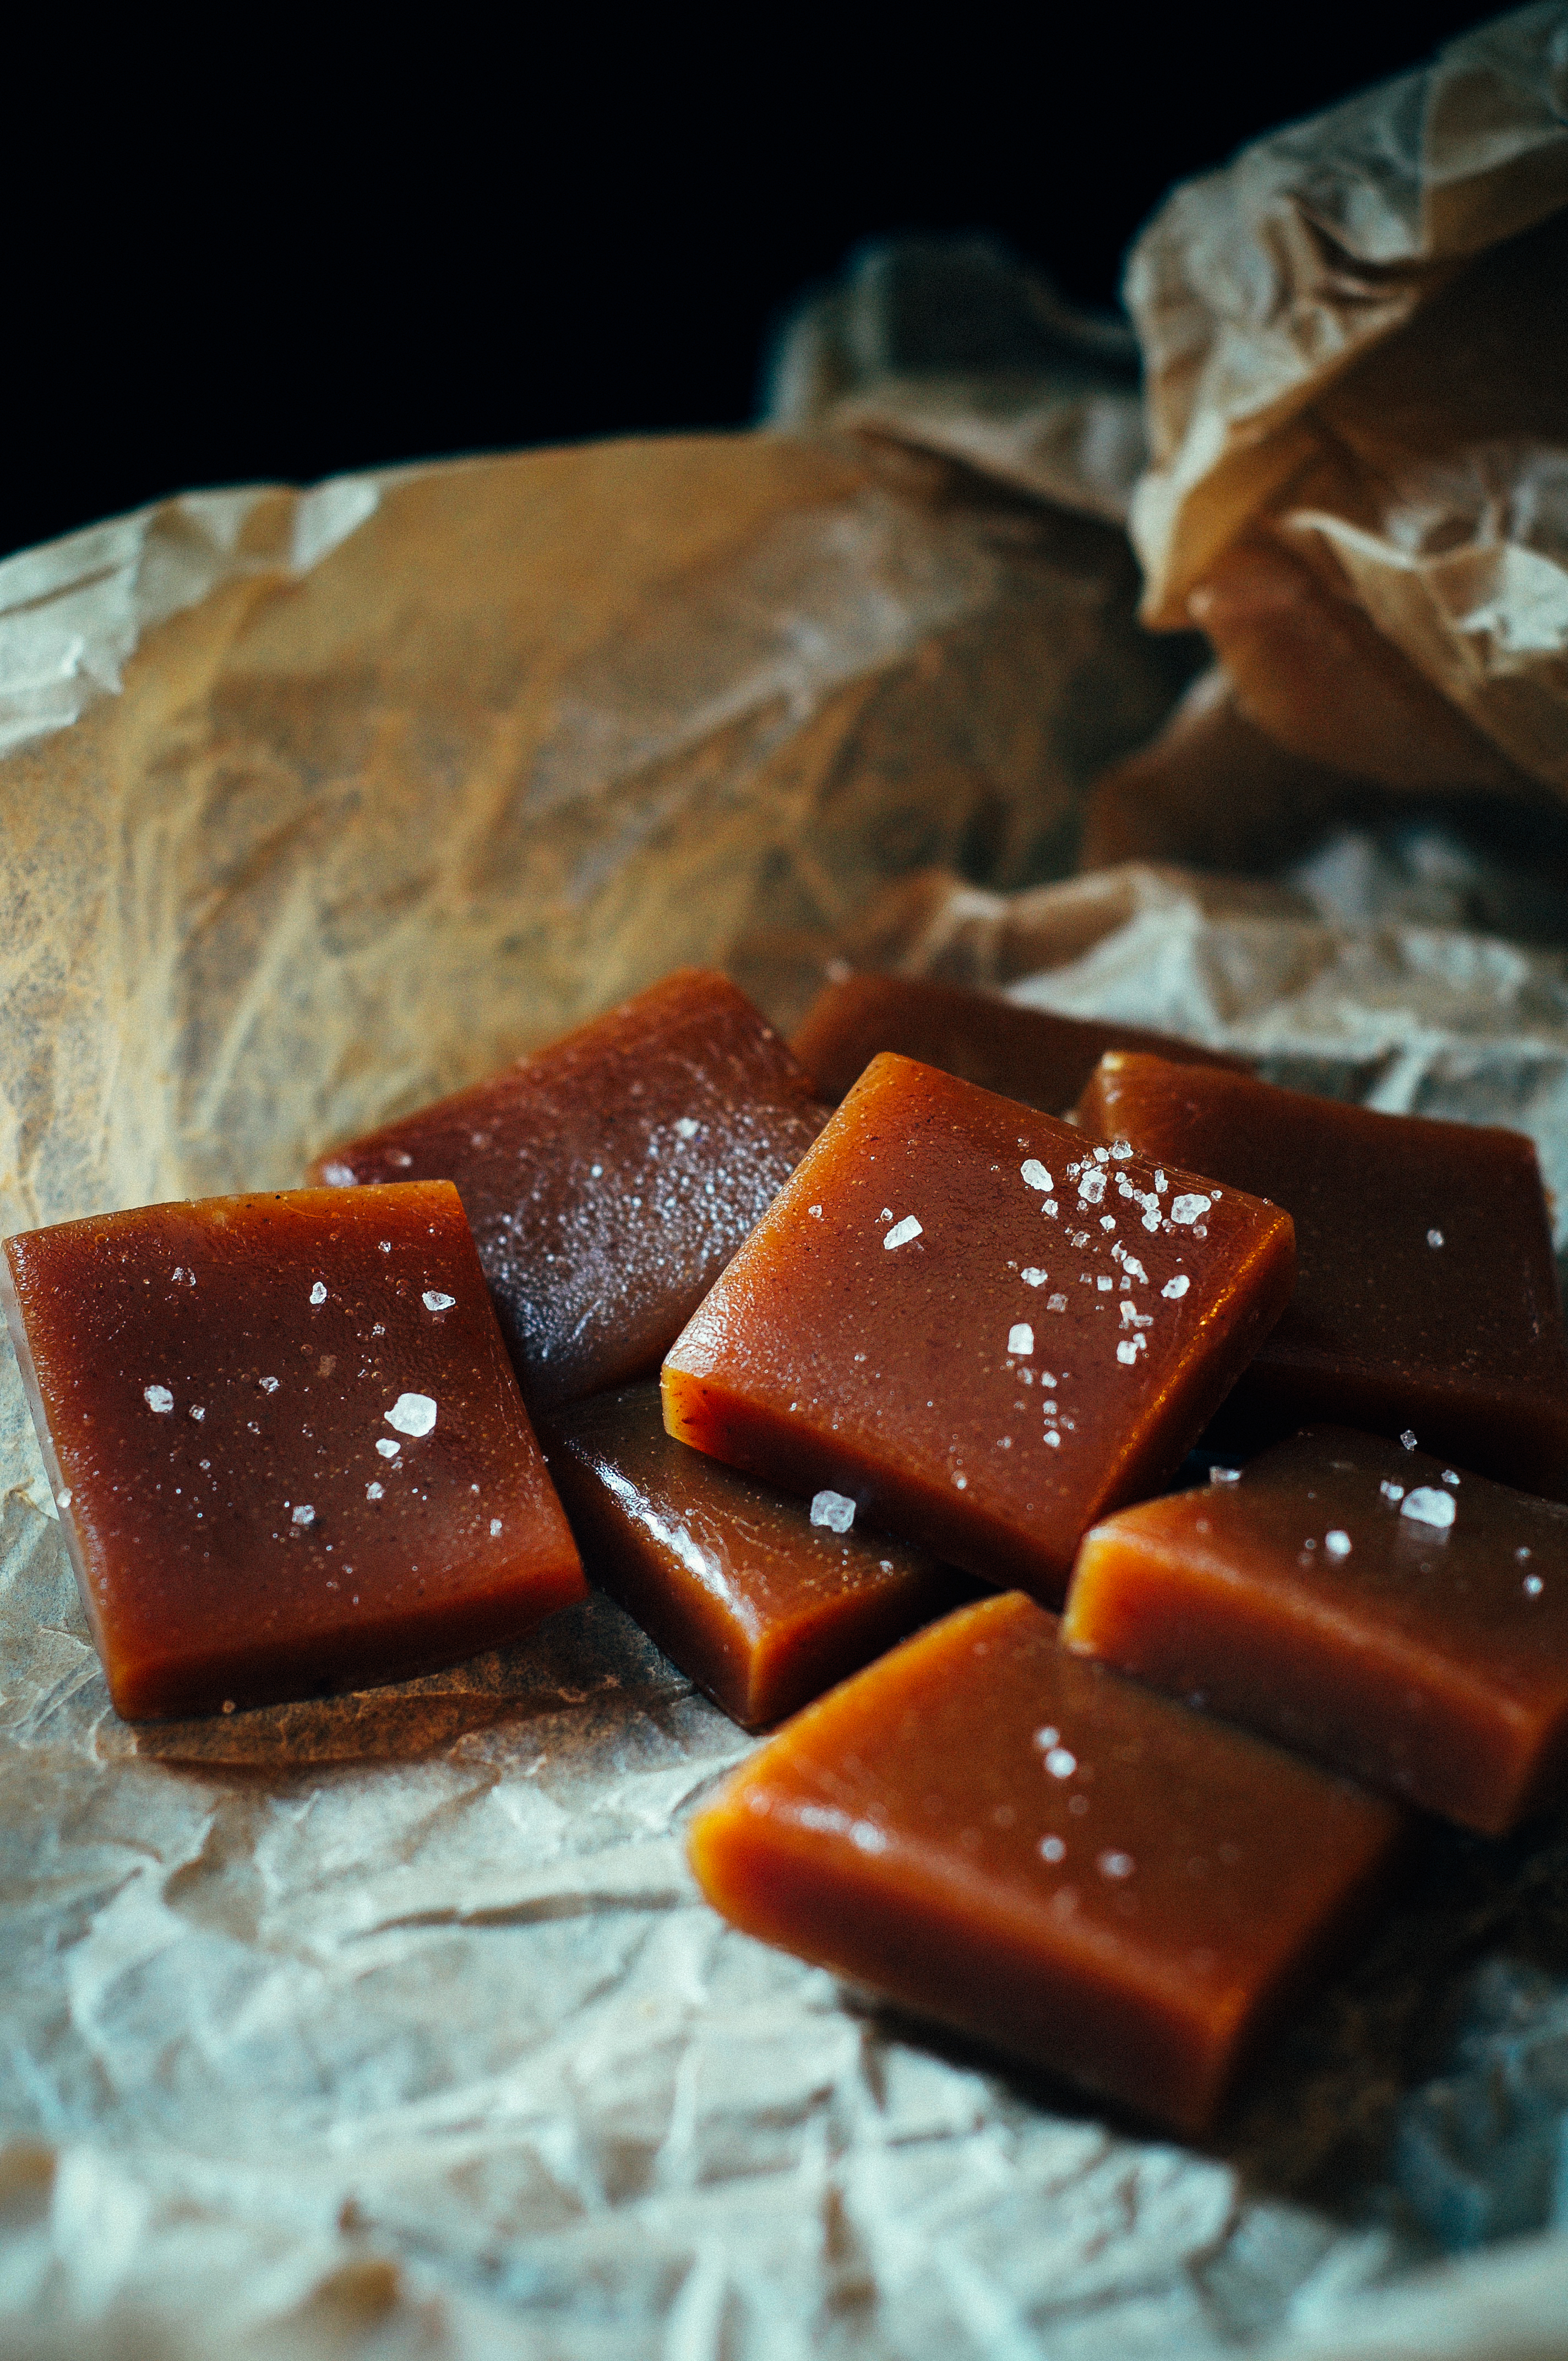
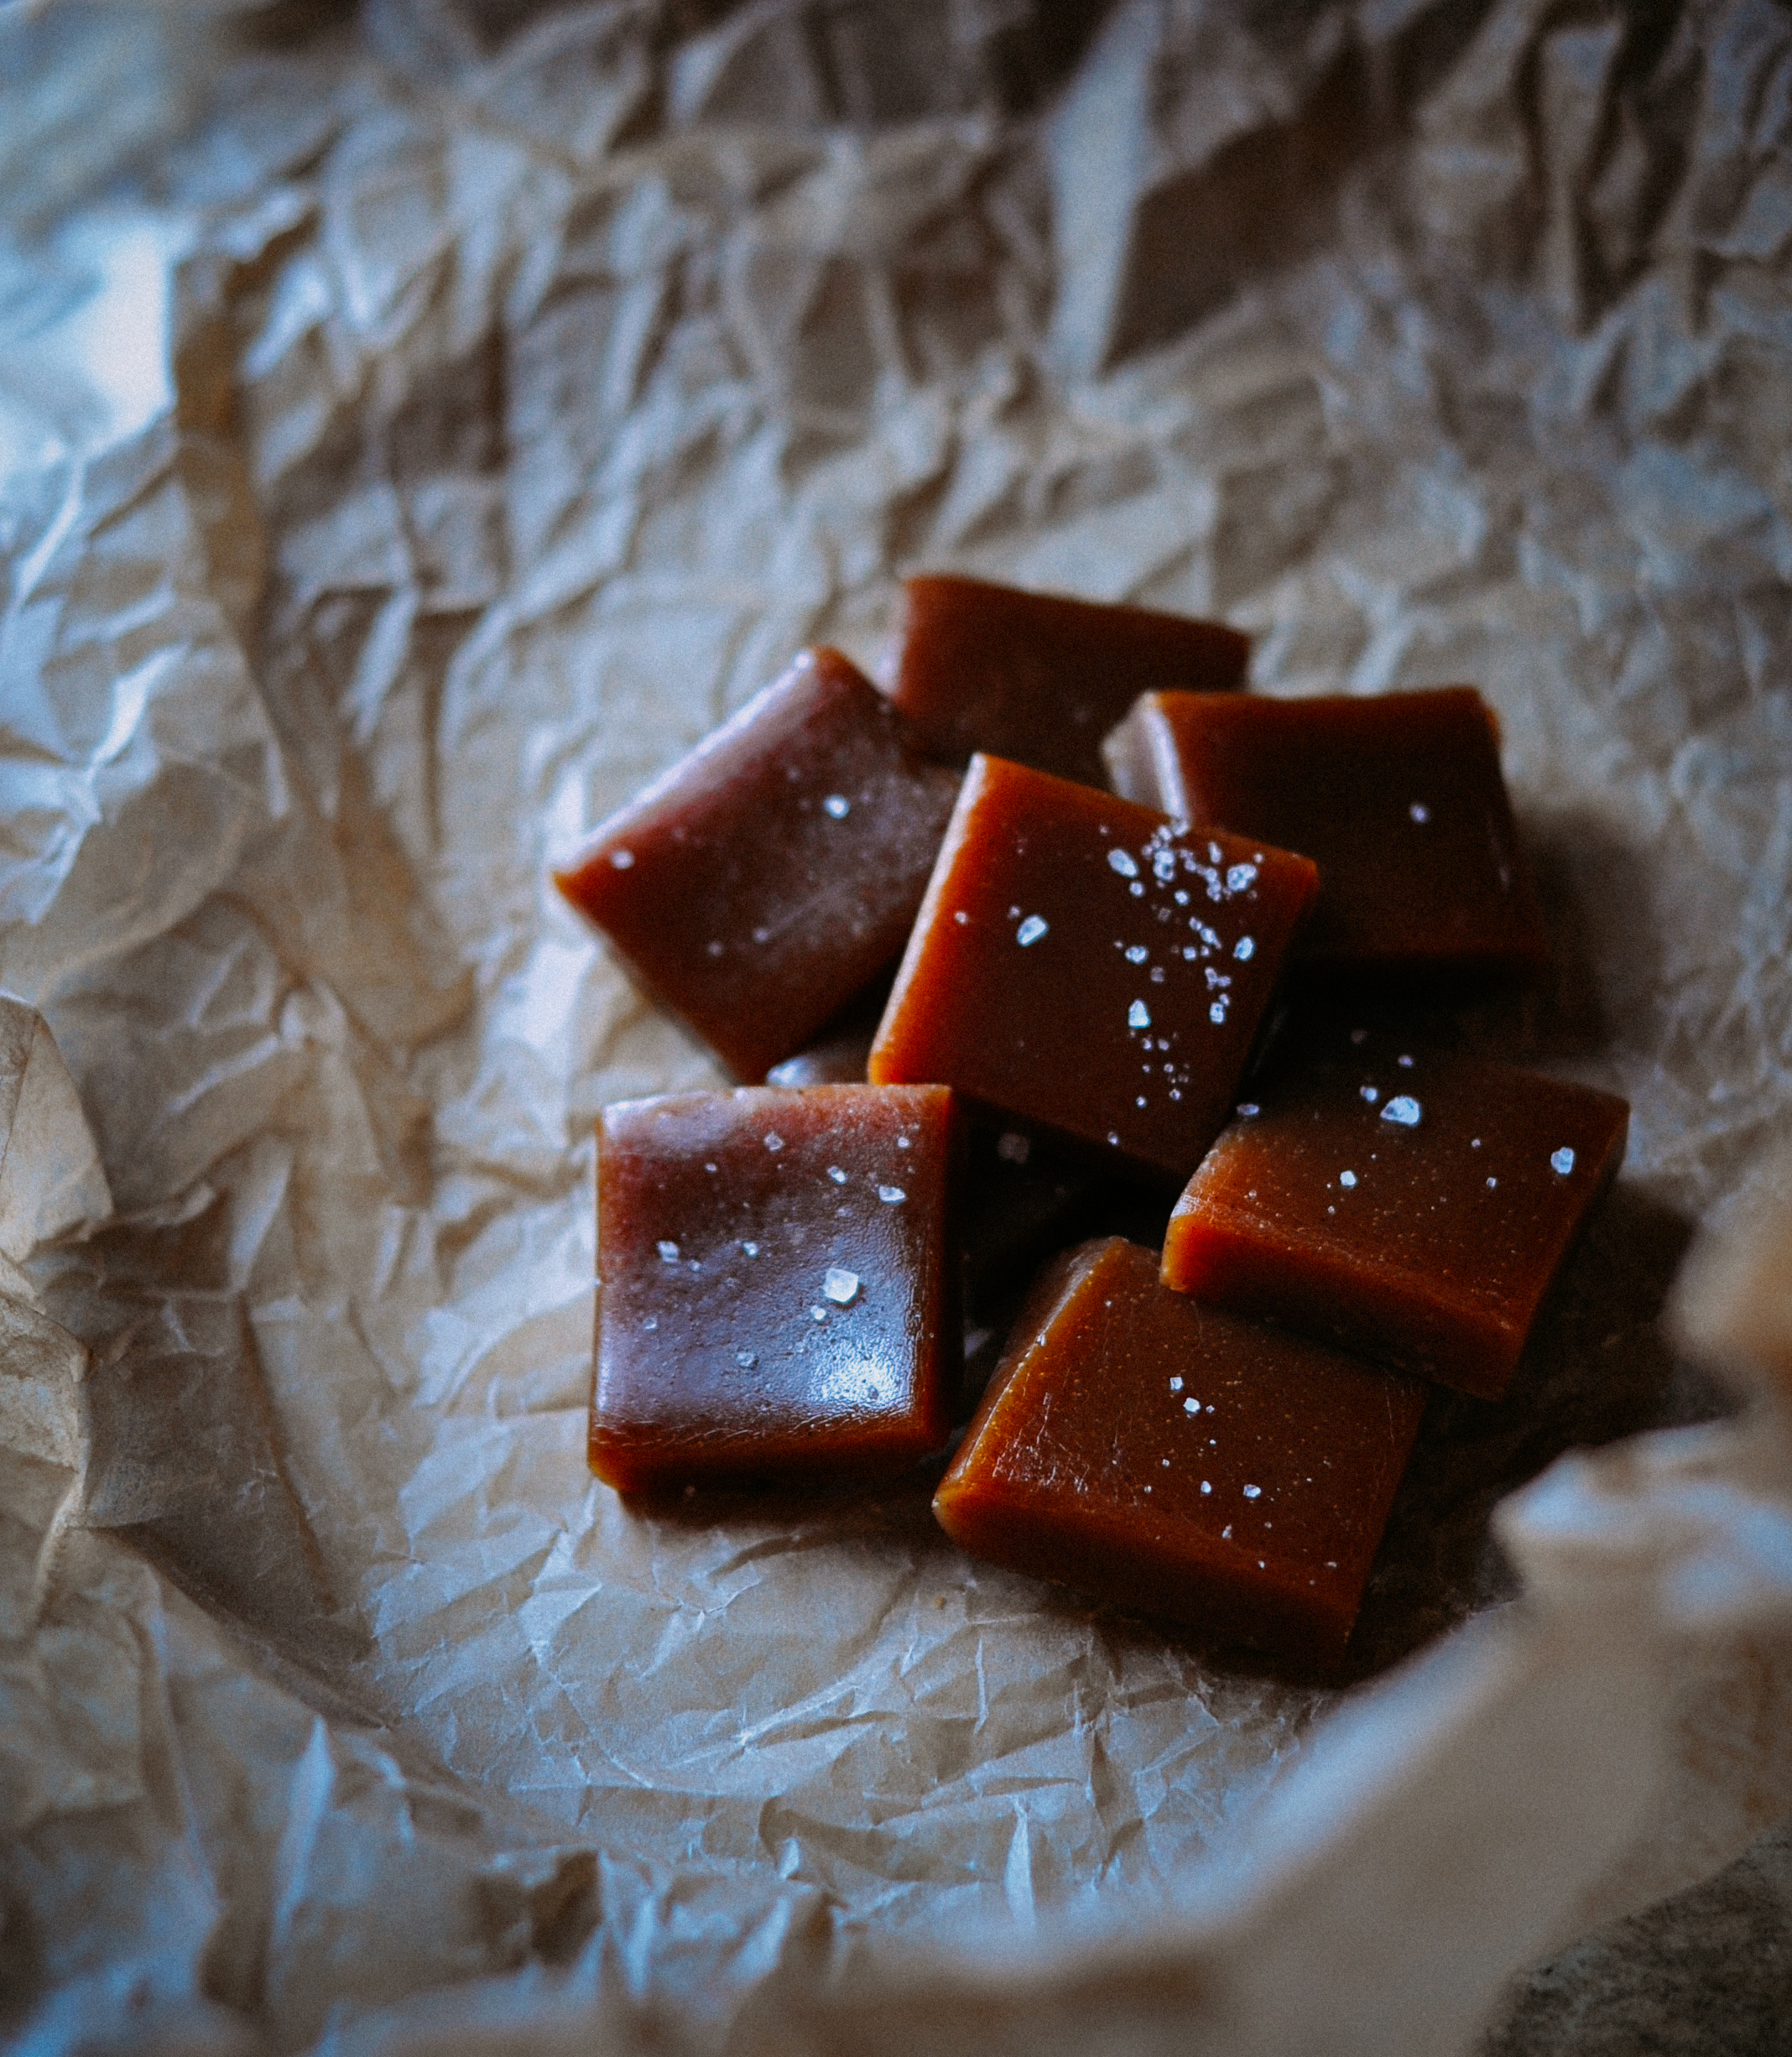
Gorgeous, chewy, spicy, buttery, apple cider caramels. The perfect mix of sweet and salty. So good, so easy, so make right now.
Prep Time
10 min
Cook Time
50 min
Total Time
1 hr
Nutrition Facts
Serving Size
1508g
Amount Per Serving
Calories 2739
Calories from Fat 1078
% Daily Value *
Total Fat 123g
189%
Saturated Fat 77g
384%
Trans Fat 4g
Polyunsaturated Fat 5g
Monounsaturated Fat 32g
Cholesterol 353mg
118%
Sodium 4831mg
201%
Total Carbohydrates 423g
141%
Dietary Fiber 3g
11%
Sugars 402g
Protein 4g
Vitamin A
80%
Vitamin C
16%
Calcium
27%
Iron
13%
* Percent Daily Values are based on a 2,000 calorie diet. Your Daily Values may be higher or lower depending on your calorie needs.
Ingredients
- 4 cups apple cider
- 1 cup granulated white sugar
- 1/2 cup light brown sugar, packed
- 8 tablespoons (1 stick) unsalted butter, cut into chunks
- 1/3 cup heavy cream
- 1/2 teaspoon ground cinnamon
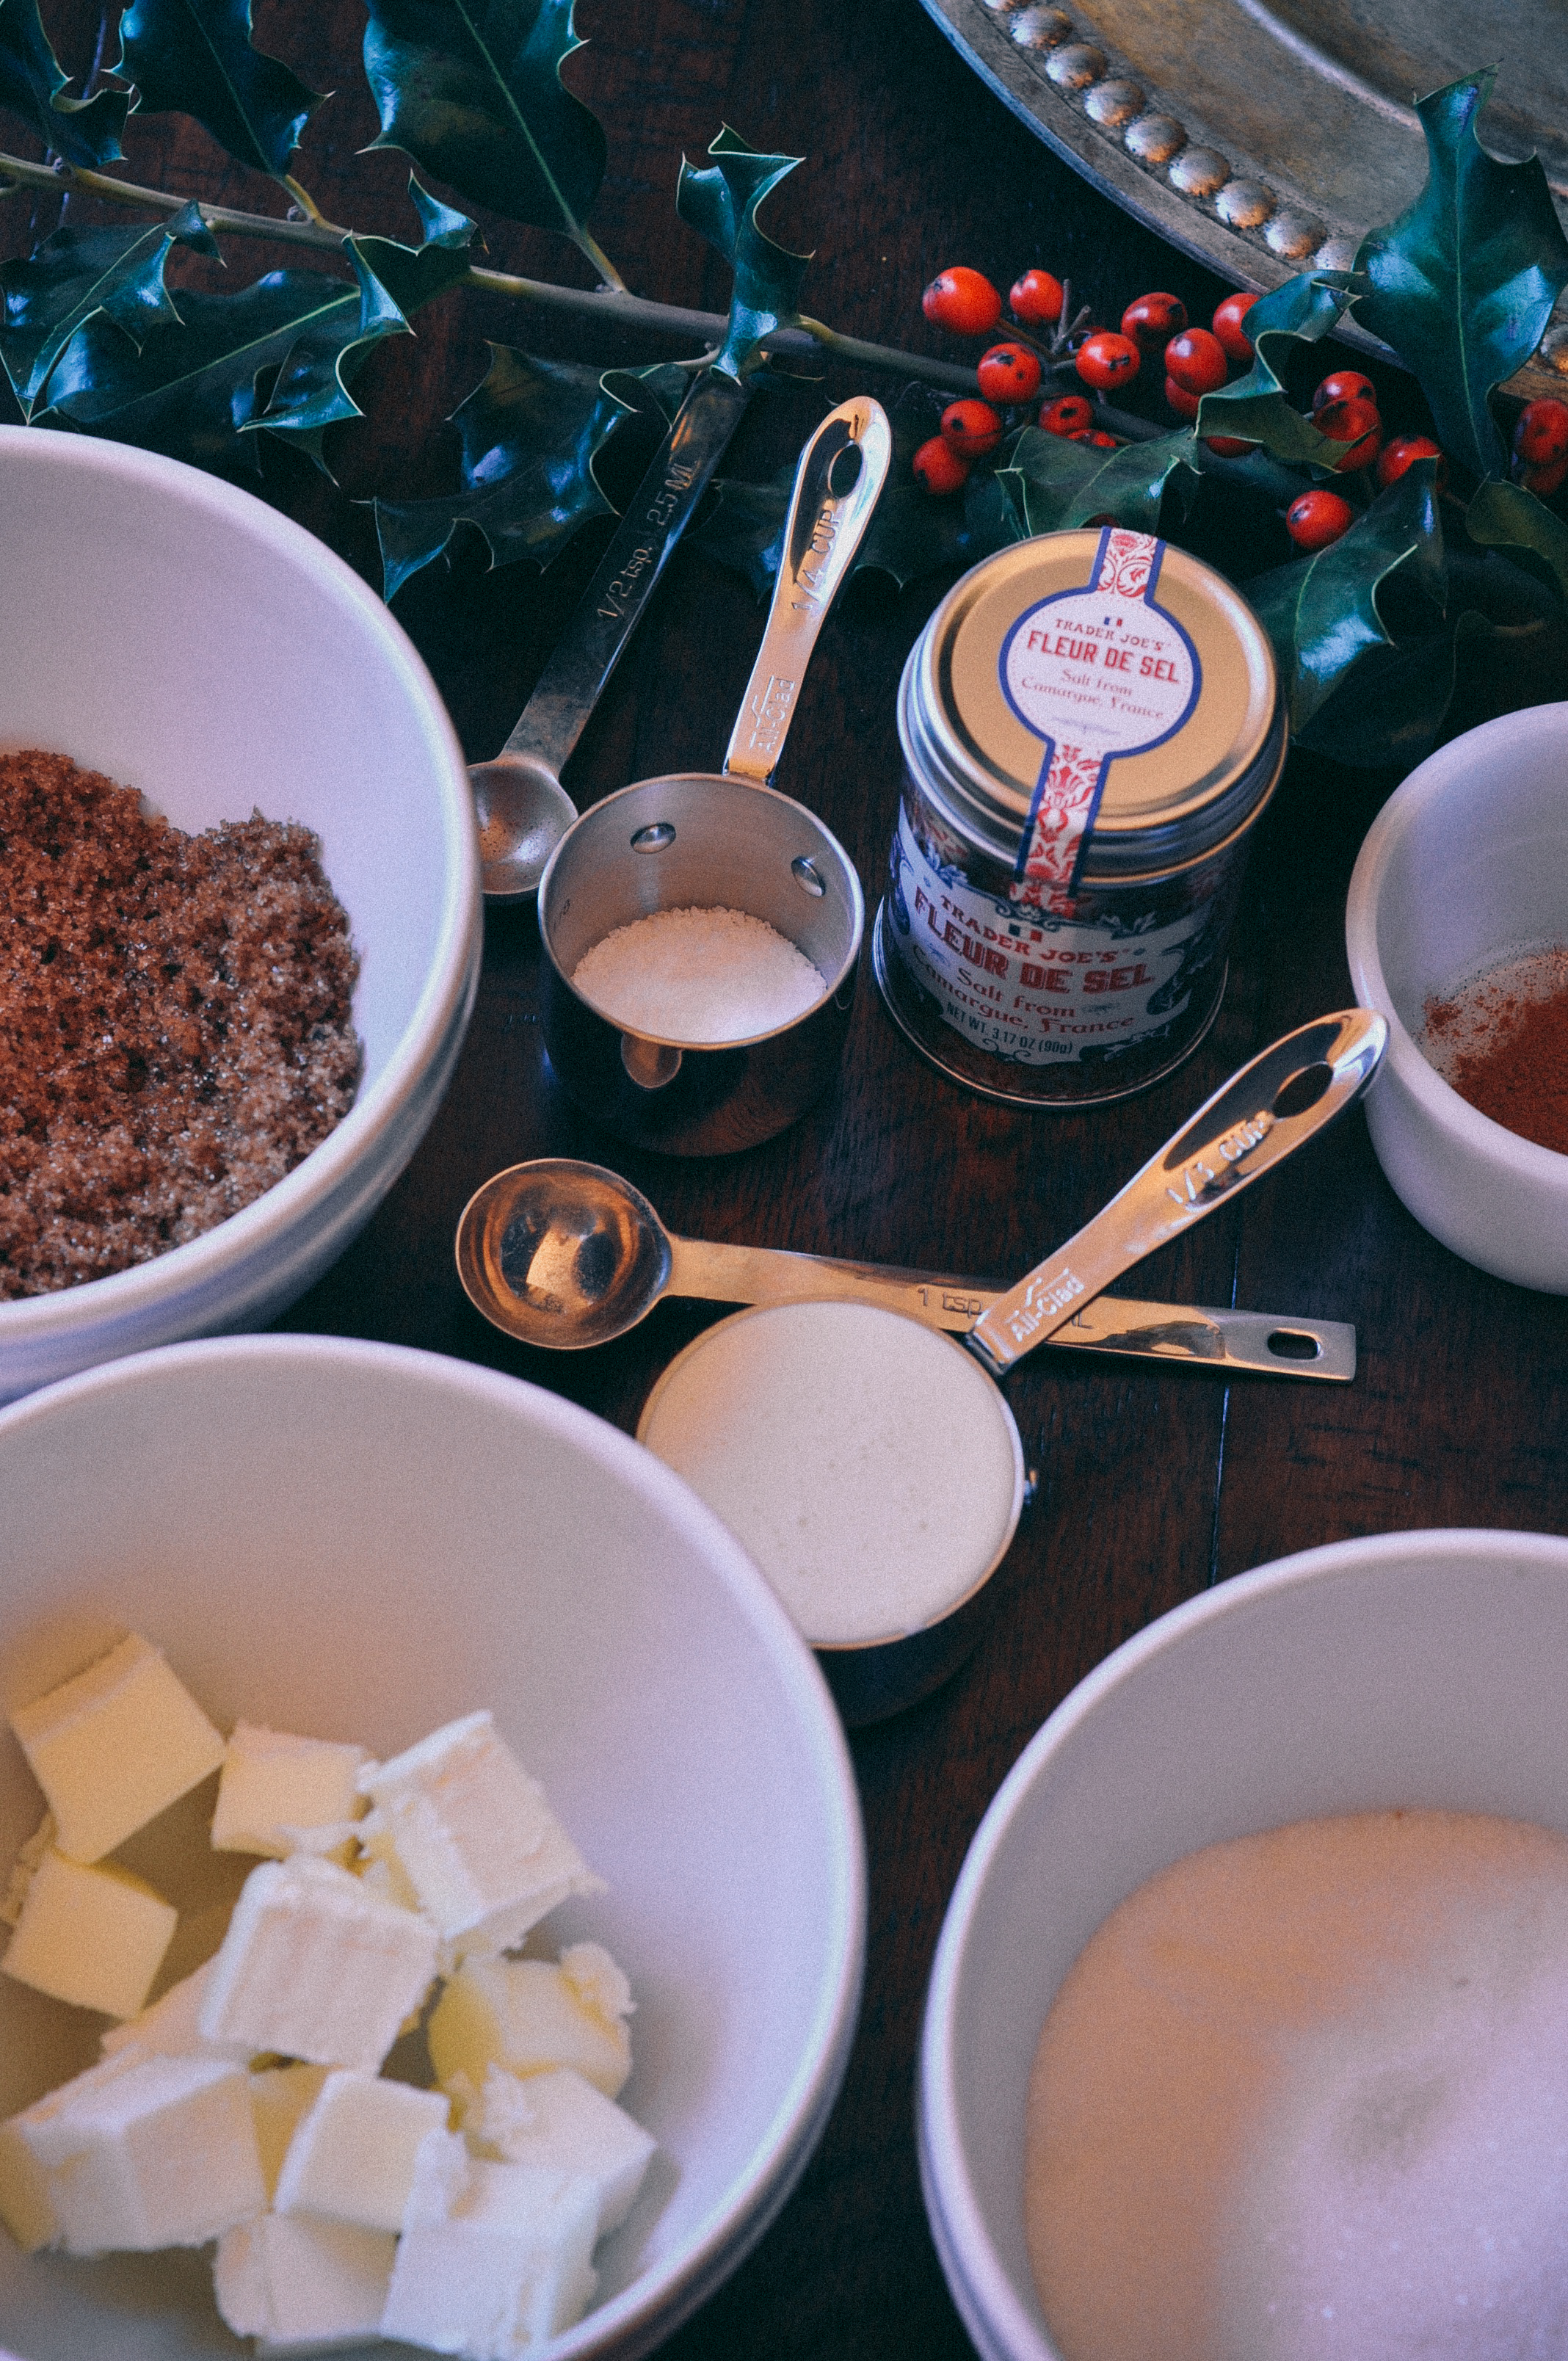
- 2 teaspoons Fleur de Sel or flaky salt
- Grape seed oil for the knife
Instructions
- On high heat, boil the apple cider in a saucepan until it is reduced to a thick syrup (about 1/2 cup in volume) and stir occasionally. This takes about 35 - 40 minutes.
- While the cider is boiling, get your other ingredients ready because you'll need to move quickly after the cider is reduced to syrup. Measure the sugars and place in a bowl. Cut the butter into small chunks. Measure the heavy cream. Stir together the cinnamon and salt and place in a separate, small bowl.
- Line the bottom and sides of an 8-inch straight-sided square metal baking pan with 2 long sheets of parchment paper (in a crisscross layout). Set it aside.
- Once you are finished reducing the apple cider, remove it from the heat and immediately stir in the sugars, butter, and heavy cream. Stir until the mixture is smooth and the butter has melted. Return the pot to medium-high heat for about 5 minutes. Have a bowl of very cold water ready, and cook the caramel (for 5 minutes) until a very small spoonful dropped into the water becomes firm, chewy, and able to be formed into a little ball. If you want to be precise, use a candy thermometer and let it boil until the thermometer reads 252 degrees. Either way, watch the caramel closely; you don't want to under or over cook it.
- Immediately remove the caramel from the heat, add the cinnamon and salt mixture, and give it several stirs to distribute the cinnamon/salt evenly.
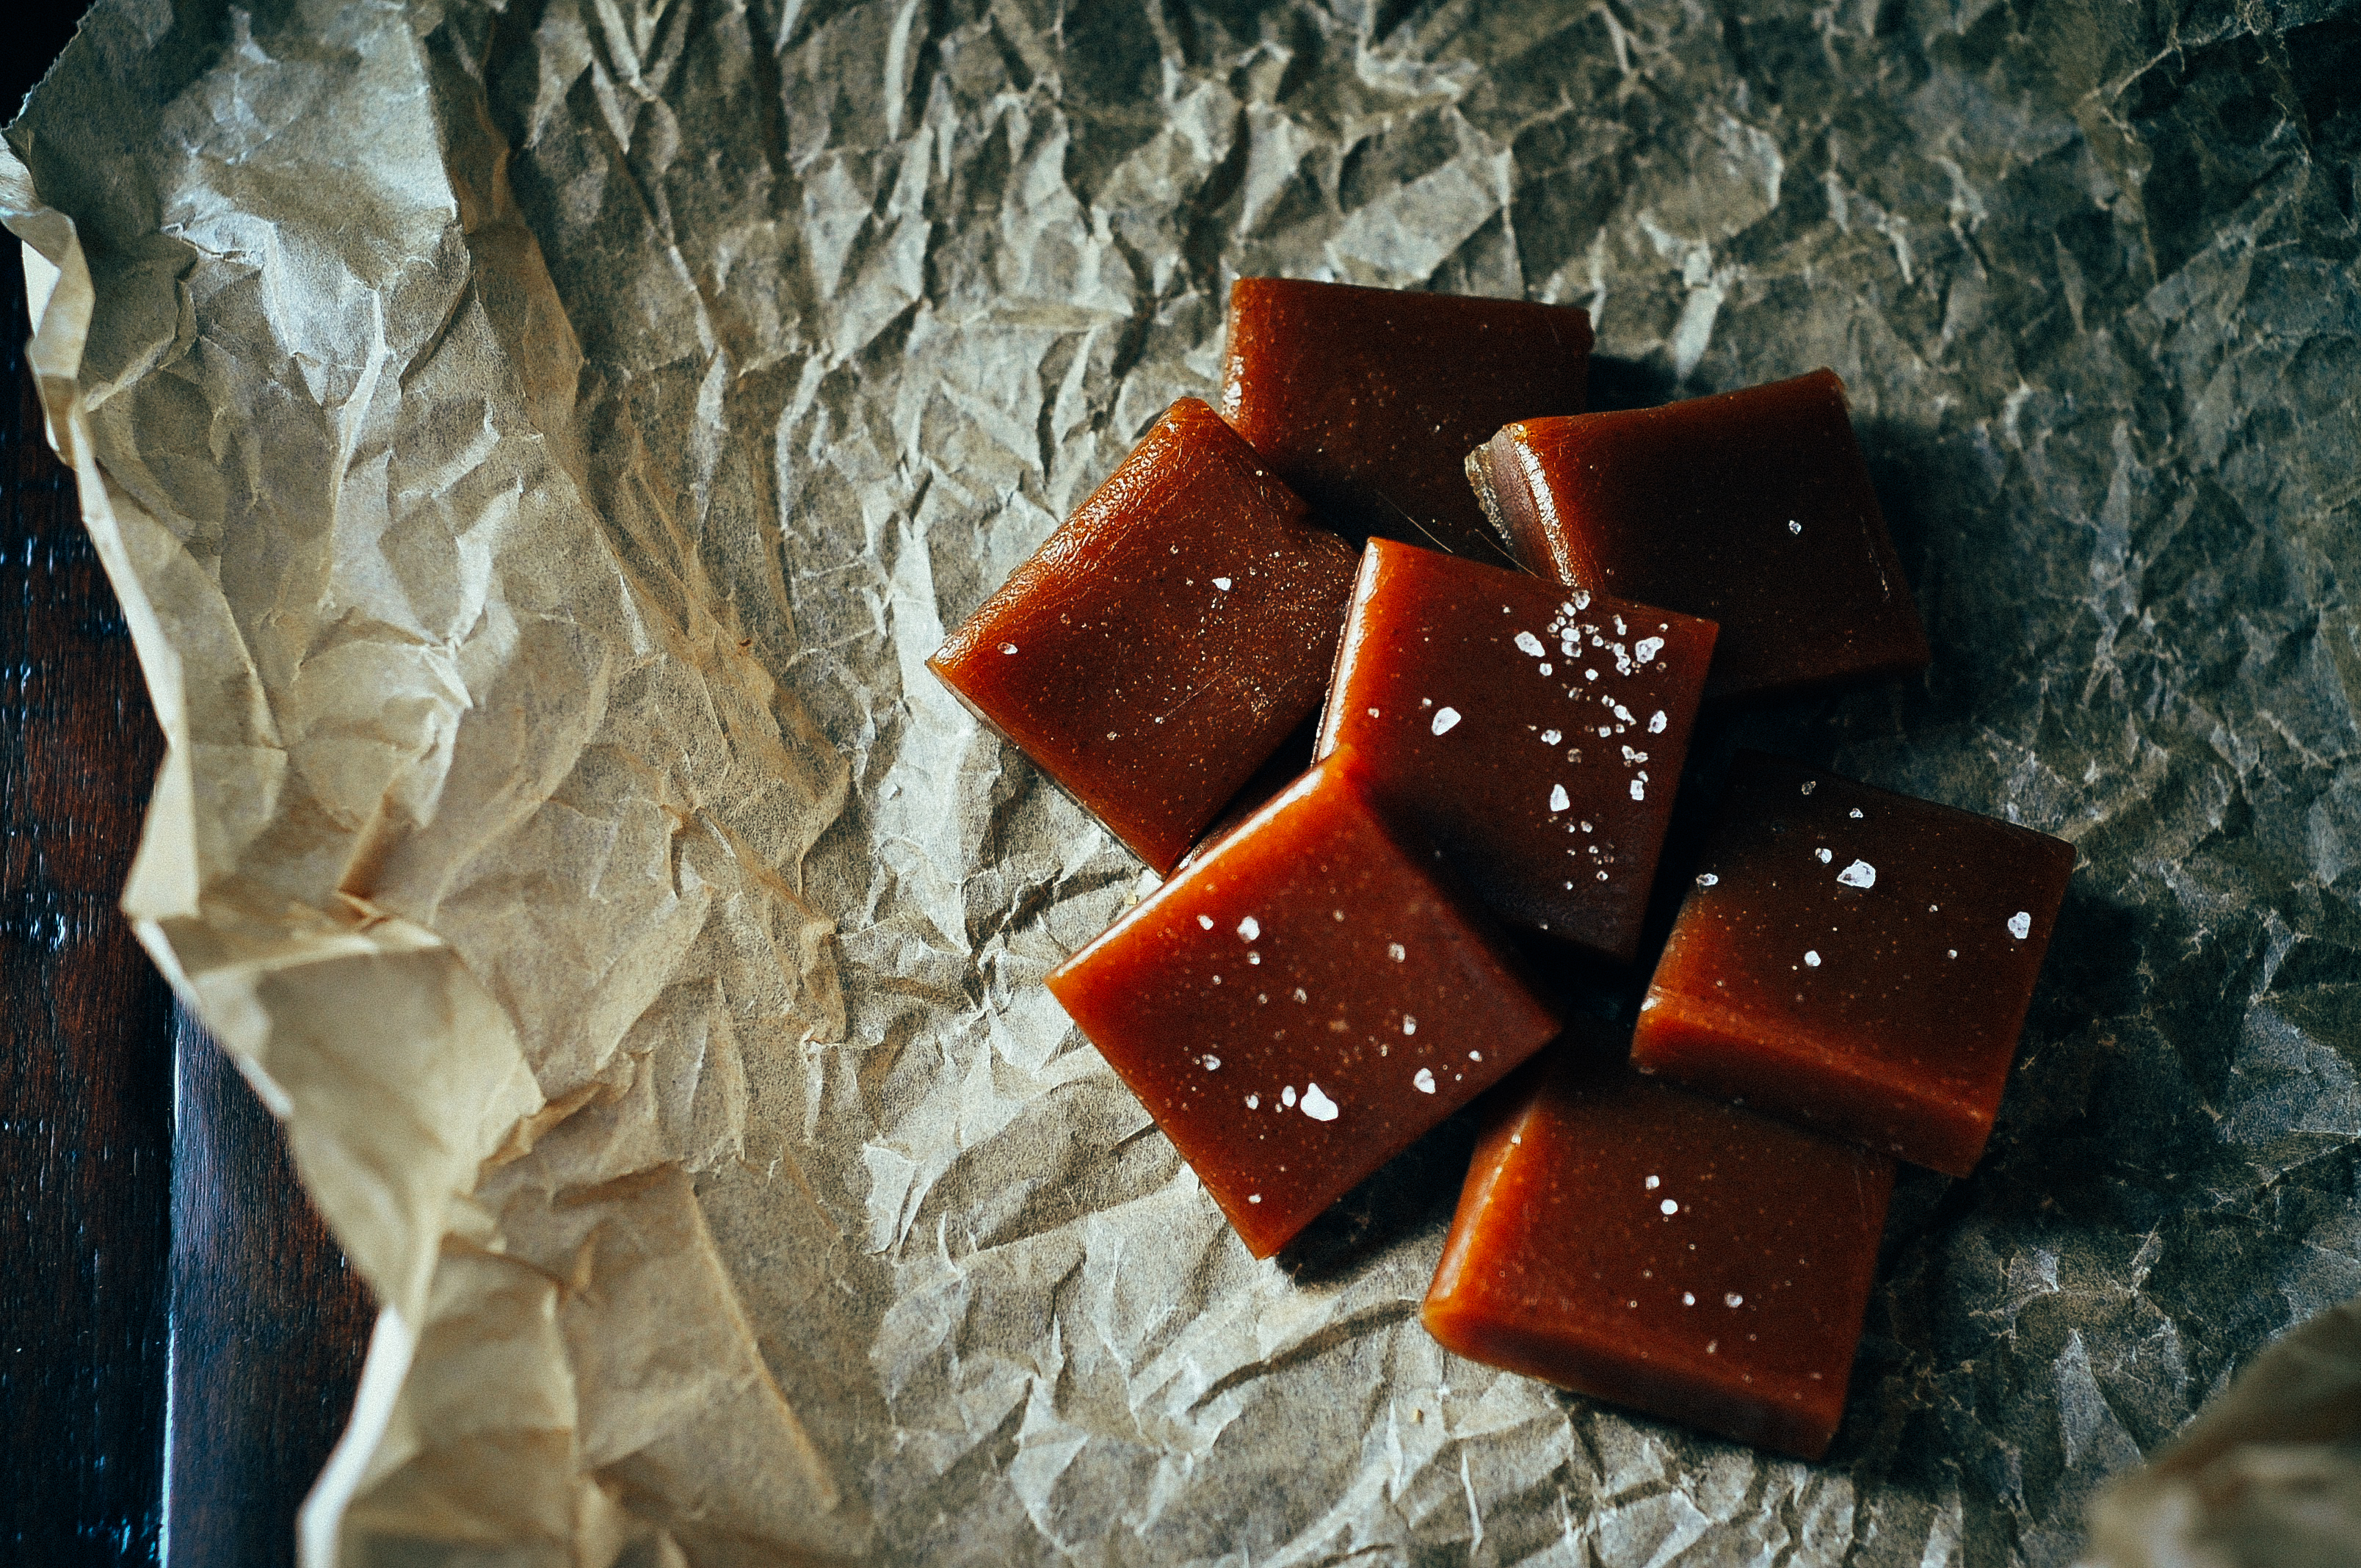
- Pour the caramel into the prepared pan. Let it sit until cool and firm—about 2 hours (only about an hour in the refrigerator). Once the caramel is firm, lift the caramel from the pan by the parchment paper and transfer it to a cutting board. Let the caramel sit out for a little bit before you start cutting it. If it is too cold, it will crack when you try to cut it. Use a well-oiled knife to cut the caramel into 1-by-1-inch squares. Lightly sprinkle the caramels with flaky salt.
- Wrap each one in a 4-inch square of waxed paper or parchment, twisting the sides to close. Caramels will be somewhat on the soft side at room temperature and hard and chewy if left in the refrigerator. These caramels keep for about 2 weeks in an airtight container if left outside the refrigerator.
- Perfect holiday gift. Unless you eat them all first...
Adapted from The Smitten Kitchen
Adapted from The Smitten Kitchen
TraveLynn Eats https://www.travelynneats.com/
Virginia Apple Pie
I’m a full-fledged fall fan. It took me a while, but watch out… I’m so in it now… I’m loving your fallen leaves, your crisp mornings and scarf-worthy breezes, your sweat pant hugs, your apple picking.
The apple picking. Virginia, do you ever have some apple picking.
Branches heavy hanging. Children laughing, running through rows, sitting under trees, sneaking little nibbles. Carefree, family outing, dogs curiously sniffing, bags overflowing, enthusiastic fruits, ground covered, harvest tables, so inviting. So lovely, apple pie.
APPLE PIE.
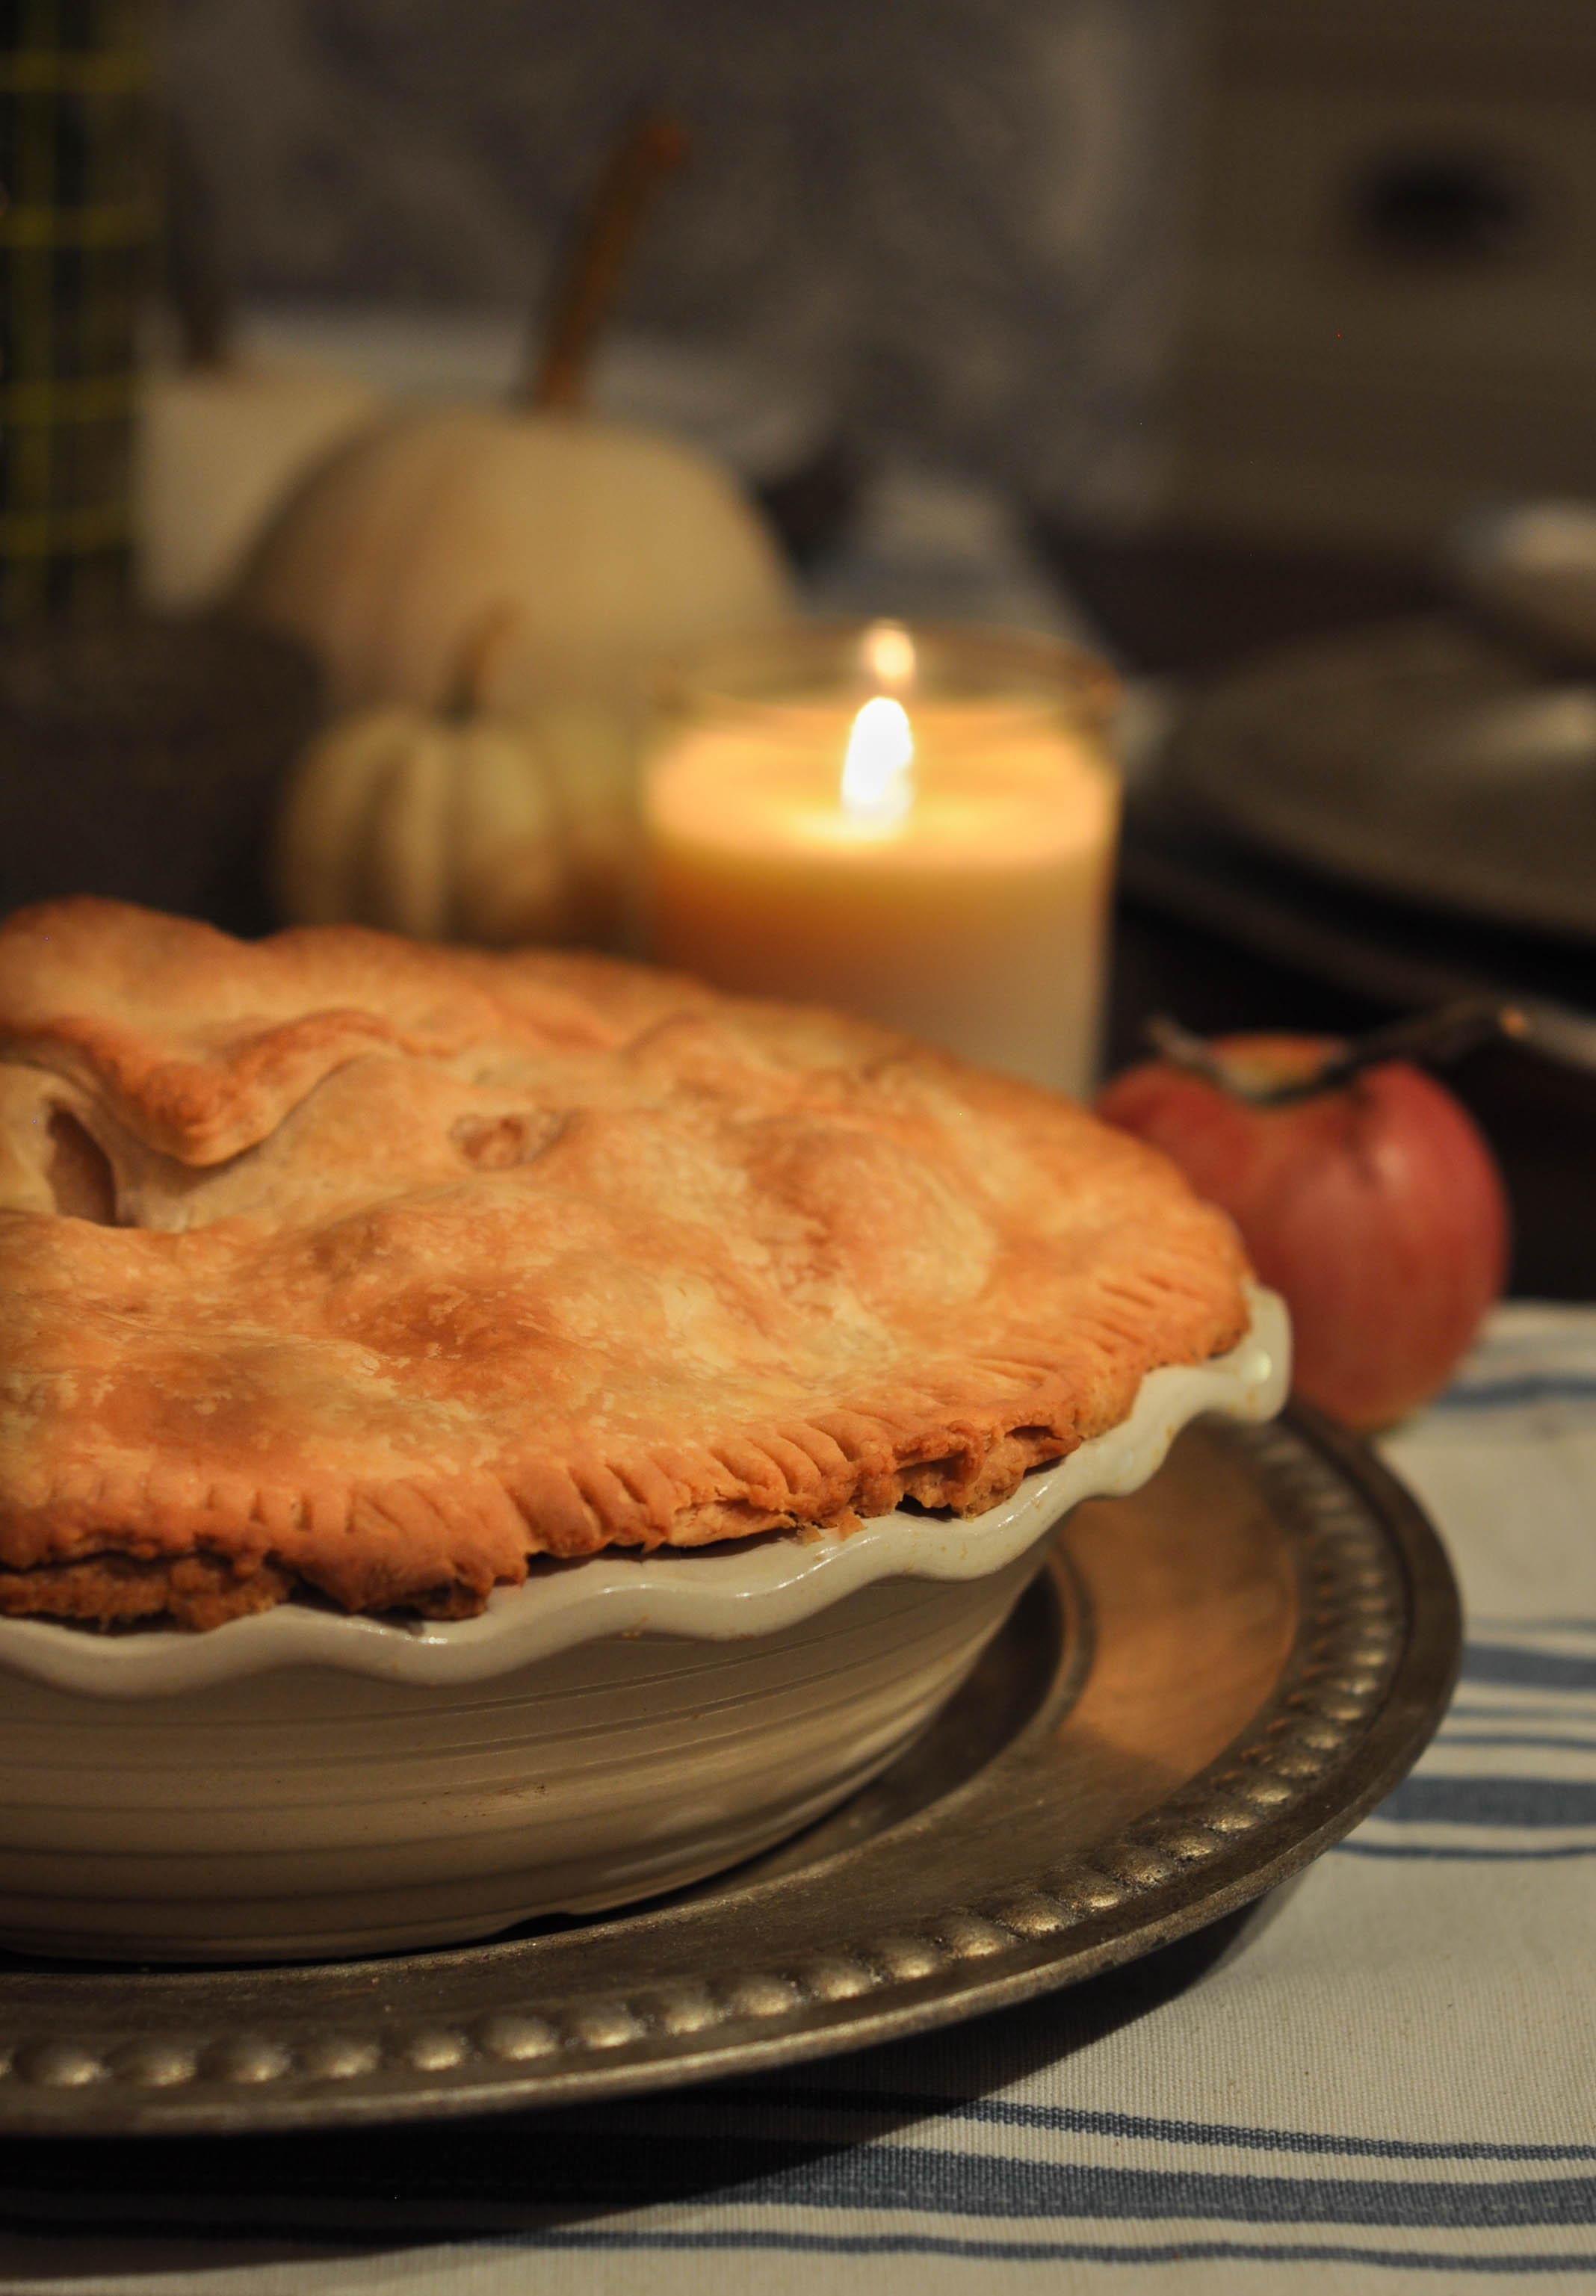
Because there’s comfort food, and then there’s apple pie.


…And I just felt like there was one thing that needed to happen after picking: APPLE PIE.
I have played around with this recipe for years, and I think I’ve finally reached my version of apple pie perfection. The cinnamon, nutmeg, ginger and dash of cayenne combine into an earthy richness that add a subtle warmth to the sweetness and a balance to the tartness.
A few little tips: 1) Cook the apples in advance. The apples cook down so you can really create a jam-packed apple experience. I’ve made plenty of apple pies without cooking the apples first, and the results don’t even come close. 2) Use an apple wedger (buy one, just do it). 3) Use a great quality pie plate. I use a stoneware pie dish that browns the crust perfectly. And, it just looks cute… I used a mix of Idared and York apples because, well, that’s what was on the trees. Result: fantastic. I’m also a fan of Braeburn apples for pie. Ultimately, though, you’re the artist and it’s your (pie) palette.
“If you wish to make an apple pie from scratch, you must first create the Universe.”
Carl Sagan gave a tall order, but I think you’ll find this recipe within the realm of the earthly possible. At the very least, you’ll end up with a little slice of heaven…
Virginia Apple Pie
2016-10-25 21:05:09
Serves 8
The absolute perfect apple pie. Packed to the brim with spiced apples and nestled in a flaky crust. Go ahead, have a slice for breakfast too, no one's watching...
Prep Time
30 min
Cook Time
50 min
Total Time
1 hr 20 min
Nutrition Facts
Serving Size
612g
Servings
8
Amount Per Serving
Calories 711
Calories from Fat 231
% Daily Value *
Total Fat 26g
41%
Saturated Fat 16g
80%
Trans Fat 1g
Polyunsaturated Fat 1g
Monounsaturated Fat 7g
Cholesterol 88mg
29%
Sodium 313mg
13%
Total Carbohydrates 122g
41%
Dietary Fiber 13g
53%
Sugars 78g
Protein 6g
Vitamin A
25%
Vitamin C
44%
Calcium
5%
Iron
7%
* Percent Daily Values are based on a 2,000 calorie diet. Your Daily Values may be higher or lower depending on your calorie needs.
PIE CRUST
- 2 cups all purpose flour
- 1/2 cup + 6 tablespoons butter, cut into small pieces
- 2 teaspoons sugar
- 1 teaspoon salt
- 2 teaspoons apple cider vinegar
- 1 egg
- 1/4 cup cold water
PIE FILLING
- 10 - 12 apples
- 1/2 fresh lemon (to squeeze over apples after slicing)
- 1 cup sugar
- 1 teaspoon cinnamon
- 1/4 teaspoon nutmeg
- 1/8 teaspoon ground ginger
- 2 dashes of cayenne pepper
- 1/8 cup all purpose flour
- 3 tablespoons butter, cut into small pieces
PIE CRUST
- In a medium mixing bowl, mix the flour, sugar, and salt with a fork. Cut the butter into the flour mixture with a pastry knife. Alternately, you can cut the butter into the flour mixture with a food processor. With either method, mix the butter into the flour until you have a crumb-like mixture.
- Mix the vinegar, egg and water with a fork and combine the liquid mixture into the dry mixture until all ingredients are moist. With your hands, mold the dough into a ball and tightly cover with plastic wrap. Chill in the refrigerator for at least 15 minutes and up to 2 days. Don't you just love a pie crust that will let you wait until the last minute or plan ahead...
PIE FILLING
- Preheat the oven to 375 degrees.
- Peel, core and slice 10 - 12 apples. Don't be intimidated. You're going to cook the apples, so they will cook down a bit and allow you to really pack your pie full of apples. If you have an apple wedger--perfect! If not, slice apples into 1 inch wedges after peeling, cut out the core, and then cut the wedges into half pieces (the apples will pack into the pie crust easier). Place the apples in a large glass mixing bowl. Squeeze lemon over the cut apples to keep them from turning brown. Mix the sugar, cinnamon, nutmeg, ground ginger, cayenne pepper, and flour in a bowl; then sprinkle the mixture over the apples and thoroughly toss the apples in the sugar and spice mixture.
- Remove the dough from the refrigerator right before you cook the apples.
- In a very large skillet (I actually use a wok), cook the apples for about 10 minutes until they are fork tender, but not mushy. Much of the water from the apples will fill the skillet--you want this to happen. Remove the apples from the skillet and place back in the large mixing bowl. Continue to cook the remaining liquid over medium heat until it reduces and thickens (another 5 - 7 minutes). Remove the reduced liquid from heat.
ASSEMBLING
- Cut the dough in half. Take one half and roll out thinly so that it will hang over the edge of your pie dish by 1/2 inch. With a large spoon, place the cooked apples into the pie shell in the pie dish. Drizzle the reduced apple and spice liquid over the apples. Dot the apples with 3 tablespoons of butter cut into small pieces. Roll out the other half of the pie dough and place over the apples in the dish. Fold the overlapping crusts together and crimp the edges all around the pie dish edge (a fork works well for this).
- Place the pie on a cookie sheet and bake at 375 degrees for 50 minutes. Check the pie at the halfway point, if the crust starts to brown too quickly, you can loosely cover the top or edges with aluminum foil to control the browning.
TraveLynn Eats https://www.travelynneats.com/
Brown Butter Chocolate Chip Cookies
 The search for the perfect chocolate chip cookie has begun. This could be dangerous … for my new fitness regimen … that I just started … oh please, who am I kidding.
Do you have those food blogs that you routinely check in on? Like that obsessive sort of Facebook checking…
On my list of “totally dig” is Bakergirl. Love her fascination with brown butter. And brown sugar. And all sorts of yummies that add depth to your baking creations.
….and that’s how I came across Bakergirl’s Brown Butter Bourbon Chocolate Chip Cookies.
 The search is off to a good start.
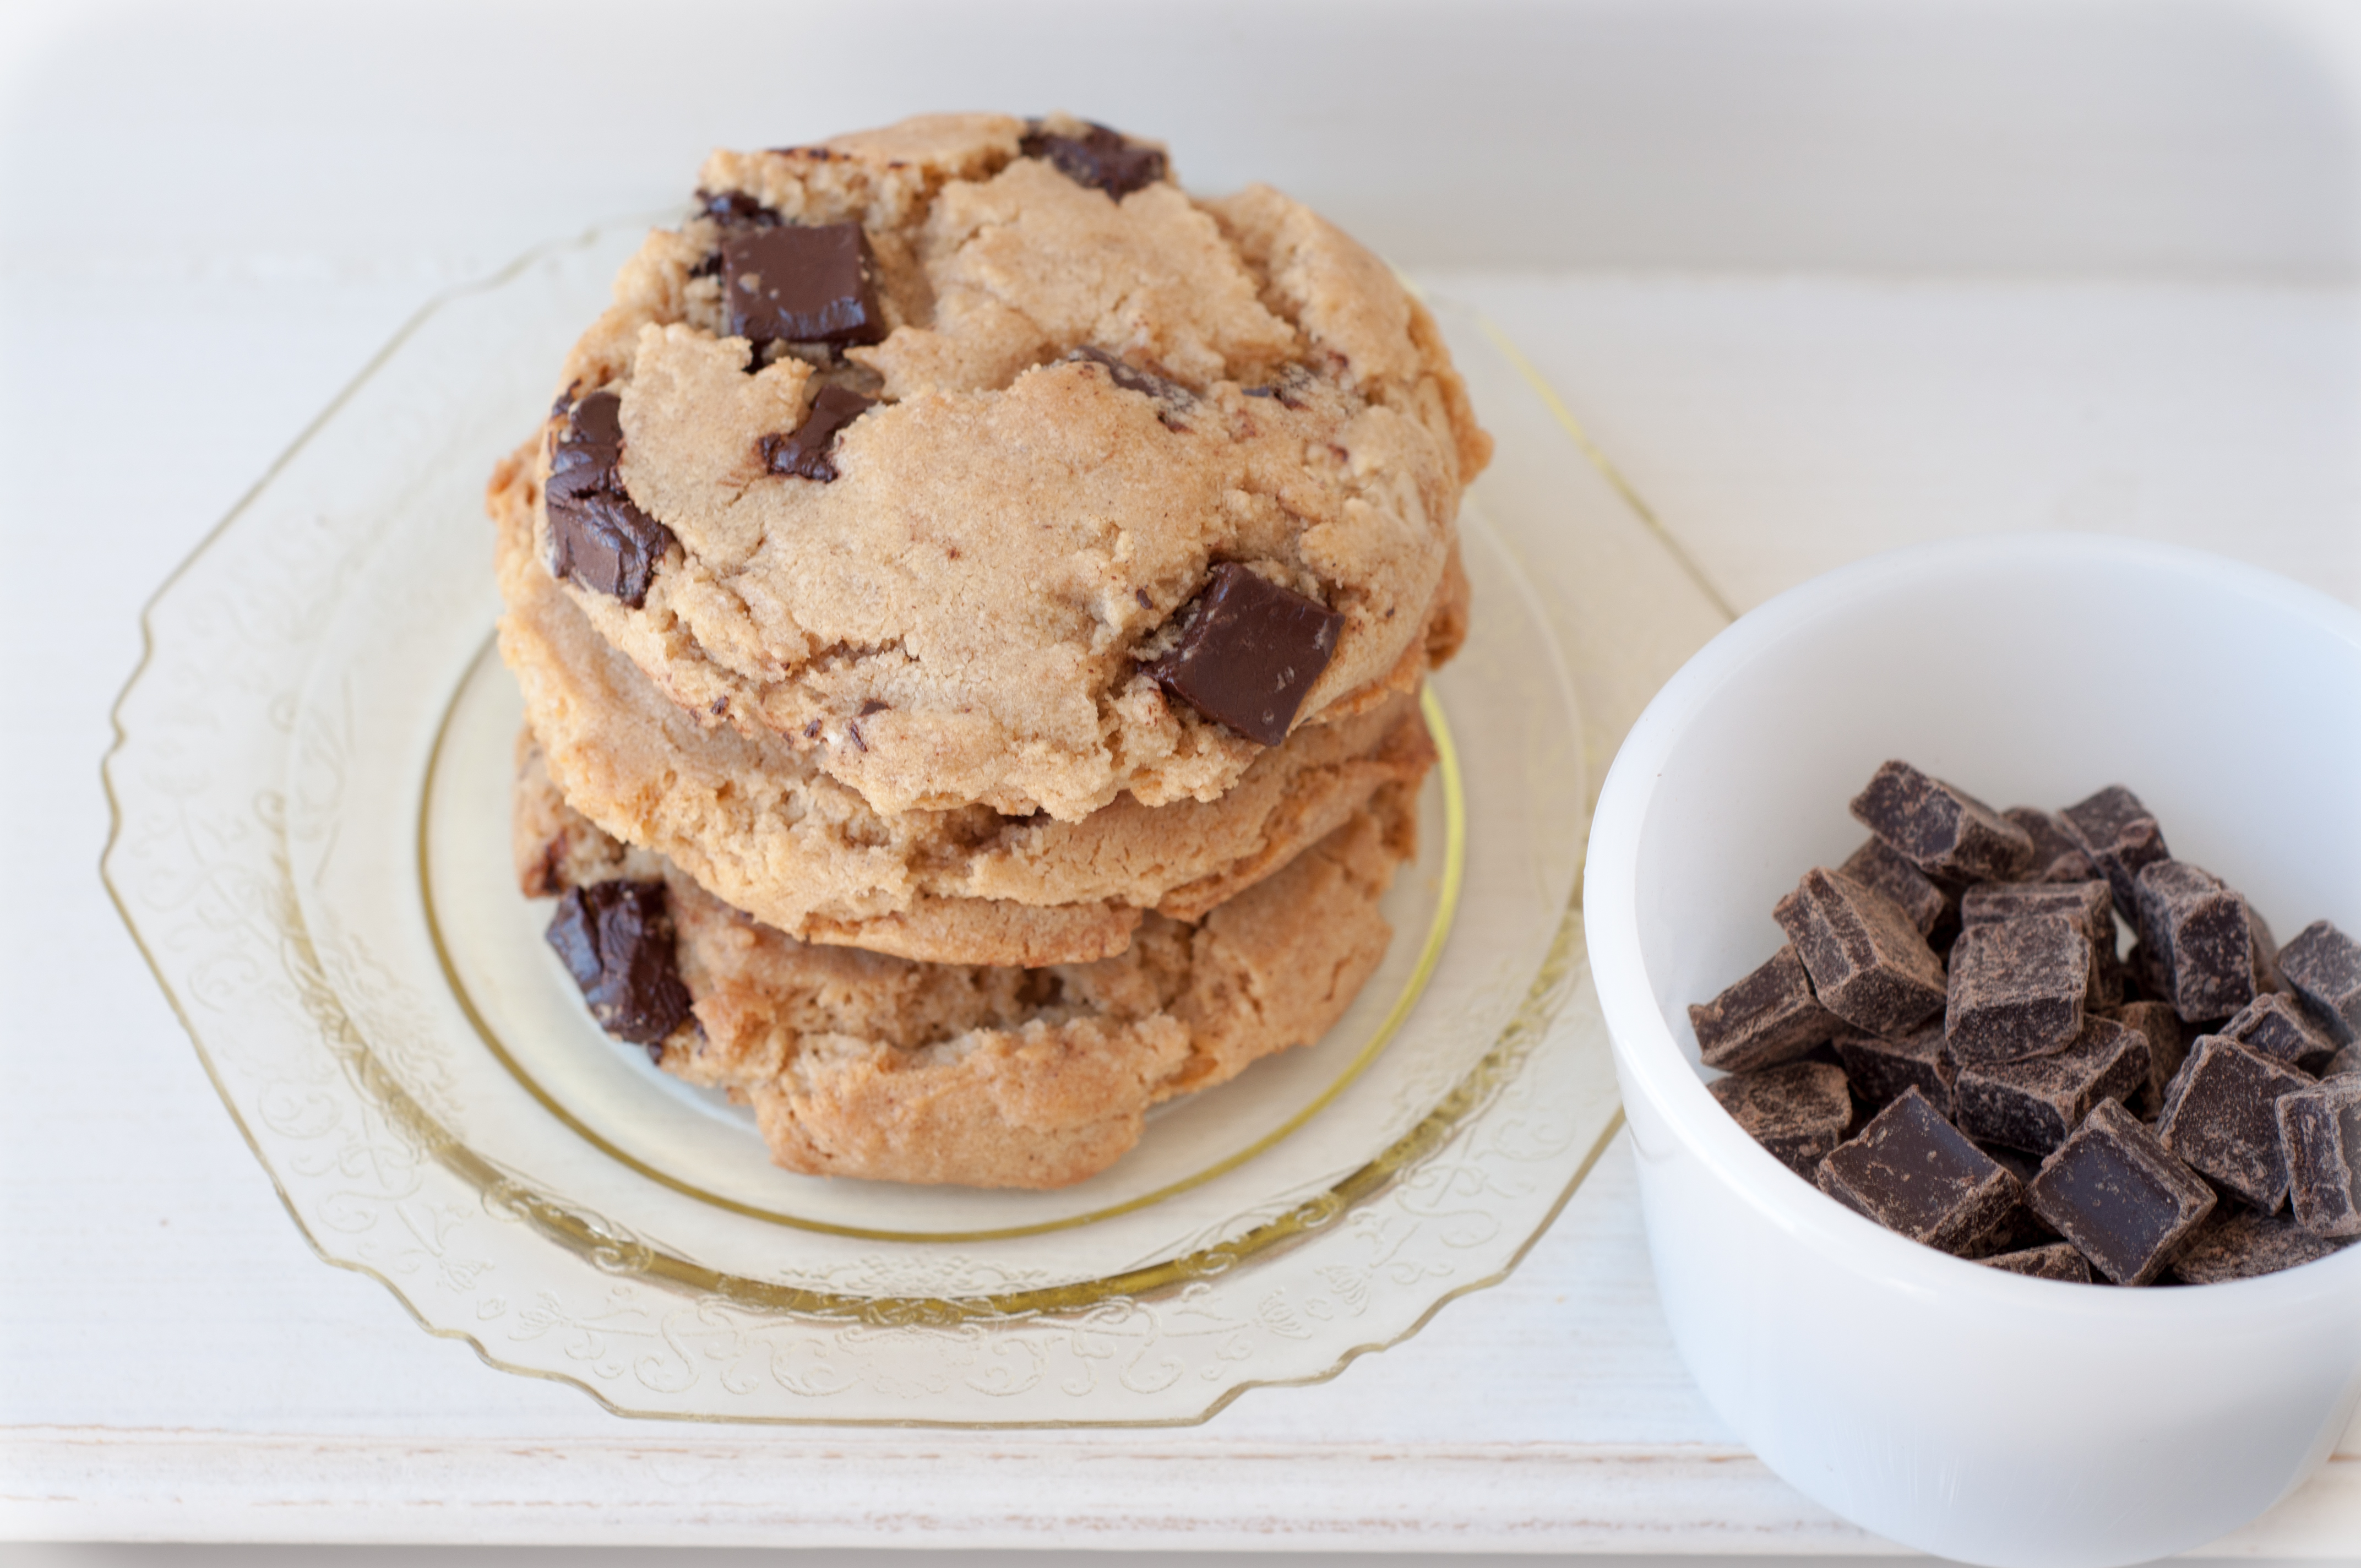
Amazing right out of the oven. Amazing.
Brown Butter Chocolate Chip Cookies
Recipe type: Dessert
Serves: 24
Ingredients
- 1 1/4 cups unsalted butter (browned)
- 2 1/4 cups cake flour
- 1 1/2 cups all-purpose flour
- 1 1/4 tsp baking soda
- 1 1/2 tsp baking powder
- 1 tsp salt
- 1/2 tsp cinnamon
- 1 1/2 cups brown sugar
- 3/4 cup sugar
- 2 tsp vanilla extract
- 2 Tbs bourbon, optional
- 2 eggs (room temperature)
- 10 oz bag of chocolate chunks (semi-sweet or dark chocolate)
Instructions
- Brown the butter in a medium saucepan over medium heat. Whisk the butter constantly as it melts; it will bubble and foam in about 7 - 9 minutes and then start to brown soon after it foams. Shortly after the foaming and when it starts to brown, remove it from the heat. Watch it closely because it will burn very quickly. Pour the butter in a bowl and place it in the refrigerator to cool
- In a large bowl, mix the cake flour, all-purpose flour, baking soda, baking powder, salt and cinnamon
- In a mixing bowl, cream the cooled brown butter with the brown sugar and white sugar until creamy. Add the vanilla extract. Then add the eggs one at a time, mixing after adding each egg. Finally, add the bourbon. The alcohol will cook out leaving a light caramel flavor.
- Add the flour mixture to the butter mixture and combine
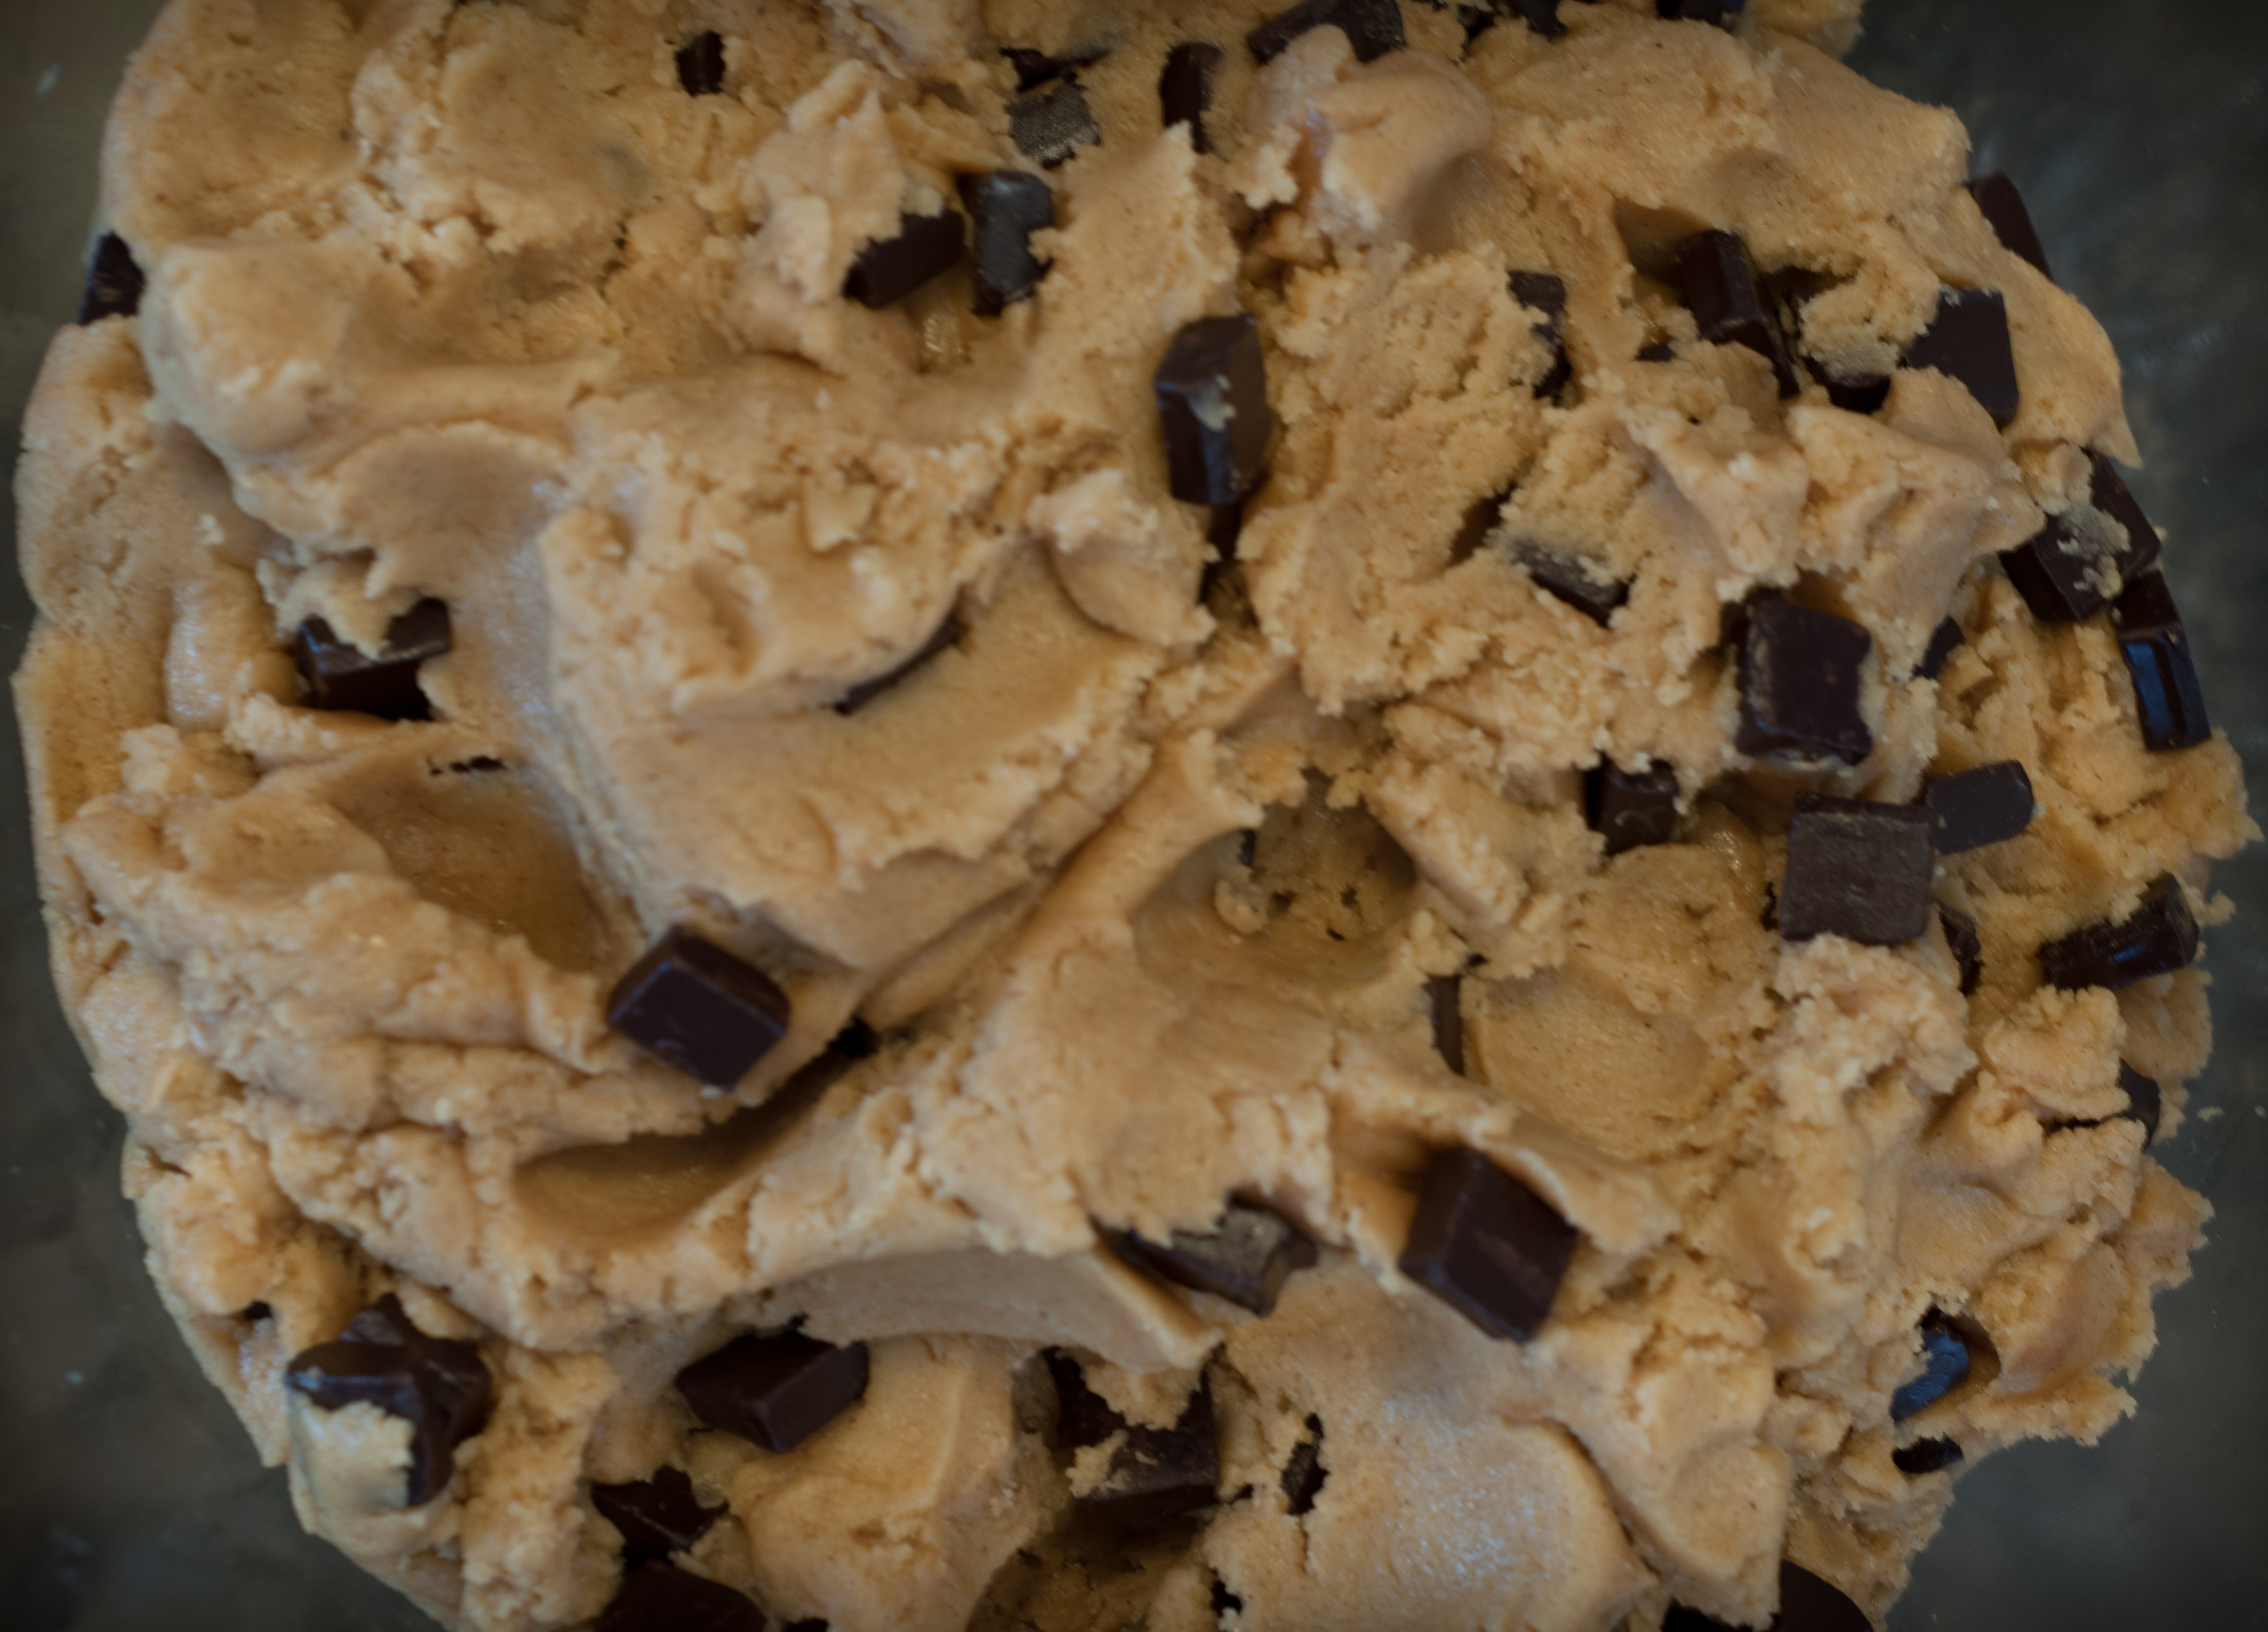
- Stir in the chocolate chunks
- Refrigerate the dough for at least 1 hour or overnight. This is important because the butter has been browned and liquefied, so chilling it ensures the cookies keep their form when baking
- After chilling the dough, preheat the oven to 350 degrees
- Let the dough "thaw" for about 20-30 minutes (or you're going to get a real arm workout trying to scoop the dough)
- Scoop the dough onto a cookie sheet. I went with Bakergirl's recommendation to use an ice cream scoop to scoop the dough onto my cookie sheet...and it worked great!
- Bake for 10-12 minutes. The cookies will look like they aren't cooked, but rest assured they will firm up as they cool
- Cool the cookies a few minutes on the baking sheet and then transfer to a wire rack
Brown Sugar Cashew Cookies
The weather was perfect on Saturday … perfect day for a motorcycle ride. The motorcycle comes complete with a dog carrier. The Chihuahua’s mobile; she’s always up for adventure. I pulled the bike out of the garage and the shriek of three girls screaming “WAIT! We want to see your motorcycle!” stopped me in my tracks.
I live on a military base… way out east of Colorado Springs… thirty minutes from town… tumbleweed rolls down the street providing endless entertainment… Not a lot going on in the neighborhood… But, the neighborhood kids are sweet as pie. Like the time I was in the house playing the piano and the doorbell rang. I opened the door and there was 9-year-old Colin, “Hello Miss Lynn. I hear you playing the piano when I walk by to my friend’s house and I just want to tell you I really like it” …and then he ran off before I could barely get out an “Ahhh, thank you Colin!”
So super sweet!
I placed my motorcycle helmet on the ground and said “Hi girls!”
“We love your bike, we want to see you ride it!” Shriek!! “OMG, is Chica going with you?!”
“She sure is” I said nodding…
I kept pulling together my riding gear.
“I love your bike! It is so cool! I want to get one someday! I’m almost 13. My mom says when I’m 13, I can have a boyfriend.”
Me: “Boyfriend? Wait until you’re 30.”
“But my mom says I can have a boyfriend when I’m 13.”
Me: “Boyfriends are overrated. Wait until you’re 30.” (got a slightly cocked head, quizzical stare on that one)
“Do you have a boyfriend?”
Me: “No.”
“We are going to find you a boyfriend!”
Me: “Ok. Make sure he likes Chihuahuas.”
Got my gear on, strapped the dog in and pulled away on the bike …..with three girls running behind me screaming, laughing and WHhhooo’ing.

Totally sweet and nutty.
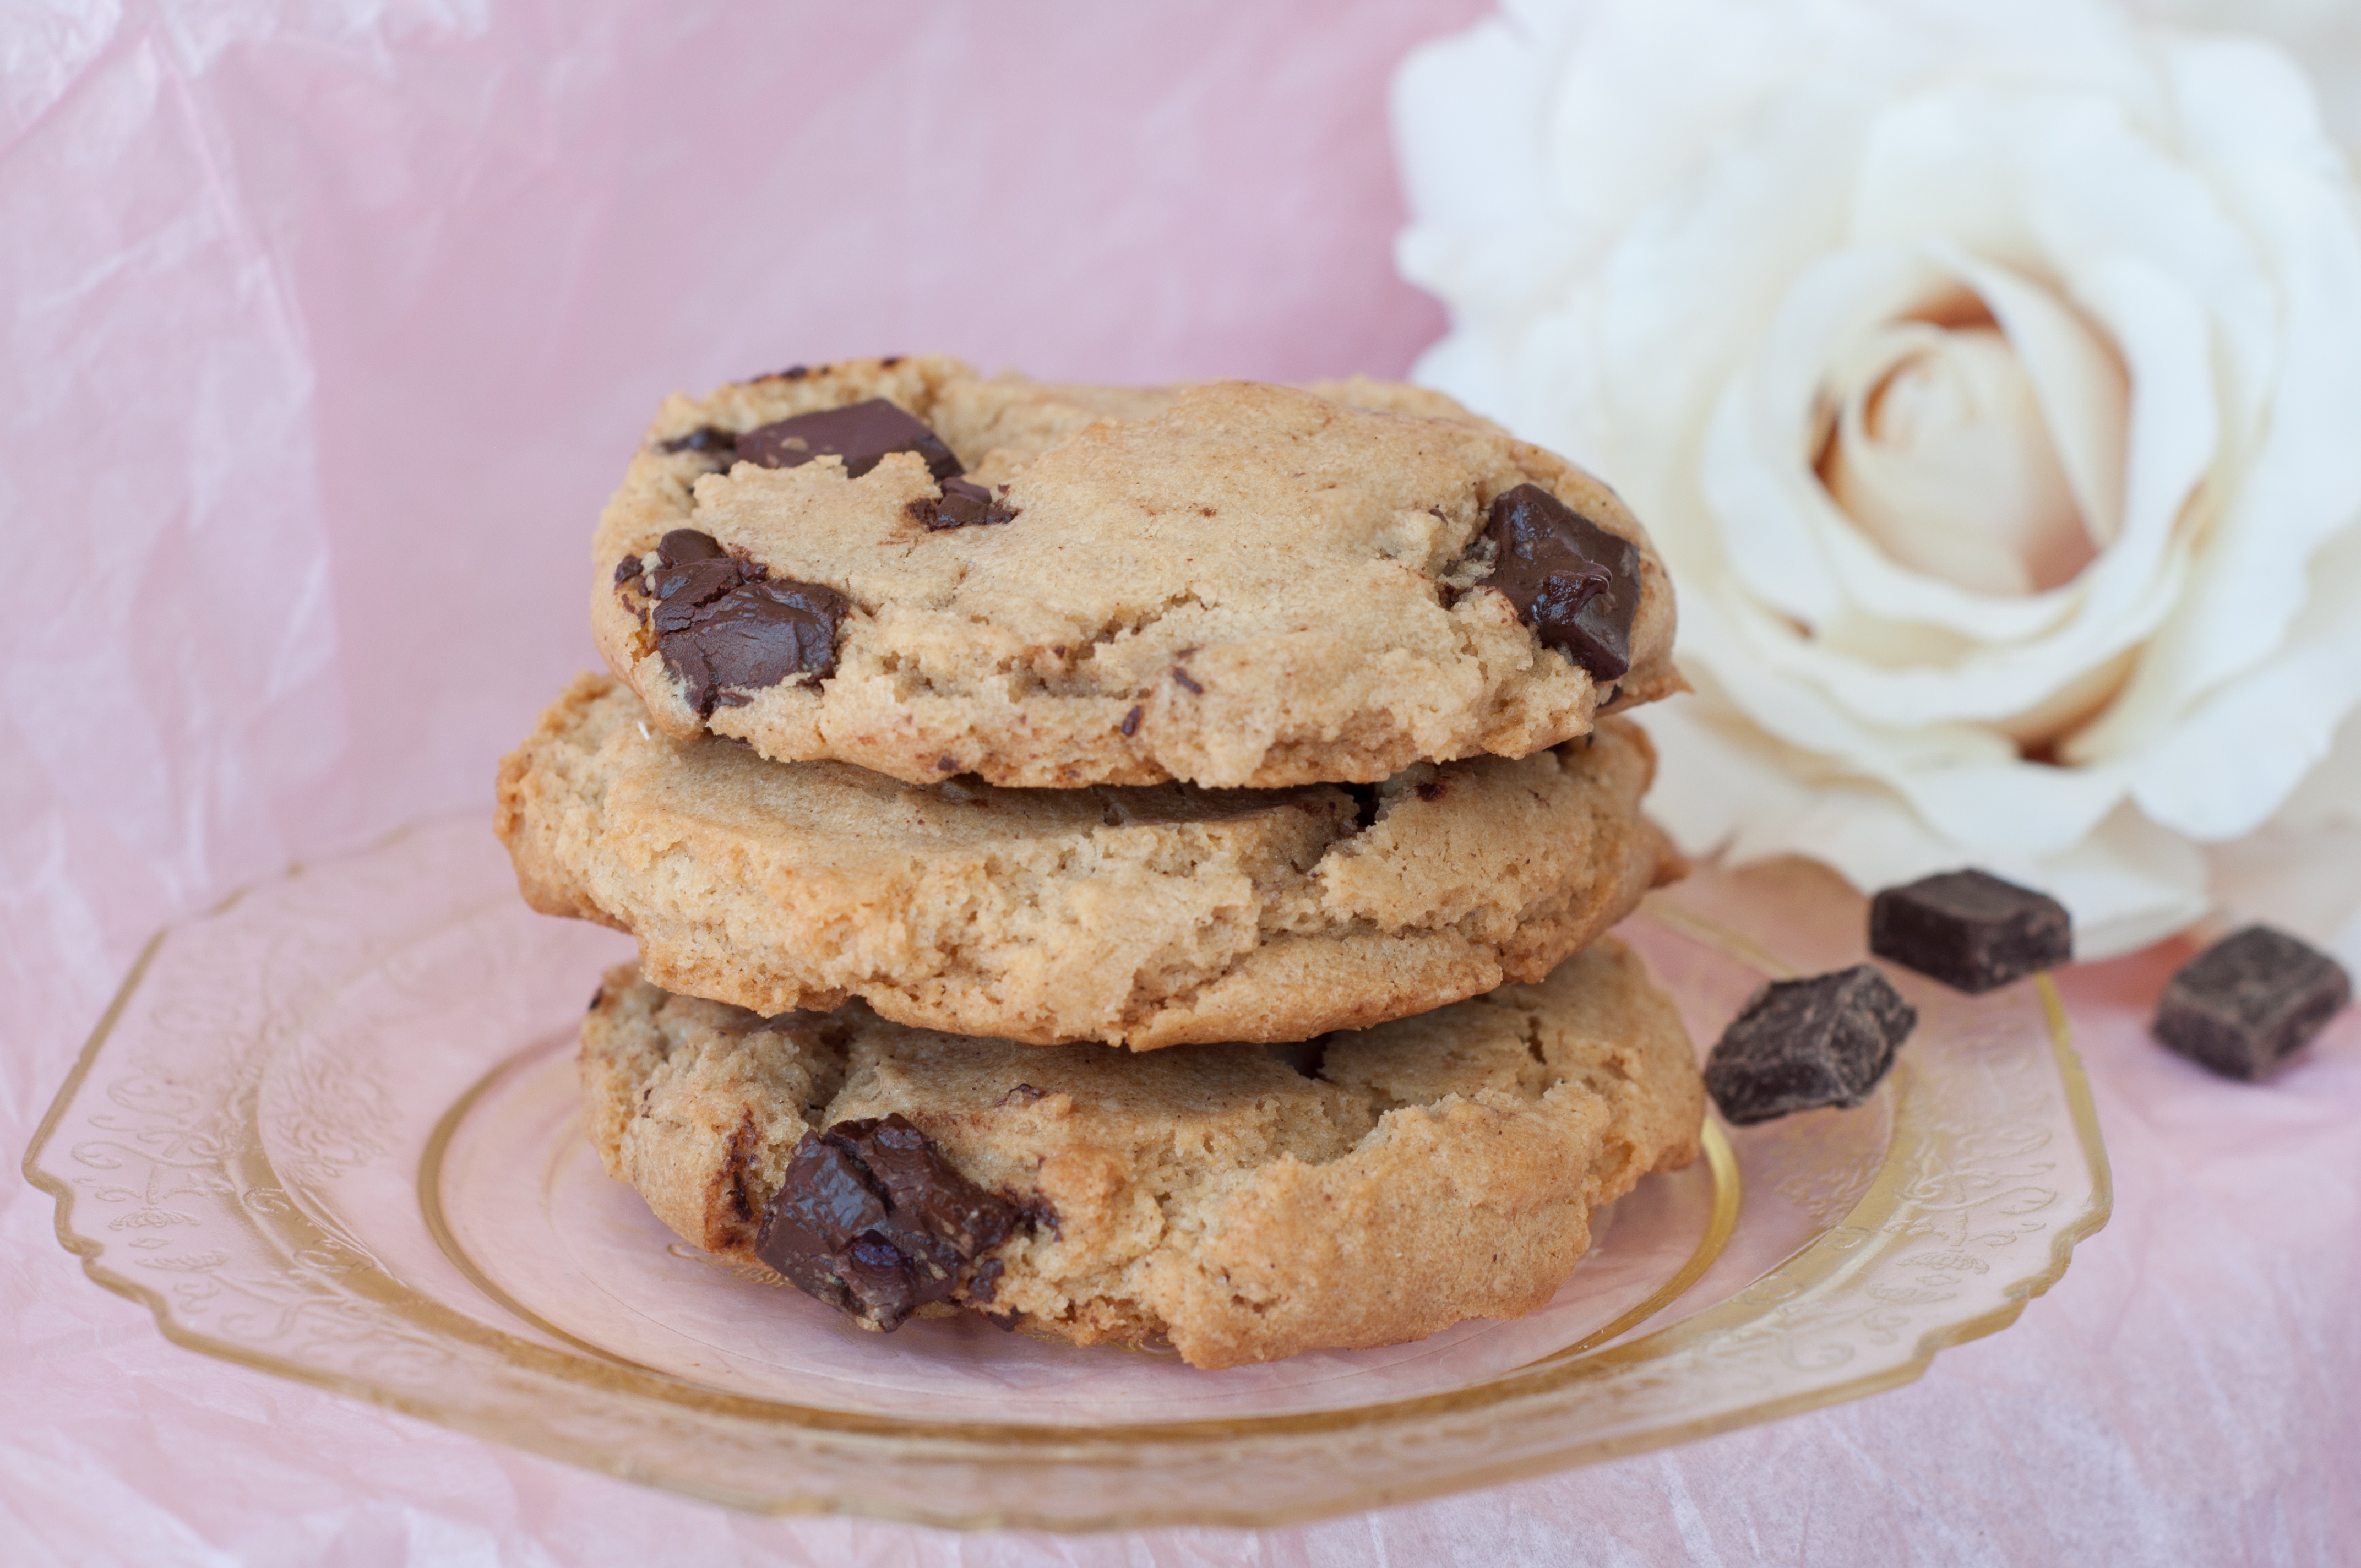
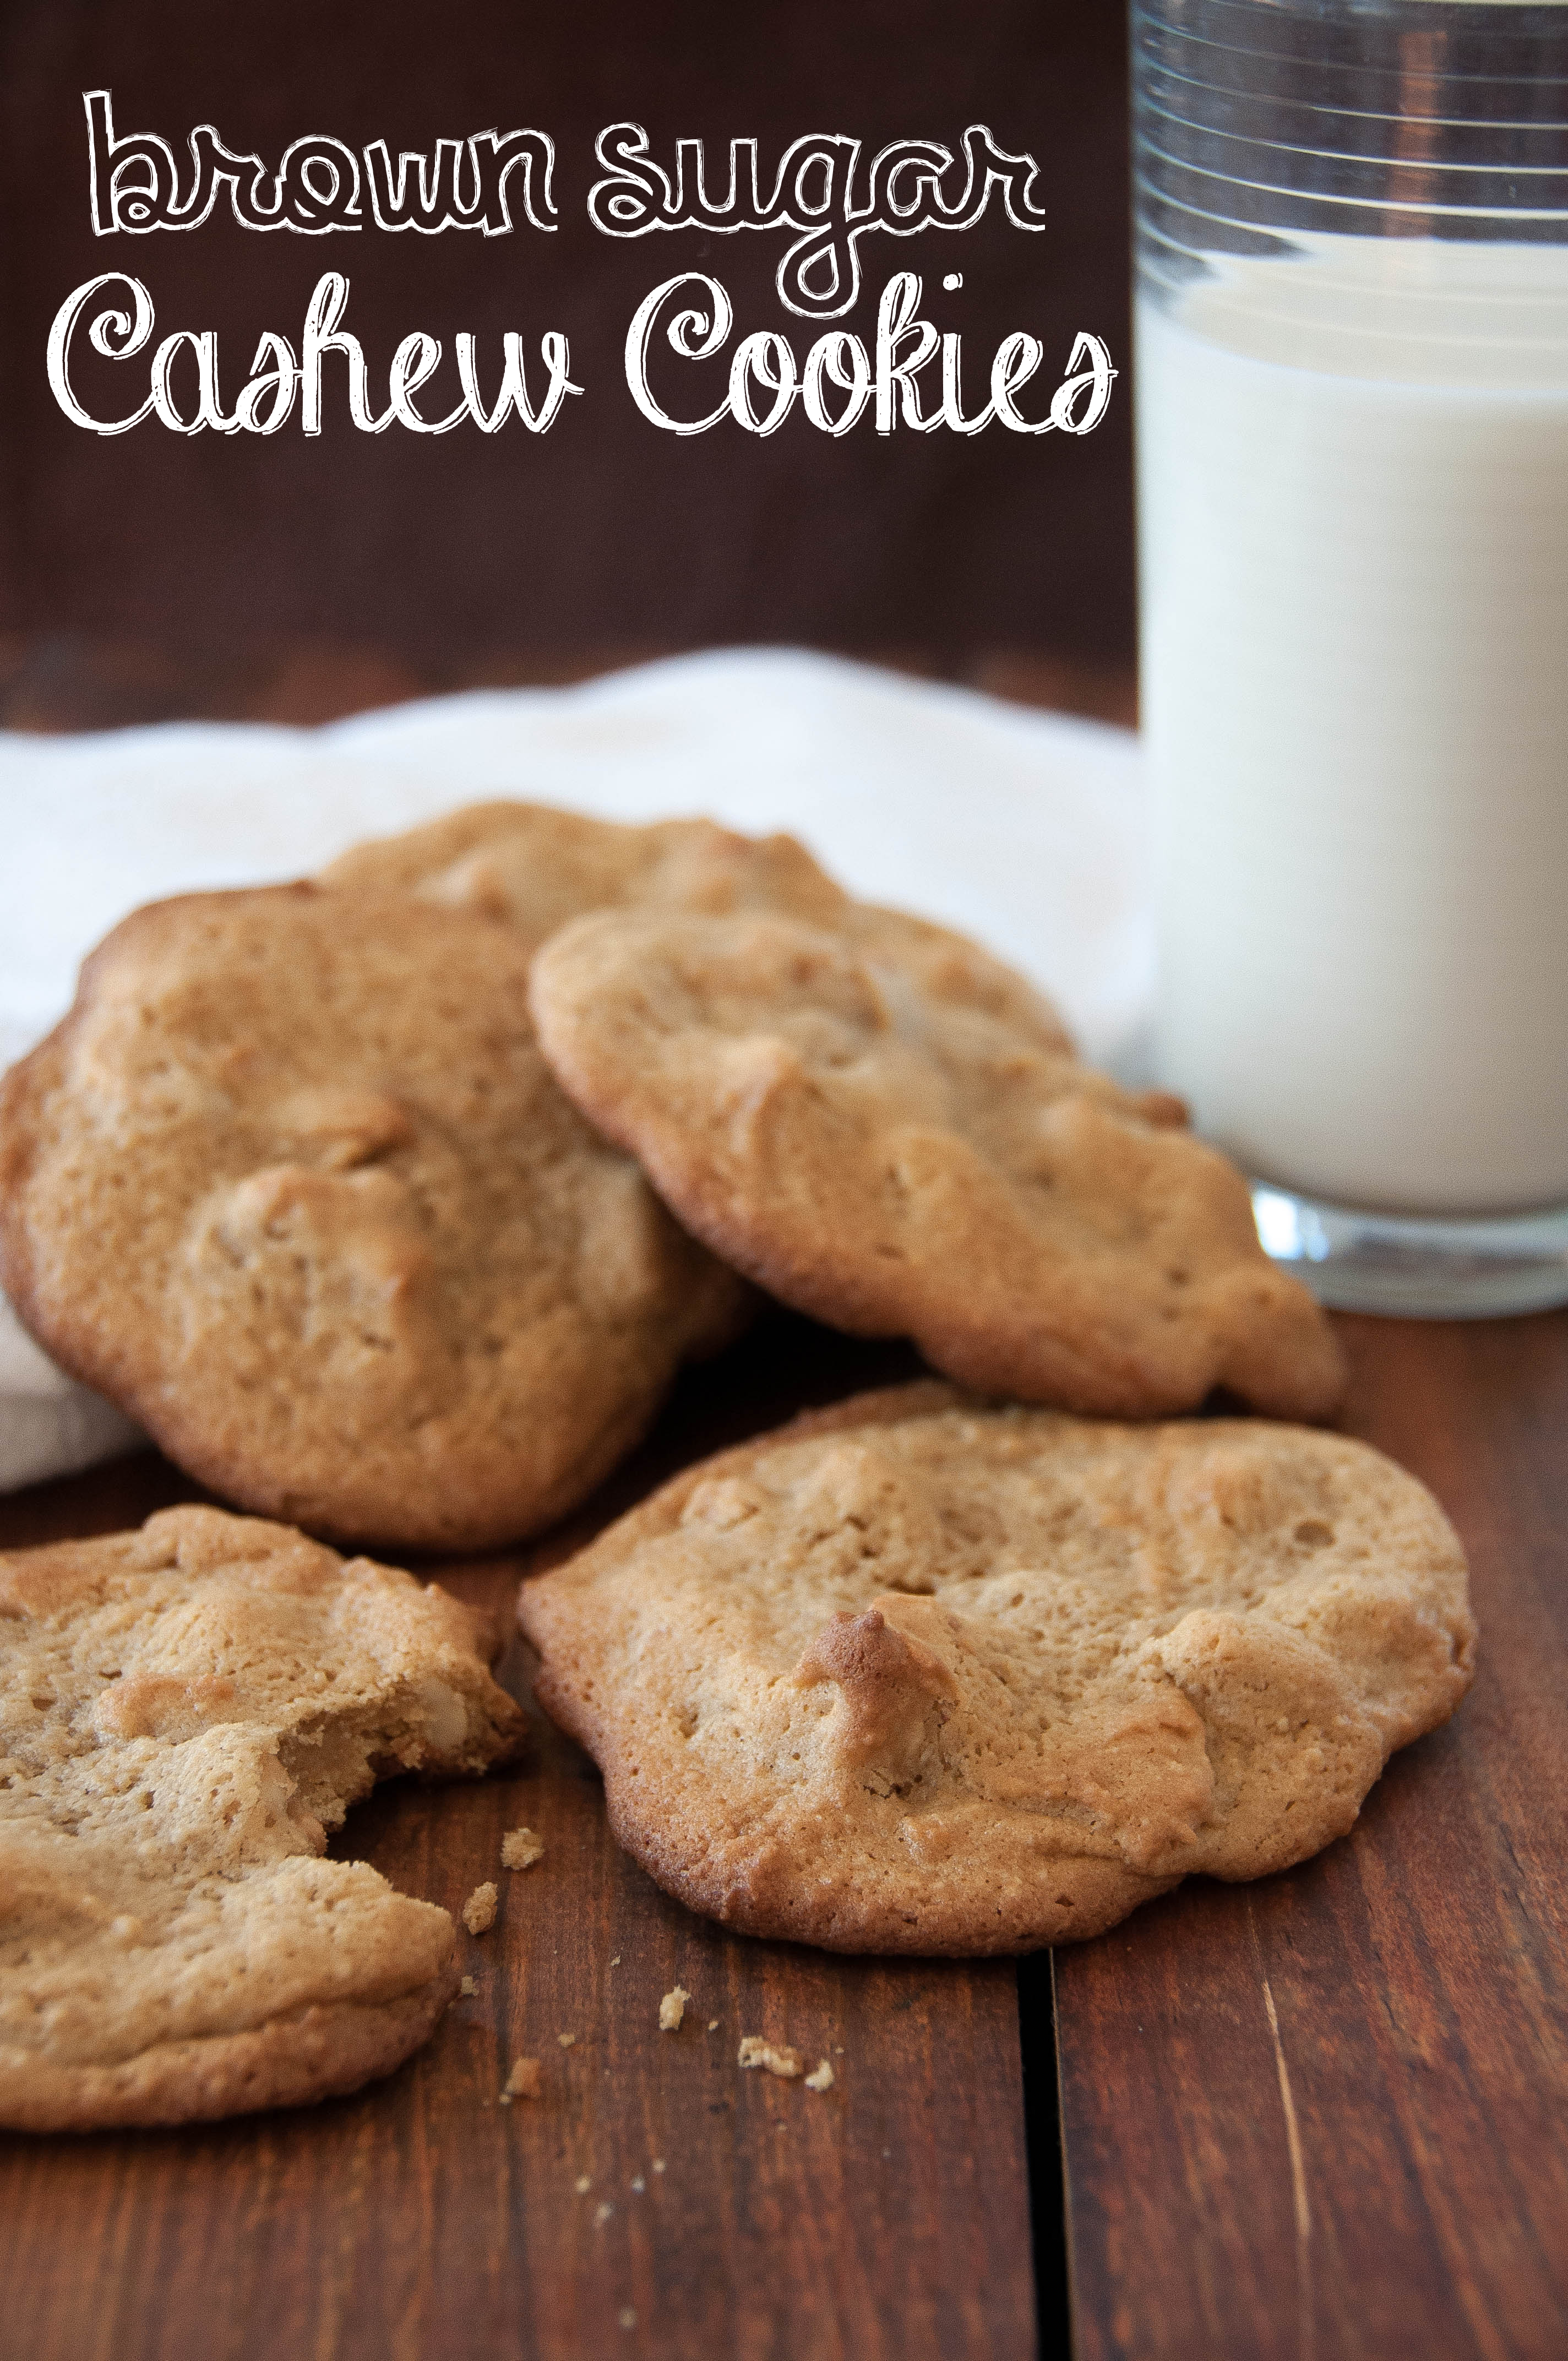
And my inspiration to make Brown Sugar Cashew Cookies.
Brown Sugar Cashew Cookies
Nutty, sweet....cashew cookies are sure to please. Inspired by a Land O'Lakes Butter recipe.
Ingredients
- 1 cup brown sugar (packed)
- 1/2 cup butter (softened)
- 1 egg
- 1 tsp vanilla
- 1 1/2 cup all-purpose flour
- 1/2 cup finely ground cashews
- 3/4 tsp baking powder
- 3/4 tsp baking soda
- 1/3 cup sour cream
- 1 1/2 cup cashew halves
Instructions
- Heat oven to 350 degrees
- Spread cashews on a cookie sheet and lightly brown (about 10-15 minutes)
- In a mixer, combine the brown sugar and butter until creamy
- Add the egg and vanilla and continue to blend in the mixer
- Add the flour, ground cashews, baking powder, baking soda and sour cream and mix on slow speed. When the flour is incorporated, then you can turn the speed up and mix until creamy again
- Stir the cashew halves in by hand
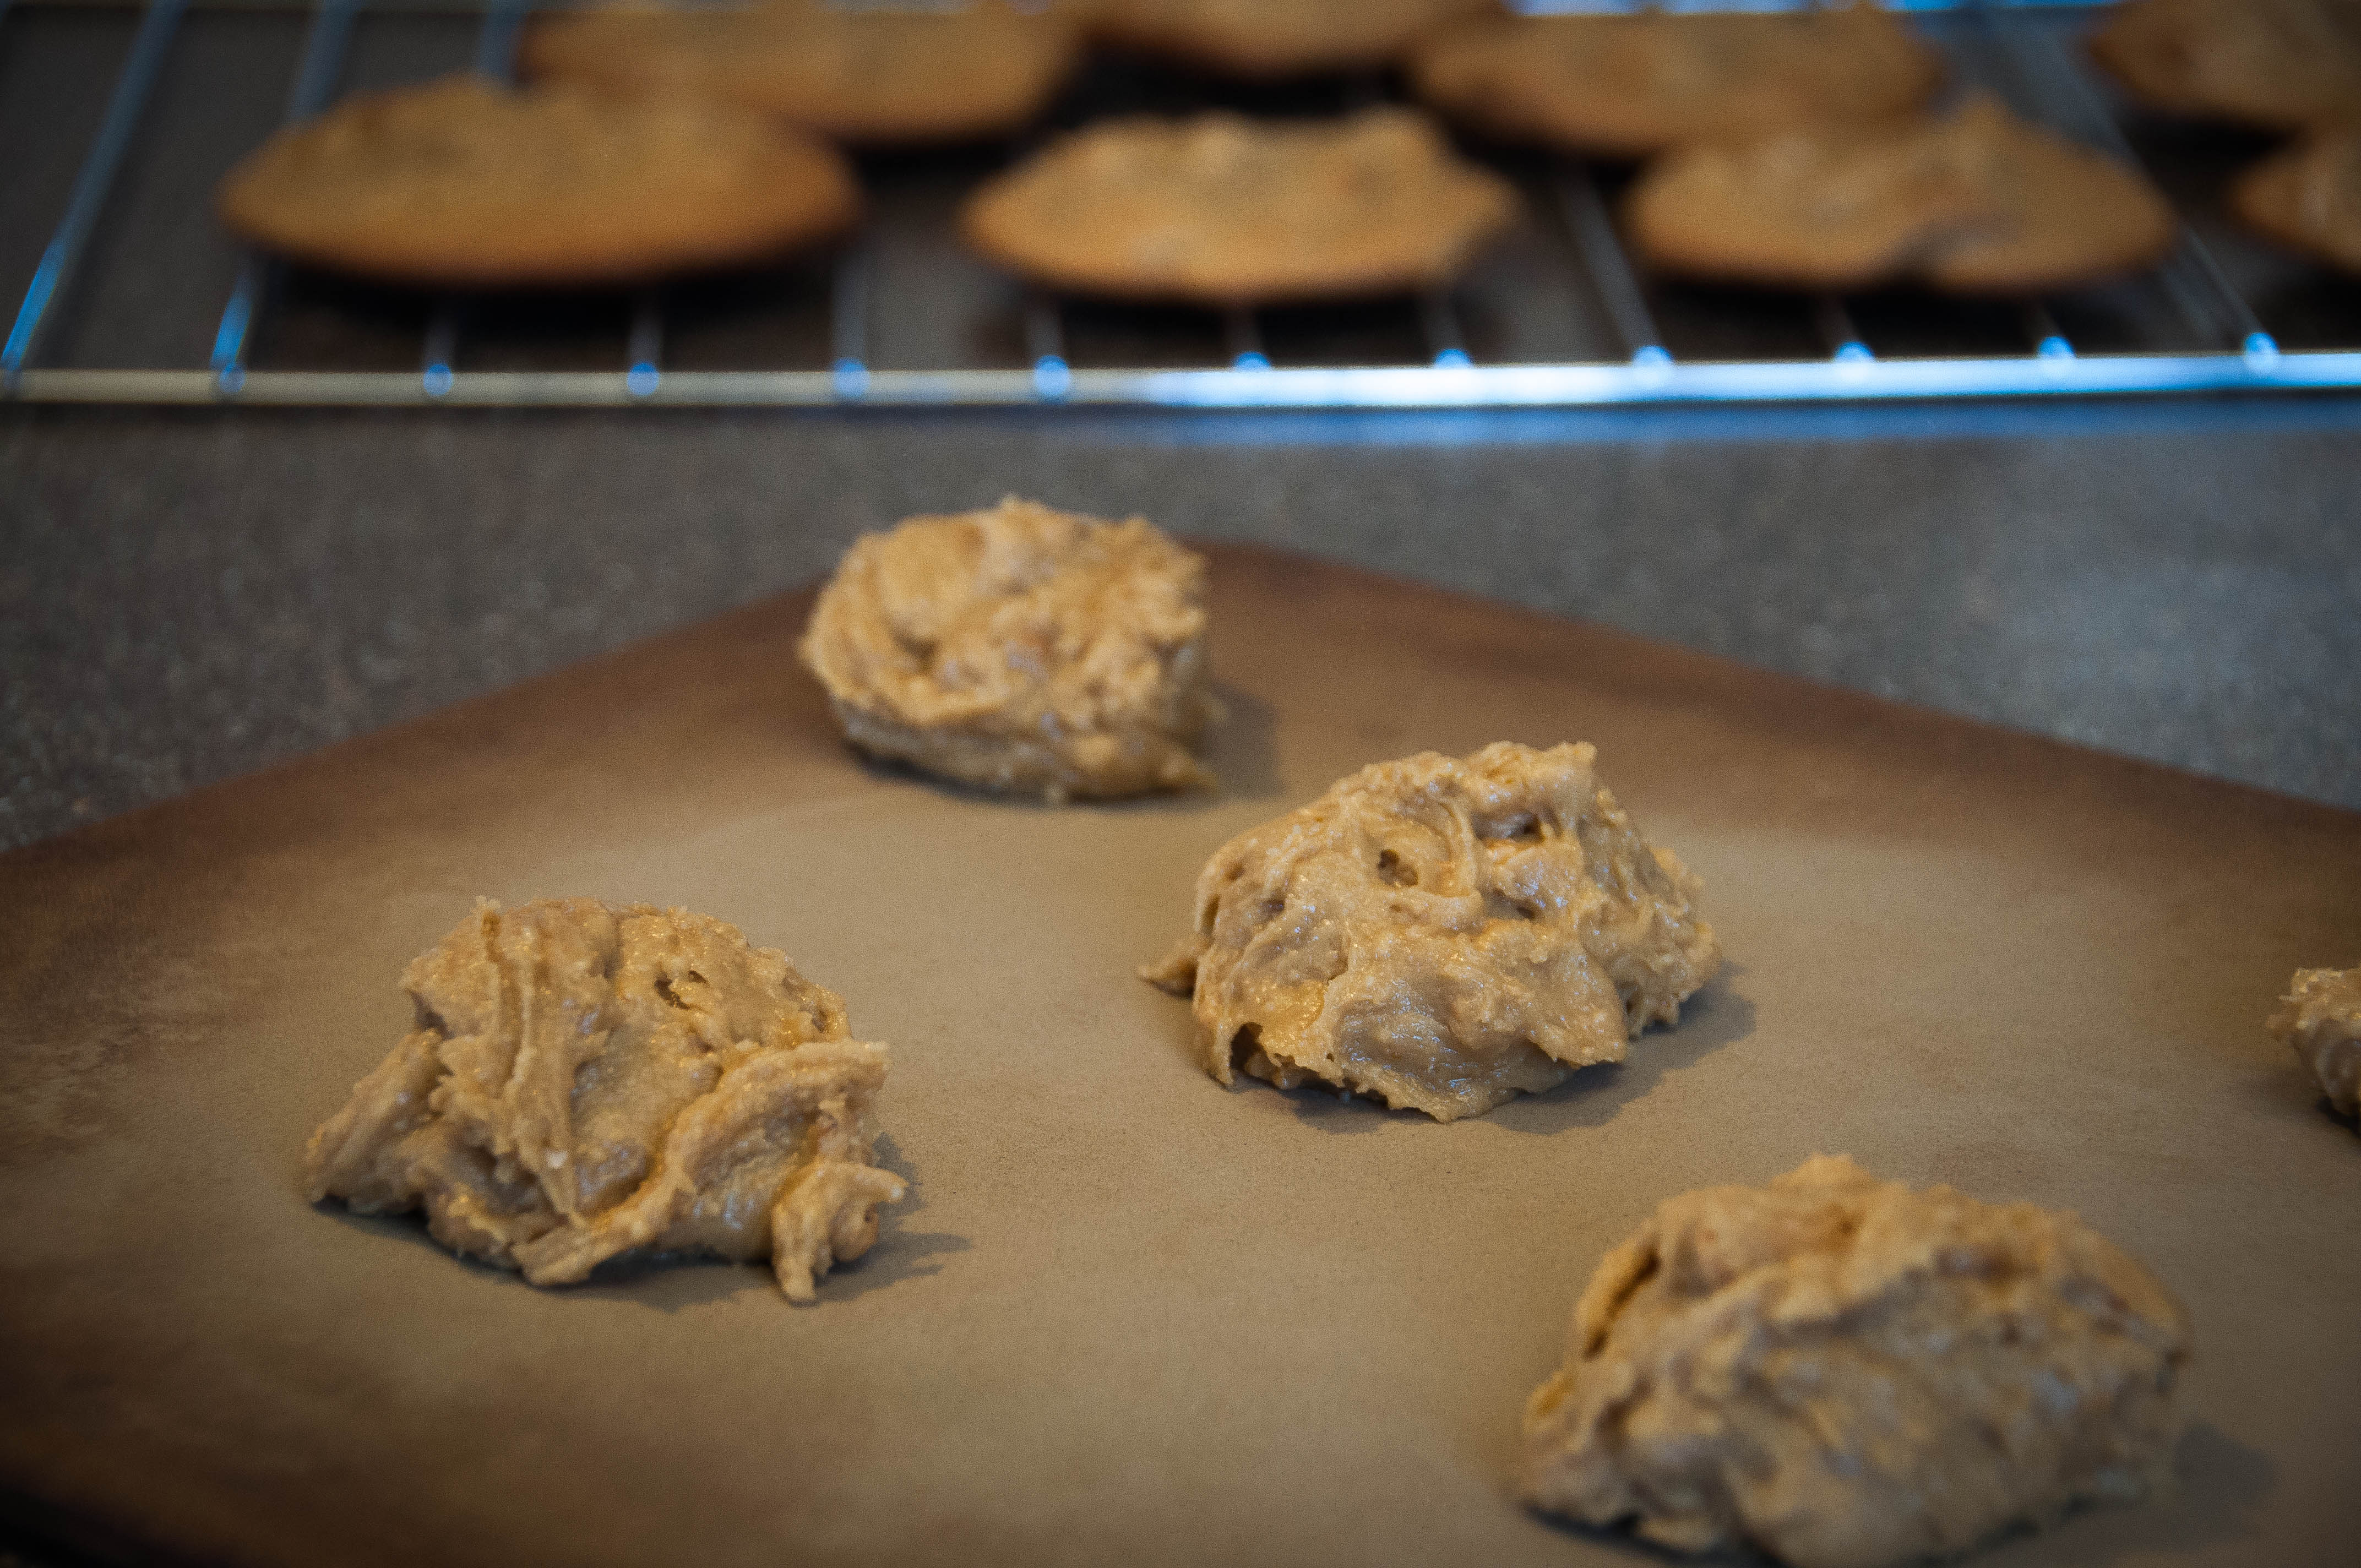
- On an ungreased cookie sheet, drop a heaping tablespoon of dough and space the dough drops a couple inches apart
- Cook for 10-12 minutes
- Cool completely
Rocky Mountain Brown Sugar
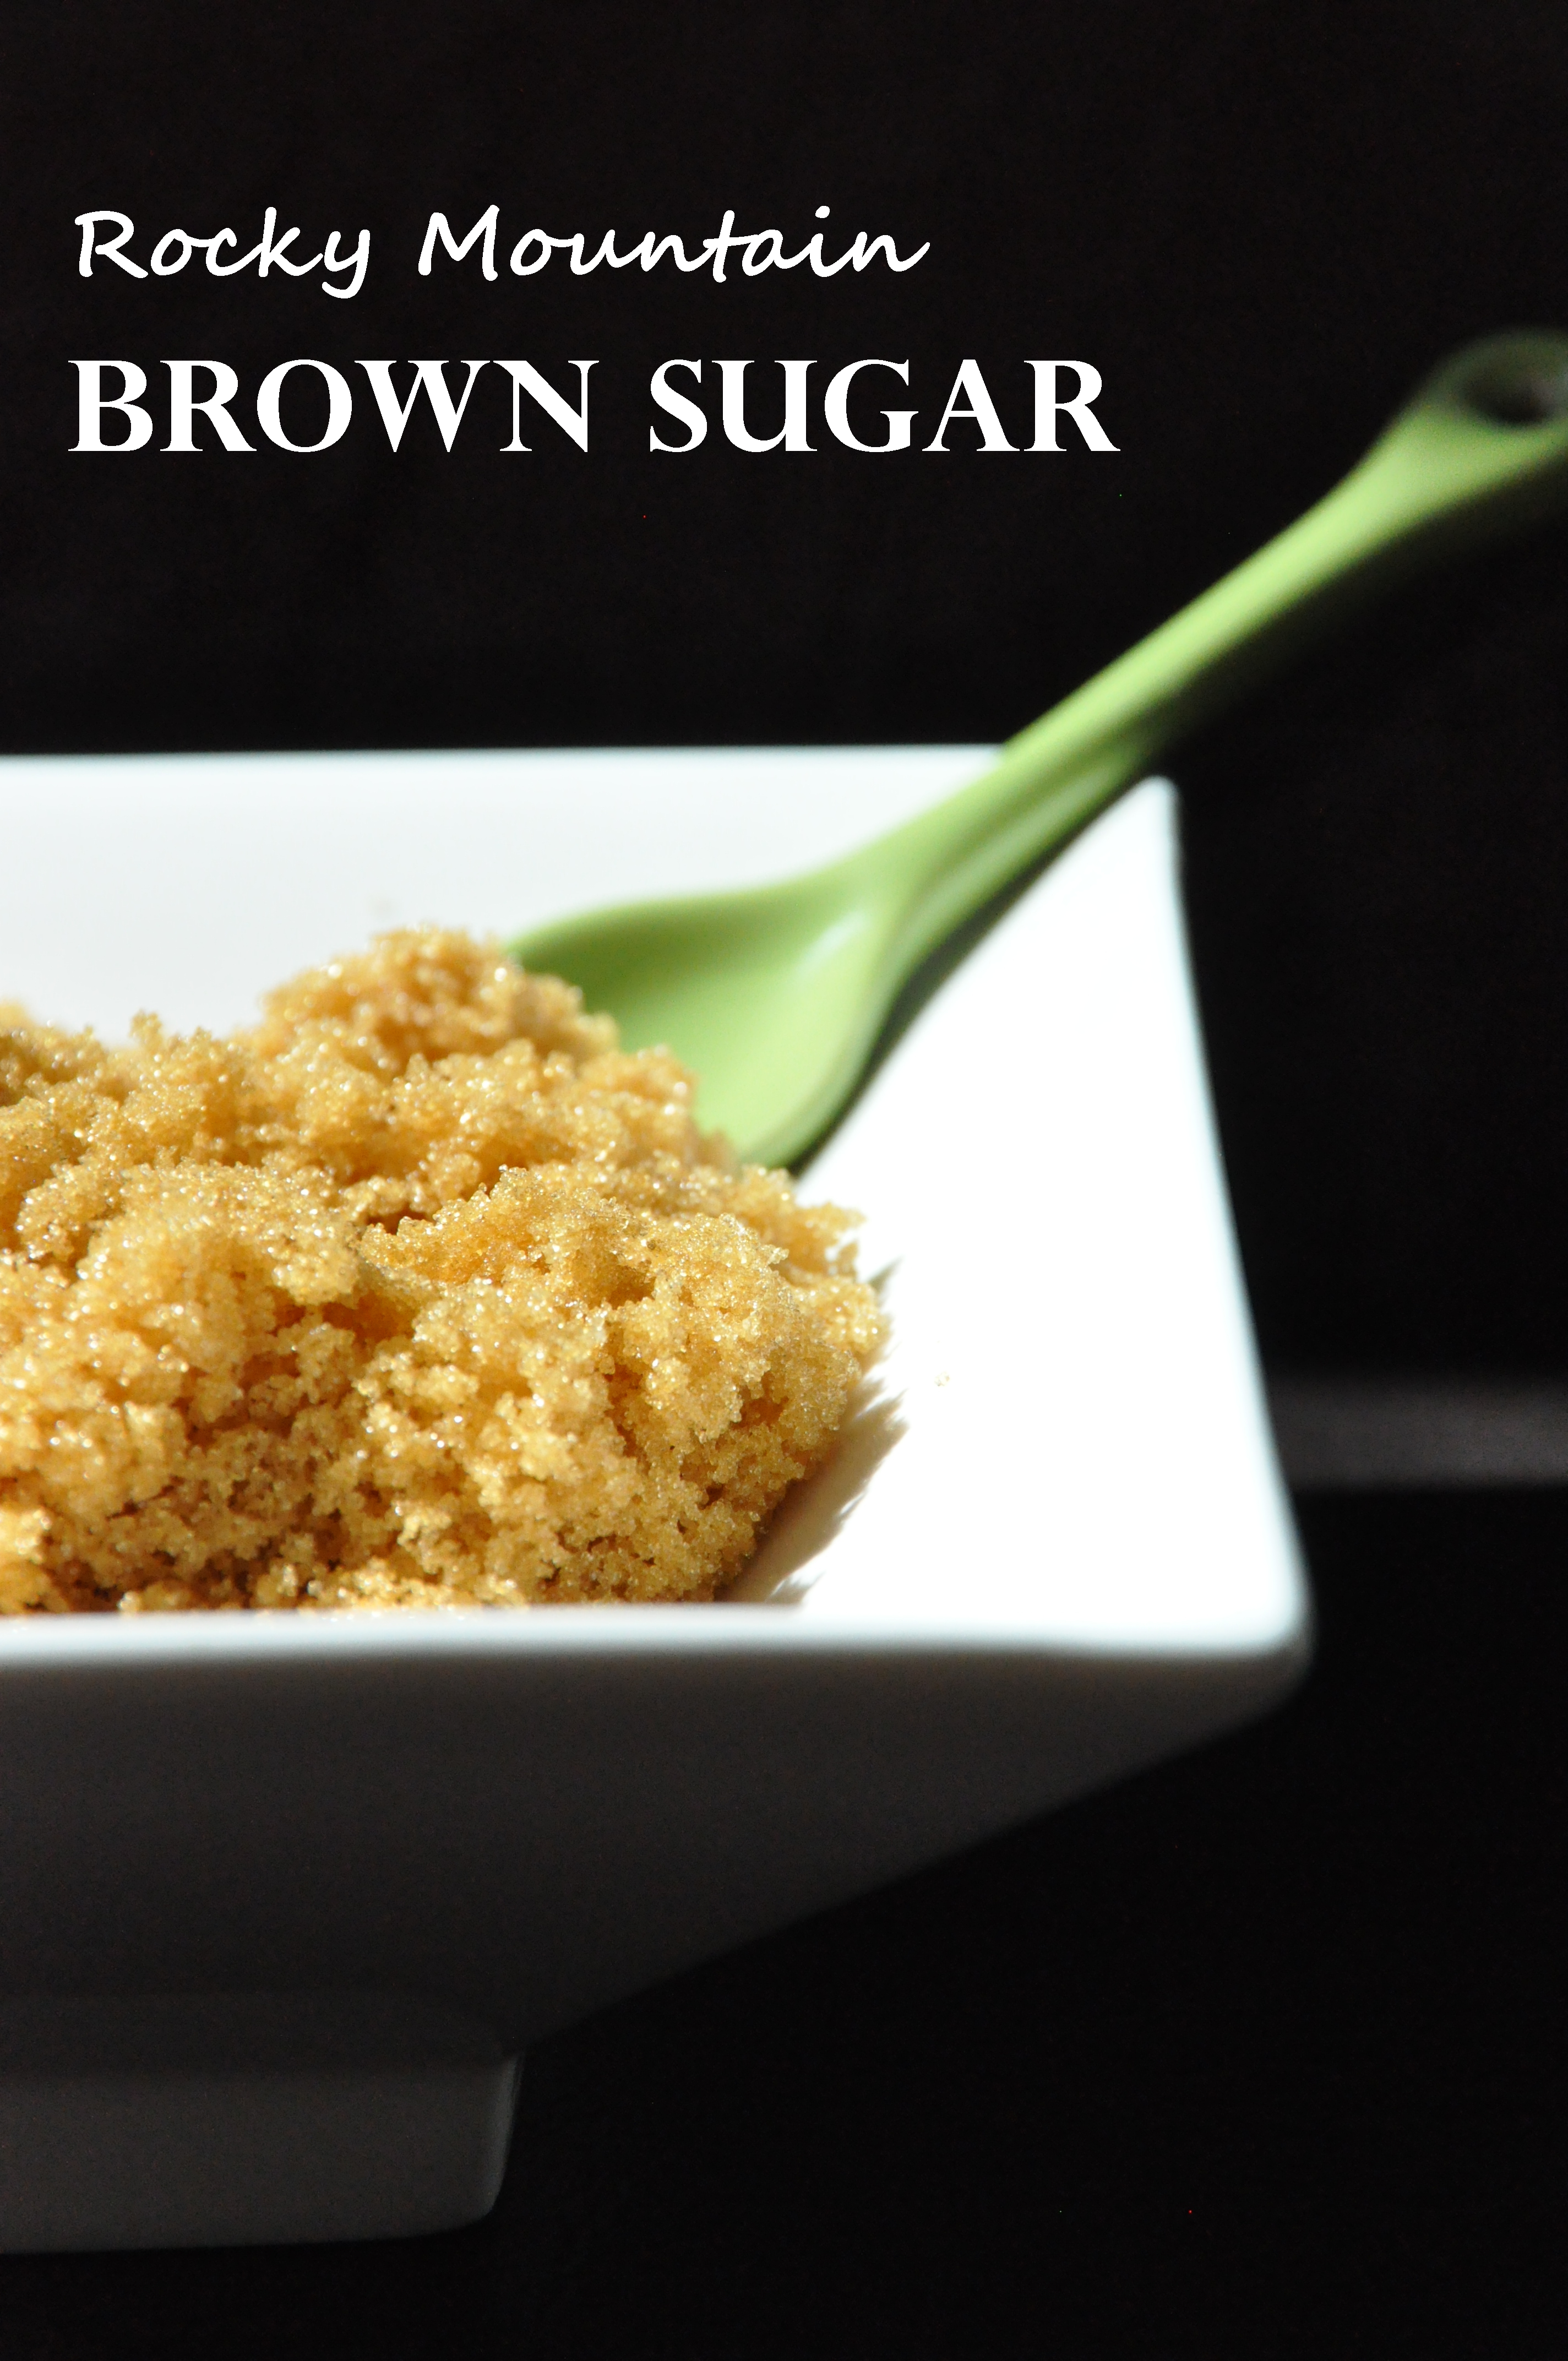
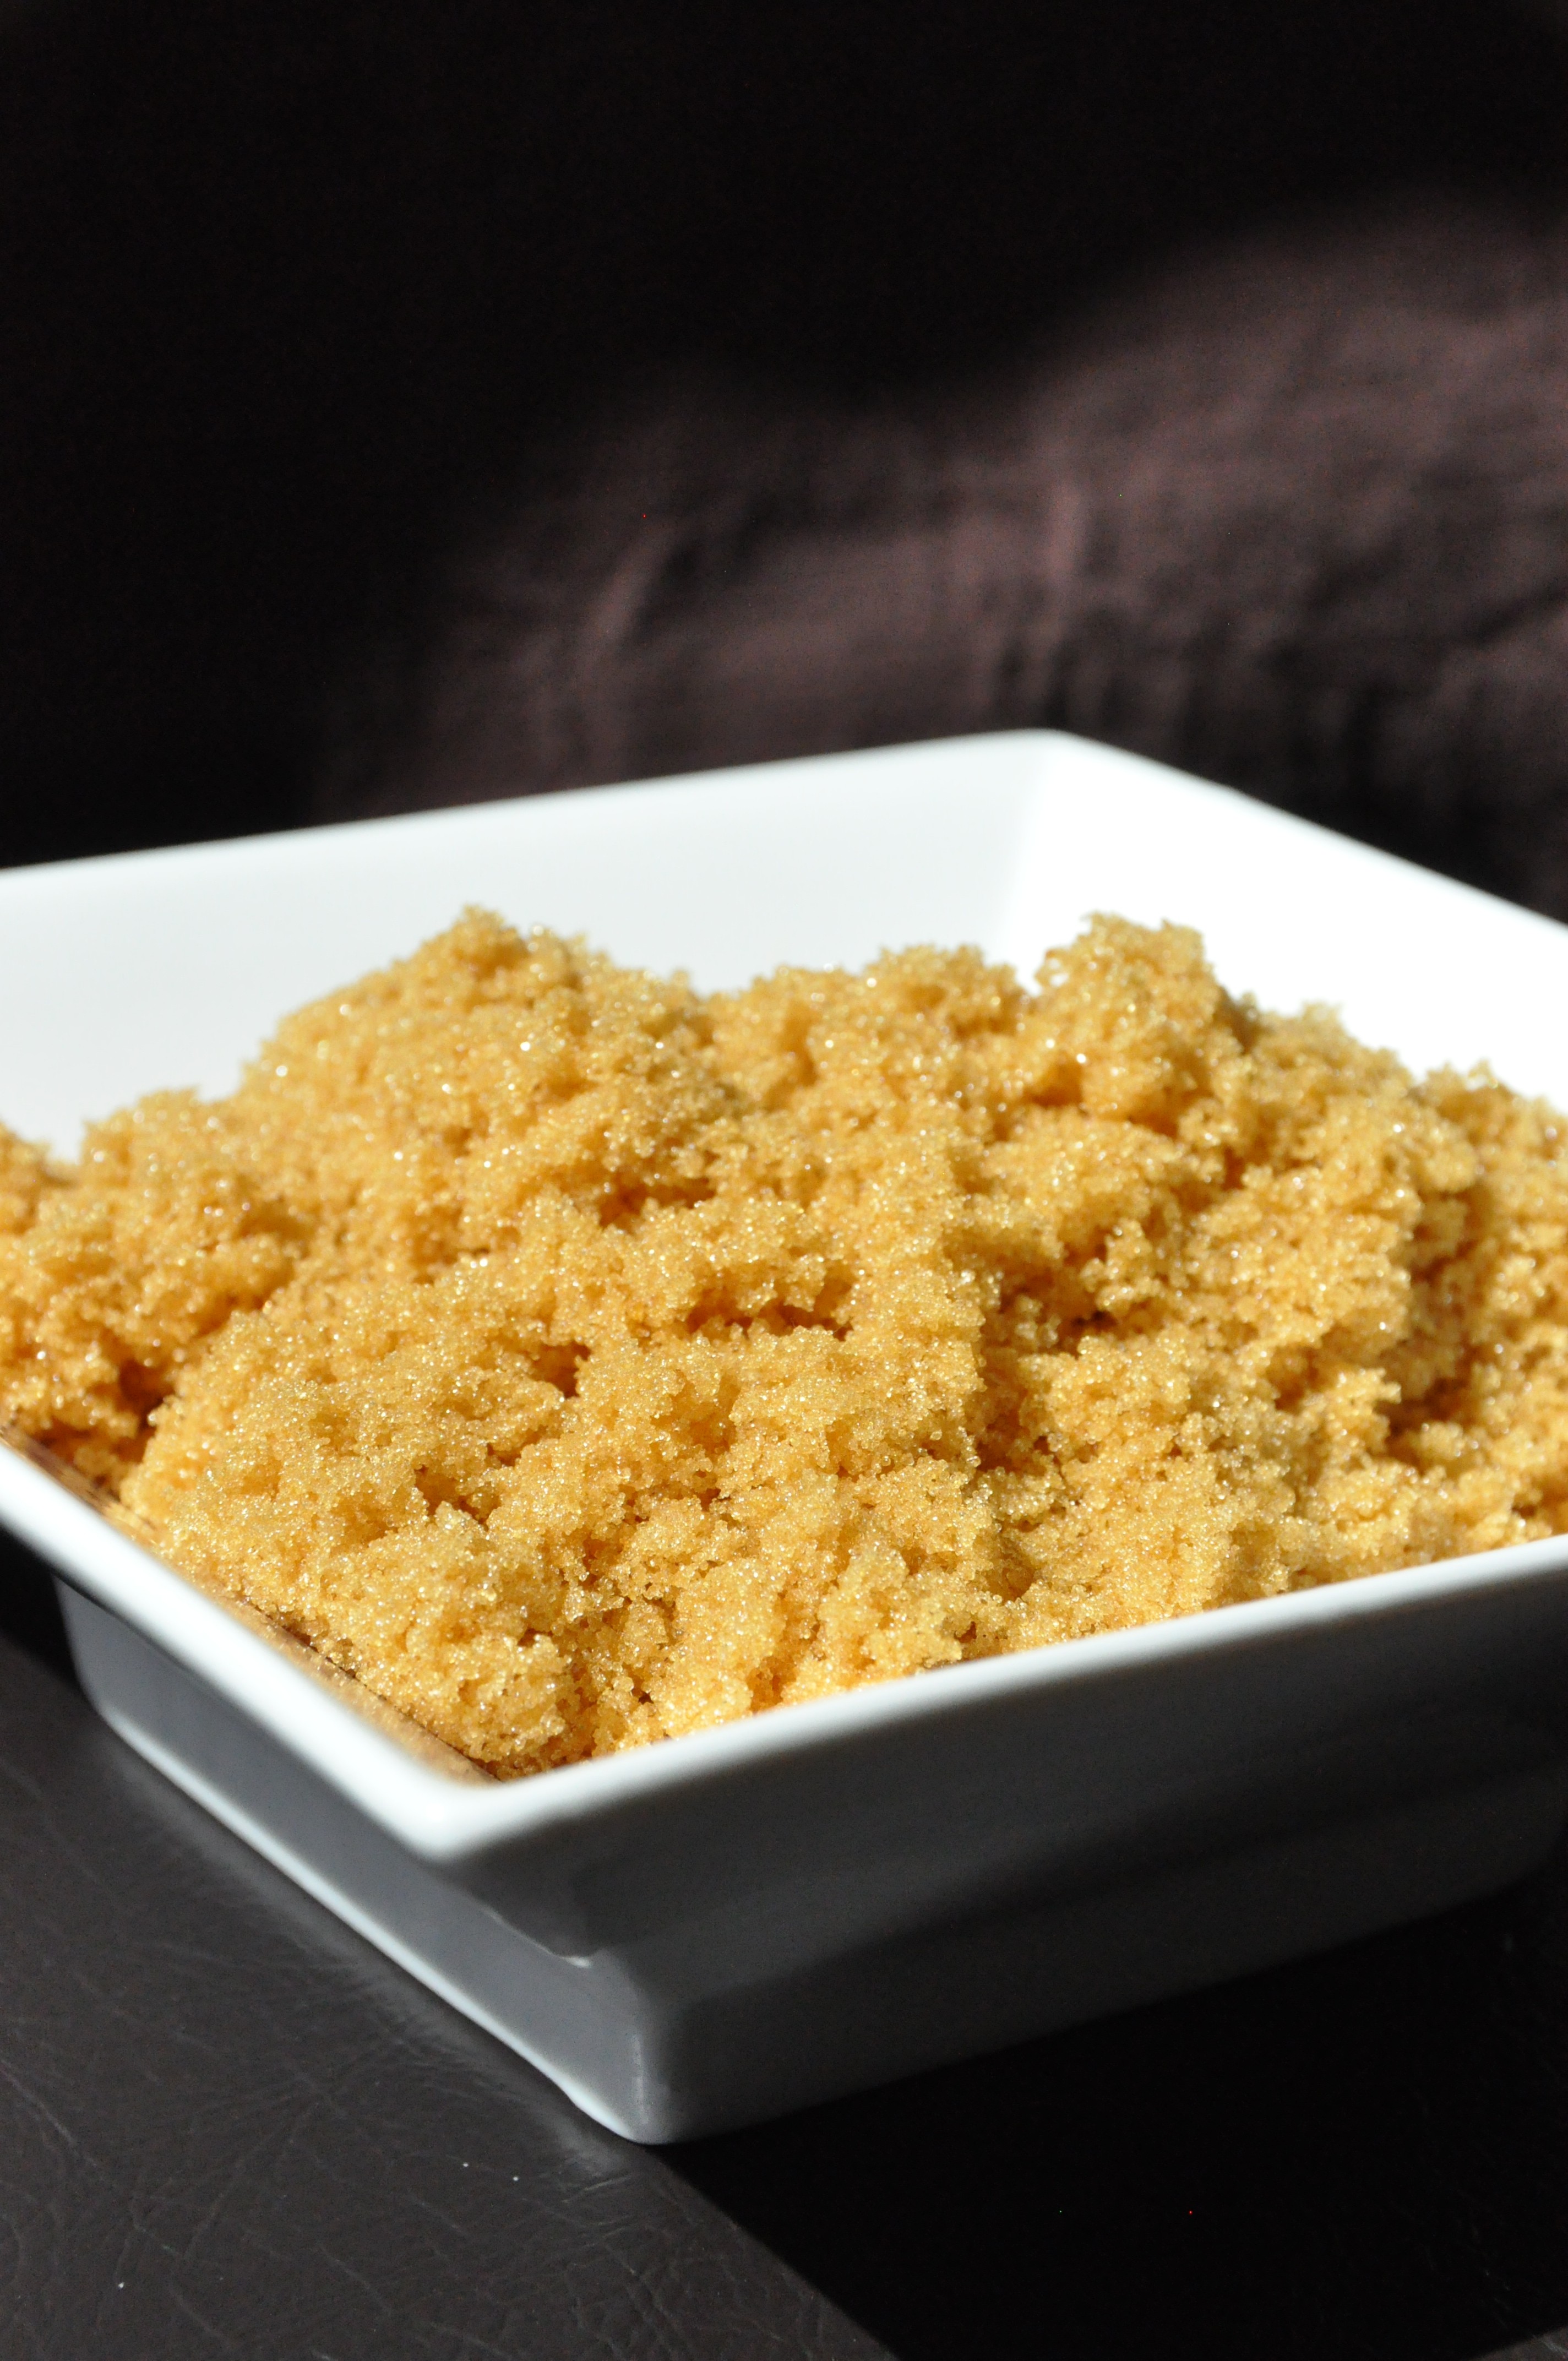
In keeping with the theme of “recipes for an arid climate”…. I introduce to you “Rocky Mountain Brown Sugar!” Ok, so there’s really ‘no such thing’ as Rocky Mountain Brown Sugar… but, if you’ve lived in a humid-free zone you may know the “I’m big time bummed” feeling of reaching into your pantry to grab the brown sugar (when making your favorite chocolate chip cookie recipe) only to find a brown sugar BRICK. Something had to be done.
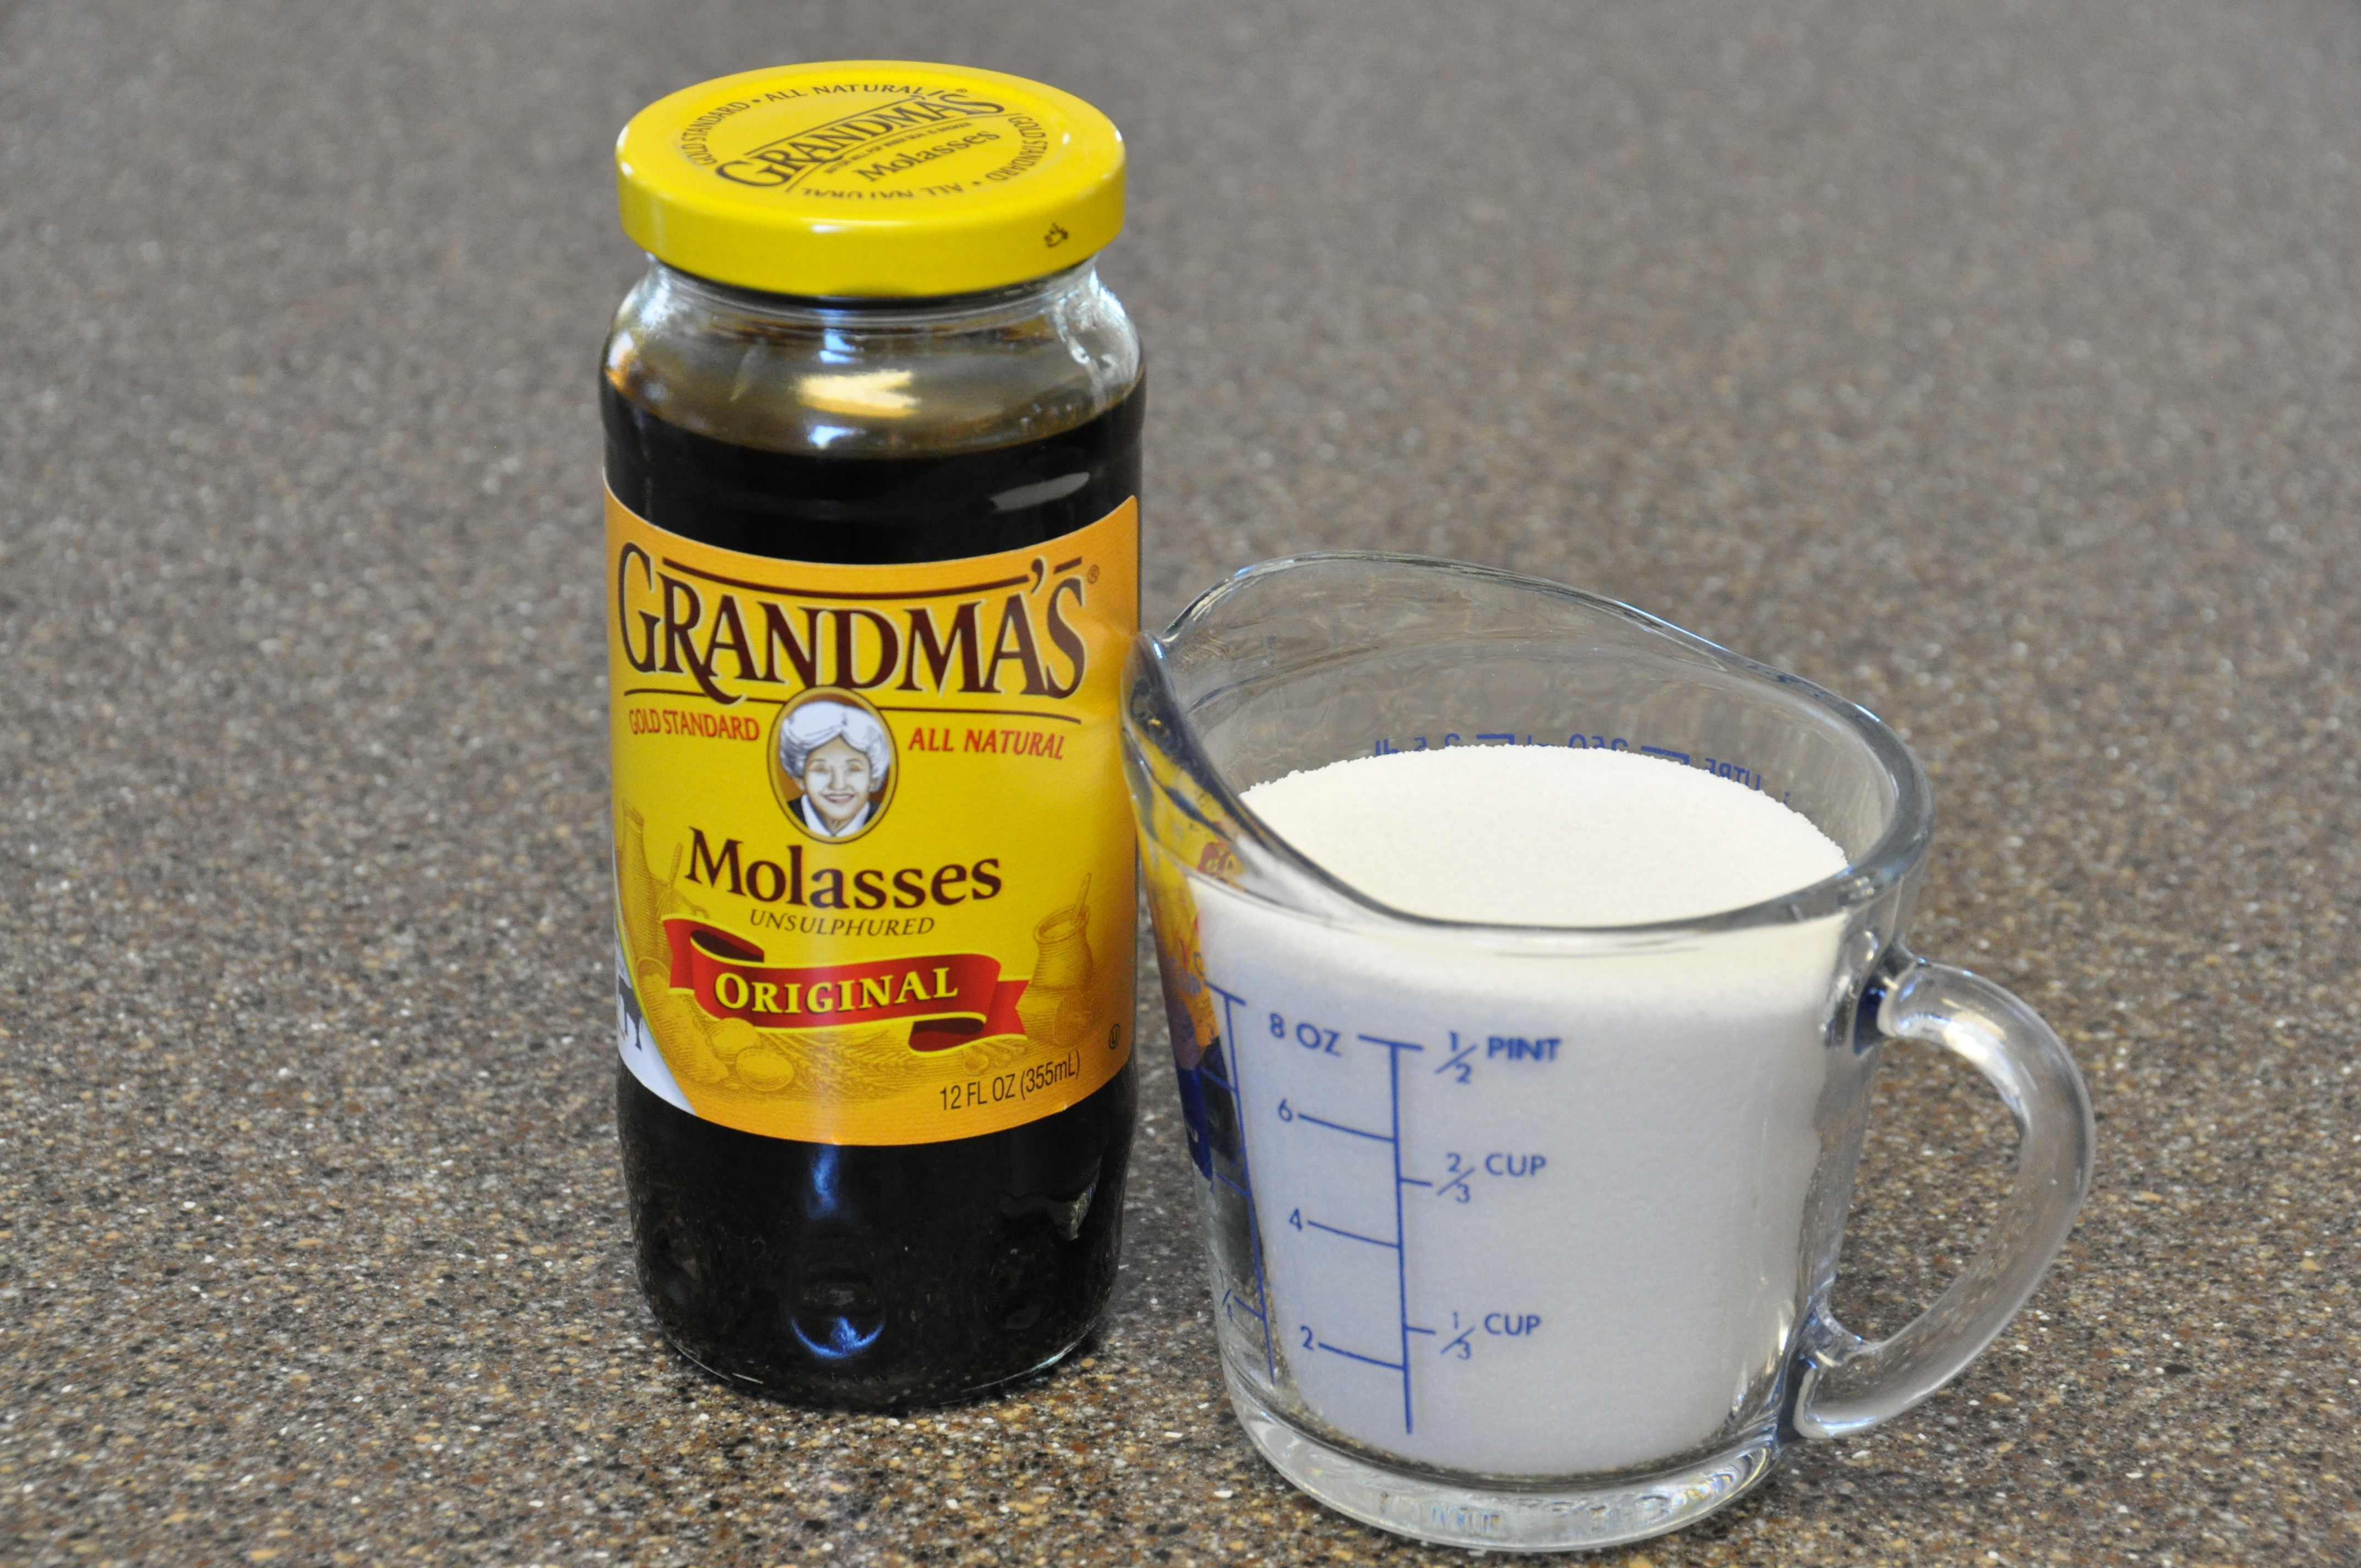
It’s real easy to make your own brown sugar! Sugar + molasses = brown sugar. Ta da! Two tablespoons of molasses will give you a perfect medium brown sugar. If you want dark brown sugar… easy… just add another 1-2 tablespoons of molasses!
I was wondering how I was going to evenly distribute the molasses. Was I supposed to mix it with a fork? a whisk? with my most prized possession….
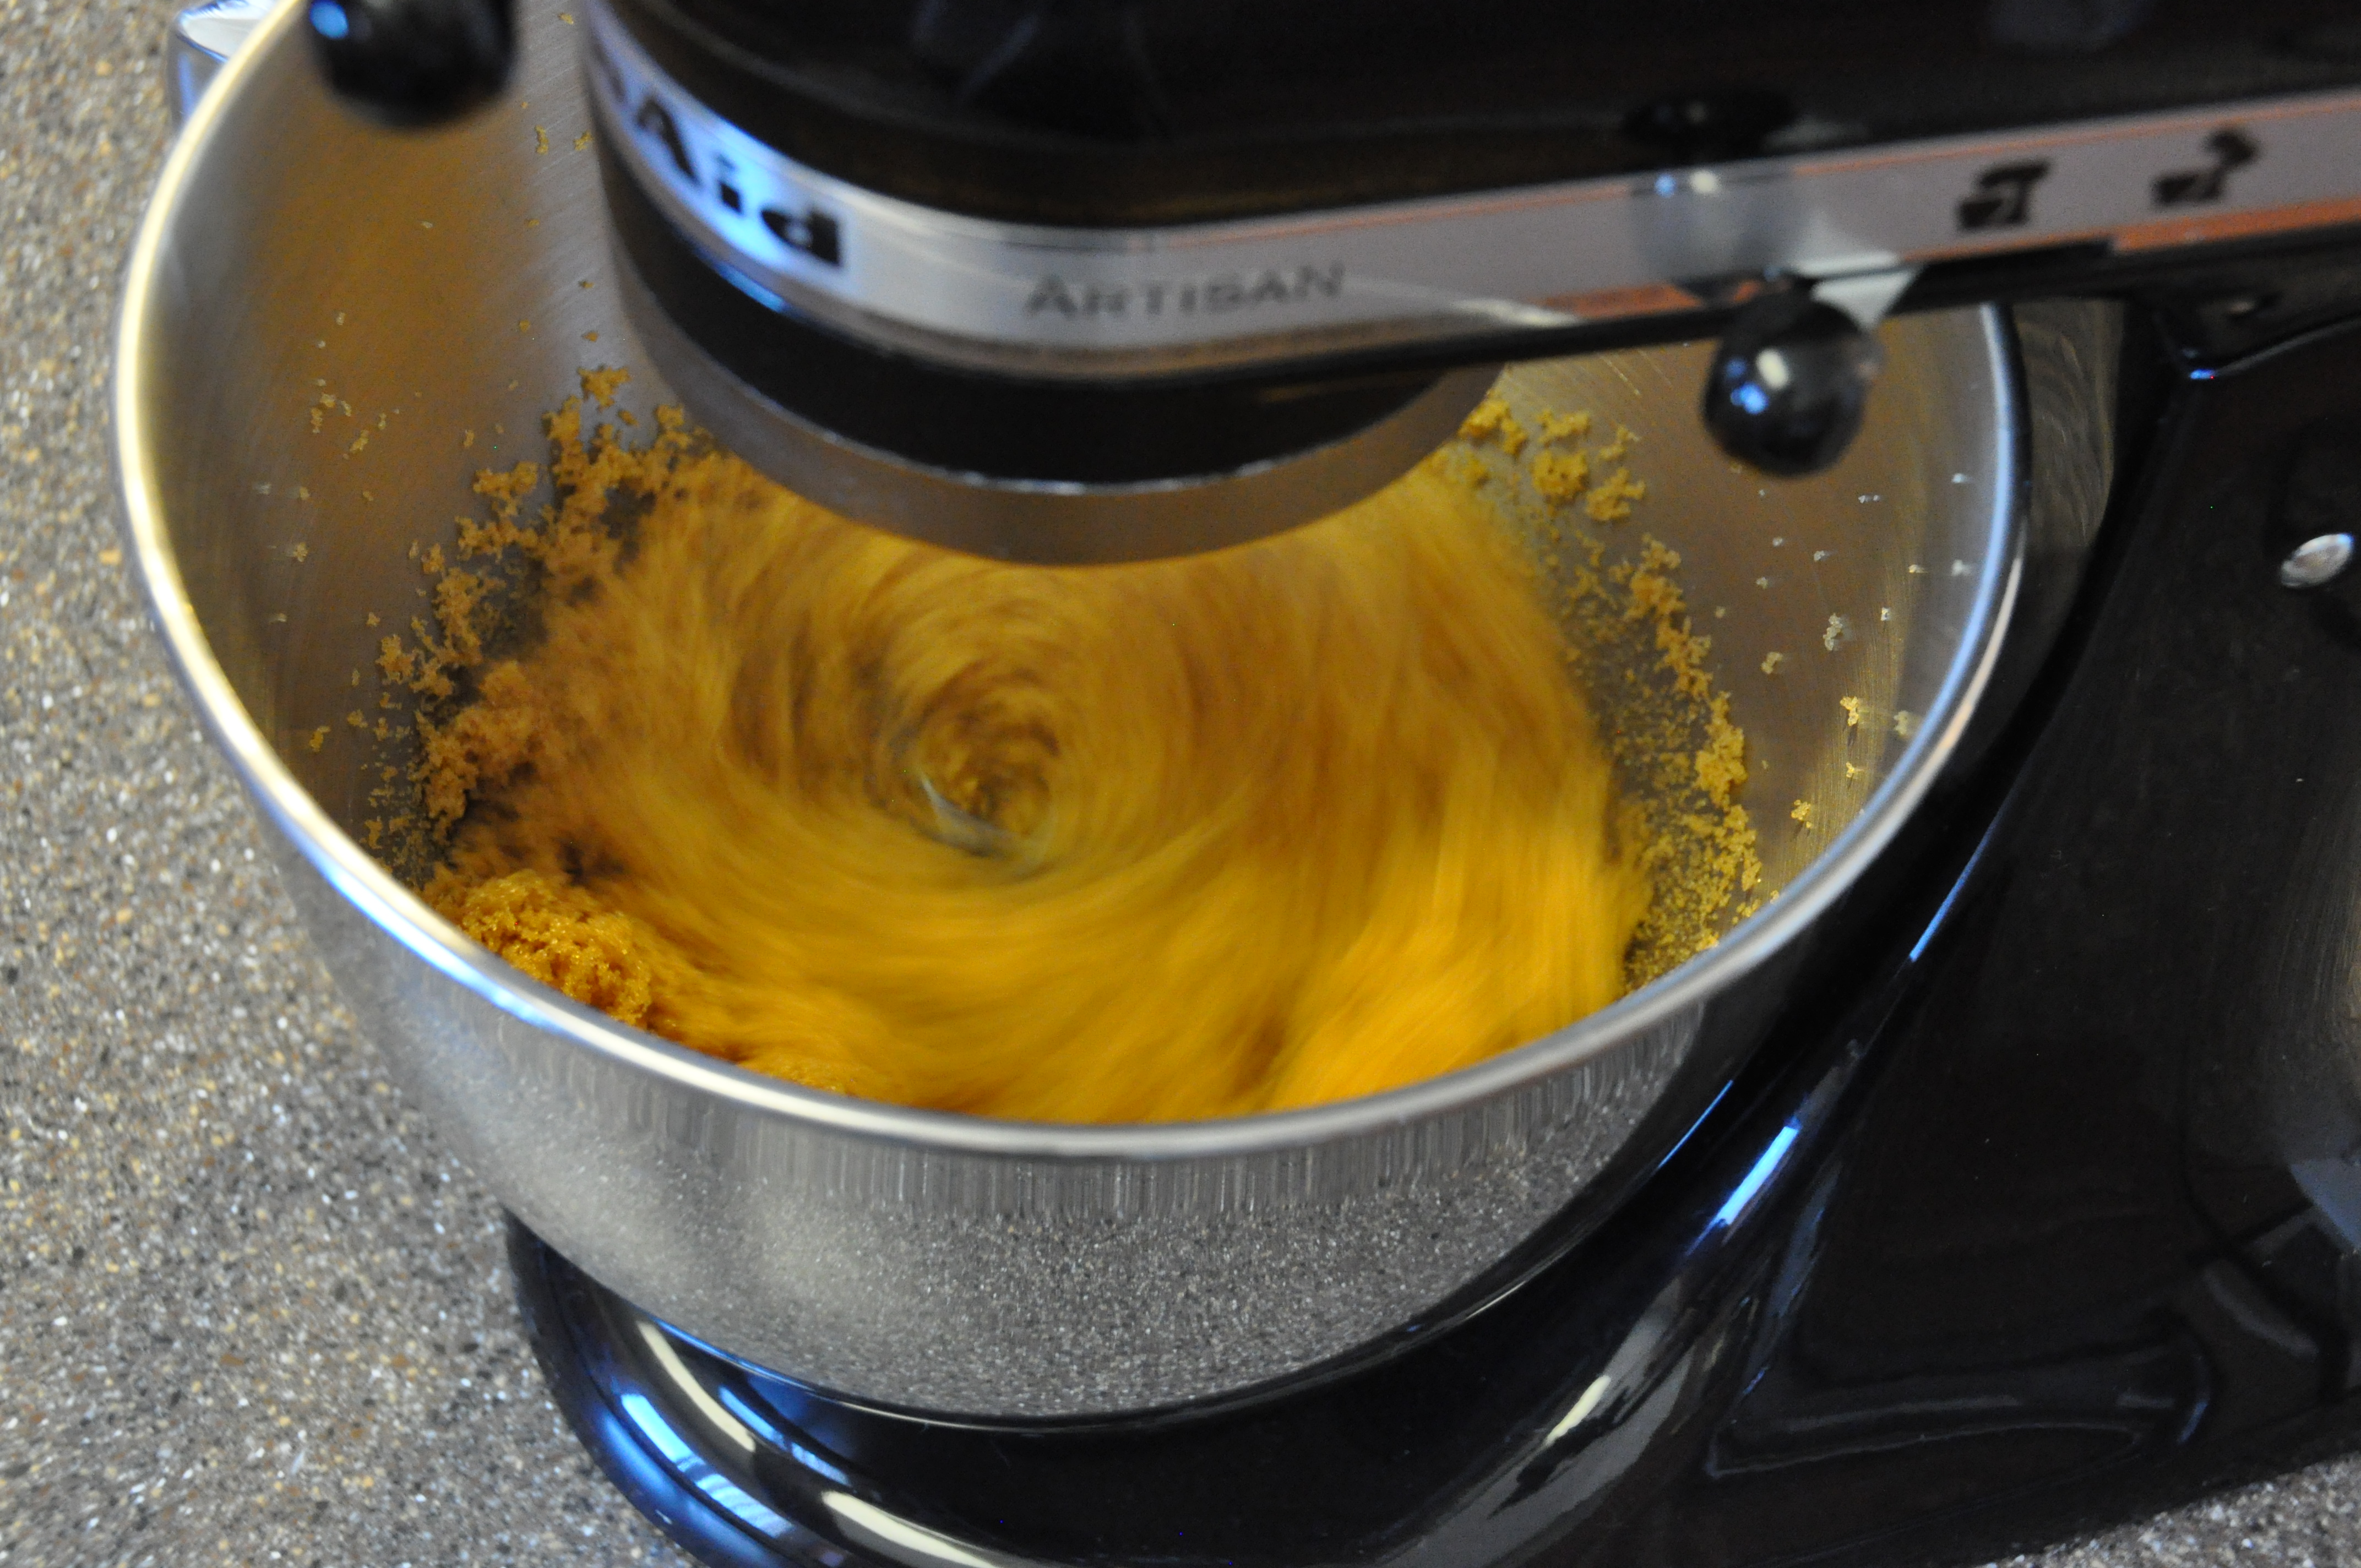
So, the KitchenAid was the perfect tool for whipping the molasses and sugar into this light, fluffy mixture. You do have to give it a good run in the mixer though…
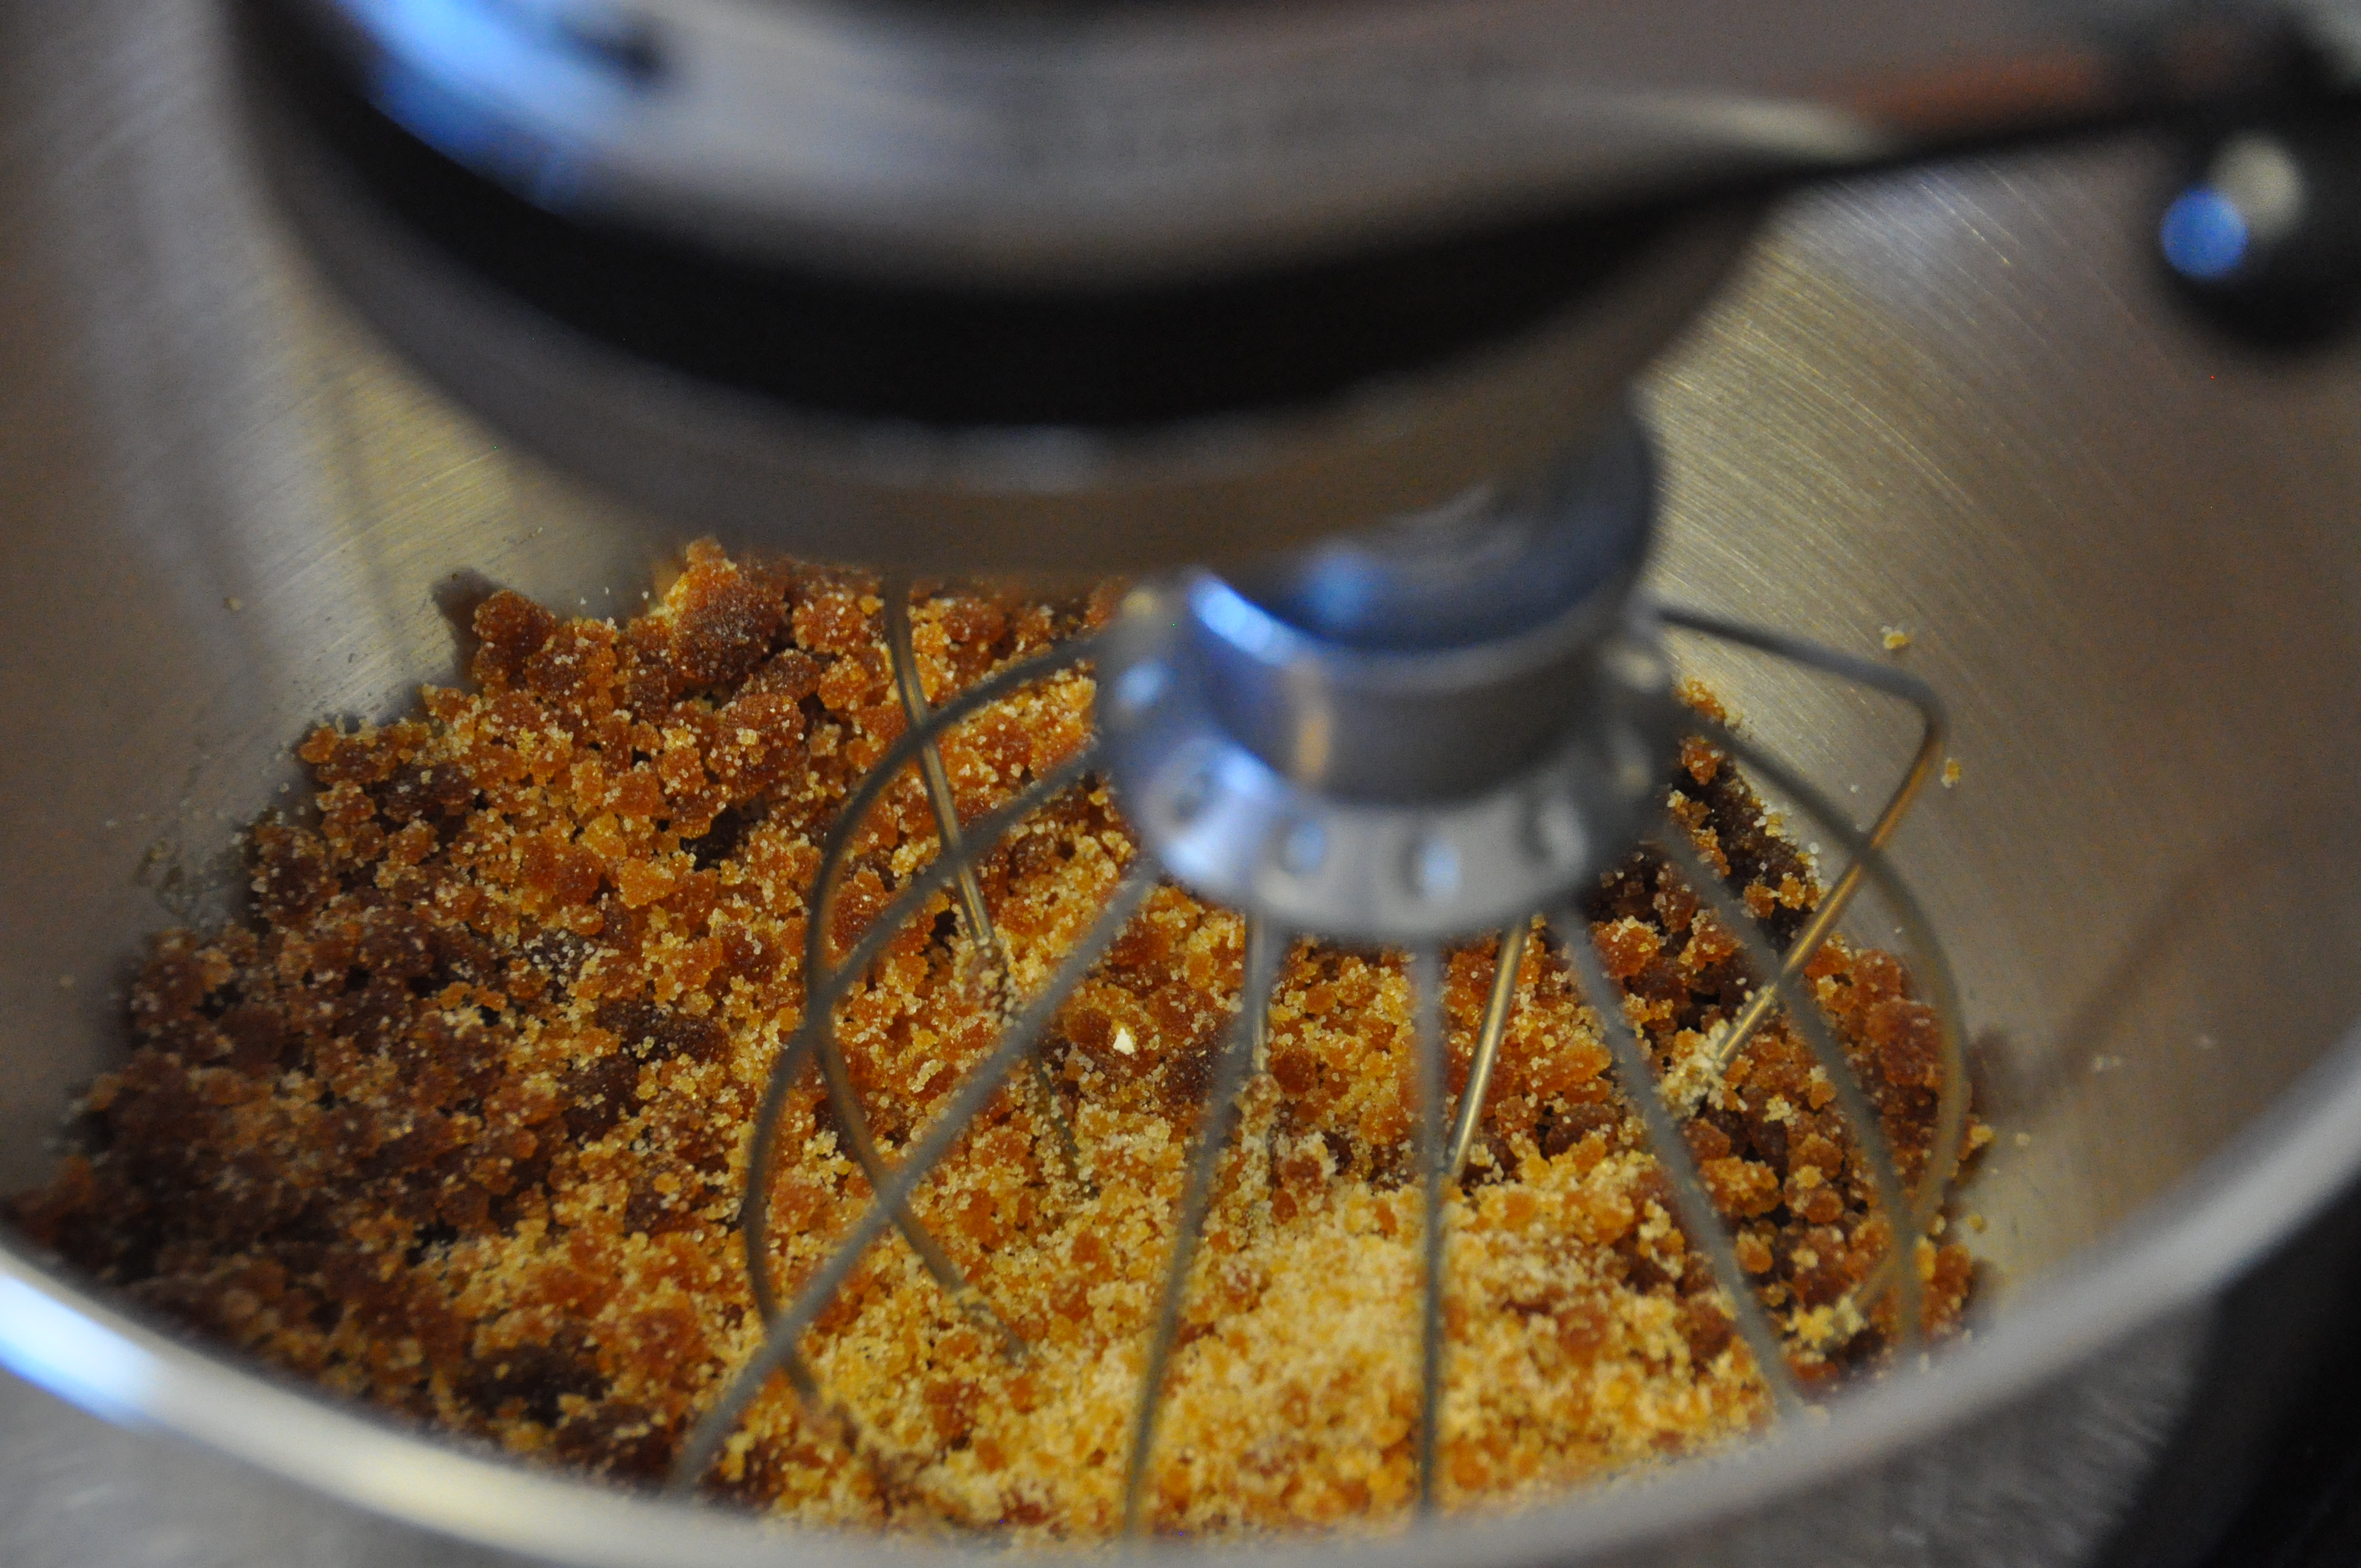
When you first start to mix the sugar and molasses, it will get a little clumpy. No fear!
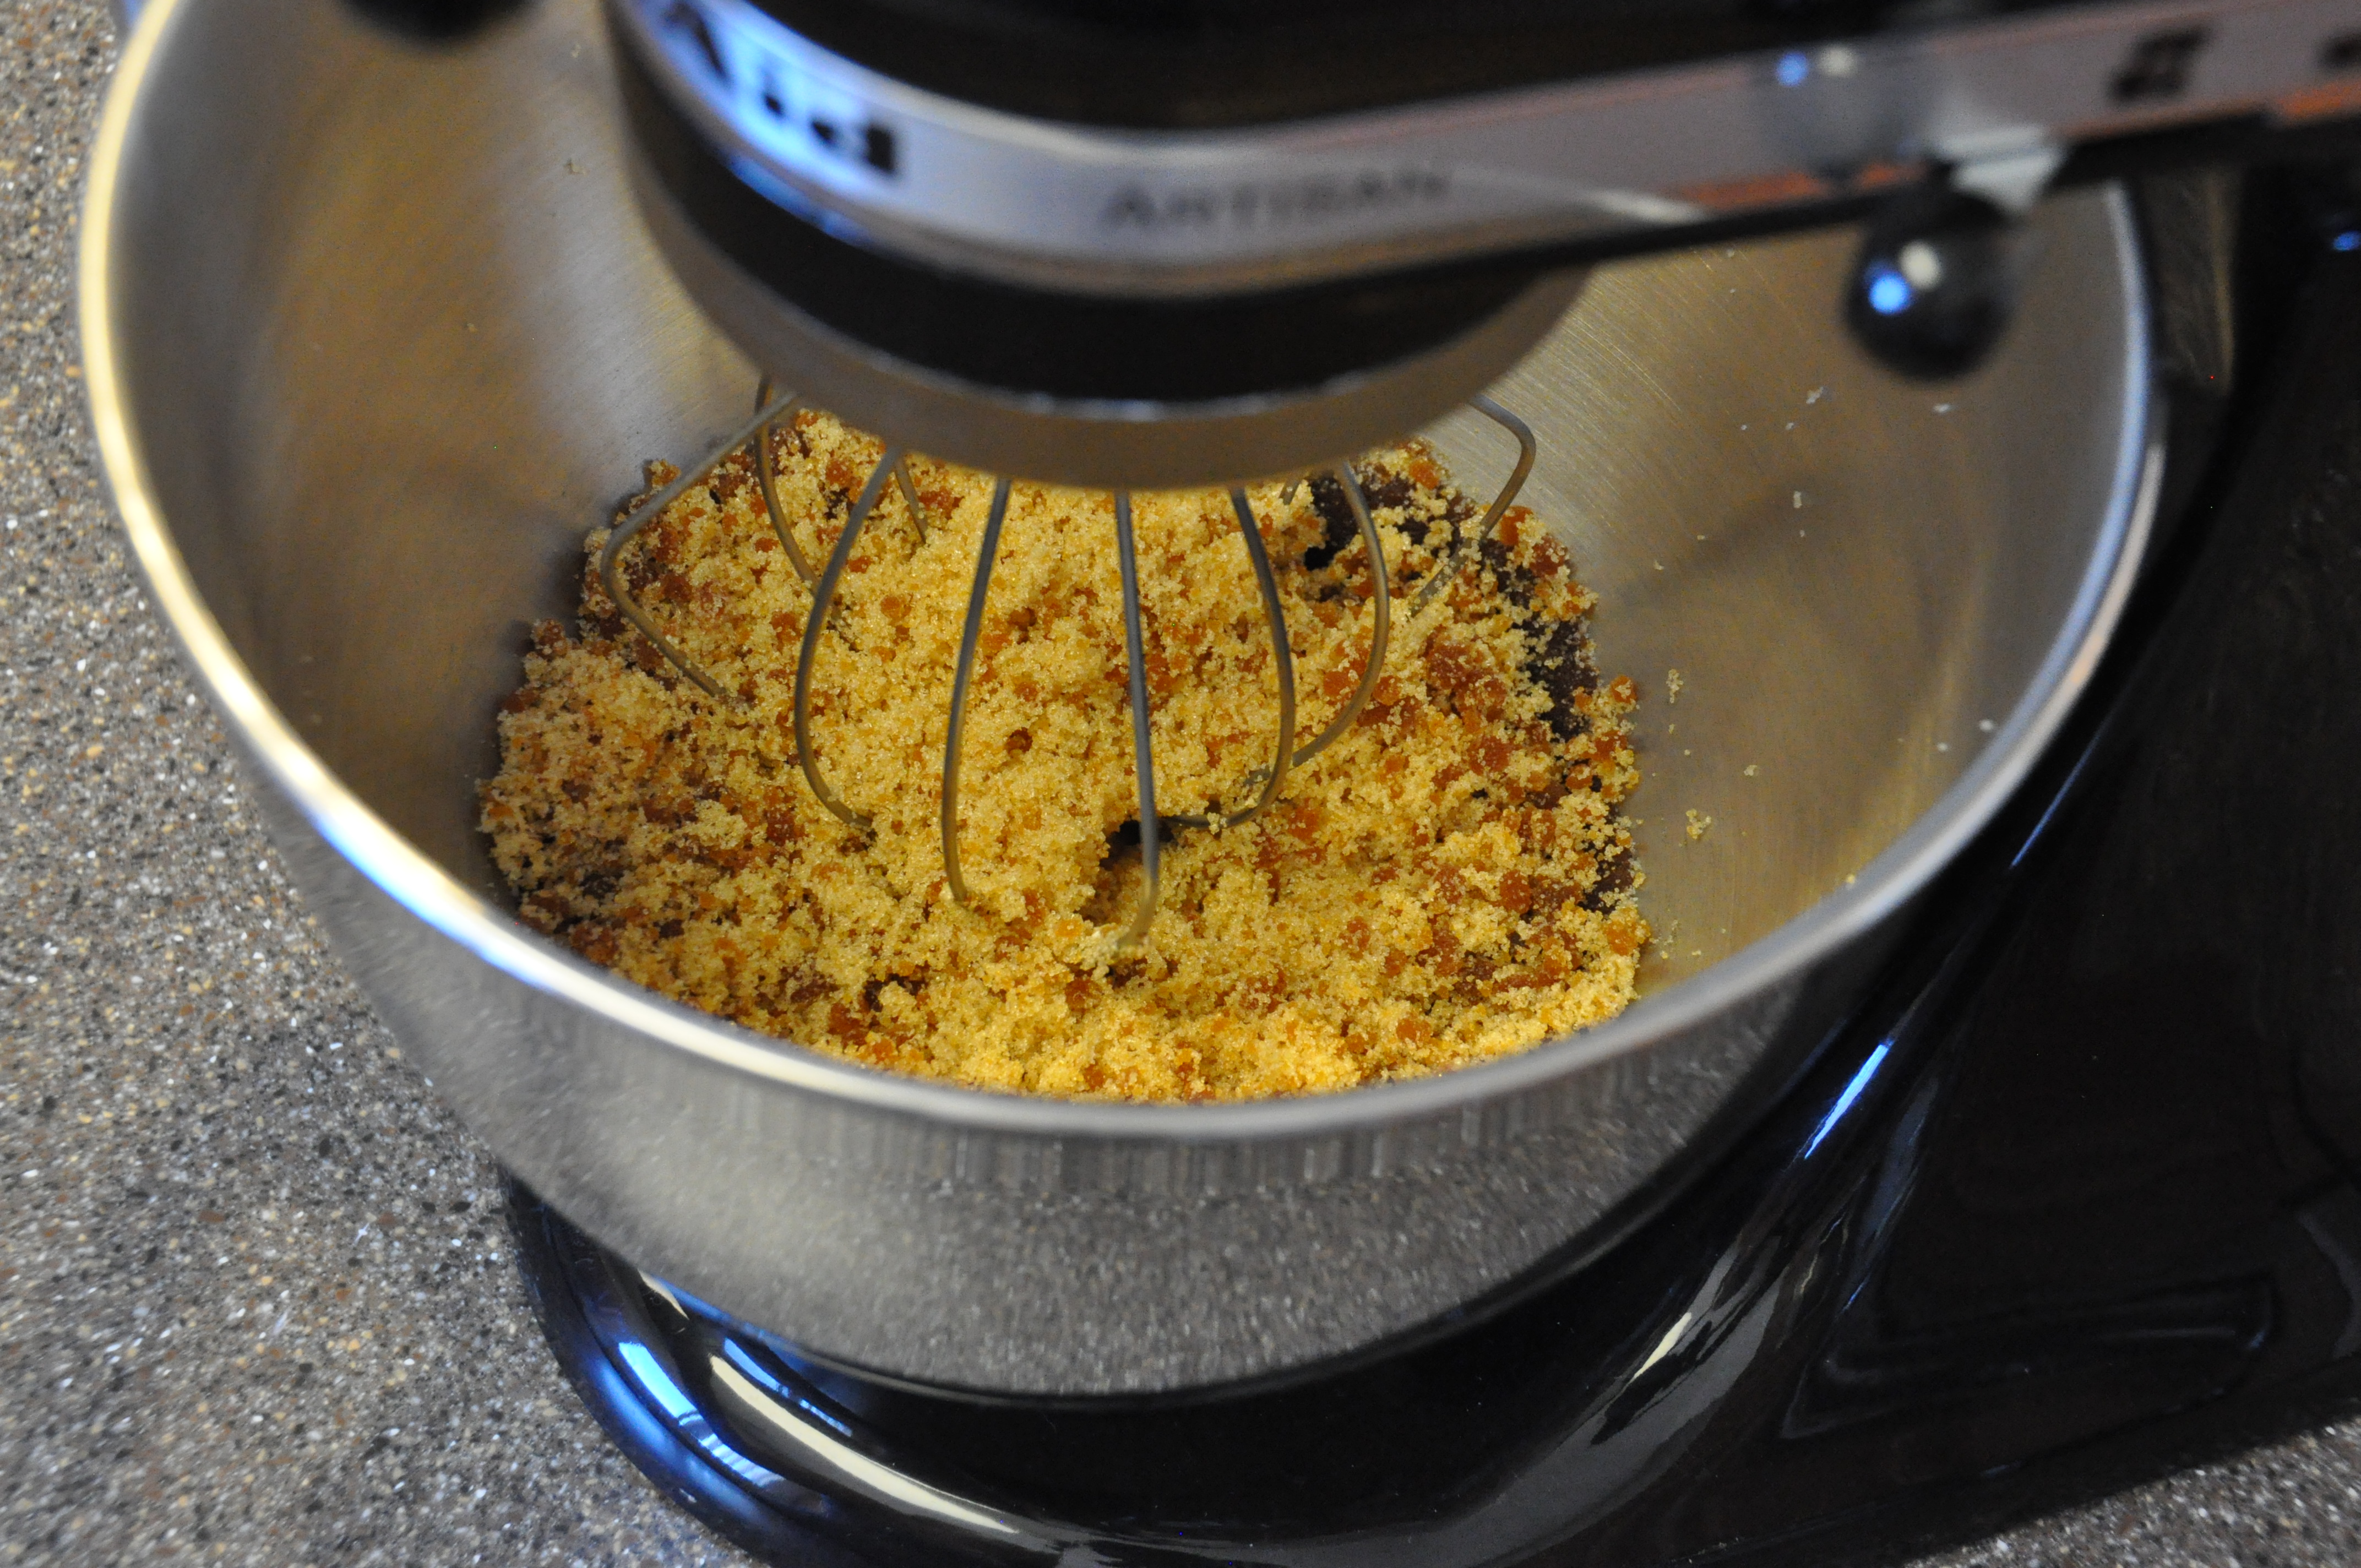
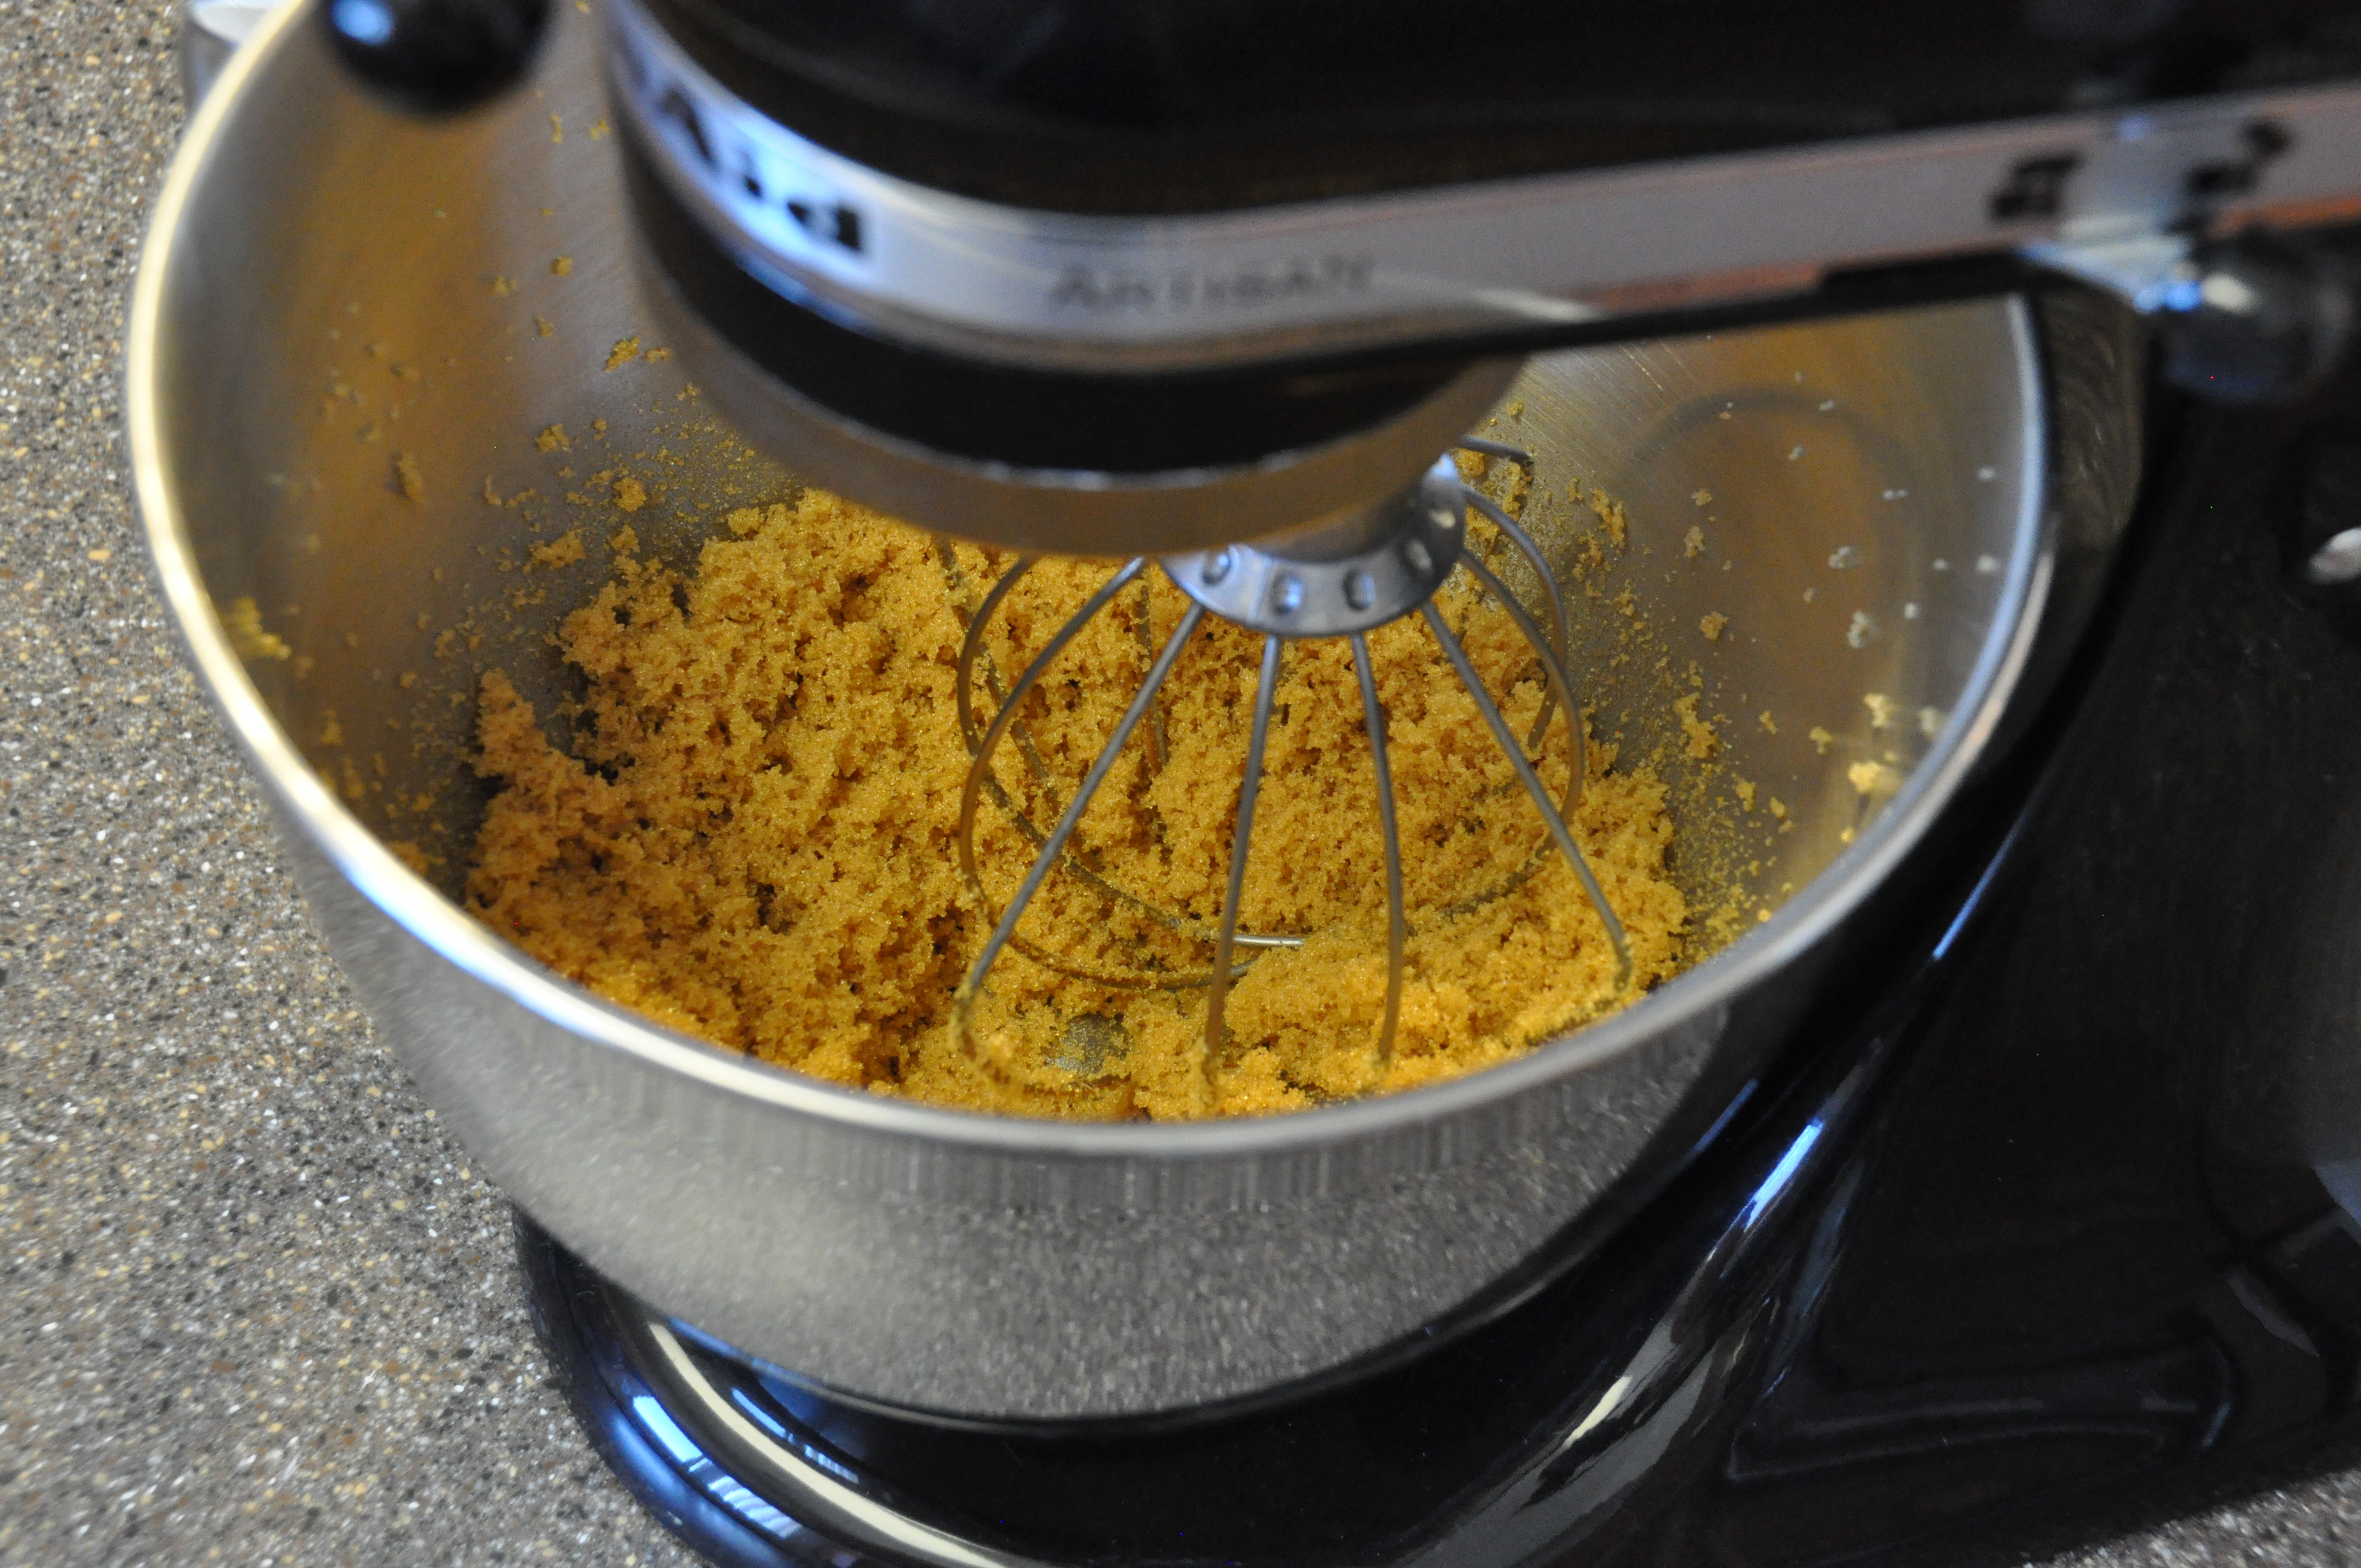
Your sugar and molasses will continue to blend together, just keeeeep mixing….. persevere
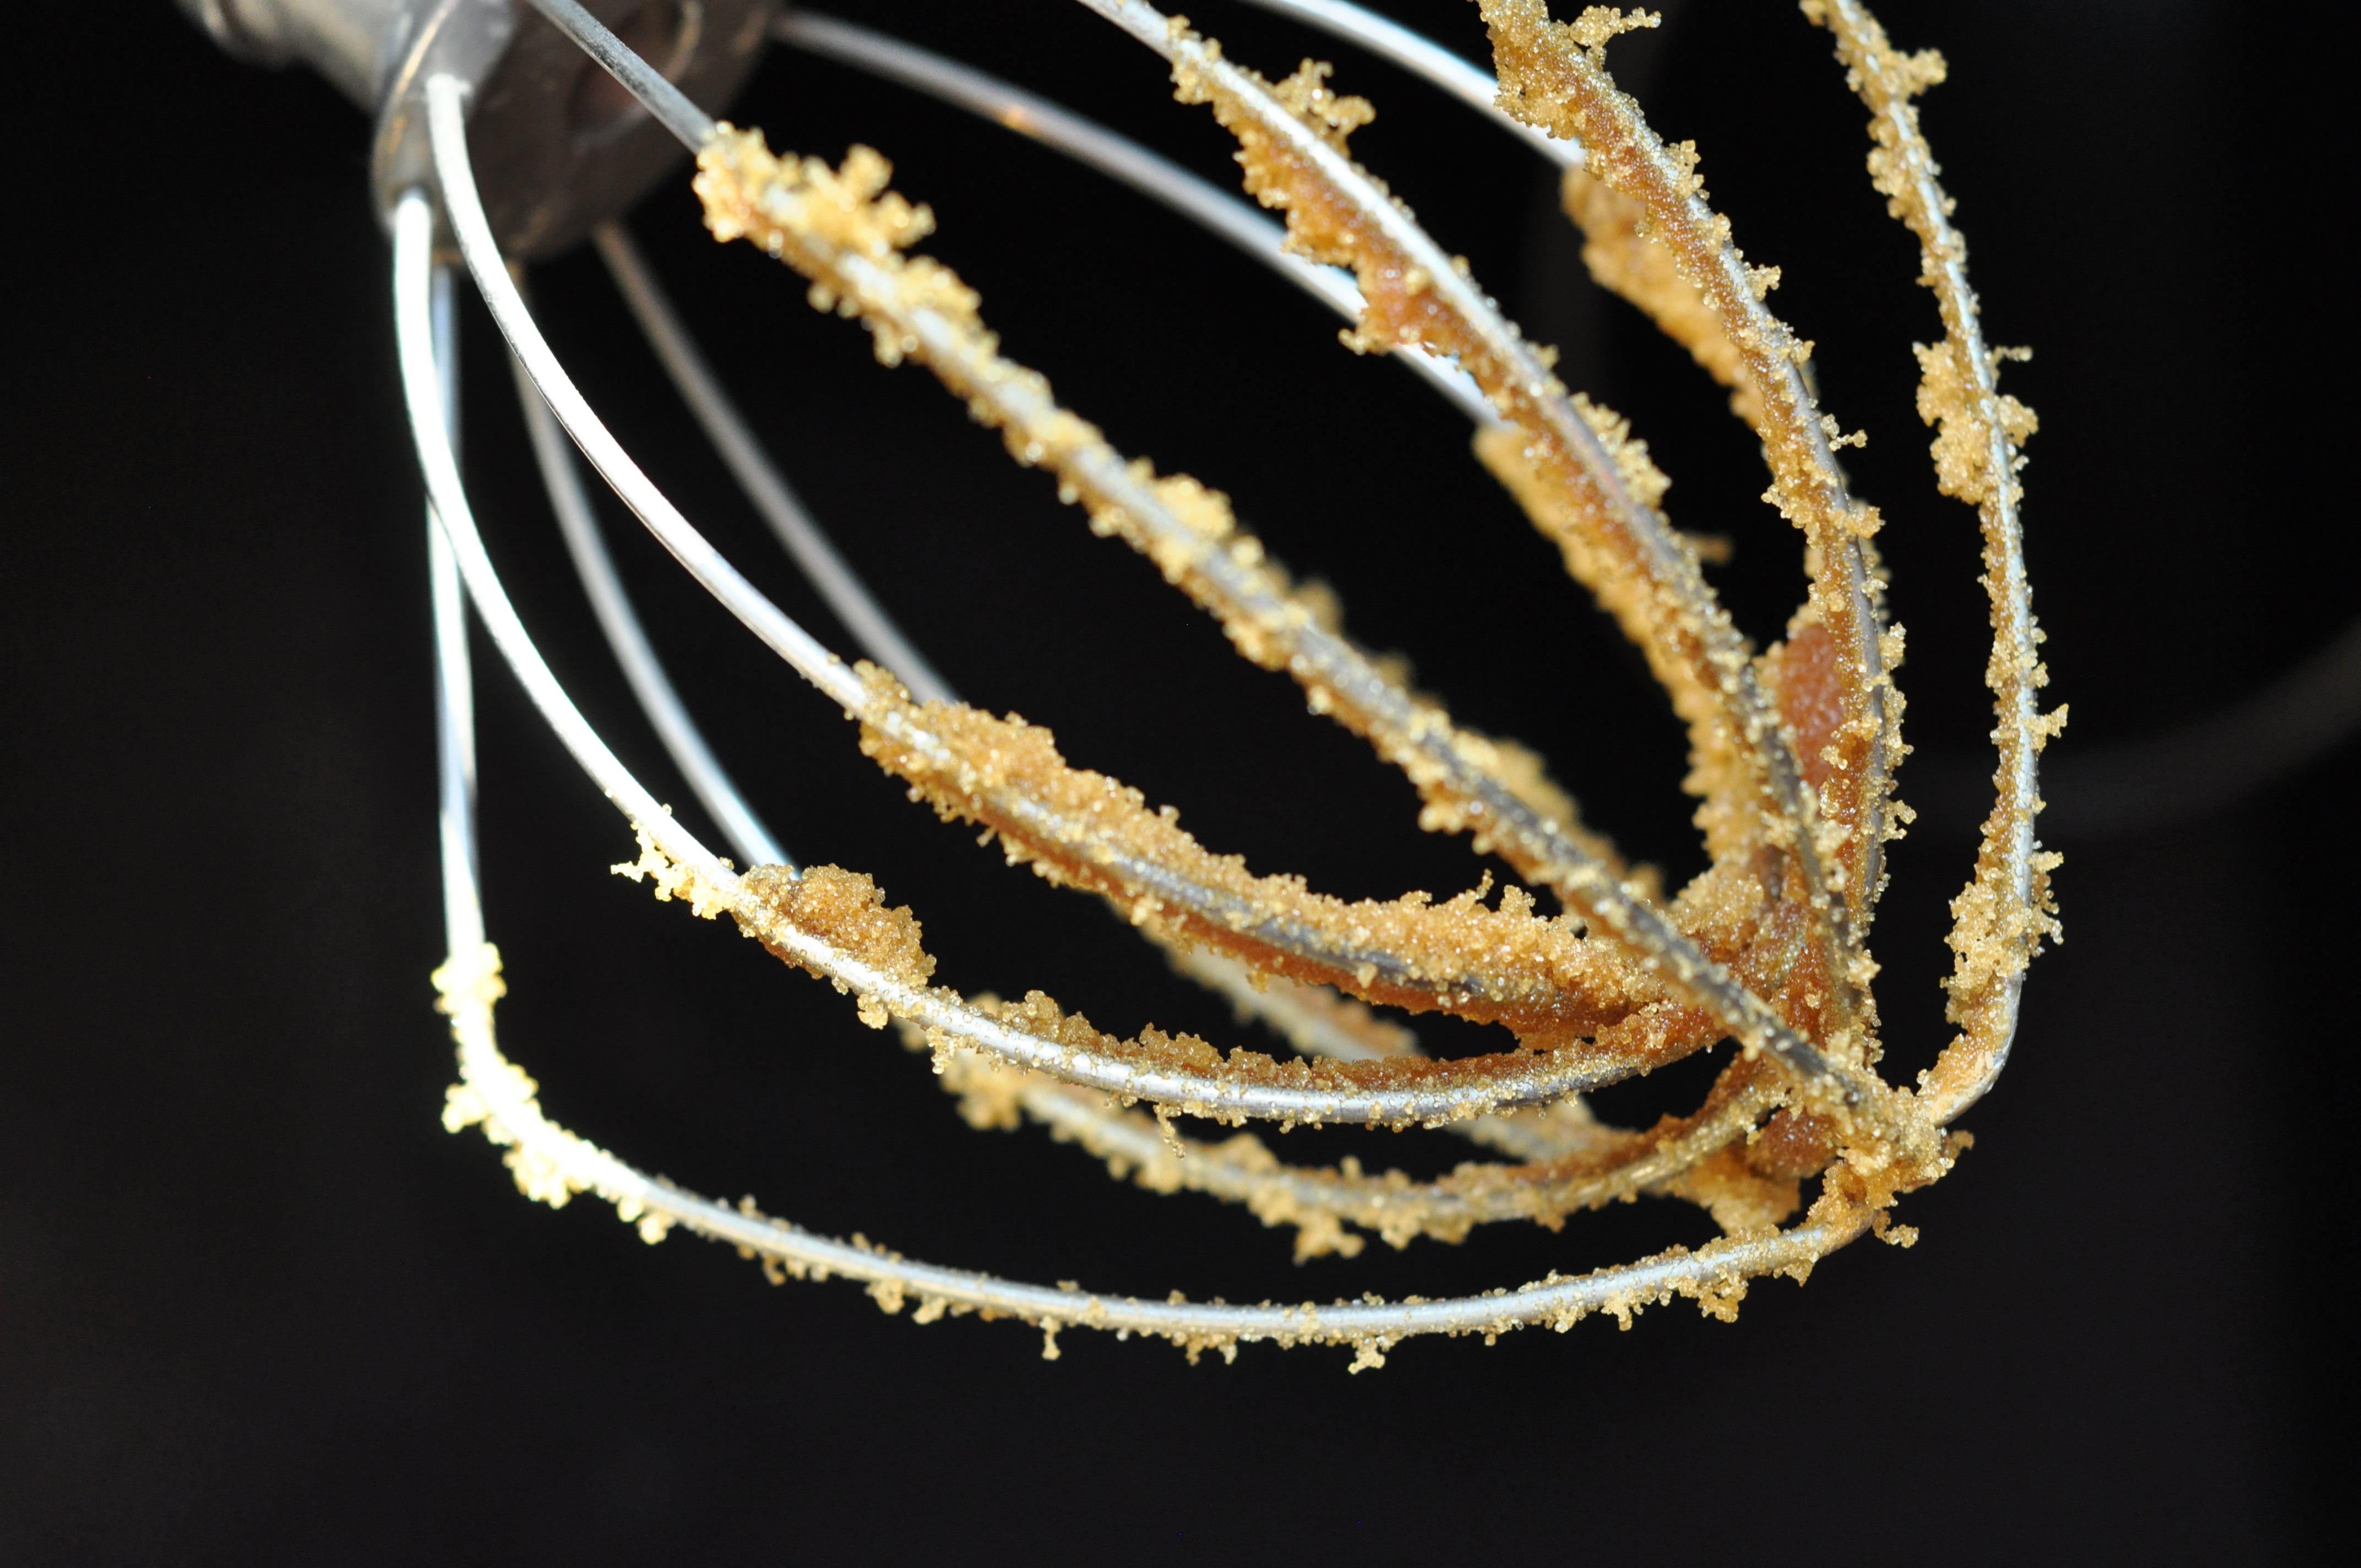
 I always lick the batter from a whisk and this was no exception. I highly recommend turning the KitchenAid off first though.
Rocky Mountain Brown Sugar
Homemade brown sugar is as easy as 1, 2, 3...literally. Sugar + molasses + mix!
Ingredients
- 1 cup sugar
- 2 Tbsp molasses
Instructions
- Combine the sugar and molasses in a mixer
- Mix on medium speed for several minutes
- Store in an airtight container
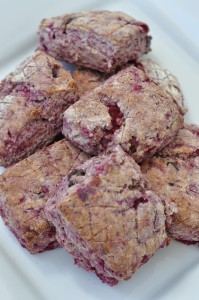
Raspberry Chocolate Scones
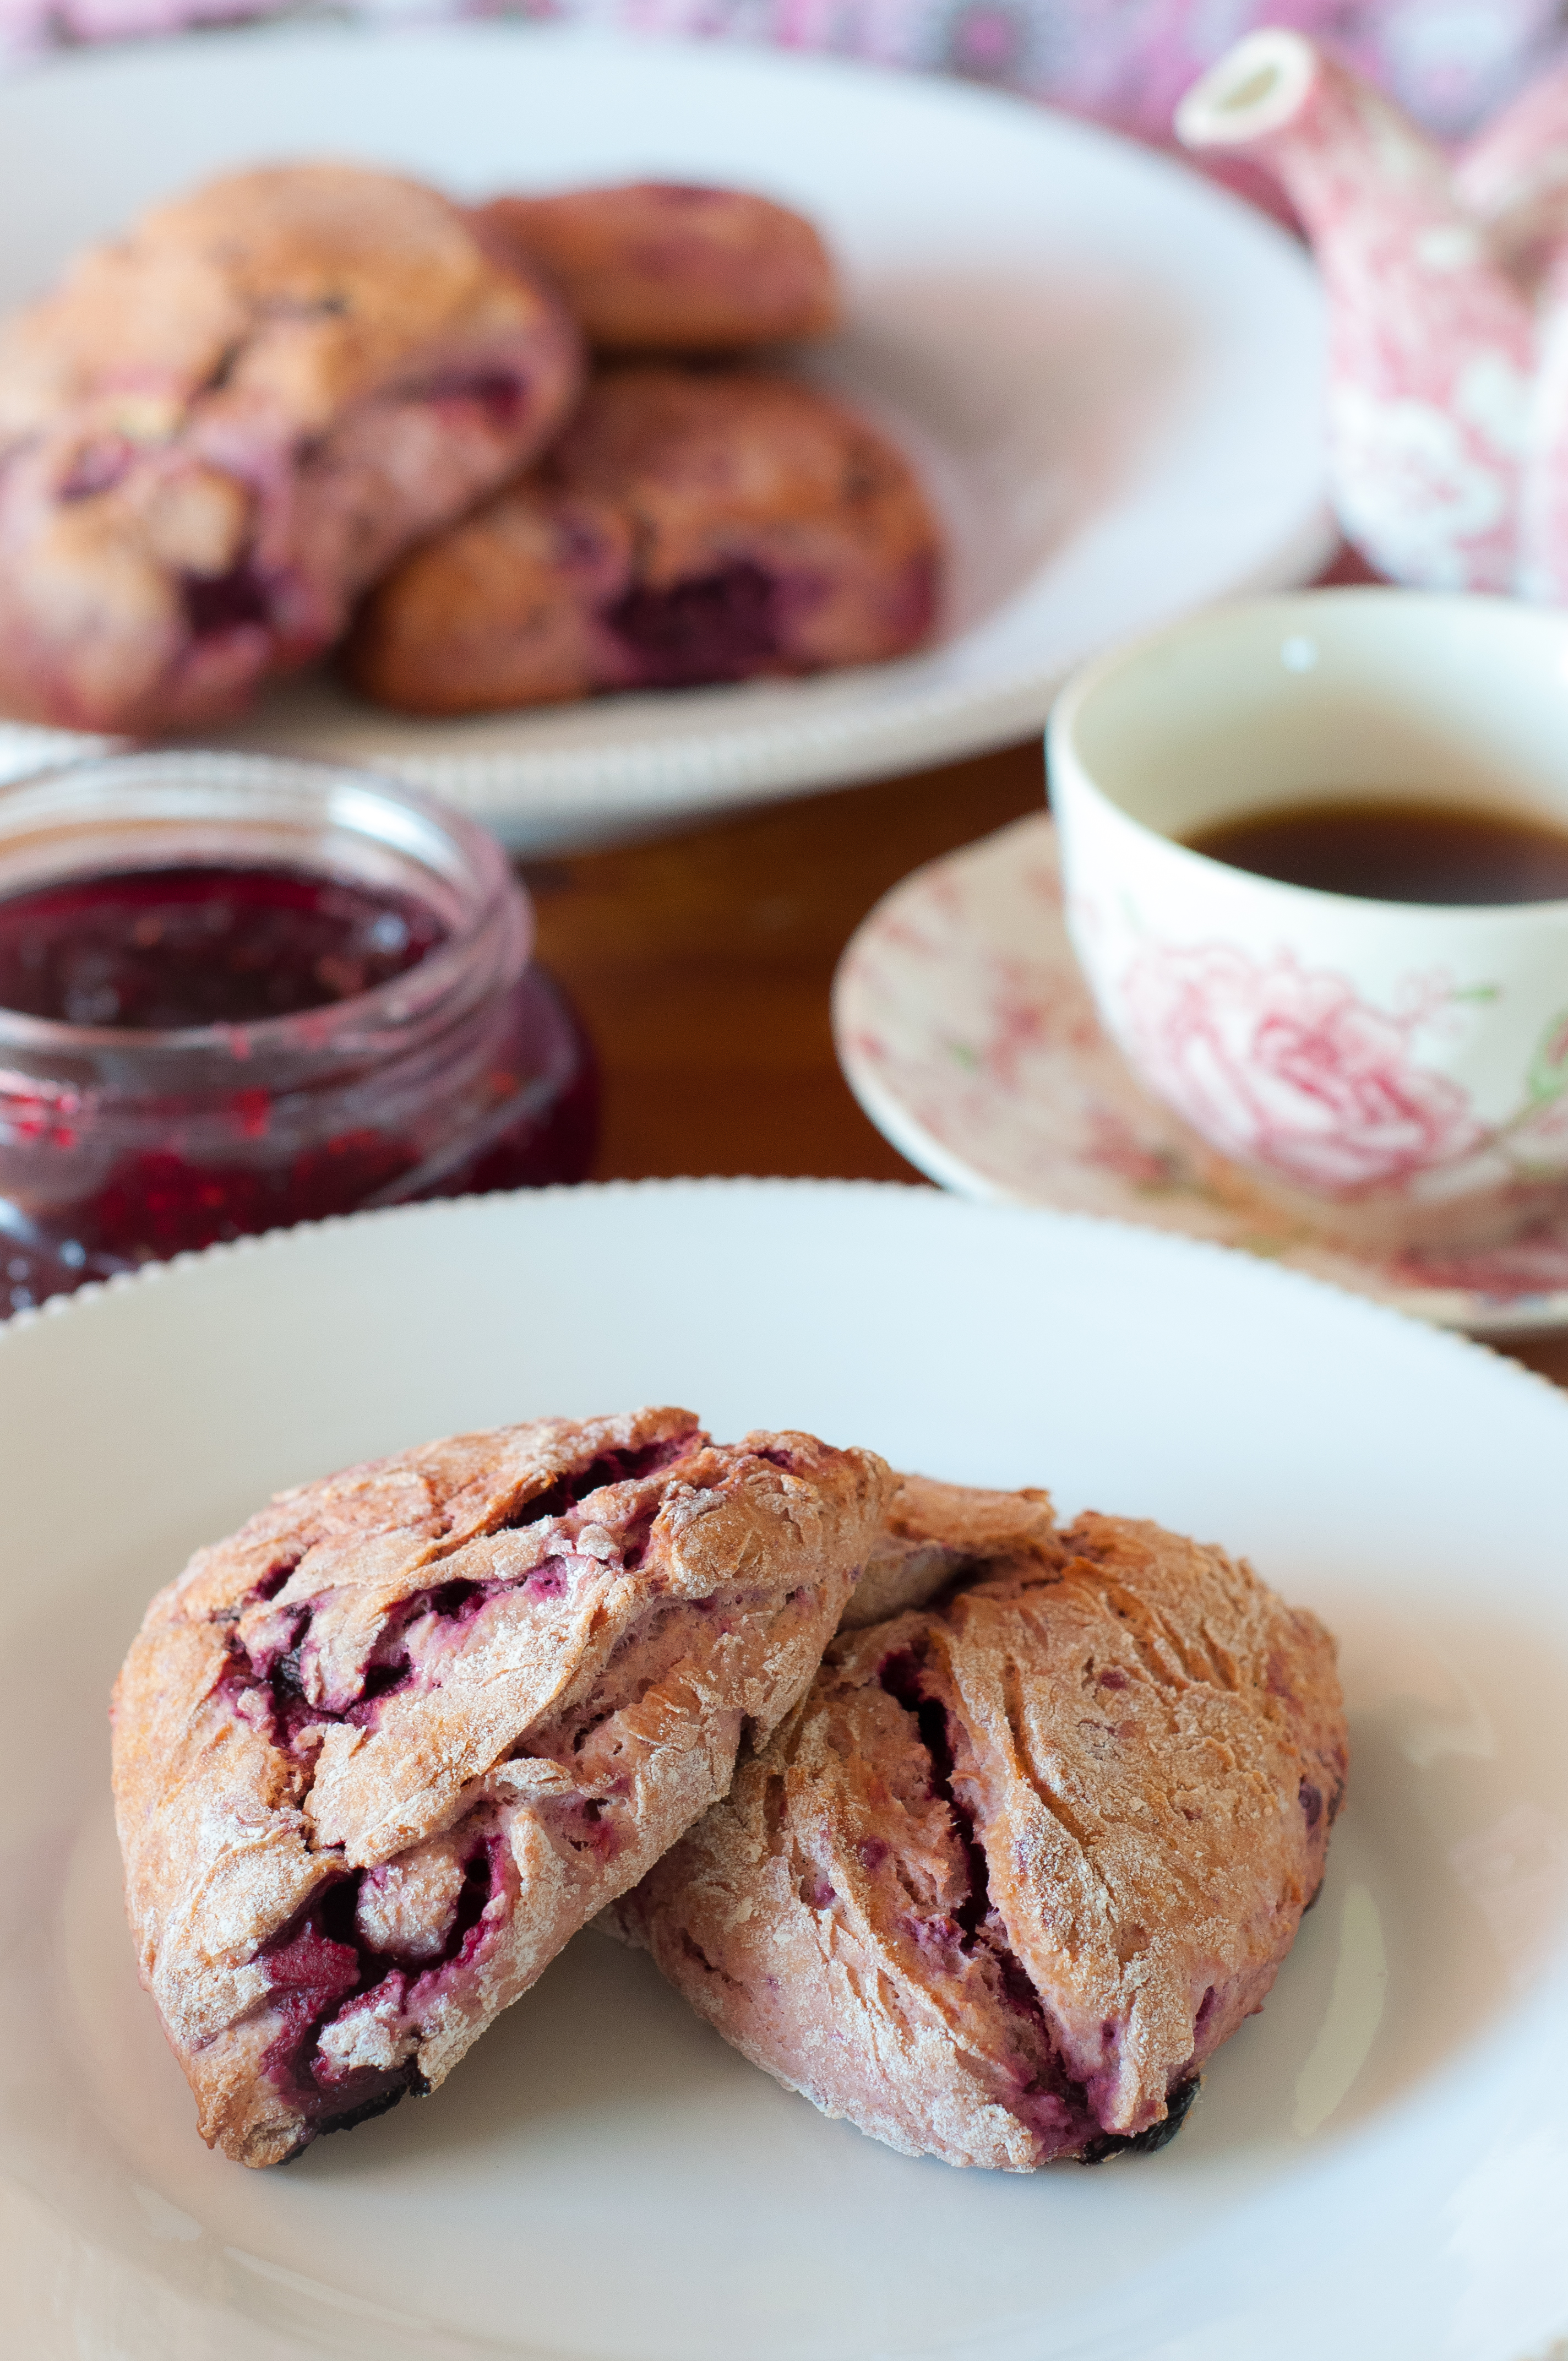

Happy Valentine’s Day! You really don’t need a special reason to make these treats though; they are so easy to make, you can have them ready in no time for breakfast or afternoon tea….or a midnight snack…
Most of the recipe is blended together in a food processor. You can blend together with a hand-held pastry mixer, if you want a pre-scone workout. The texture is light and fluffy, the taste is fresh, and these are truly easy to whip together. Mixed and baked–start to finish–in about 30 minutes!
It has become my Saturday morning routine…
Ingredients:
- 1 1/2 cups all-purpose flour
- 1/2 cup whole wheat flour
- 1 Tbs baking powder
- 1/4 cup sugar
- 1/2 tsp salt
- 6 Tbs butter (cut in slices)
- 1 cup frozen raspberries
- 1 cup ricotta
- 1/3 cup cream (or full fat buttermilk…this adds a little tang… and it’s good)
- 1/2 cup dark chocolate chips
Preheat oven to 425 degrees
Instructions:
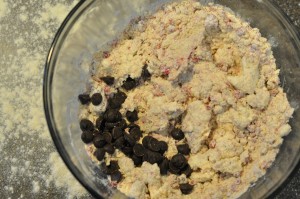
In your food processor, add flour, baking powder, sugar, salt and butter and blend until butter is in small pieces. Add frozen raspberries and pulse the mix until the raspberries are just slightly broken up.
Pour contents into a large bowl and add ricotta and cream. Mix flour mixture and wet ingredients together. Add chocolate chips. You may need to add a little more cream to get the mix to hold together.
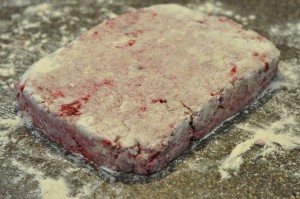
Generously flour your counter surface and place the mixture on your counter. Form a ball and lightly knead. Pat the dough into a rectangle shape about 5×7 and about 1 inch thick. Cut into 9 square shapes (or you can cut into uniformly sized triangles).
Spray a cookie sheet and bake for 15-20 minutes until lightly browned.
Cool briefly…..
These scones are absolutely gorgeous served with raspberry jam and fresh ricotta!