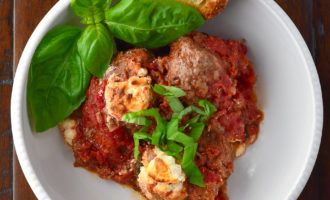
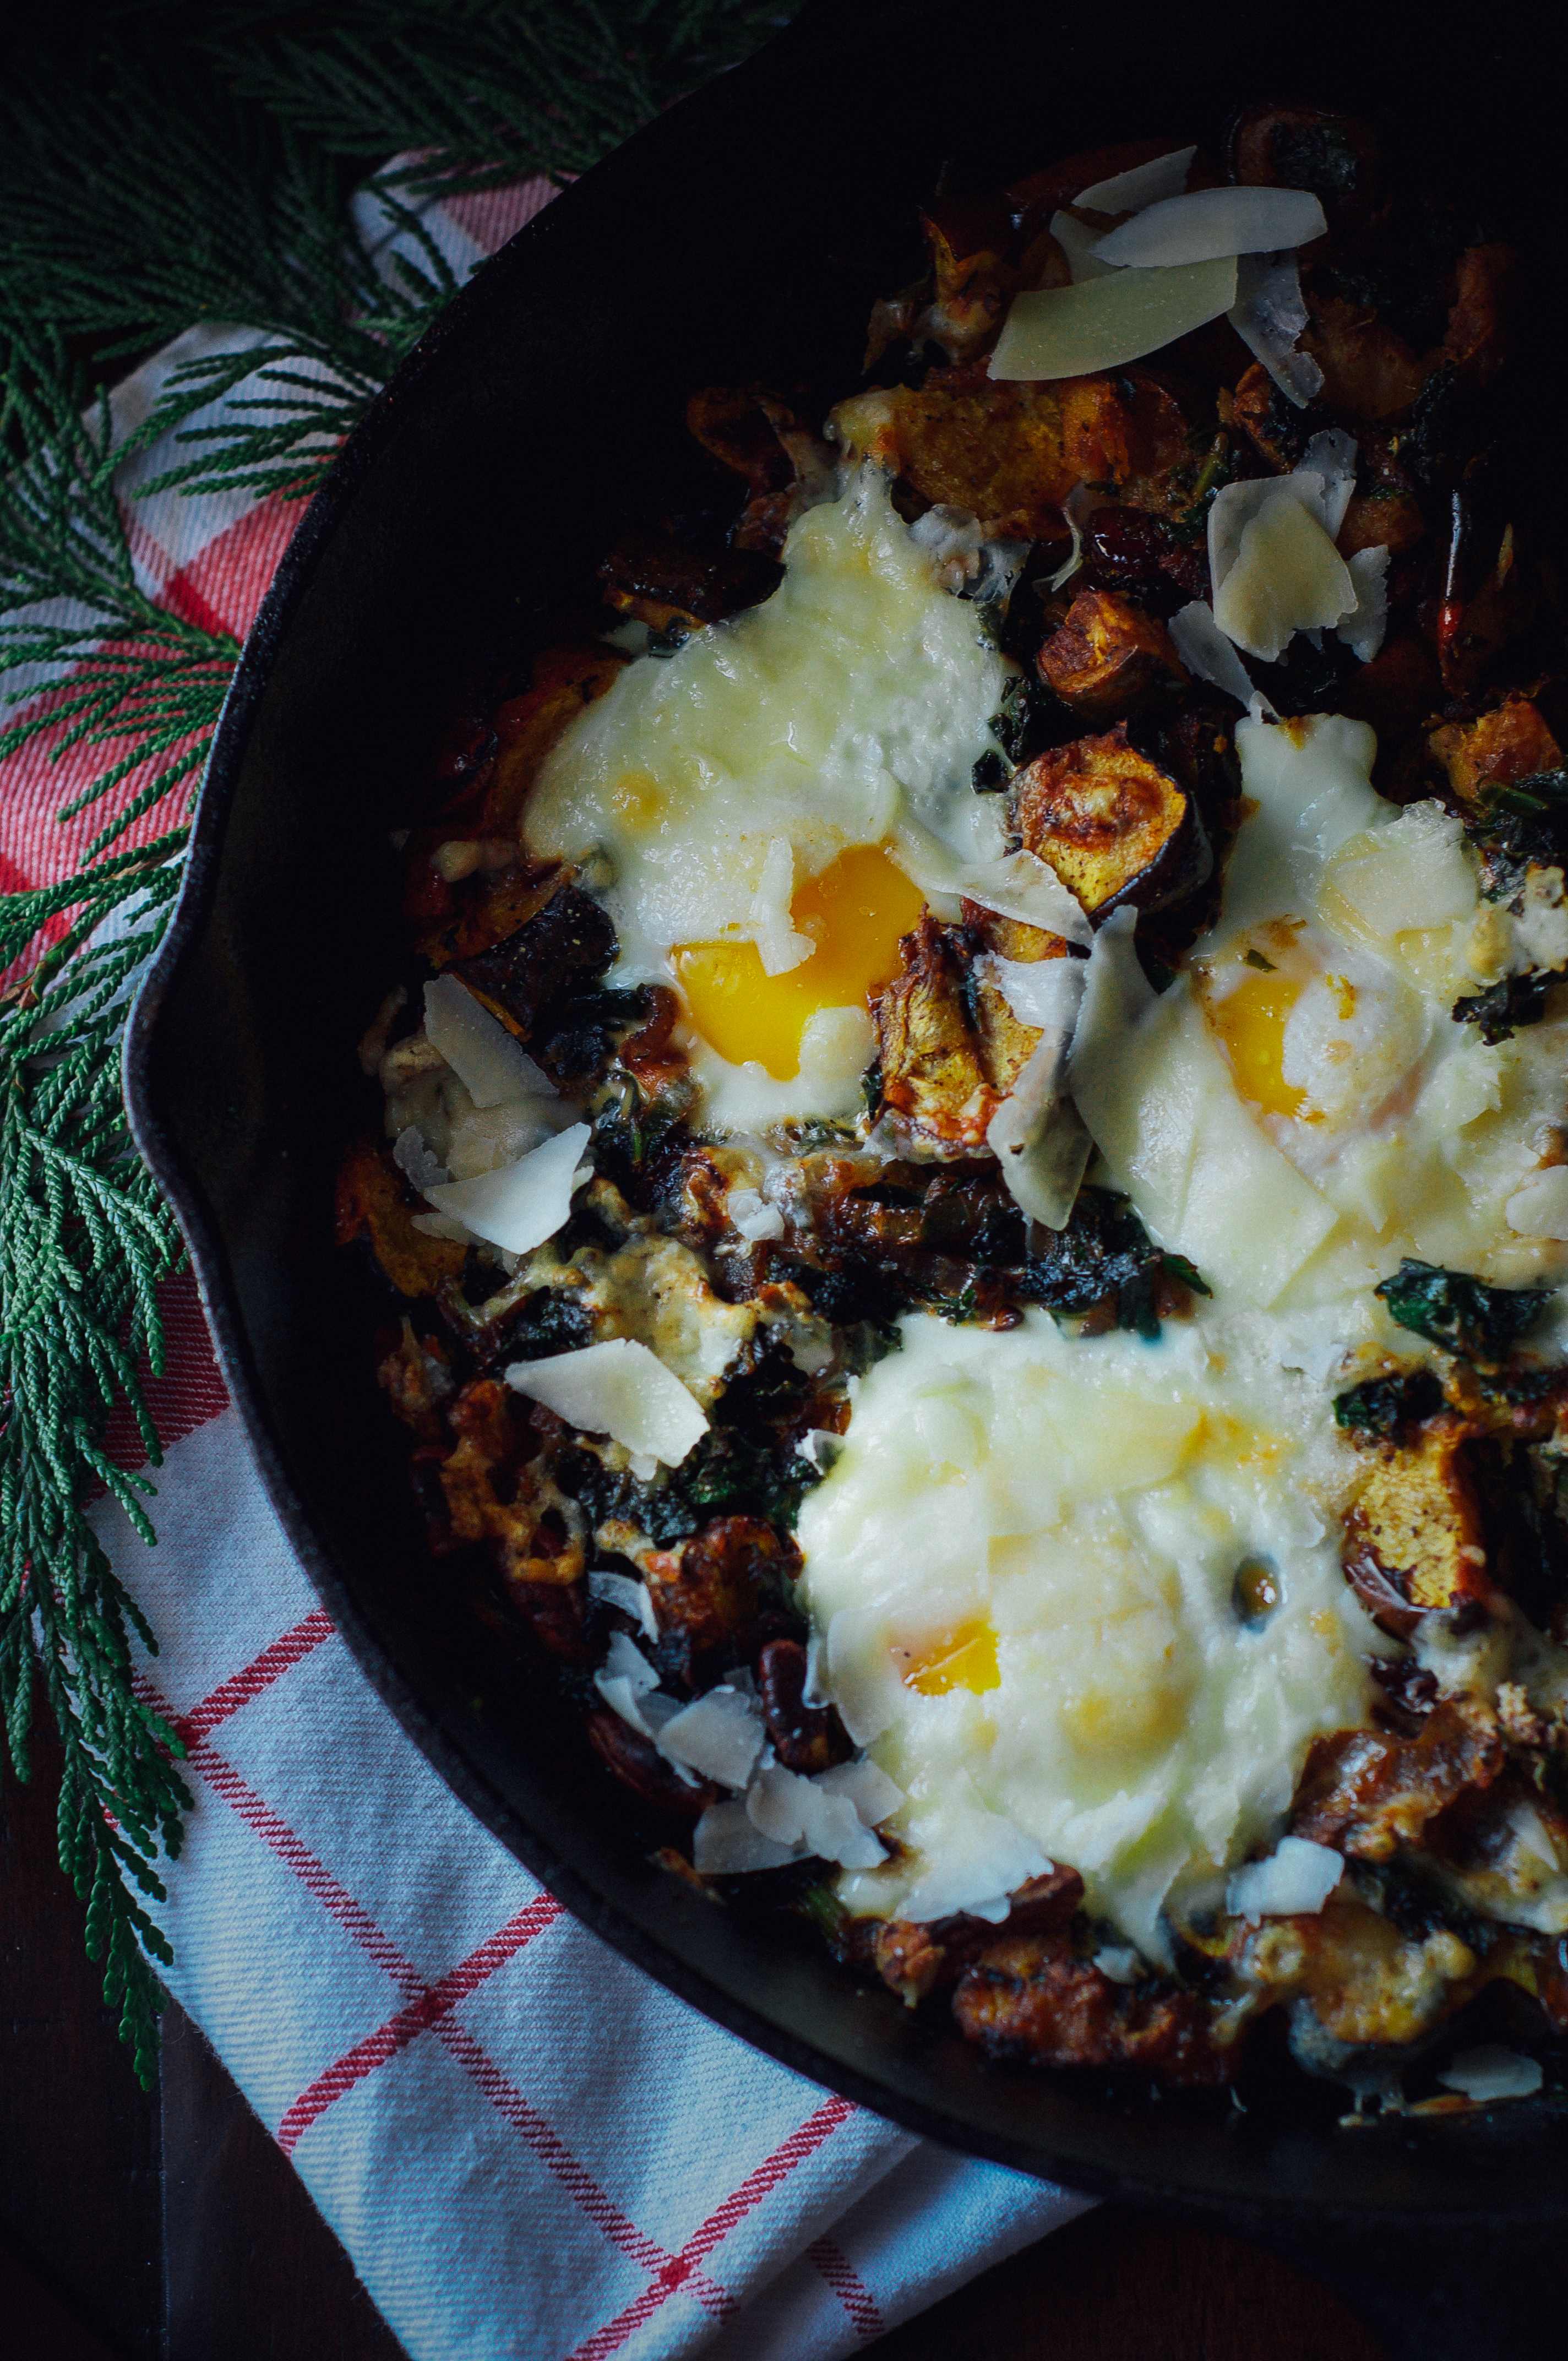
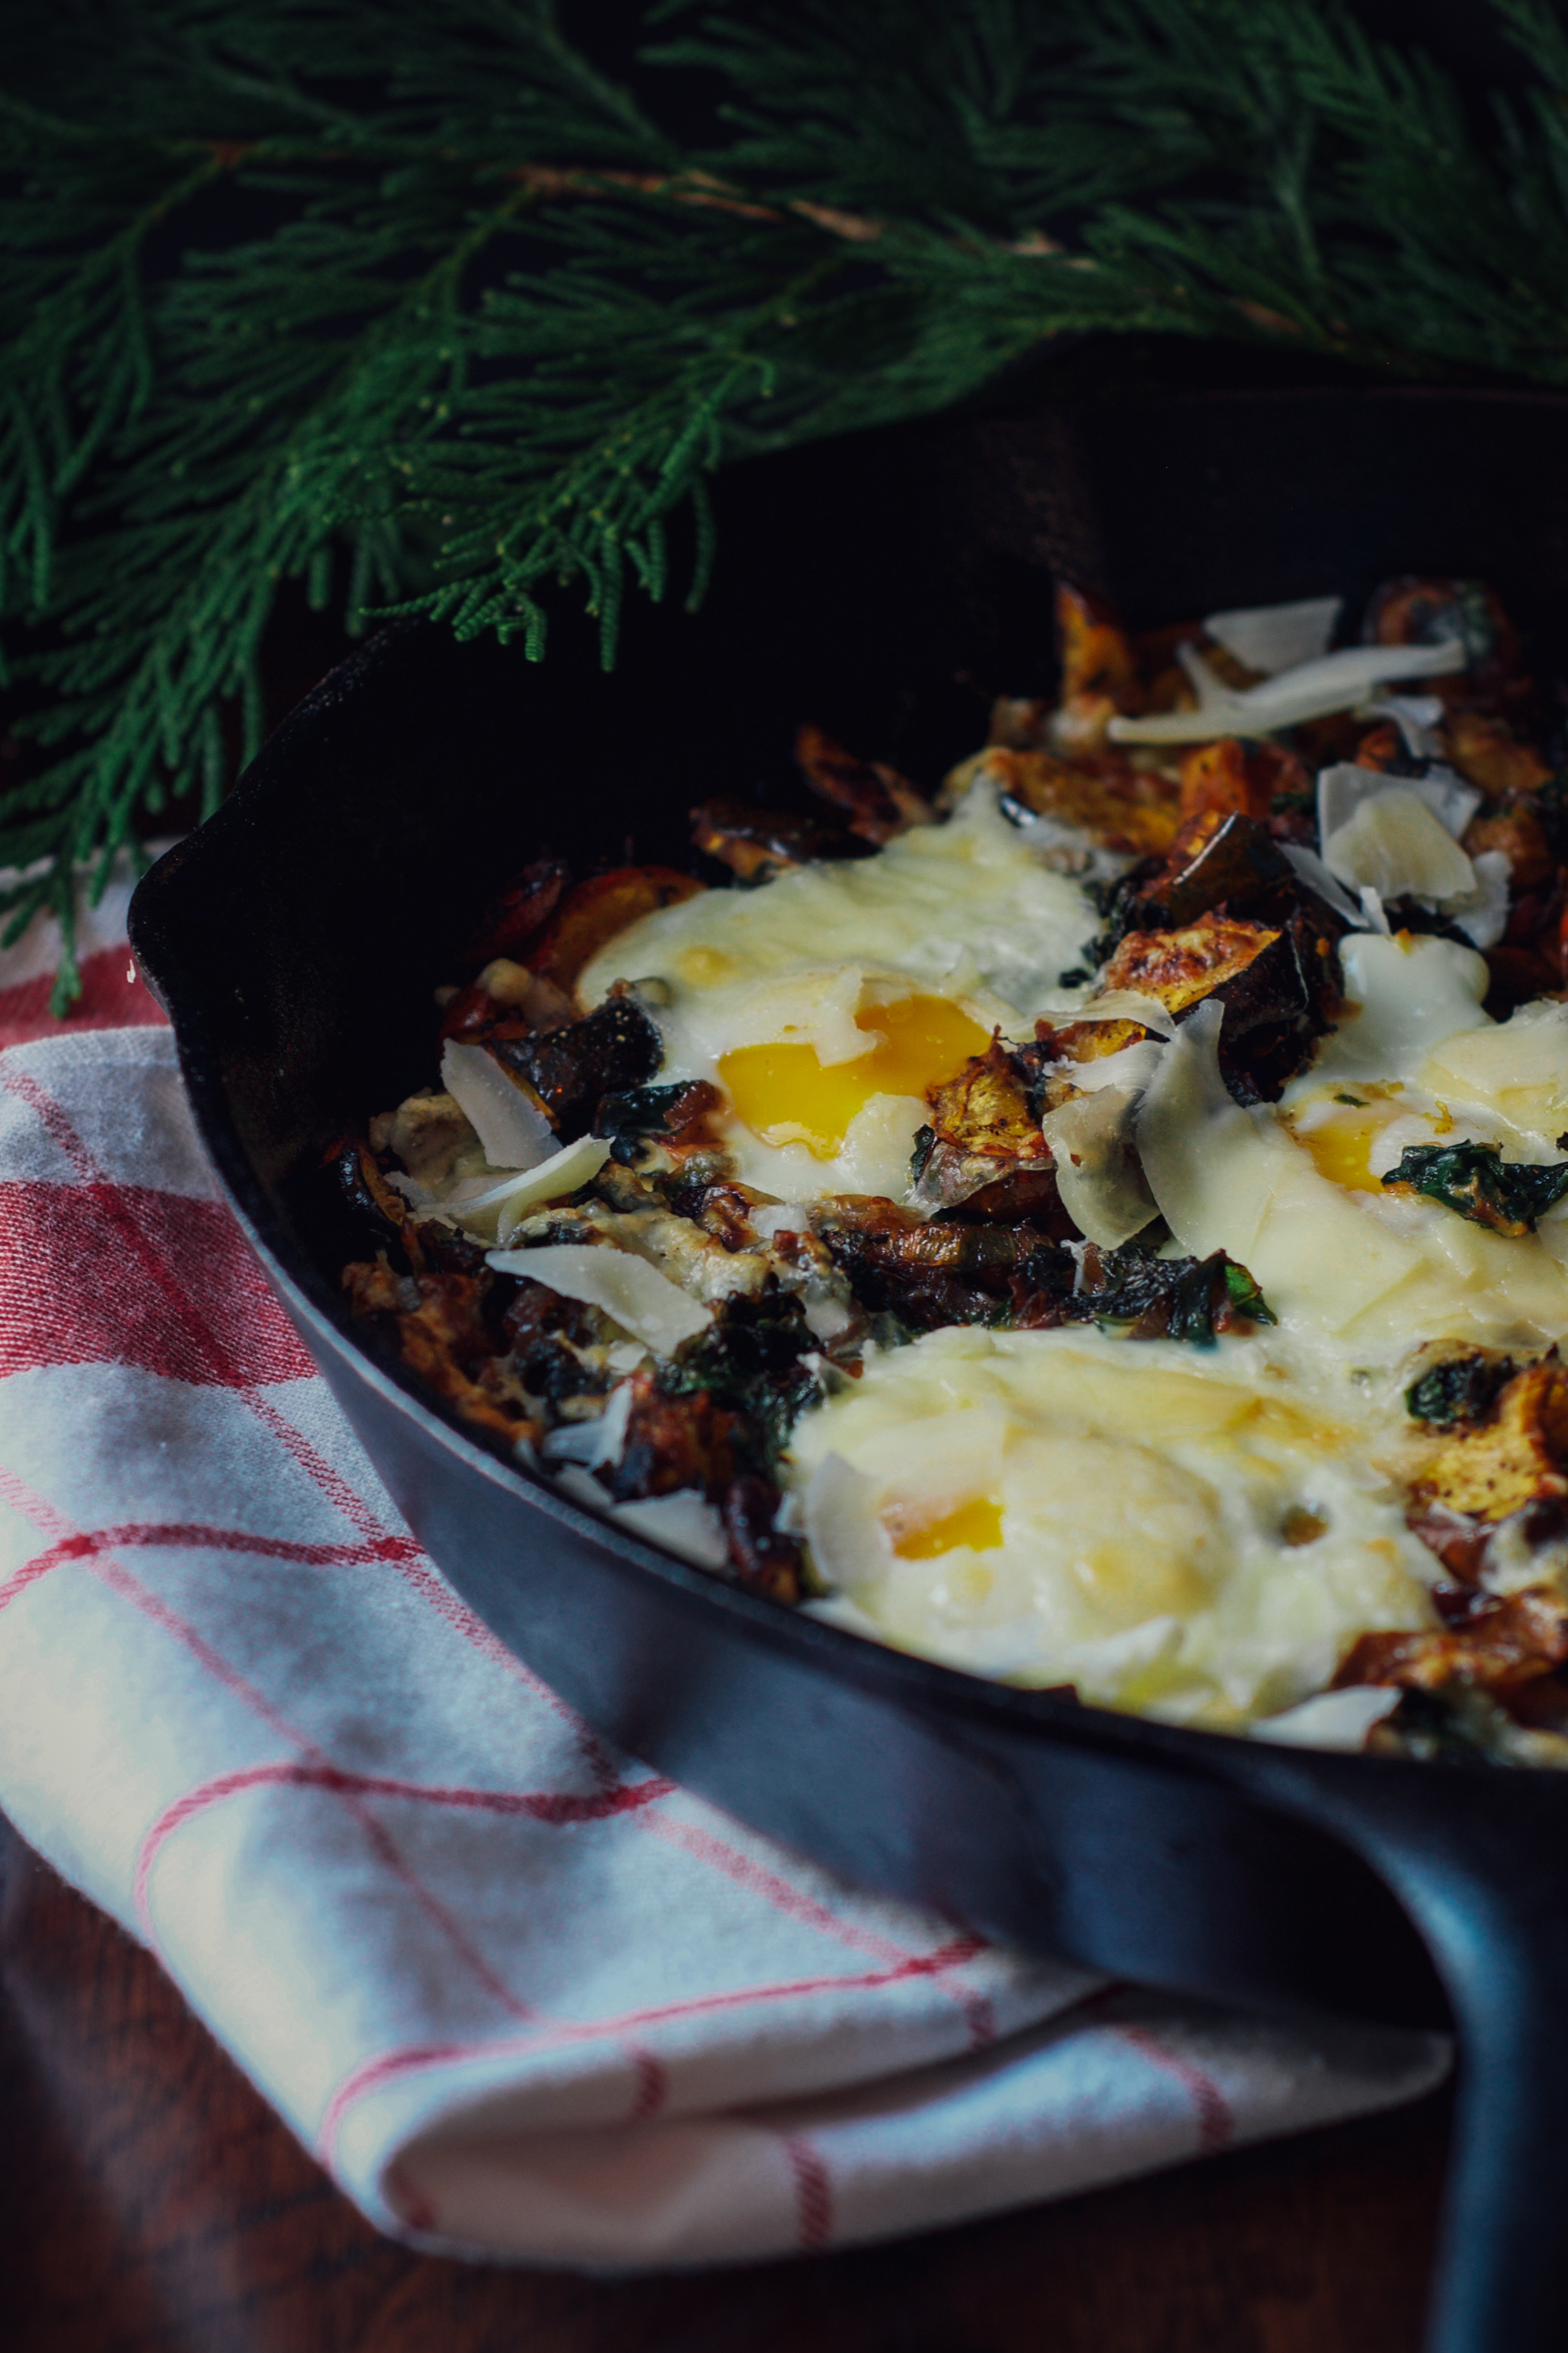
Baked Eggs with Roasted Acorn Squash & Kale
If you know me, like really know me… you know I’m an introvert (that was possibly an understatement). So, even though my California soul longs to be out, flip flops on, frolicking around on the beach with my homies,… this winter thing kinda suits my need to turn inside, go into my gal cave, stay in my jammies all day, sip my coffee slowly, get mesmerized by the twinkling lights on the Christmas tree, savor the sweetness of solitude, and just RECHARGE. So, while I resist winter with every fiber of my being, December is actually a soothing time of year for me. Beyond the obvious that is the holiday season, there is a subtle settling into a transition that transcends the autumnal shift.
Today, I woke up, rolled around in bed for two hours longer than intended, and calmly recognized it was going to be (and needed to be) one of those jammies-all-day kind of days. I threw on my big ‘ole fluffy robe, shuffled downstairs, peeked into the kitchen and knew that baked eggs in a cast iron skillet had to happen on this lingering, lazy morning.

When I discovered I had an acorn squash, one onion, kale, a carton of eggs, dried cranberries, pecans, and vegetable broth already on hand… Well, I had a moment. That sweet feeling when you delightfully discover something you weren’t expecting. Seriously, it was special. Let me mention some other ingredients: the spices. I, like you, have a cupboard stuffed full of every imaginable spice (and, oddly, I never seem to have the spices needed for a new recipe… another life mystery). But, there are two spices I keep right near the stove: Herbes de Provence and a bottle of ground Spiced Chipotle Smoked Red Jalapeños. I found it at Whole Foods. I adore it. It adds a smoky, spicy, unique flavor.
Breakfast, brunch.. this dish is a ‘good morning to you’ all day long…
- 1 large acorn squash (about 4 cups of squash), cut in 1/2 inch slices
- 1 teaspoon each of Kosher salt & ground black pepper, and 2 tablespoons olive oil (for the squash)
- 2 tablespoons of olive oil (for sautéing the onions)
- 1 medium onion, thinly sliced (about 1/4 inch slices)
- 4 cloves of fresh garlic, chopped
- 1 teaspoon Herbes de Provence
- 1/4 teaspoon ground chipotle powder
- 1 bunch curly kale cut into thin ribbons (about 5 packed cups); try to remove the big stems...
- 1/2 cup low-sodium vegetable broth
- 1/4 cup dried cranberries
- 1/4 cup pecan pieces
- 4 to 6 eggs
- 1/2 cup freshly shaved Pecorino Romano and/or Asiago cheese
- Heat the oven to 410 degrees.
- While the oven is pre-heating, thoroughly wash the acorn squash and cut into 1/2 inch slices. I typically start cutting from the end and then when I reach the center with the seeds, I scoop them out. I'll often slice a side off the acorn squash so I can lay it flat and then cut the slices a little easier. You can leave the rind on or cut it away from the "flesh." I opt to leave it on because the roasting makes it tender and it gives a great texture to the dish.
- Lay the acorn squash slices flat on a large sheet pan, drizzle with about 2 tablespoons of olive oil and sprinkle with about 1 teaspoon of Kosher salt and 1 teaspoon of ground pepper. Roast the squash slices for 20-25 minutes in the 410 degree oven. Halfway through the roasting, flip the squash slices over on the pan with a spatula.
- Meanwhile, while the squash is roasting, heat 2 tablespoons of olive oil in a large skillet on medium-high heat (a cast iron skillet works beautifully, since you'll be broiling the eggs at the end--in the oven--in your gorgeous, big skillet). Sauté the onion slices for 20-25 minutes (about the same time the squash is roasting). Season the onions with salt & pepper to taste and 1 teaspoon of Herbes de Provence. Watch the onions so they don't burn; if they start to get too dark, turn the heat down to medium so they can caramelize a bit. After 15 minutes, add the roughly chopped garlic cloves.
- After the onions have caramelized, add the thinly sliced kale to the skillet (about 2 cups at a time). After you add the first 2 cups of kale, pour 1/4 cup of the vegetable broth and let the kale cook until it just softens. Stir a bit and then add 2 more cups of kale, 1/4 cup of broth, 1/4 teaspoon of the chipotle powder, and simmer until the kale softens. Add the cranberries and pecan pieces, simmer and stir for 2 minutes. Add the final cup of kale and stir the onions, kale, cranberries and pecans in the skillet and let it simmer for a few minutes on medium heat.
- Remove the roasted squash from the oven. Cancel the bake setting and turn on the broiler in the oven. Move the rack in the oven (with an oven mitt!) so it is about 6 inches under the broiler. Take the roasted squash slices and place them in the skillet. You can "cut" the slices into smaller chunks with your spatula in the skillet, but be careful not to stir the mixture too aggressively or the squash will break apart and get mushy.
- Take the back of a spoon and press 4 - 6 wells into the squash/kale/onion mixture. Crack an egg into each of the wells and lightly sprinkle with salt and pepper. Sprinkle half the shaved cheese on top of the eggs and squash mixture. Carefully, place the skillet in the oven and broil for 4-5 minutes until the egg whites have set, but the yolks are still runny. Keep an eye on the eggs, they will go from 'just set' to cooked yolks very quickly. When you remove the skillet from the oven, sprinkle the other half of the shaved cheese on top of the dish.
- Serve immediately with buttered toast or toasted pita bread.
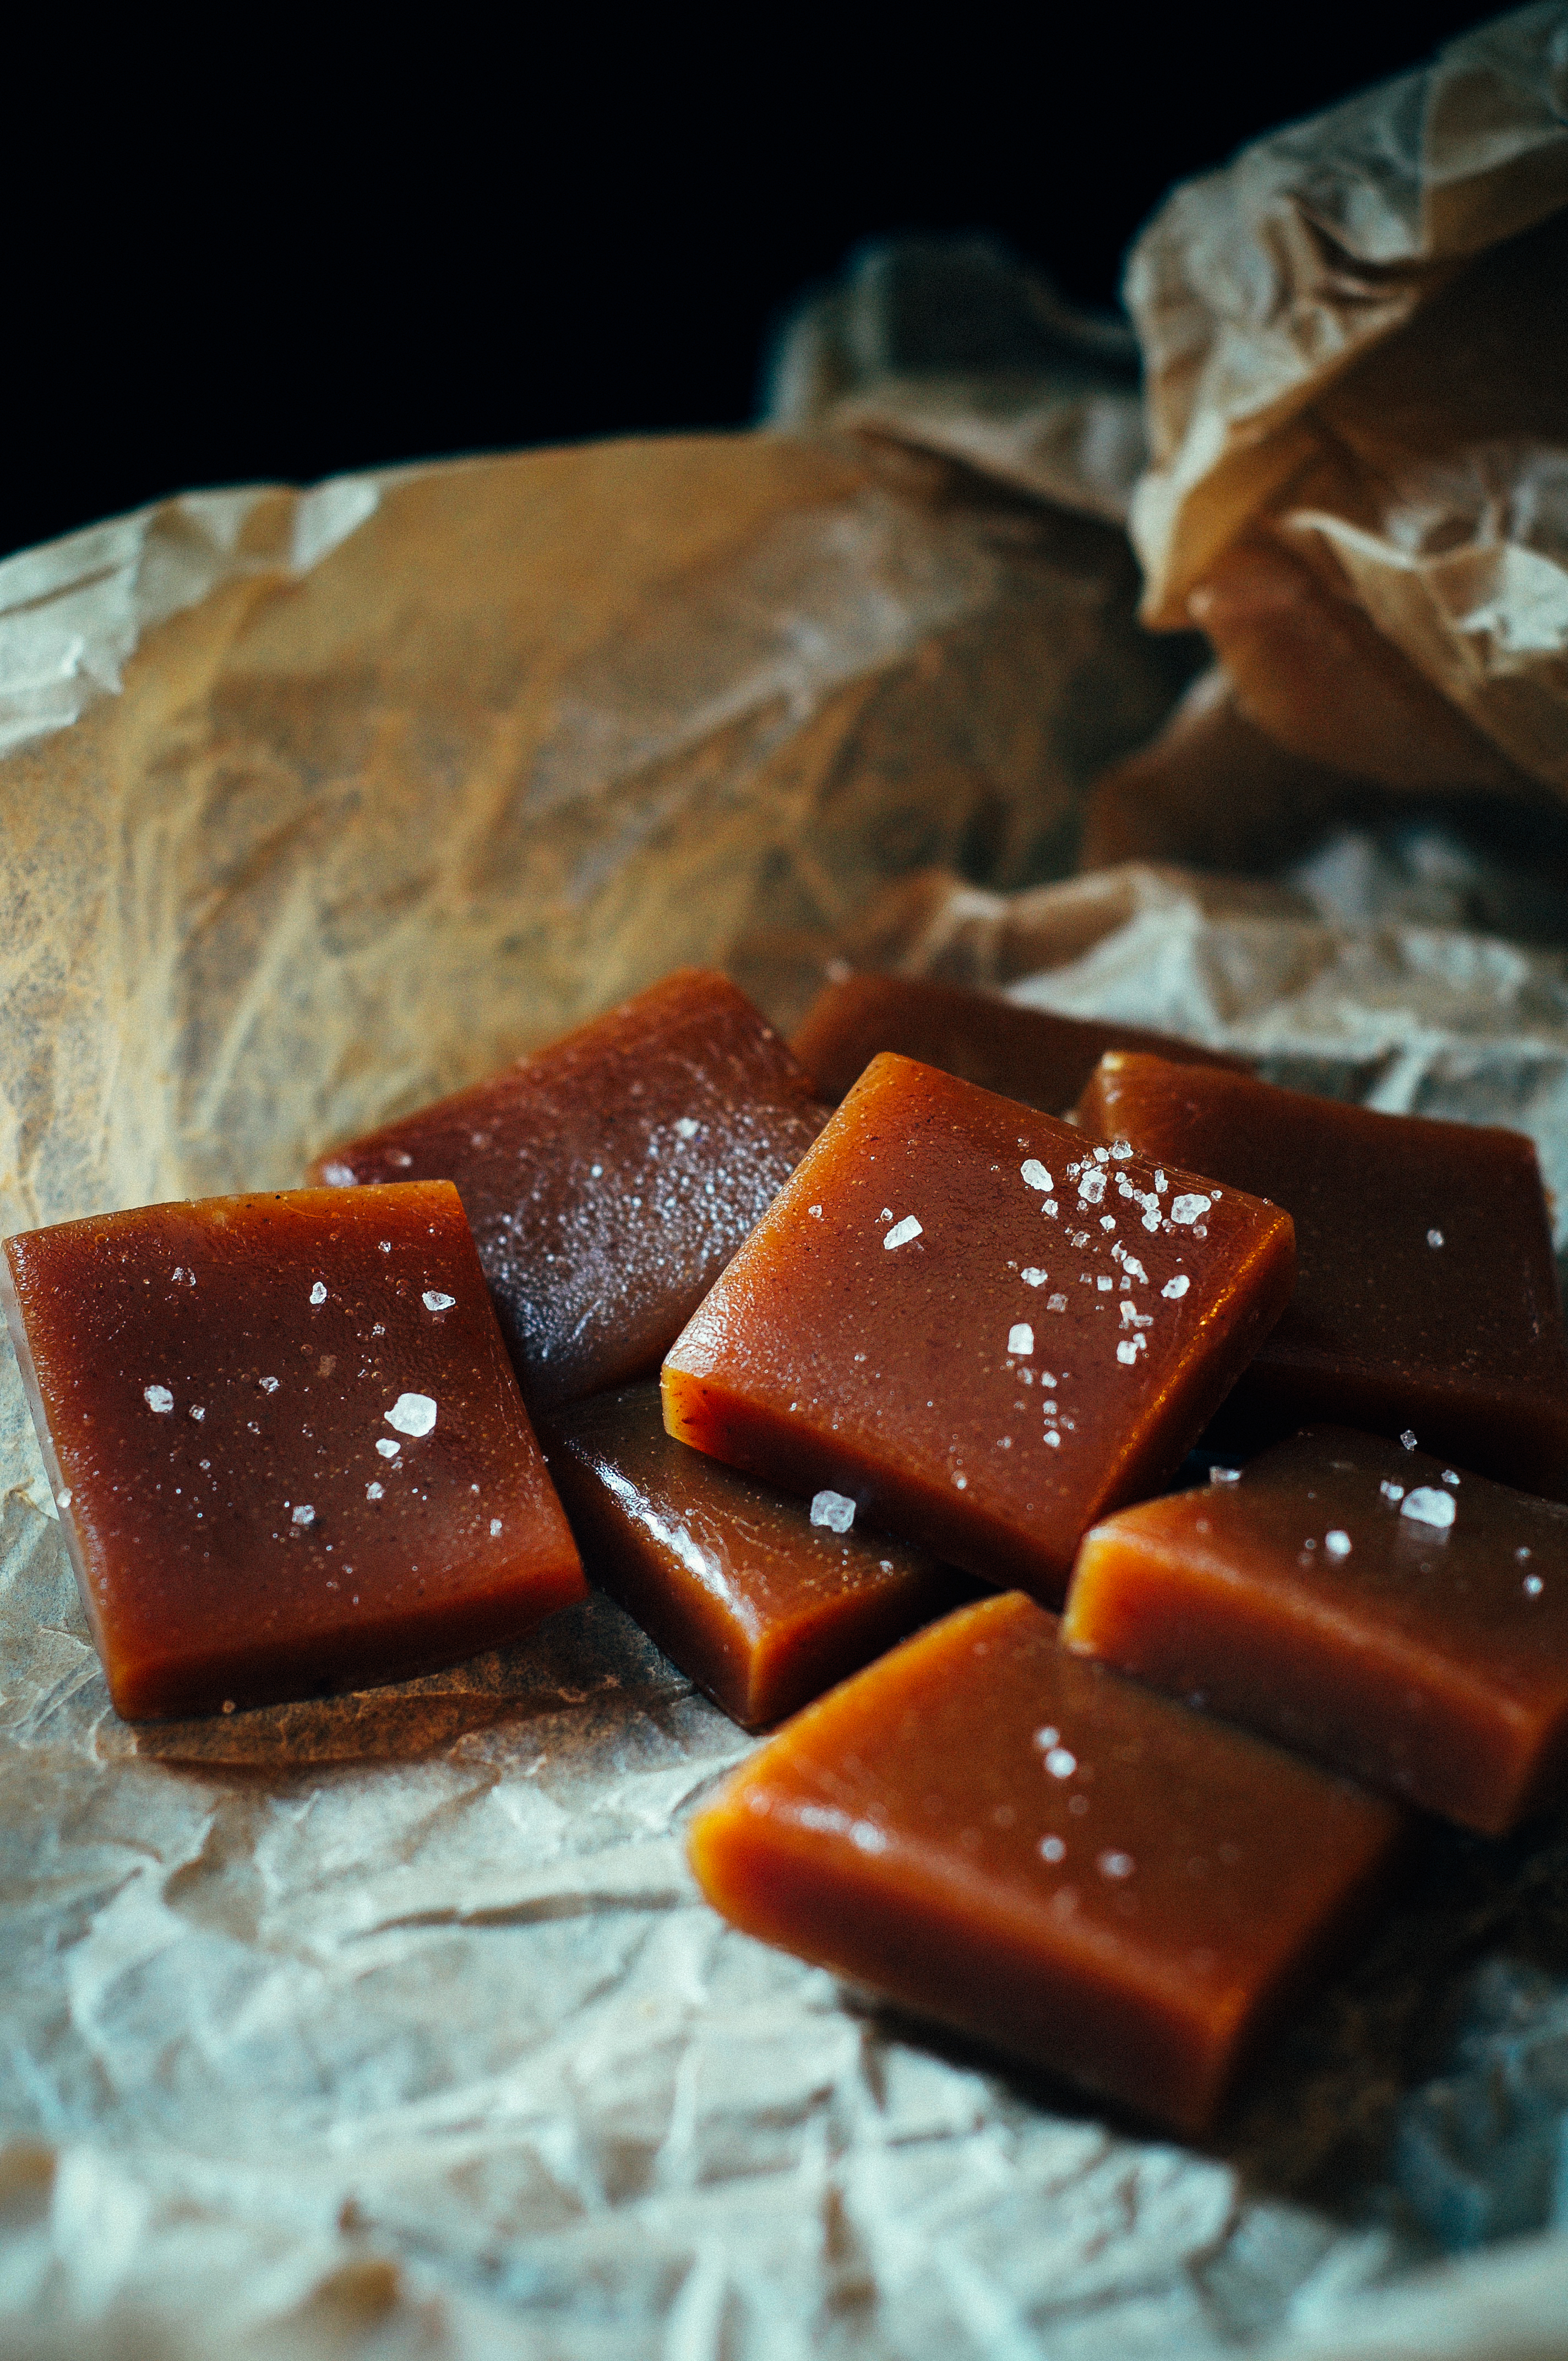
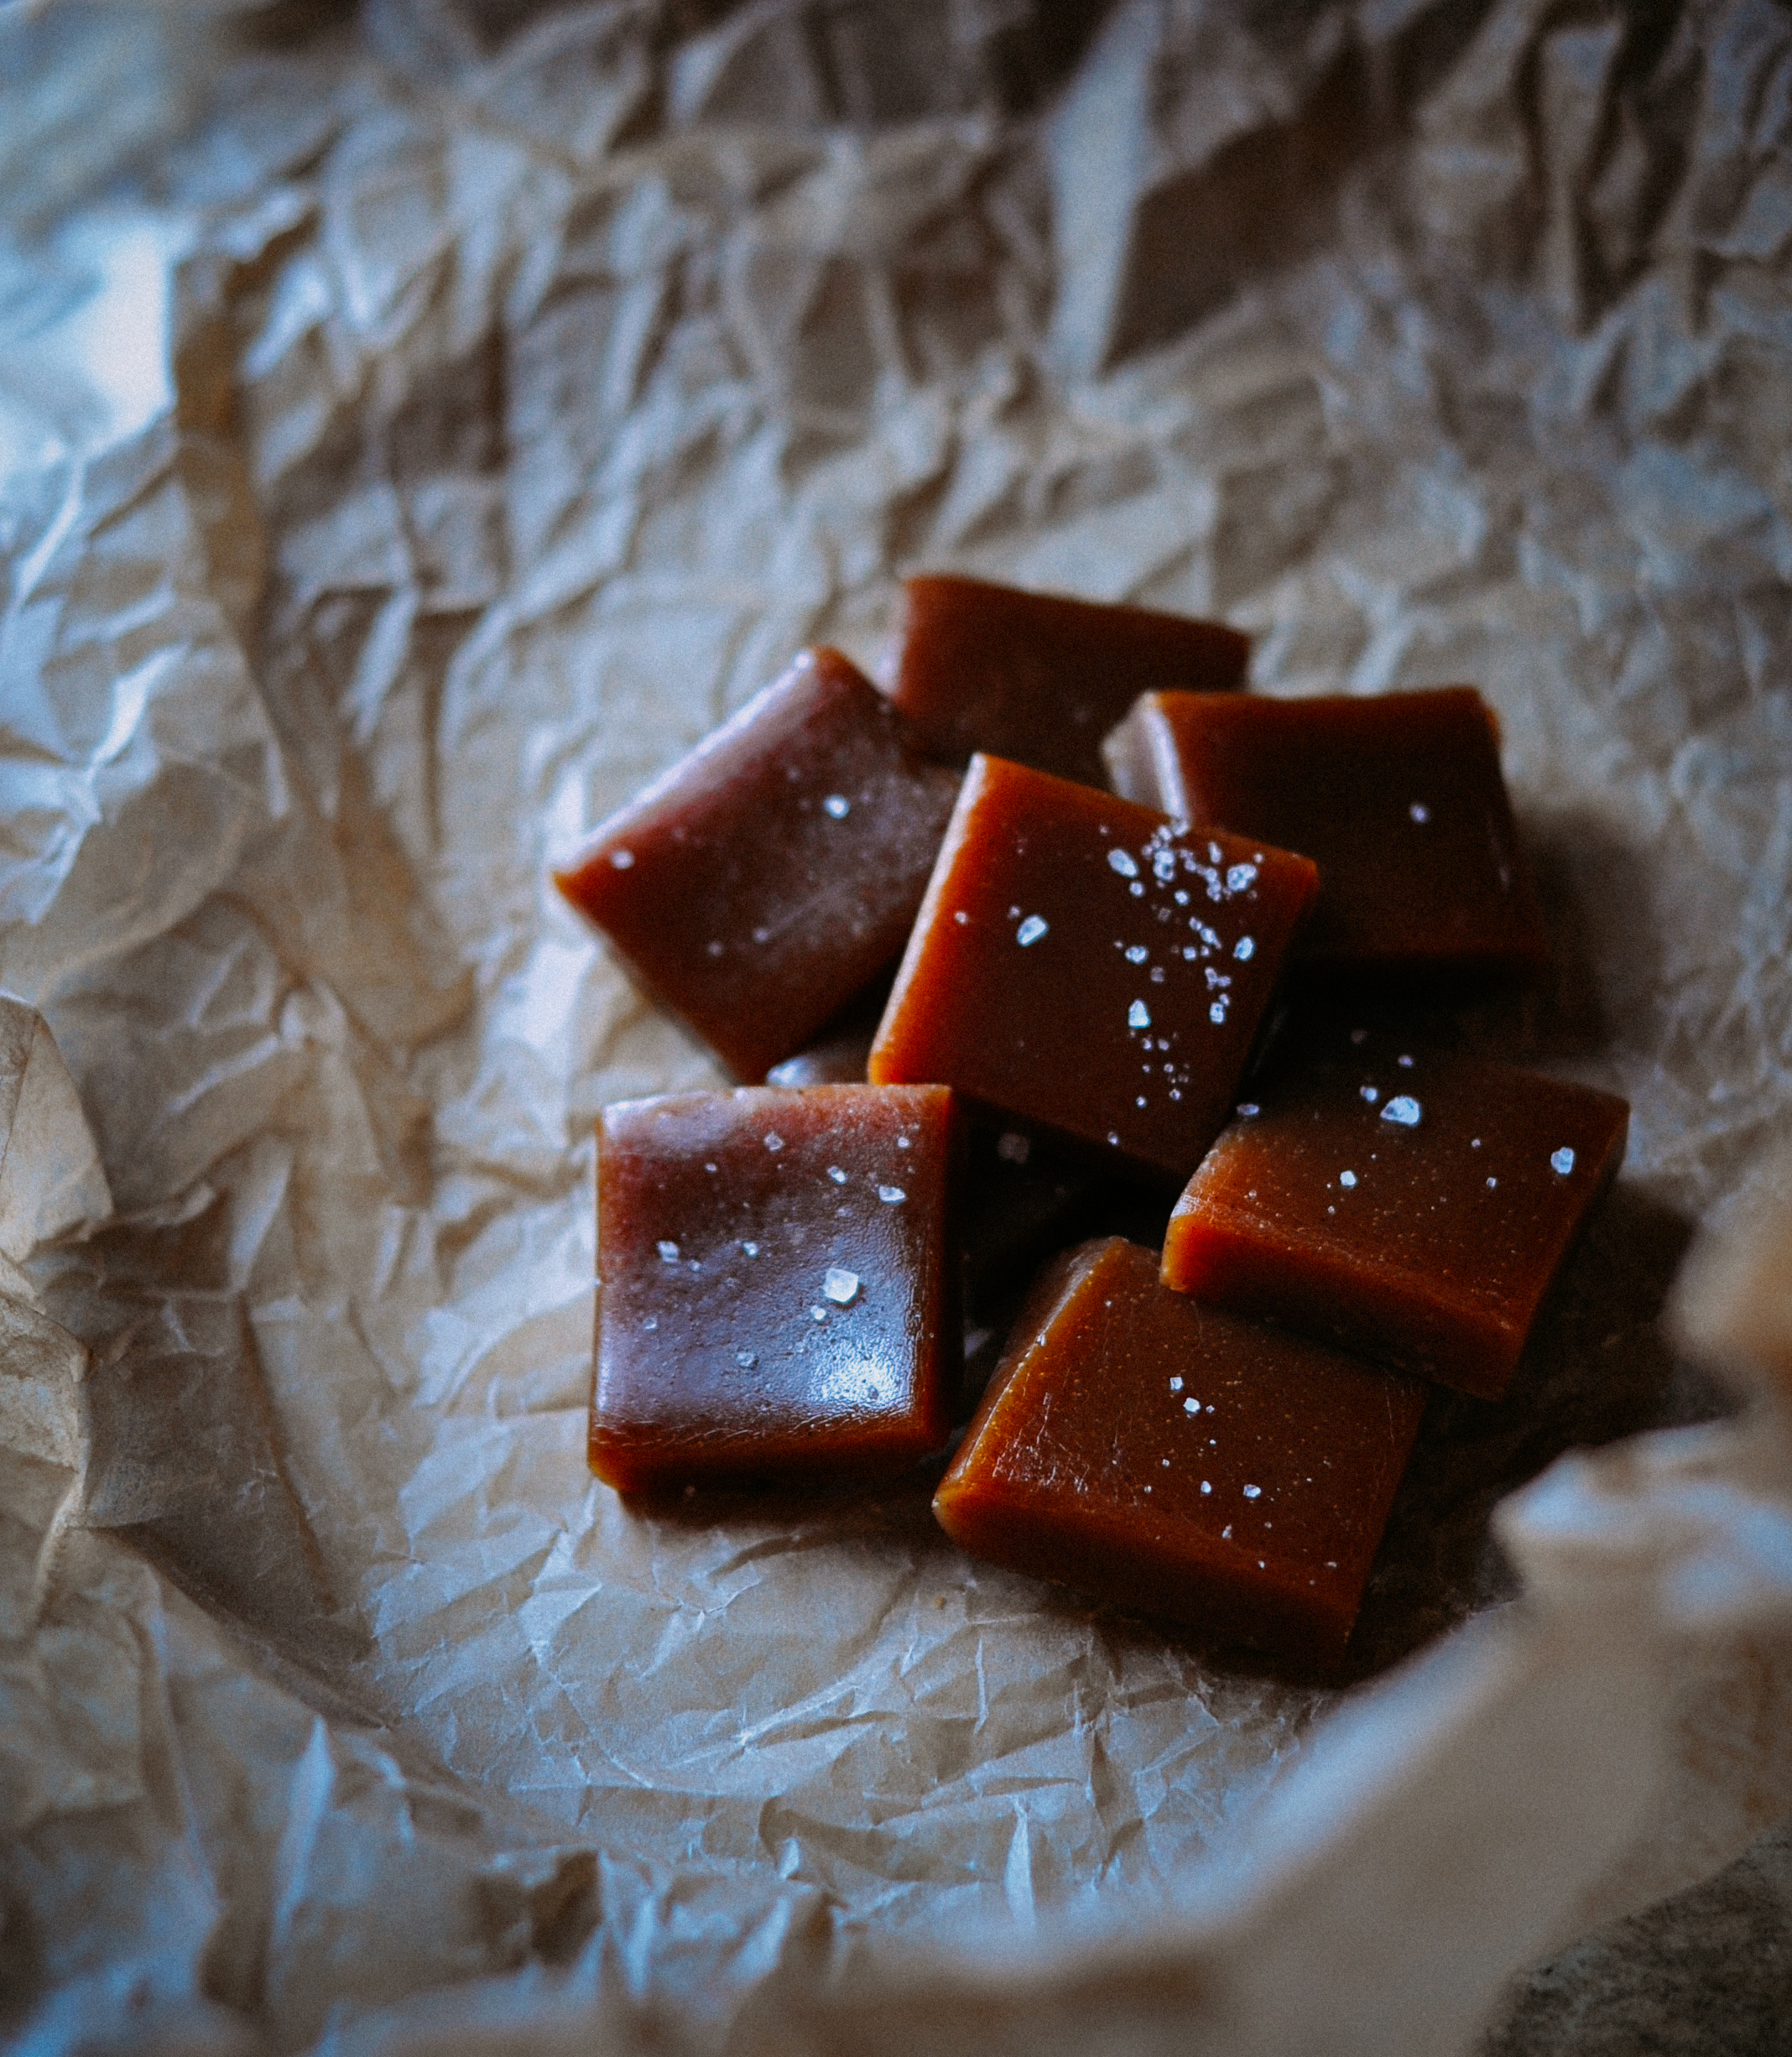
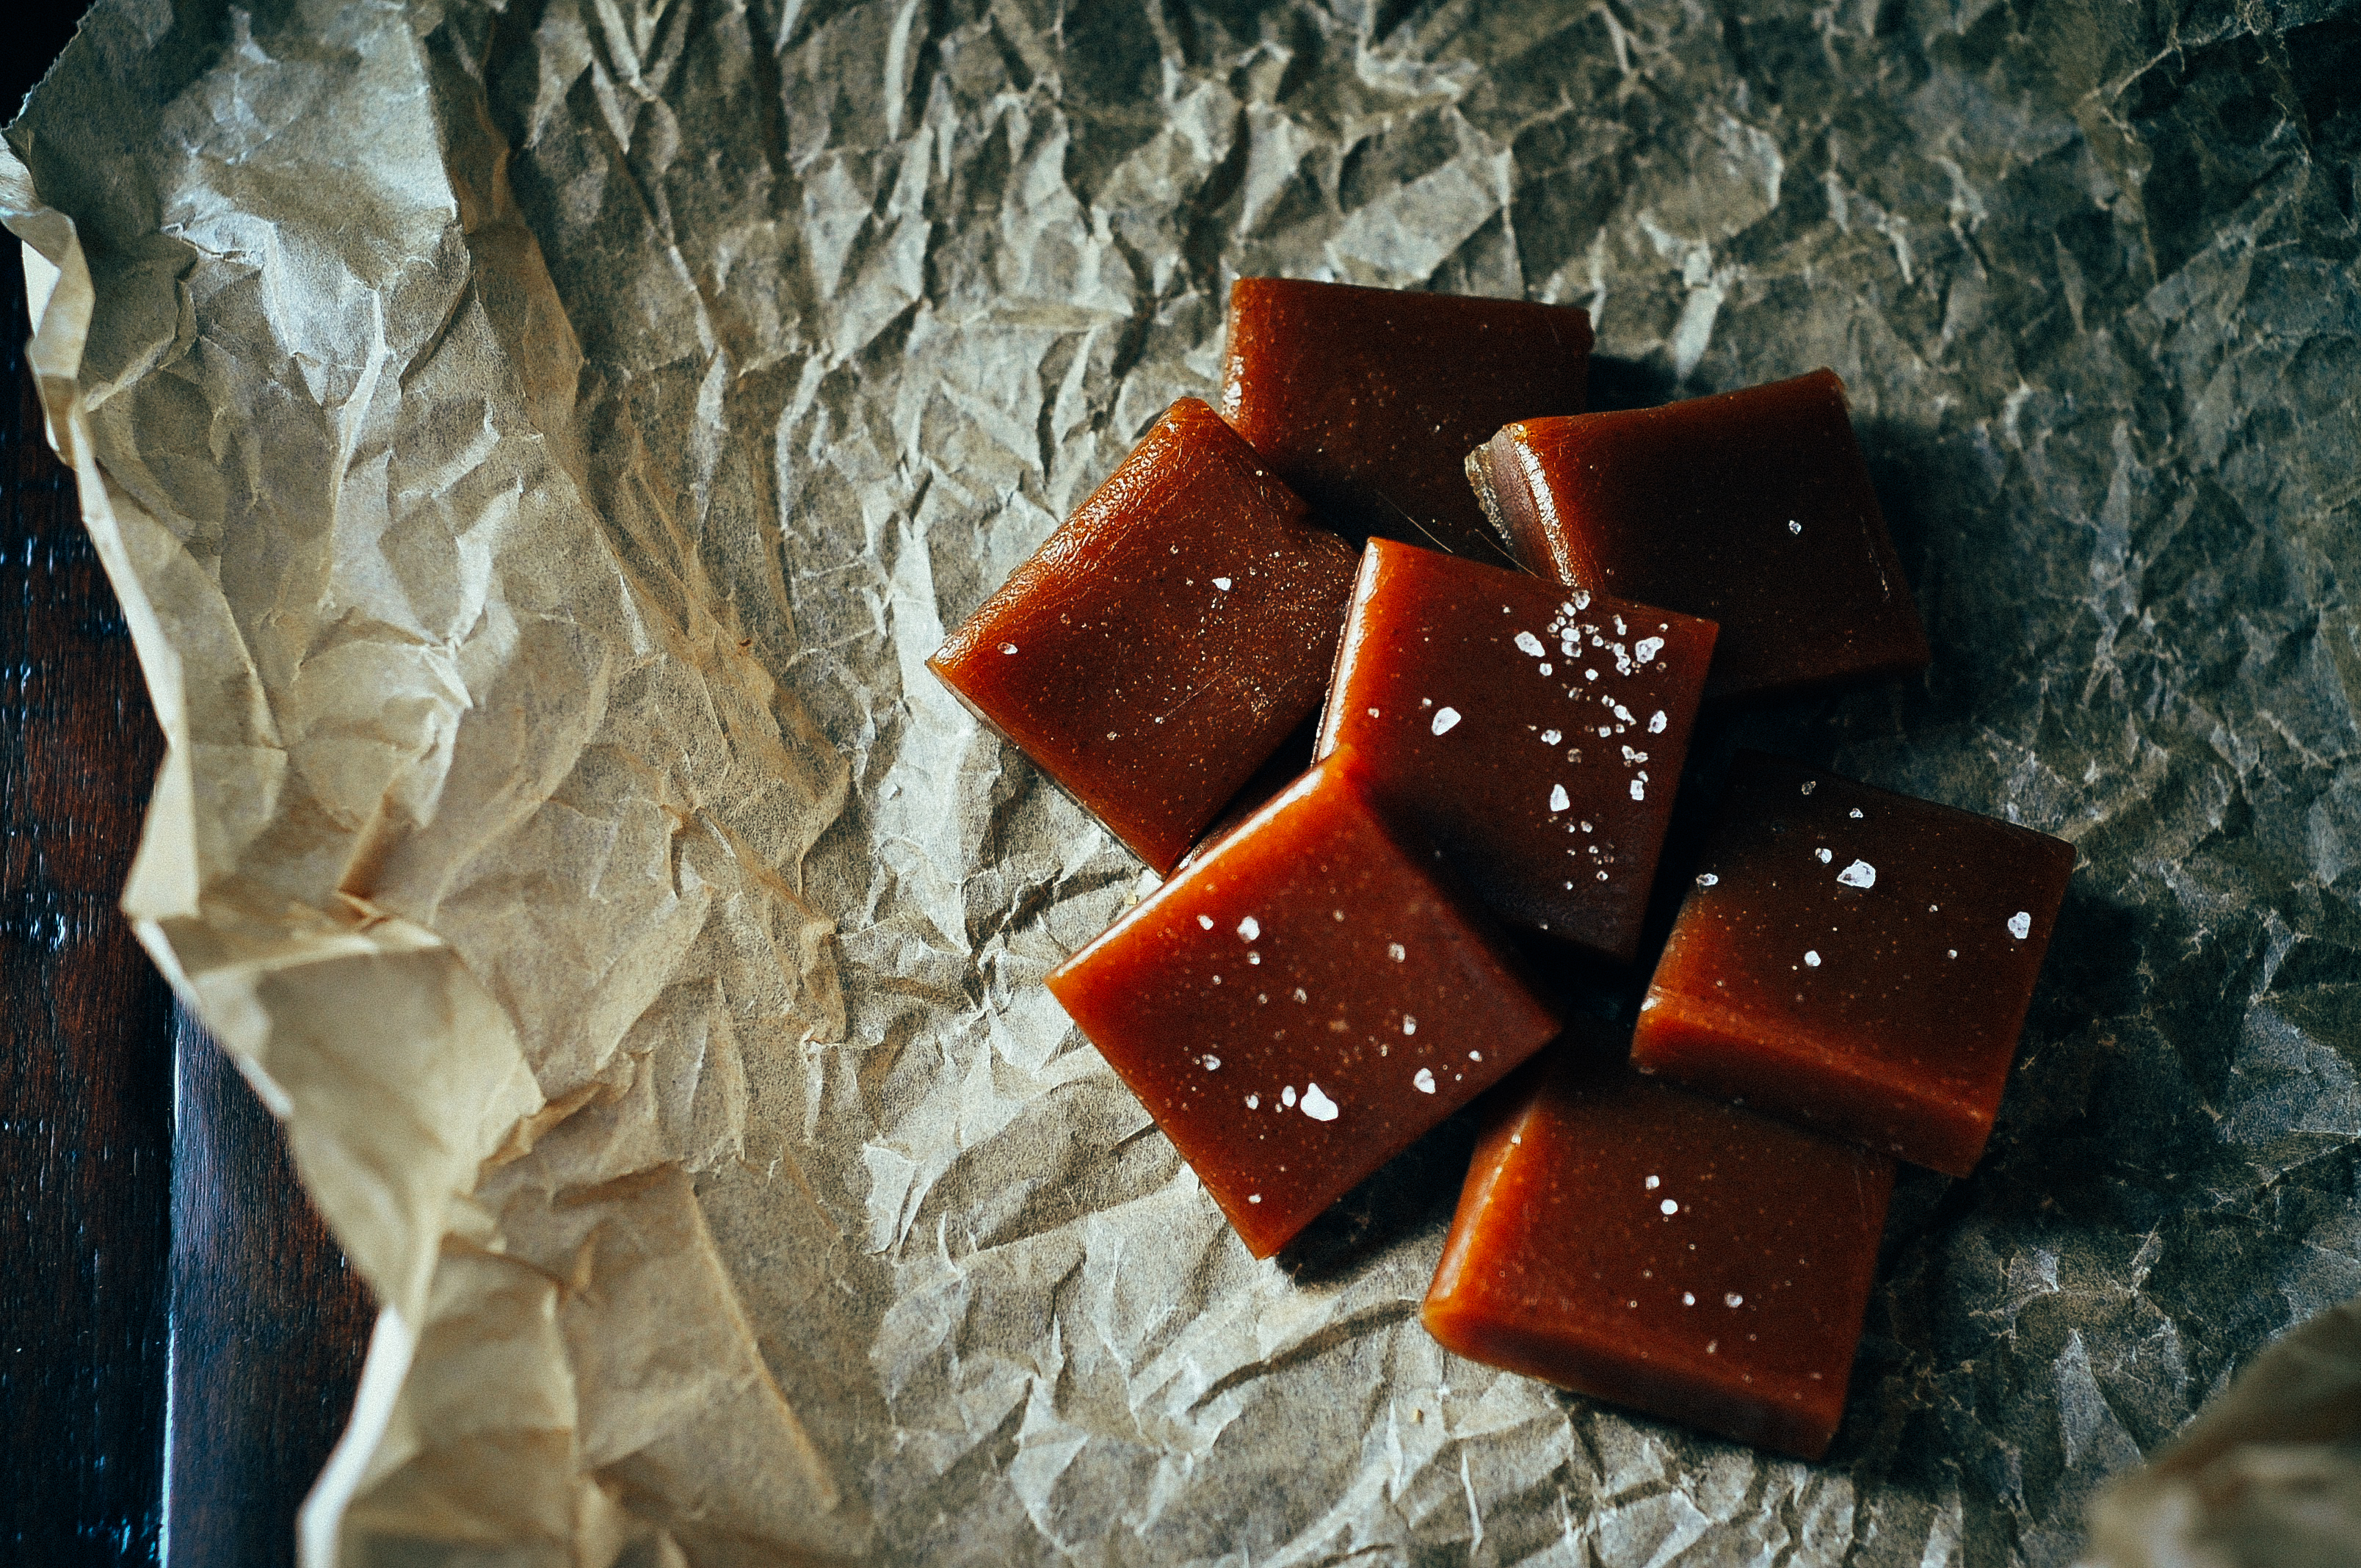
Apple Cider Caramels
I feel like November just cruised by, top-down-with-the-heater on, leaves floating by, beep-beep, get outta the way… Now, the tree is up, lights twinkling, foggy mornings, forecast snow, humming baby it’s cold outside, peeking over my shoulder and wondering how Autumn just zipped on by. It didn’t even ease it’s foot off the accelerator.
Autumn in Virginia was lovely and it was short-lived. I gave it my all; I really did. Pumpkin Spice Lattes (they taste different when you drink them with a big, chunky home-made yarn scarf hugging your neck…they do…); fall leaf peeping; apple picking in the orchards; the Hunt Races at Montpelier; sneaking gorgeous chunks of squash into unsuspecting dishes; getting nostalgic watching It’s the Great Pumpkin, Charlie Brown; and just, well, you know… soaking in the seasonal slow down.
Somewhere, on a country road, at a stand filled with apples and gourds, at a location I’ll never remember, I picked up some apple cider. This isn’t the clear jug of apple cider on Aisle 9 that looks curiously like the apple juice snuggled up next to it. This is the cloudy, thick, spicy, rich, country stand apple cider. I’ve also found some great, seasonal apple ciders in the refrigerator section at the grocery store. Both Trader Joe’s and Whole Food’s apple ciders are deelishussss.
So, farewell Autumn. Just before I get into the Christmas cookie swing of things, I’m saying au revoir to your color-filled days with these: Apple Cider Caramels.
“Autumn is as joyful and sweet as an untimely end.”
― Rémy de Gourmont
- 4 cups apple cider
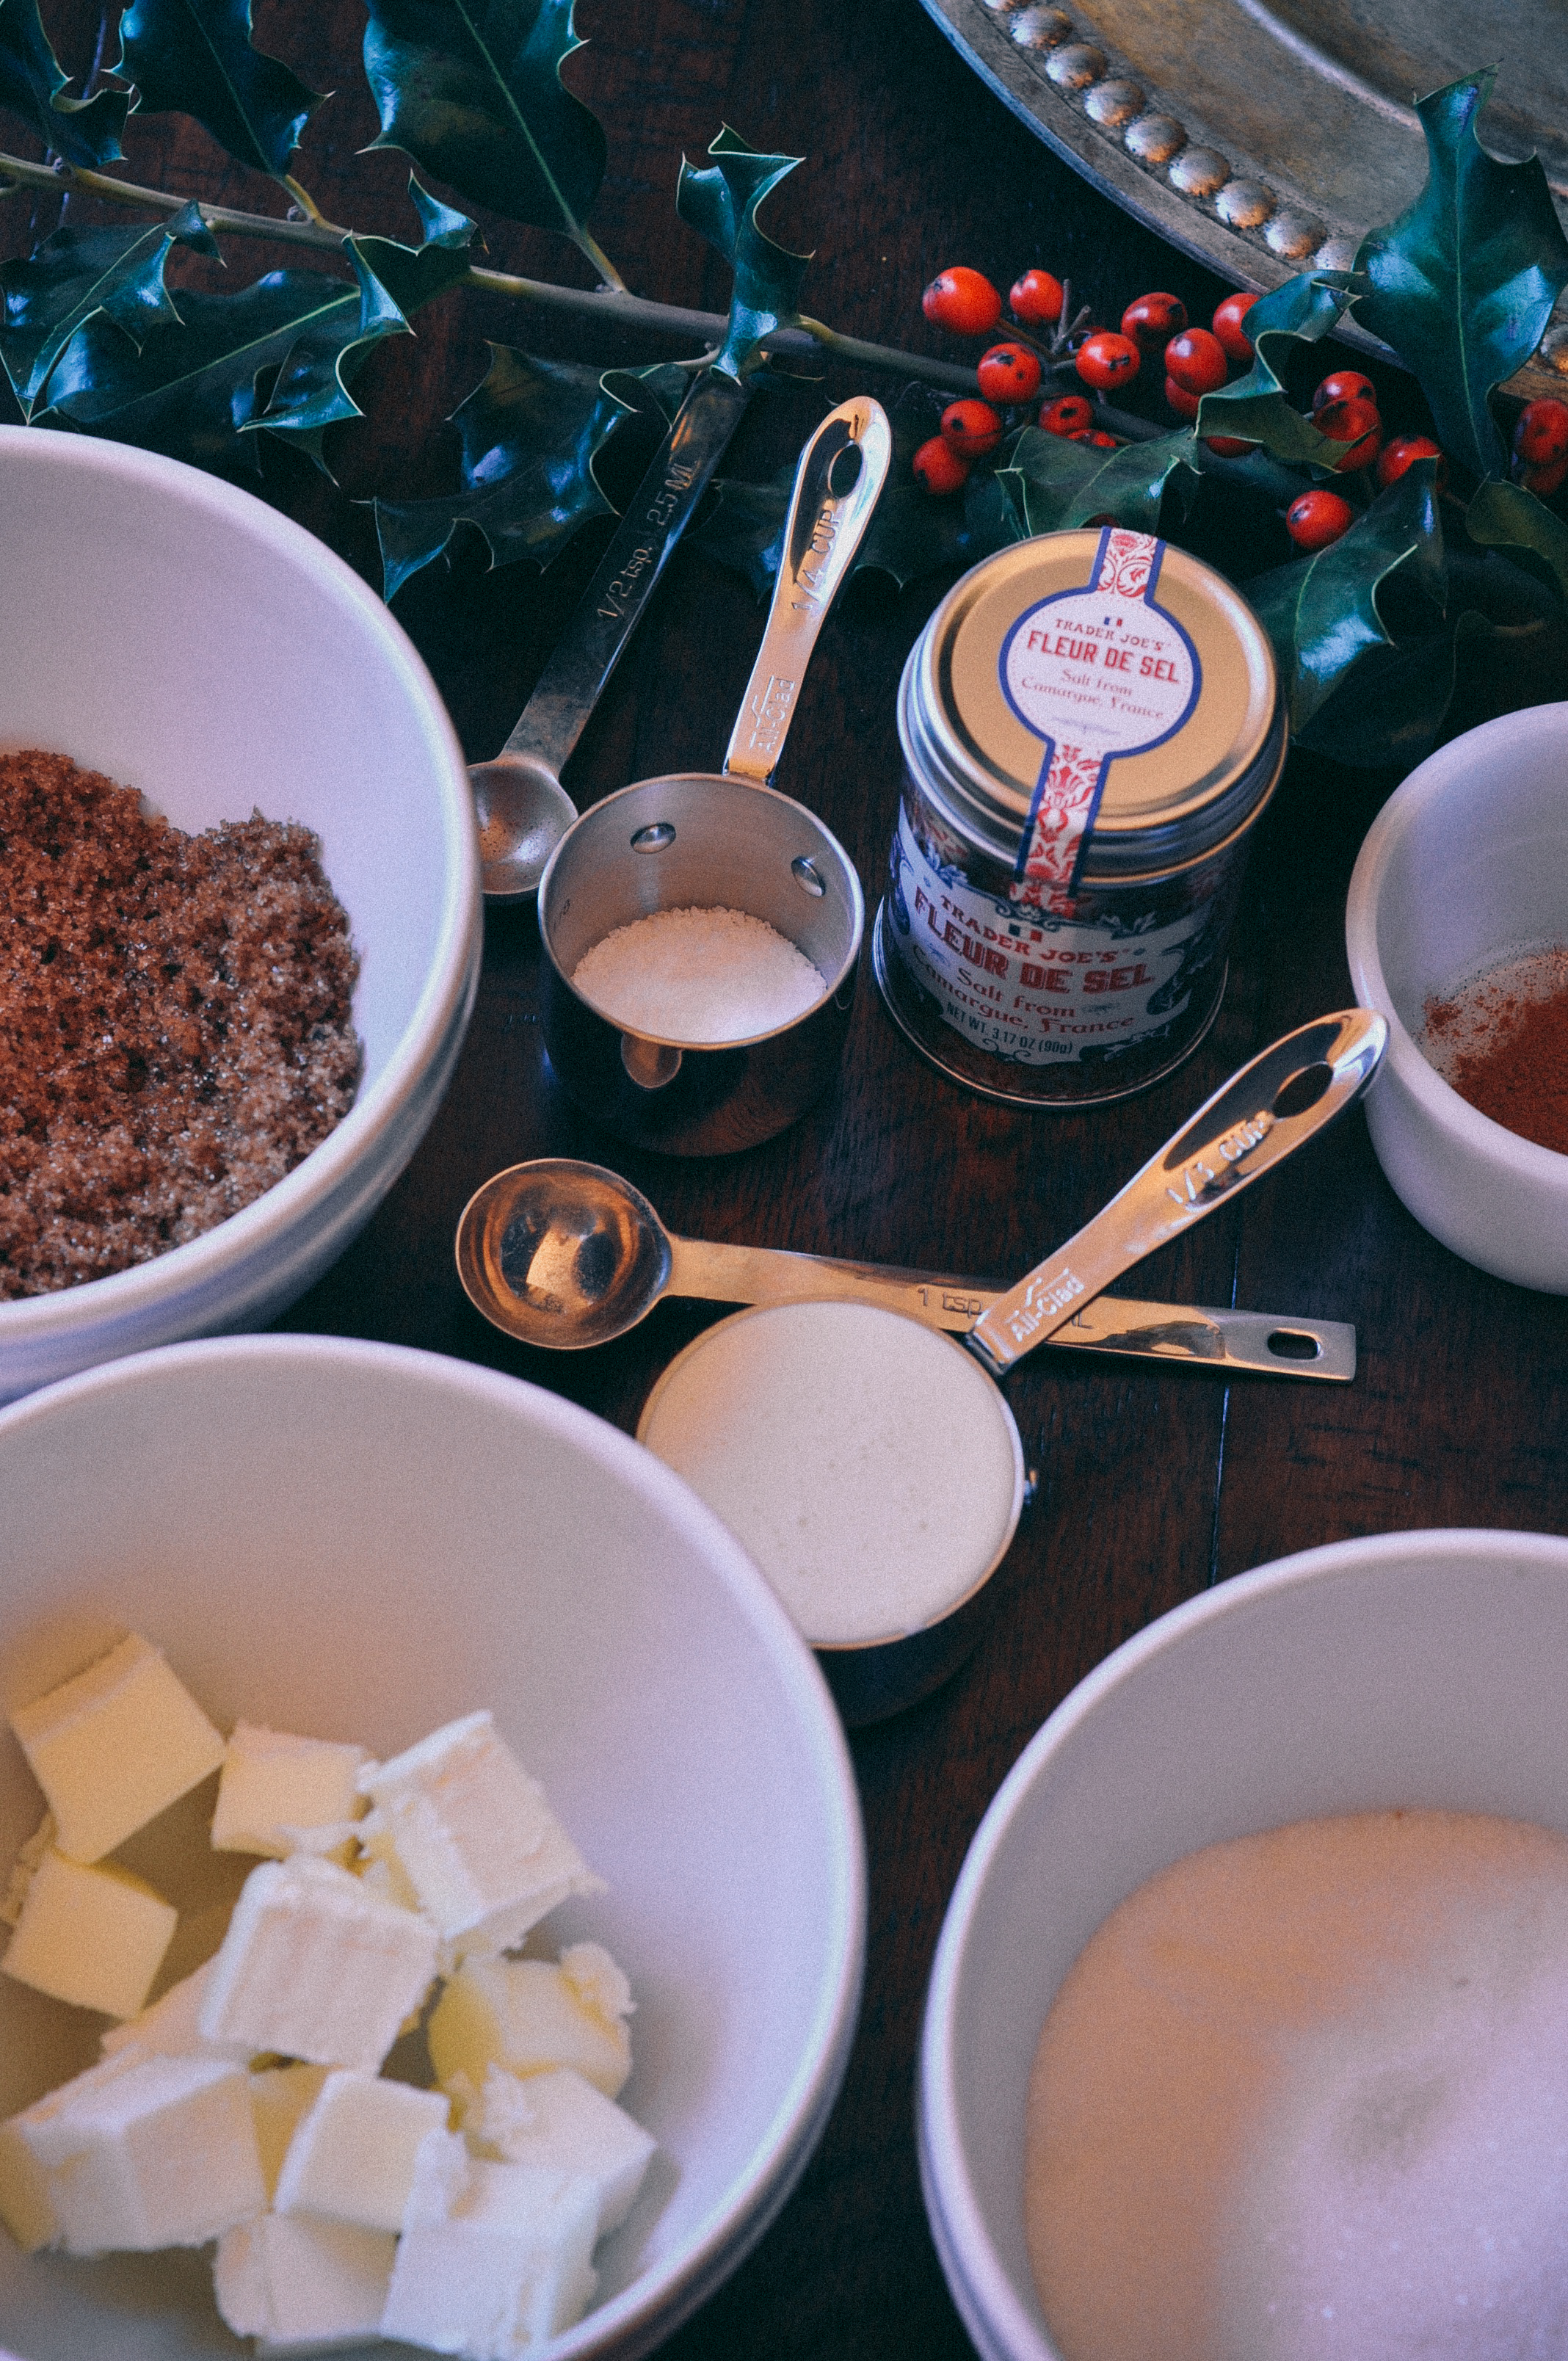
- 1 cup granulated white sugar
- 1/2 cup light brown sugar, packed
- 8 tablespoons (1 stick) unsalted butter, cut into chunks
- 1/3 cup heavy cream
- 1/2 teaspoon ground cinnamon
- 2 teaspoons Fleur de Sel or flaky salt
- Grape seed oil for the knife
- On high heat, boil the apple cider in a saucepan until it is reduced to a thick syrup (about 1/2 cup in volume) and stir occasionally. This takes about 35 - 40 minutes.
- While the cider is boiling, get your other ingredients ready because you'll need to move quickly after the cider is reduced to syrup. Measure the sugars and place in a bowl. Cut the butter into small chunks. Measure the heavy cream. Stir together the cinnamon and salt and place in a separate, small bowl.
- Line the bottom and sides of an 8-inch straight-sided square metal baking pan with 2 long sheets of parchment paper (in a crisscross layout). Set it aside.
- Once you are finished reducing the apple cider, remove it from the heat and immediately stir in the sugars, butter, and heavy cream. Stir until the mixture is smooth and the butter has melted. Return the pot to medium-high heat for about 5 minutes. Have a bowl of very cold water ready, and cook the caramel (for 5 minutes) until a very small spoonful dropped into the water becomes firm, chewy, and able to be formed into a little ball. If you want to be precise, use a candy thermometer and let it boil until the thermometer reads 252 degrees. Either way, watch the caramel closely; you don't want to under or over cook it.
- Immediately remove the caramel from the heat, add the cinnamon and salt mixture, and give it several stirs to distribute the cinnamon/salt evenly.
- Pour the caramel into the prepared pan. Let it sit until cool and firm—about 2 hours (only about an hour in the refrigerator). Once the caramel is firm, lift the caramel from the pan by the parchment paper and transfer it to a cutting board. Let the caramel sit out for a little bit before you start cutting it. If it is too cold, it will crack when you try to cut it. Use a well-oiled knife to cut the caramel into 1-by-1-inch squares. Lightly sprinkle the caramels with flaky salt.
- Wrap each one in a 4-inch square of waxed paper or parchment, twisting the sides to close. Caramels will be somewhat on the soft side at room temperature and hard and chewy if left in the refrigerator. These caramels keep for about 2 weeks in an airtight container if left outside the refrigerator.
- Perfect holiday gift. Unless you eat them all first...
Virginia Ham Biscuits & The Hunt Races

Two hours southwest of Washington DC, and tucked into the eastern edge of Shenandoah National Park, are the gorgeous, rolling Orange County hills that surround James Madison’s Montpelier. I first visited the area this summer on a mom & daughter trip to learn about our Founding Fathers. I am by no means a history buff. I will begrudgingly read a bit of history now and then as if some civic duty, with frequent stops to scan Instagram, daydream, twirl my hair, stare at the ceiling… But, put me IN history…let me touch, smell and see it…and I’m there. So, there I was, via my ever-energetic momma, at a 3-day crash course on Jefferson, Madison & Monroe. We visited Monticello, Montpelier and Monroe’s Highland. Their homes were grand and thoughtful and serene. I was fascinated by the connection between these men. Most impressive to me, though, was how much these men were able to accomplish without the modern day conveniences of travel and communication. Jefferson, Madison & Monroe: statesmen, counterparts, mentors and friends.
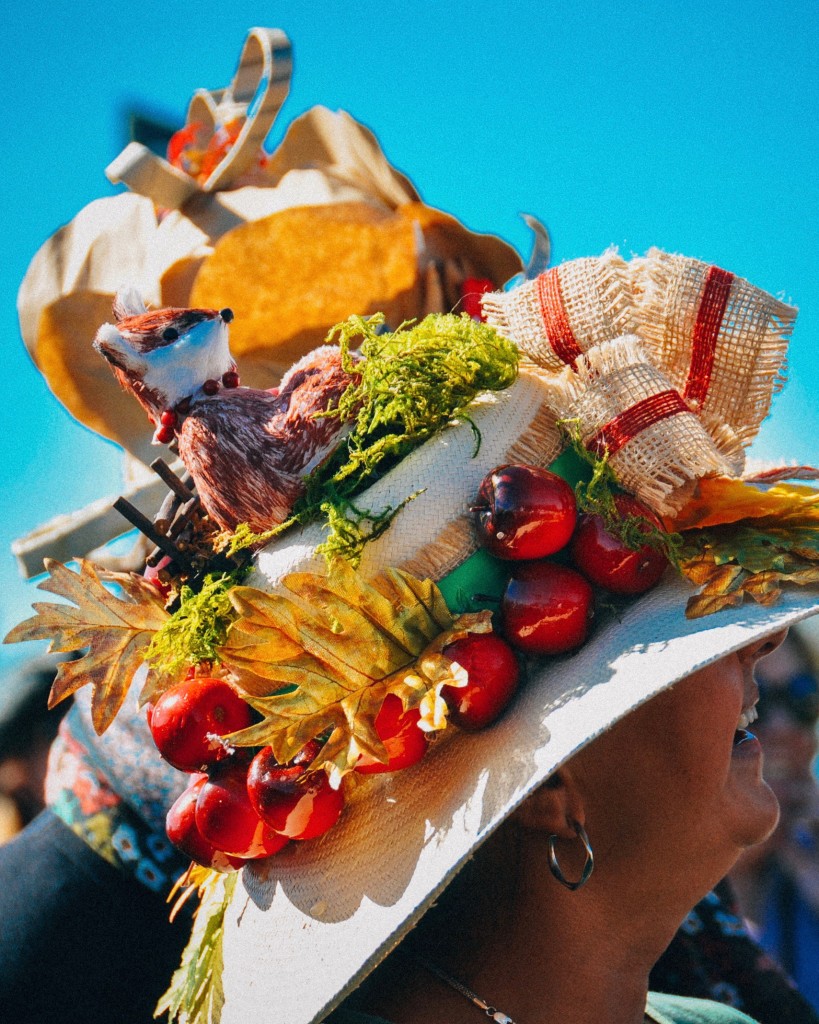
I was particularly intrigued with Madison’s Montpelier. After James Madison passed and Dolley moved to Washington DC, the home changed hands several times until William duPont, the famed American businessman, banker and horse racing connoisseur, bought it in 1901. When William passed on to the great beyond, his daughter, Marion, inherited the home. While her father massively renovated the home, Marion’s major renovation would be to the landscape, including the addition of a steeplechase track. In 1934, Marion duPont started The Montpelier Hunt Races on the front lawn of James Madison’s old digs. Today, it is the only live brush hurdle course in the Commonwealth of Virginia. Each November, horse-racing-big-frilly-hatted-tailgate-loving Virginians gather on the fields of James Madison’s Montpelier for The Hunt Races. It is a stunning sight to behold, and it just feels so Virginia…


…and what would a horse race be without those stunning hats? Ladies, dig in to your inner Southern Belle. Gorgeous, colorful, elegant, eccentric, fun.


Just as seriously as the ladies take their hats, Virginians pour every bit the amount of passion into their race day tailgates. From college football style tailgates to sophisticated spreads, it’s quite clear: the fans are committed. It was hard to tell what the main attraction was at times: the culinary creations or the beautiful animals powering across the steeplechase track. I lovingly admired both.
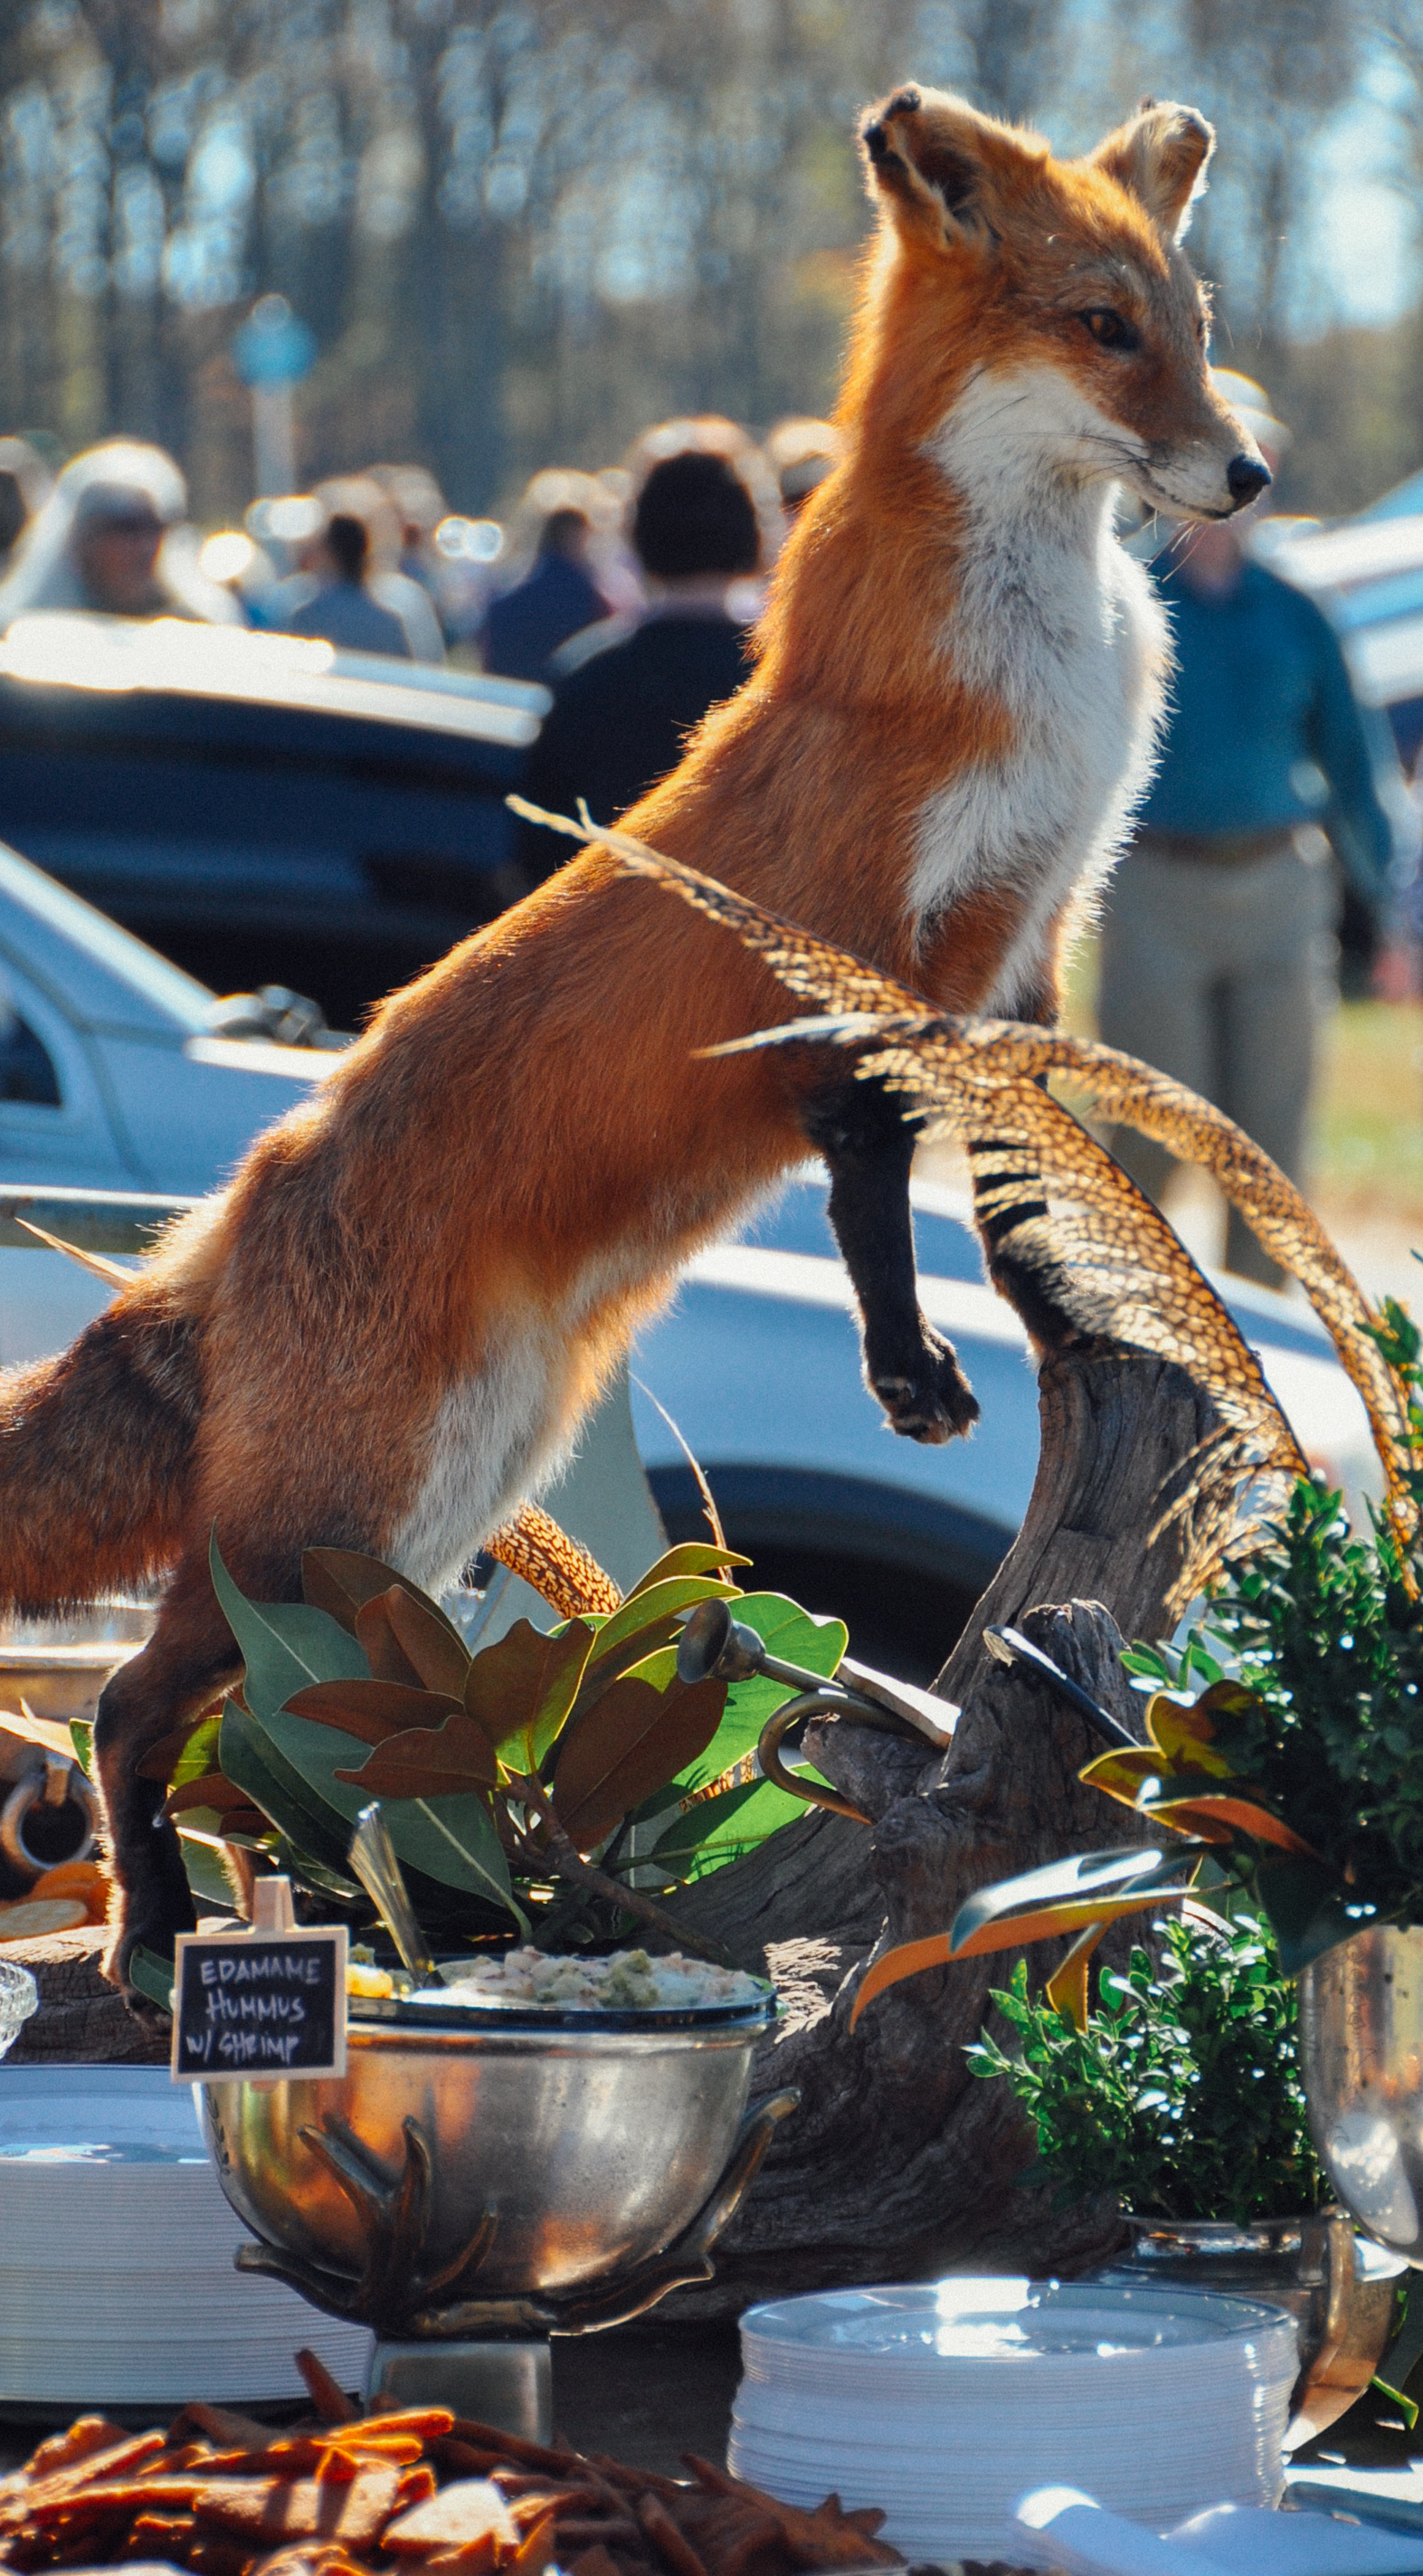
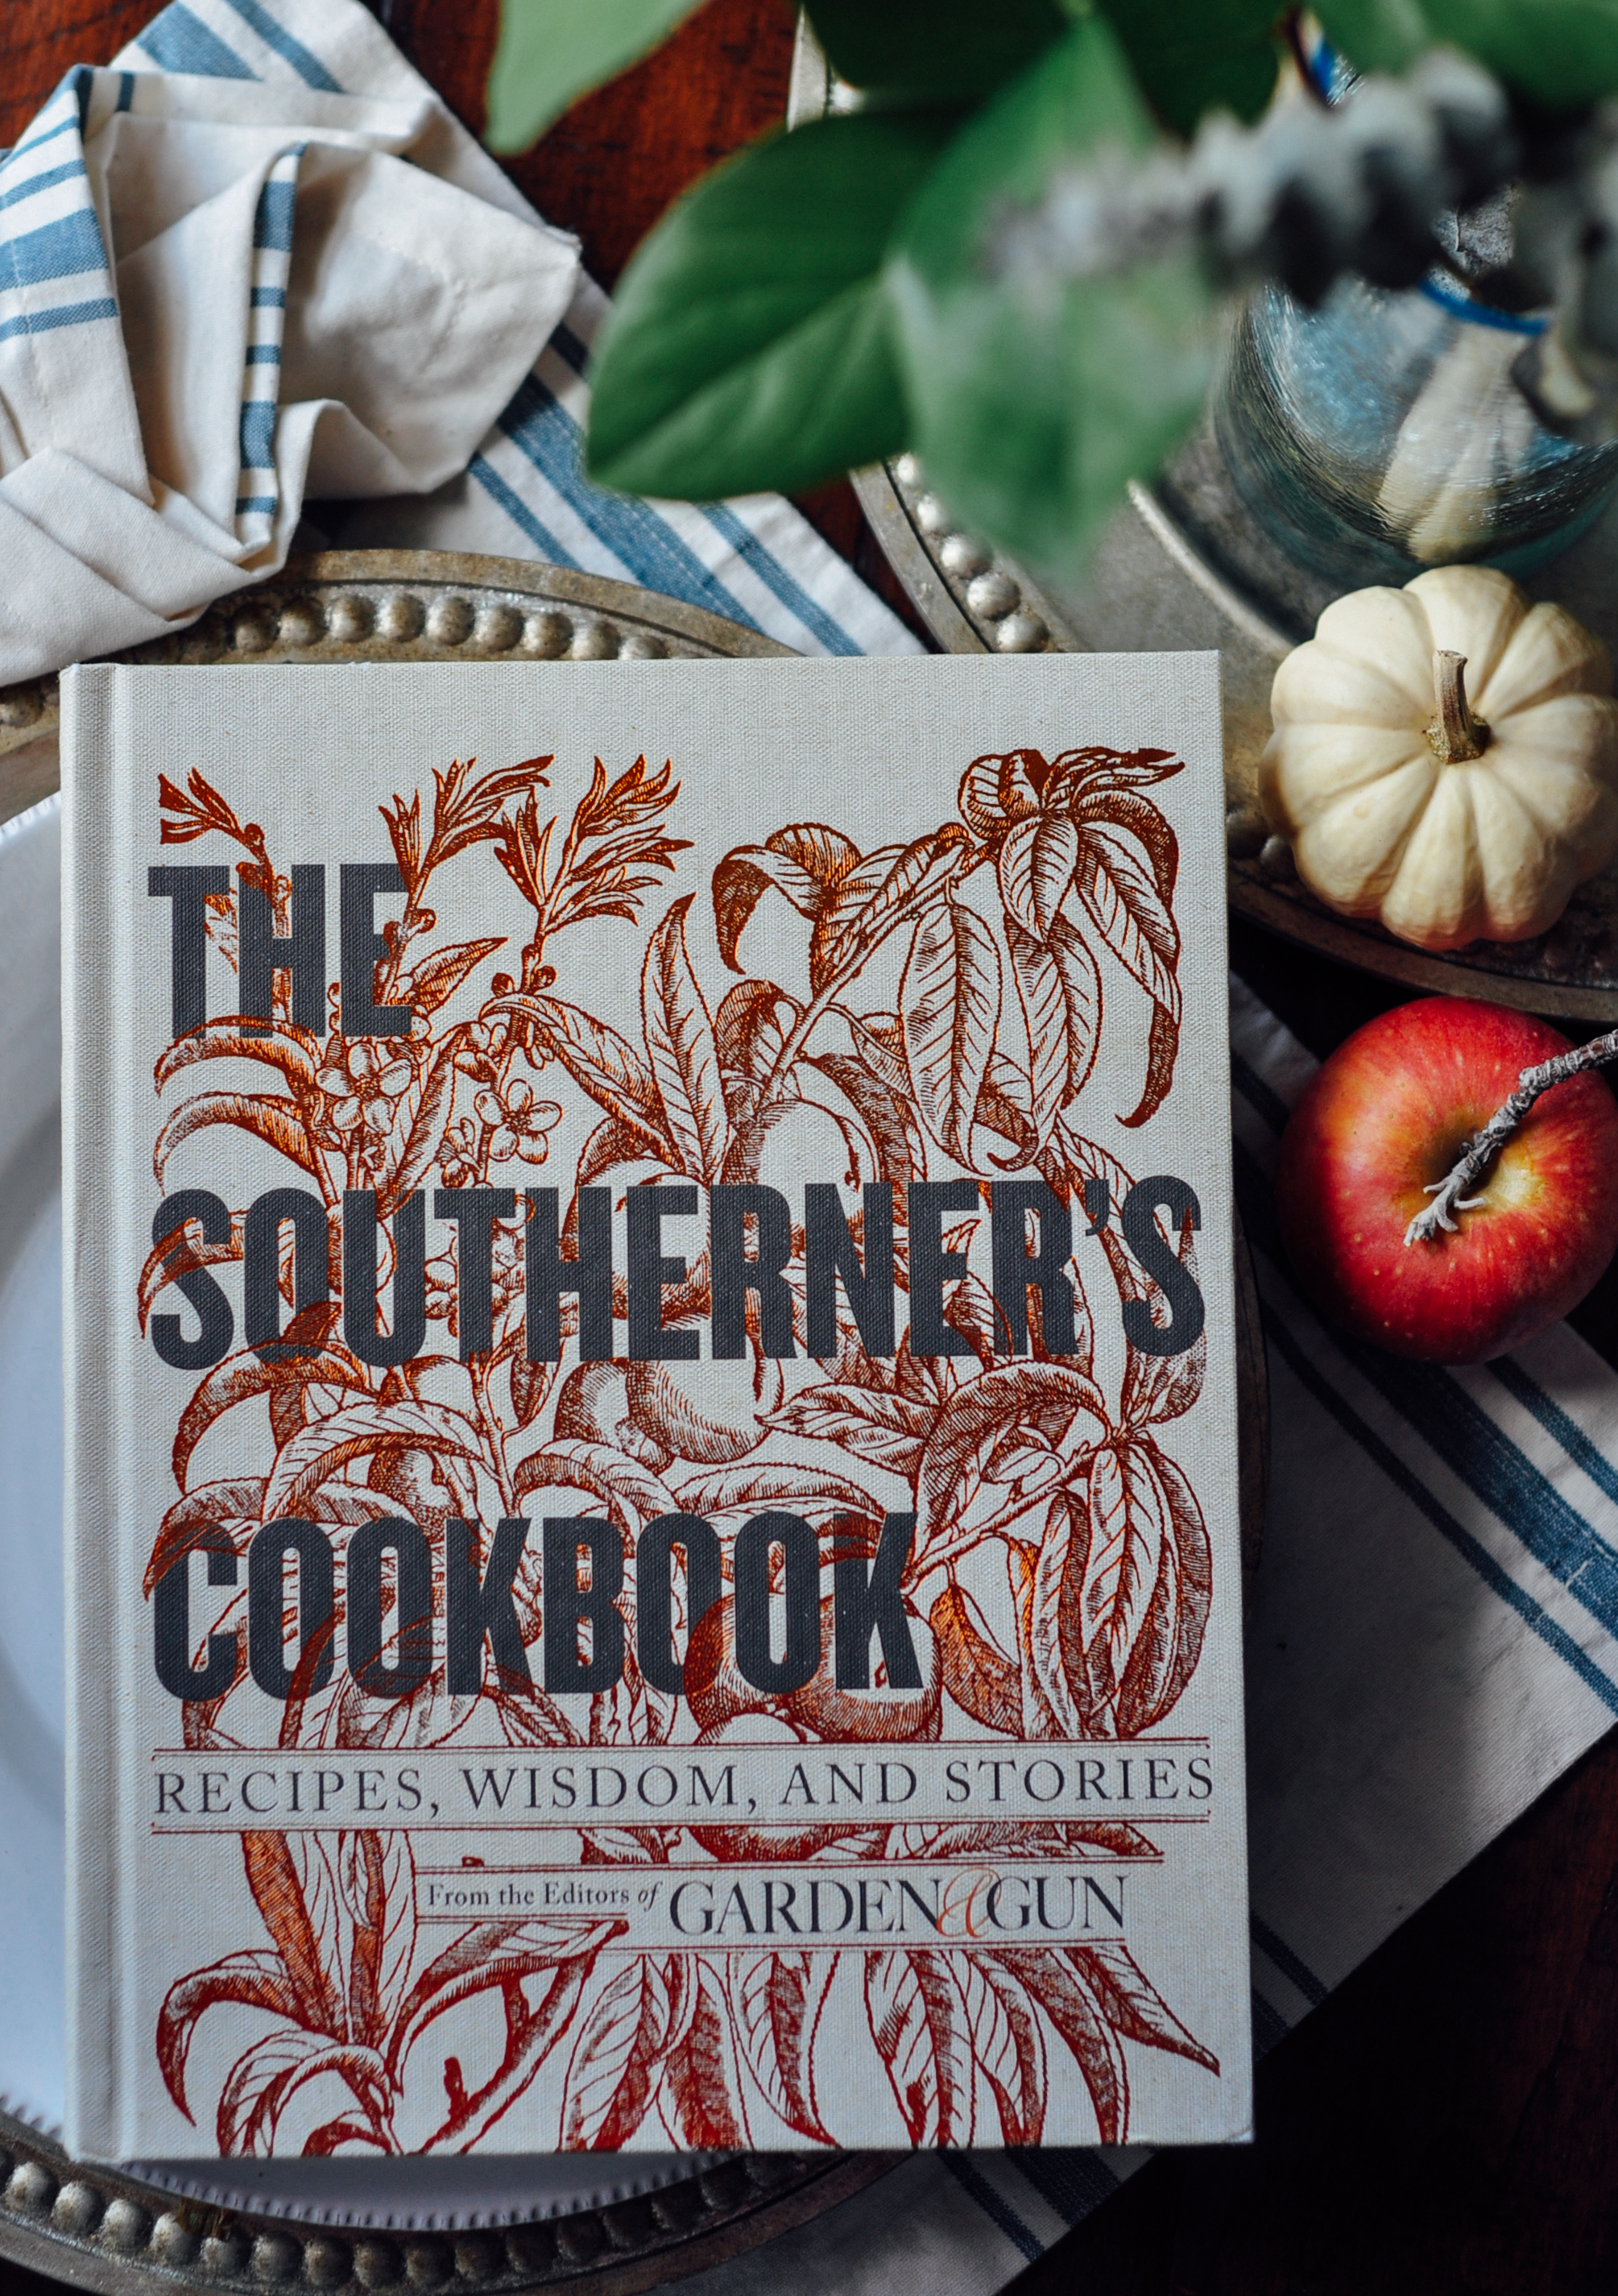
Virginia hams, mounds of fried chicken, shrimp cocktail, biscuits piled high, pies and cookies, sweet tea. It was overflowing. I stared and surveyed and ogled my way past the tailgates, making note of what I saw in the displays. I tucked the Virginia Ham Biscuit away into my mental recipe book. It’s a southern staple. Flaky biscuits, piled high with thinly sliced Virginia ham, accentuated by sweet and tangy mustard. It’s a race day classic. P.S…. I left the races with a new cookbook. I’m not sure how that happened, but it did. The Southerner’s Cookbook, from the editors of Garden & Gun, added to the collection…
Back home after the races and it was time to play around with some Virginia Ham Biscuits! Buttermilk biscuits you can melt into. Secret ingredient, oh… it’s the duck fat… and why stop there with the artistic “license”…? While I dressed some of the biscuits with a homemade honey mustard (recipe follows), I heaped caramelized onion jam on top of the shaved ham of the next little sandwich I devoured. It was lovely.

- Classic Buttermilk Biscuits
- 2 cups all-purpose flour
- 4 teaspoons baking powder
- 1/4 teaspoon baking soda
- 1 teaspoon salt
- 1 teaspoon sugar
- 2 tablespoons, cold, unsalted butter (cut in small pieces)
- 2 tablespoons duck fat (or lard)
- 3/4 to 1 cup cold, whole buttermilk
- 1 pound Virginia Ham, thinly sliced
- Honey mustard (1/4 cup whole-grain mustard, 1 tablespoon honey, 1 teaspoon dijon)
- Plain mustard (whole-grain or dijon recommended)
- or...get creative...
- Caramelized onion jam
- Your favorite chutney (fruit chutneys pair nicely)
- Preheat the oven to 450 degrees.
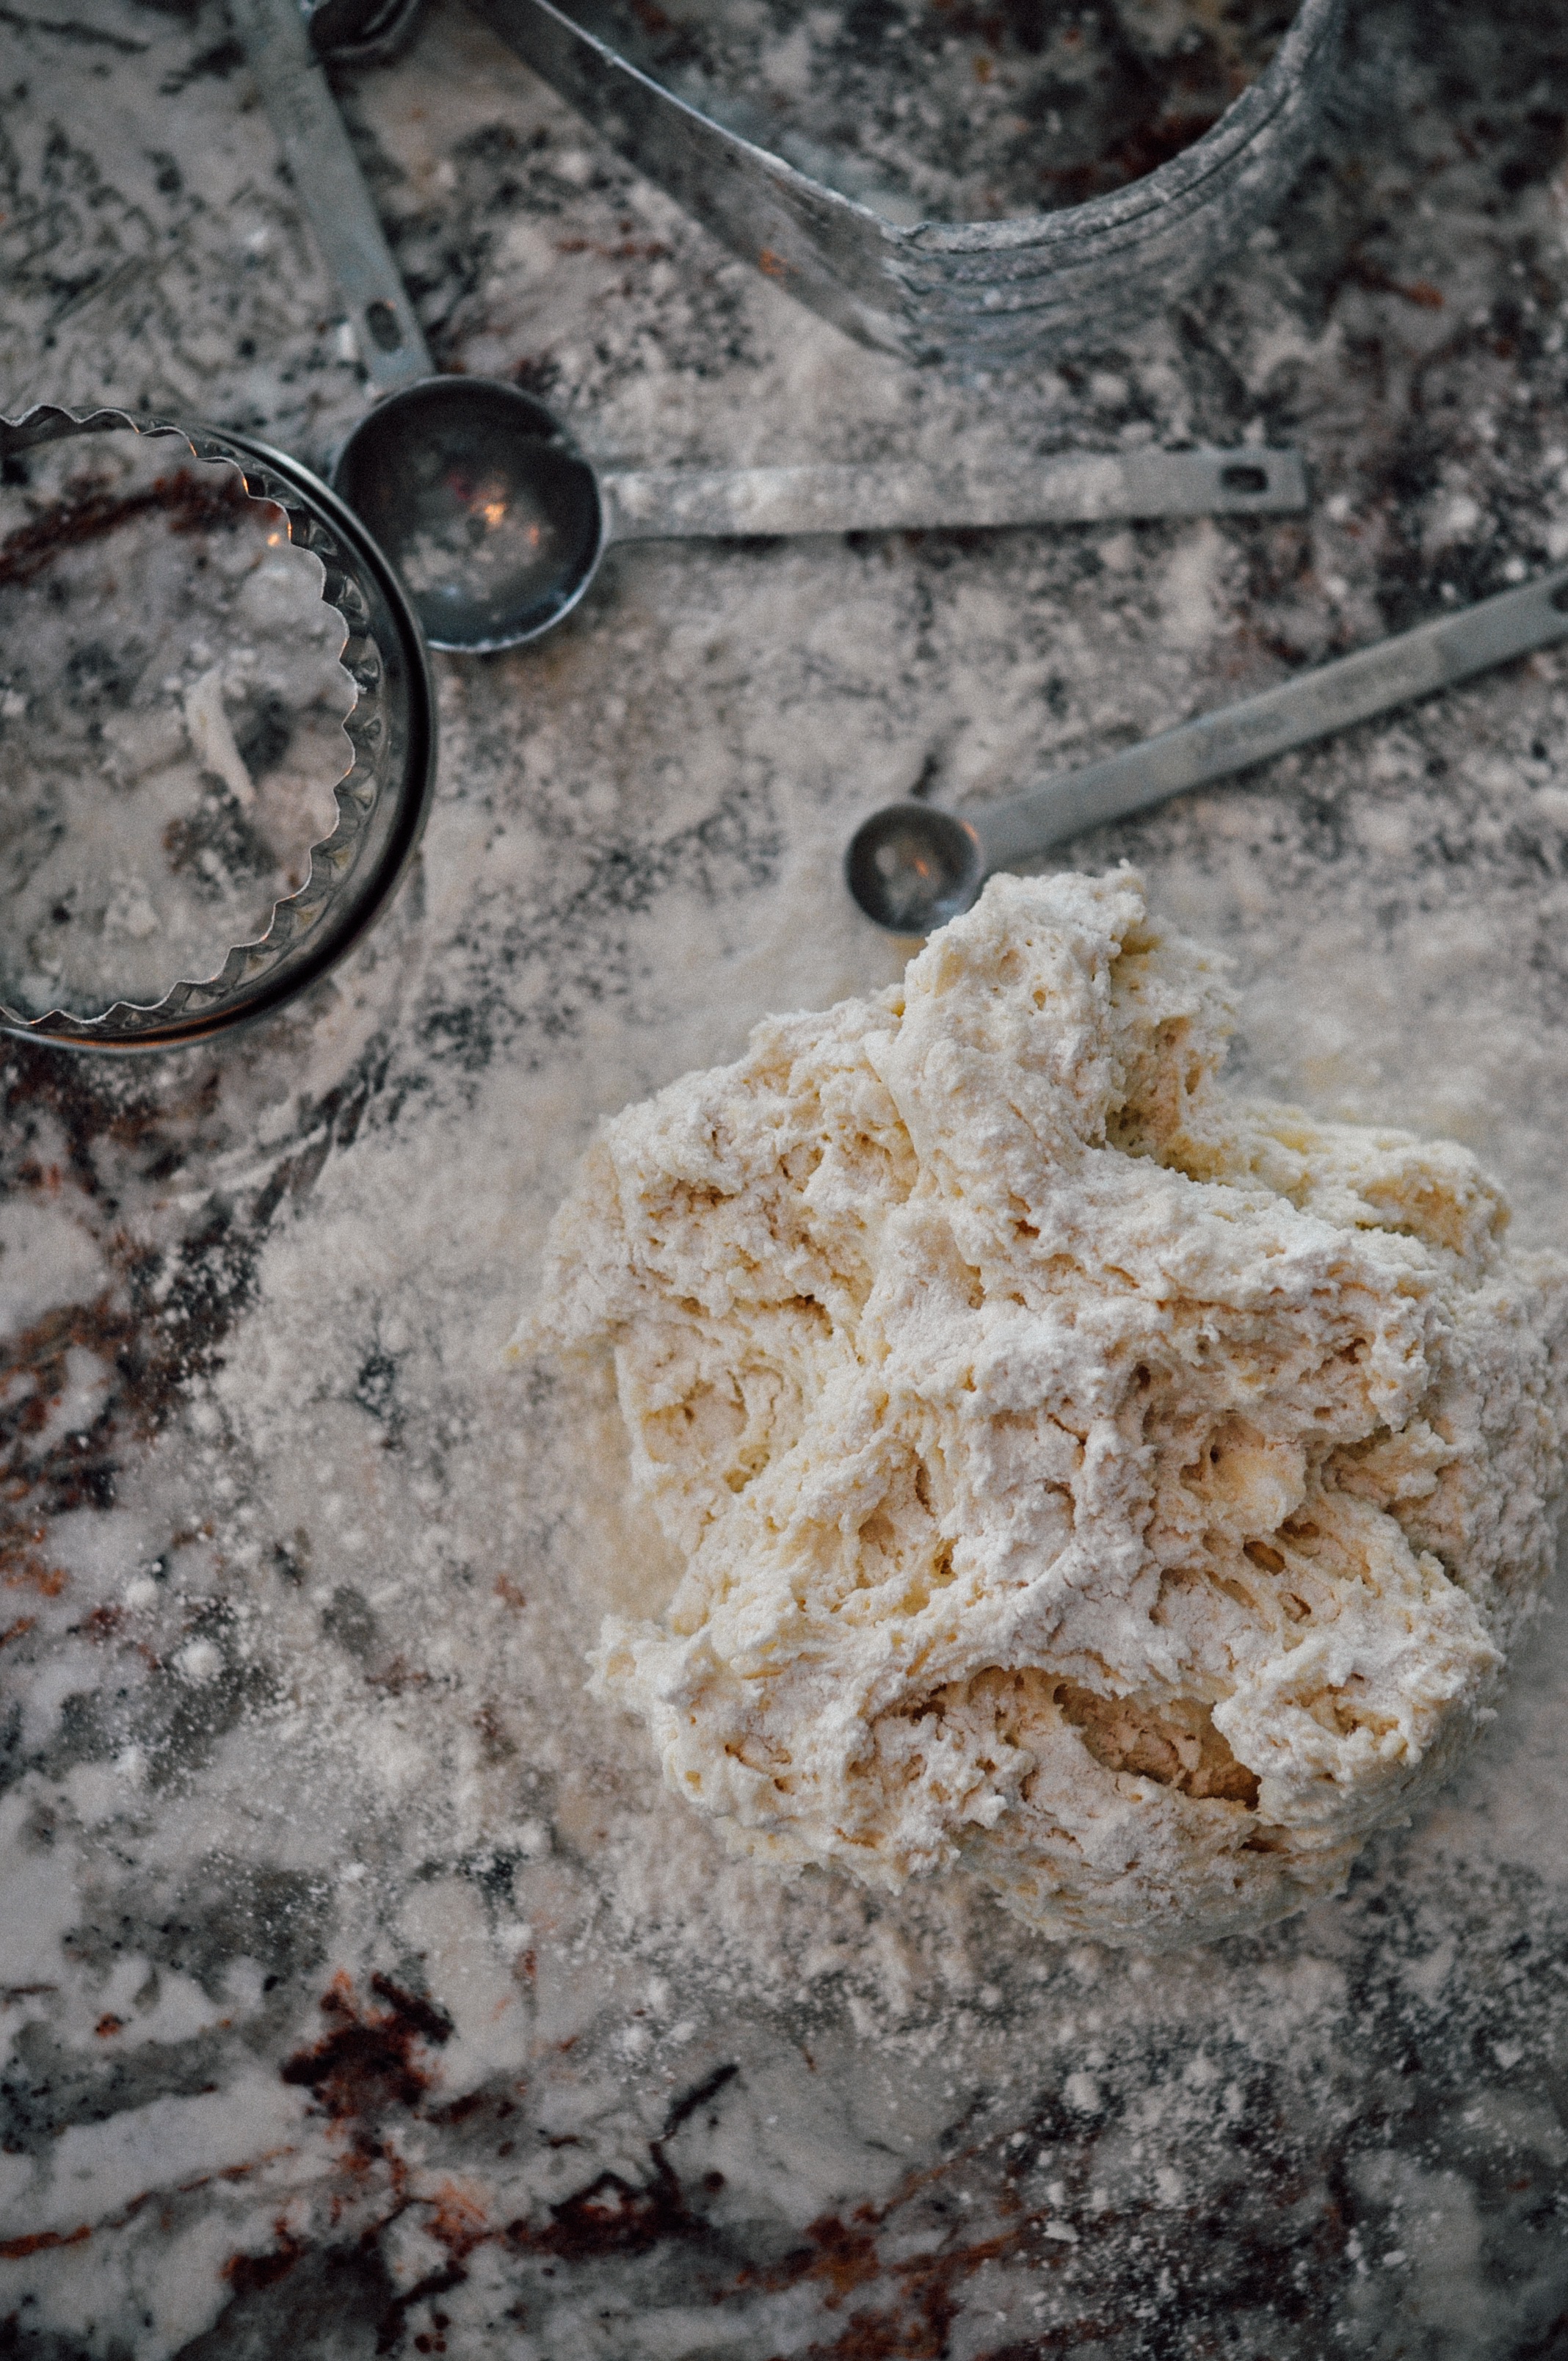
- Sift the flour, baking powder, baking soda, salt and sugar together into a large bowl. Blend the butter pieces and duck fat (or lard) into the dry mixture with a pastry blender (or two knives) until you achieve a course meal with flakes of butter/fat throughout.
- Make a well in the center of the flour mixture, then slowly pour the buttermilk in the center while stirring the flour into the "pool" of buttermilk. Depending on the humidity levels, it may only take 3/4 cup buttermilk (rainy or very humid day) to 1 cup buttermilk (clear, dry day). Stir in the buttermilk until a dough forms and no dry pieces are left, but it should not be overly wet either.
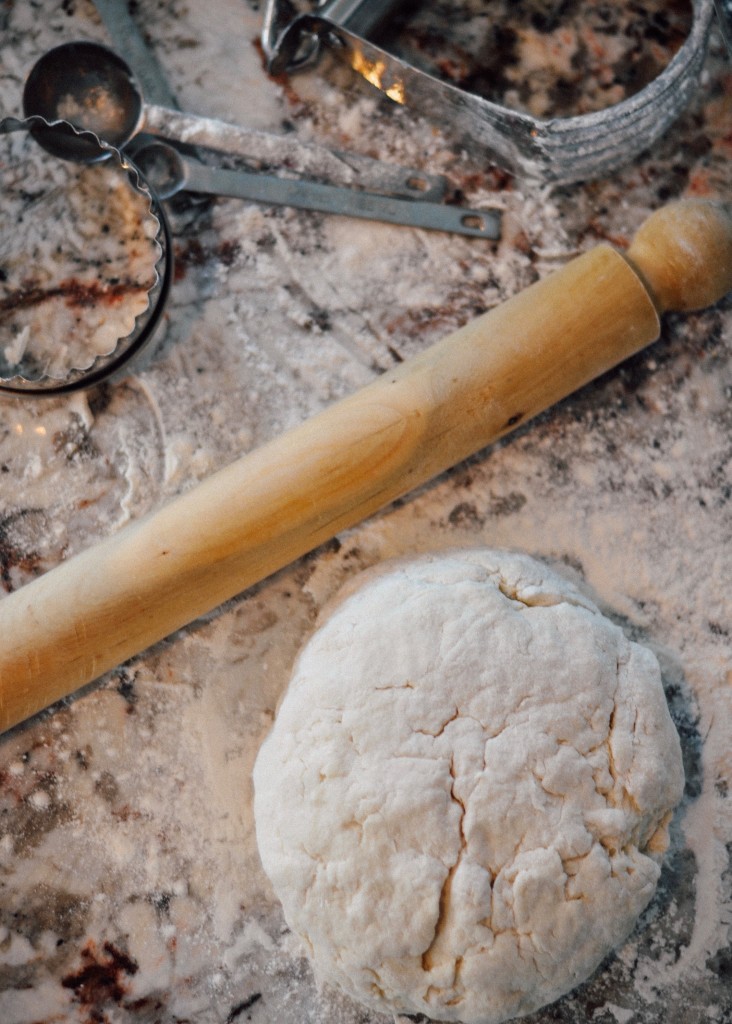
- Turn the dough out onto a floured work surface. Roll out the dough until it is 1/2 inch thick. Use a biscuit cutter (between 2-3 inches...I use a 3 inch cutter for bigger biscuits) to cut out rounds and place on a cookie sheet. Gather dough, form, rollout, and cut out biscuits until you're out of dough. Don't over handle the dough as the butter starts to melt. You can dust a little flour over the dough if it gets too sticky.
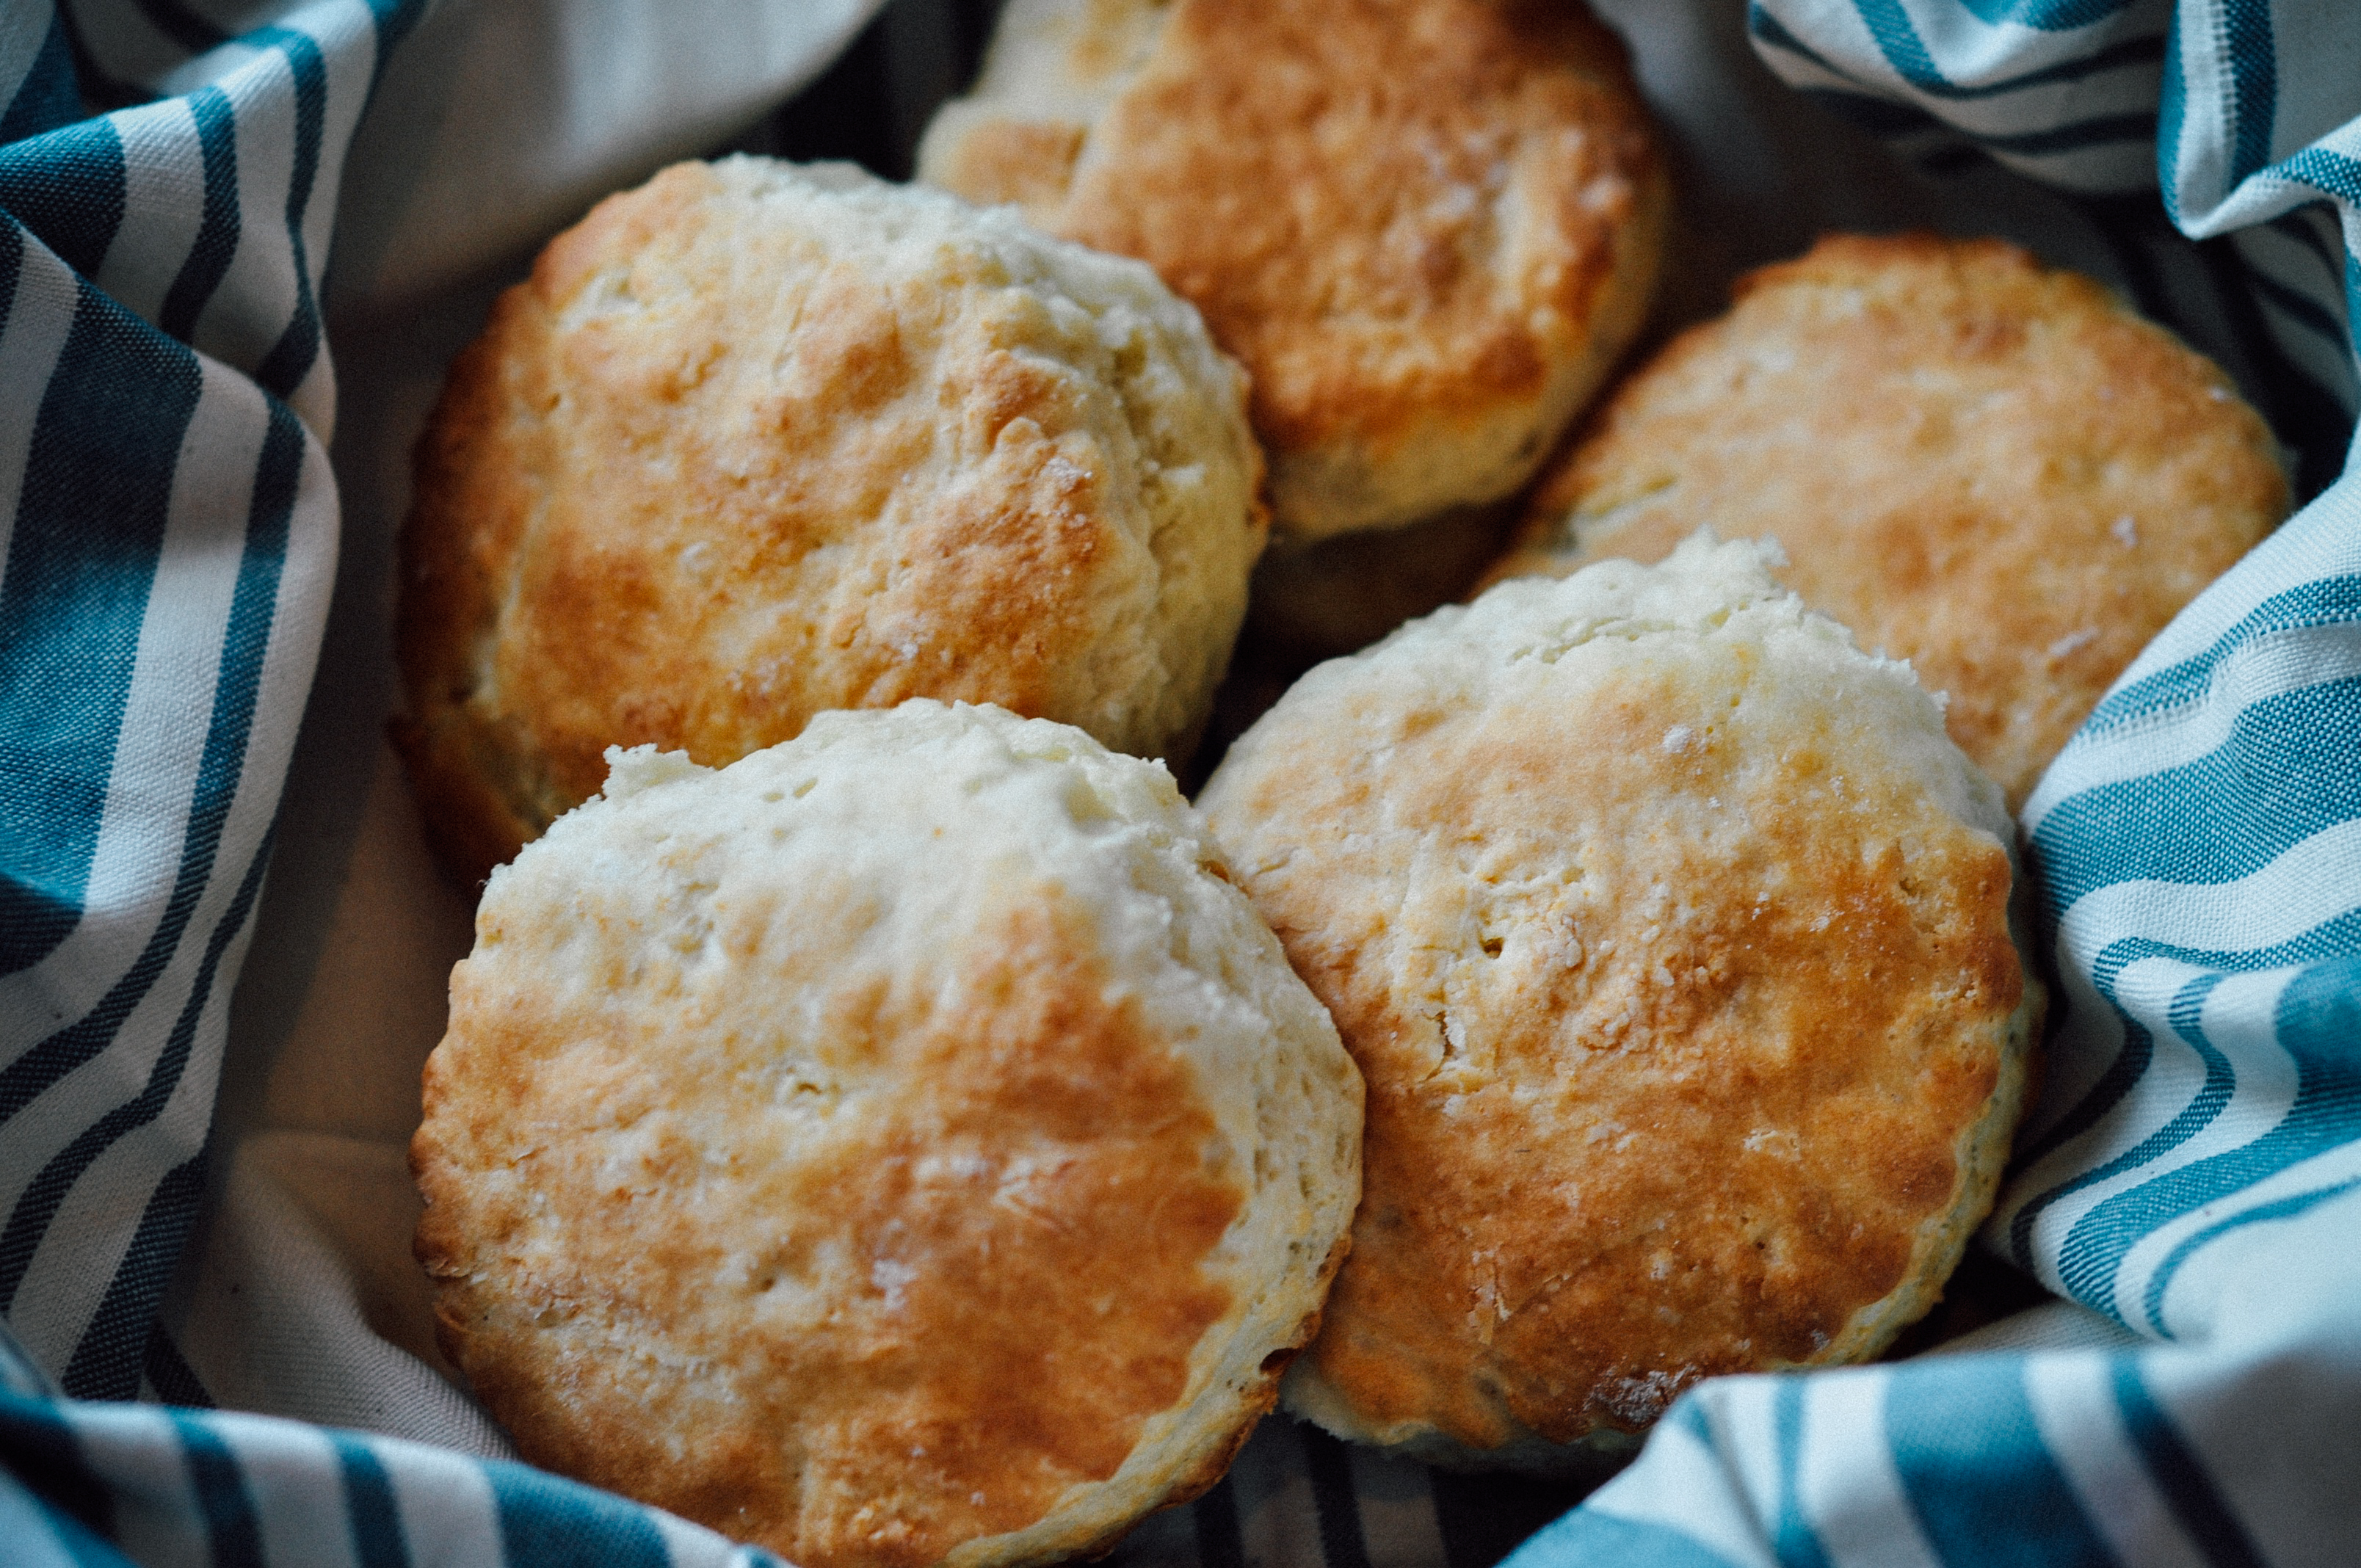
- Place the biscuit rounds on the cookie sheet so they are lightly touching one another. They'll help each other "climb" as they bake. Friendly biscuits...
- Bake for 10-12 minutes until the biscuits have risen and the tops have started to brown. Remove from the oven, brush with melted butter (if desired).
- When slightly cooled from the oven, slice the biscuits open, pile high with thinly sliced Virginia ham, spread honey mustard (or condiment of your choice) on the top biscuit half, and enjoy! Serve warm or at room temperature.

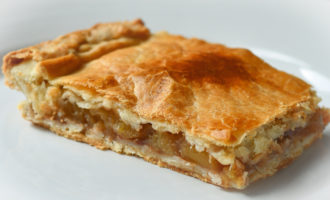
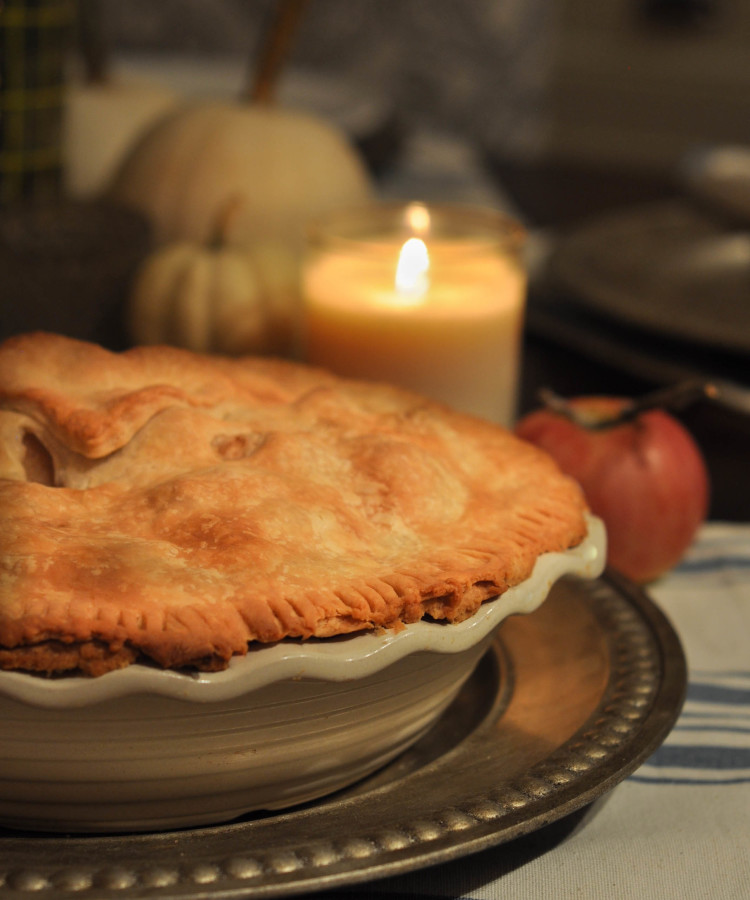
Virginia Apple Pie
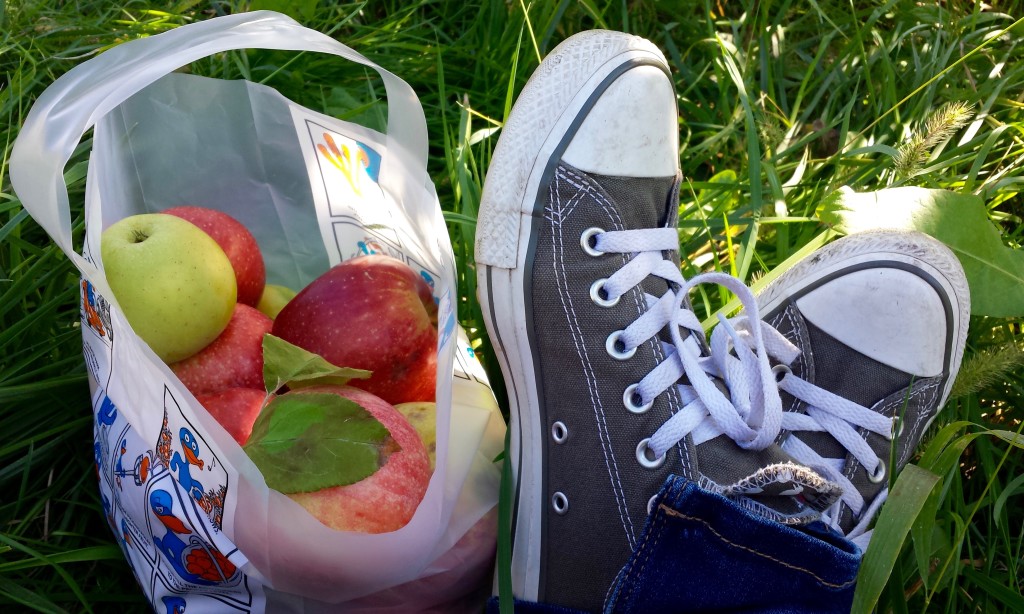
I’m a full-fledged fall fan. It took me a while, but watch out… I’m so in it now… I’m loving your fallen leaves, your crisp mornings and scarf-worthy breezes, your sweat pant hugs, your apple picking.
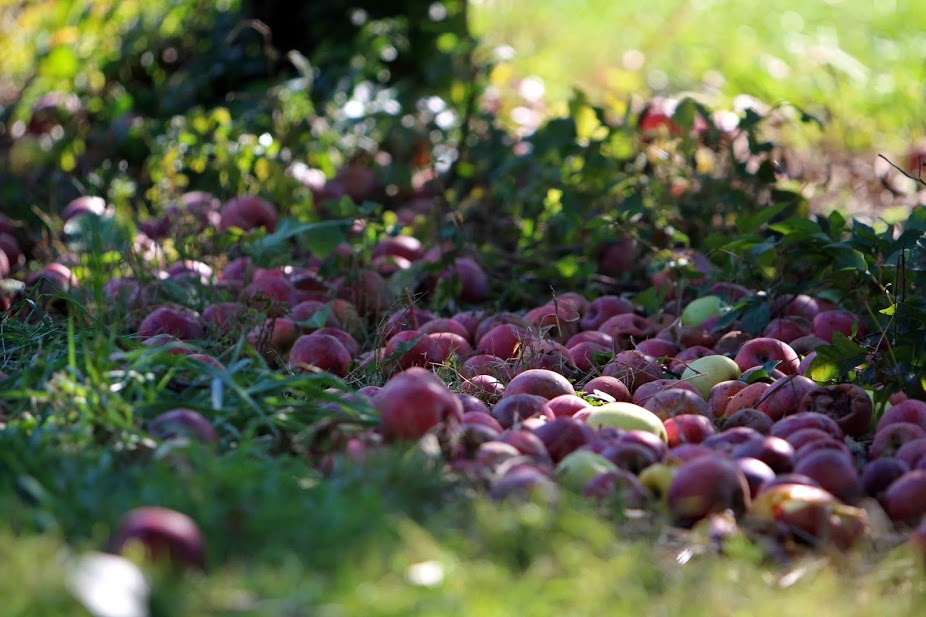
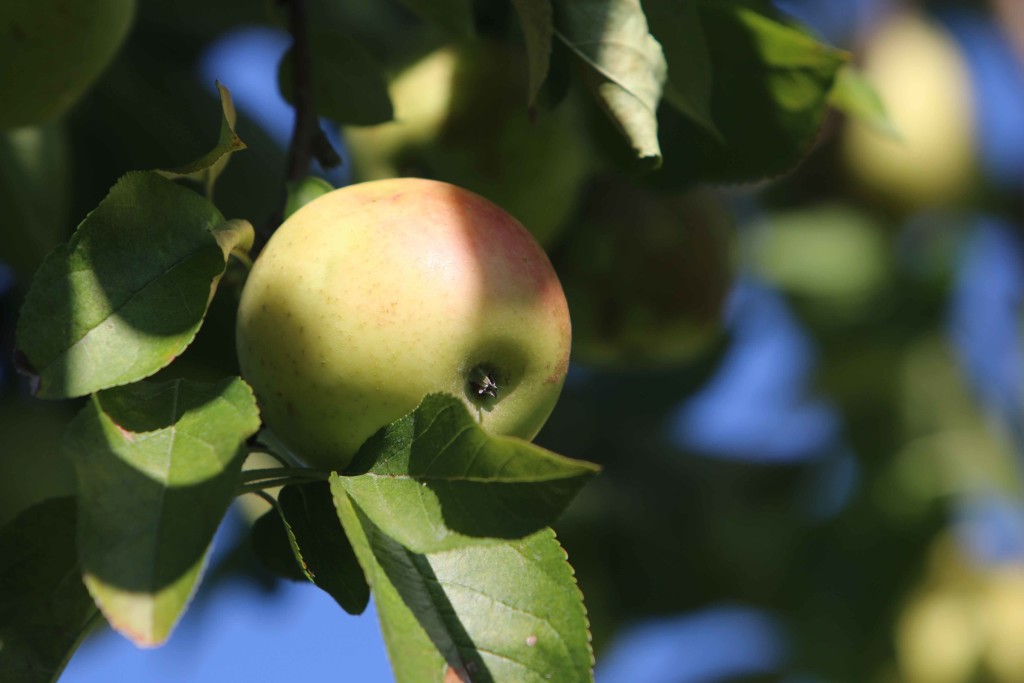
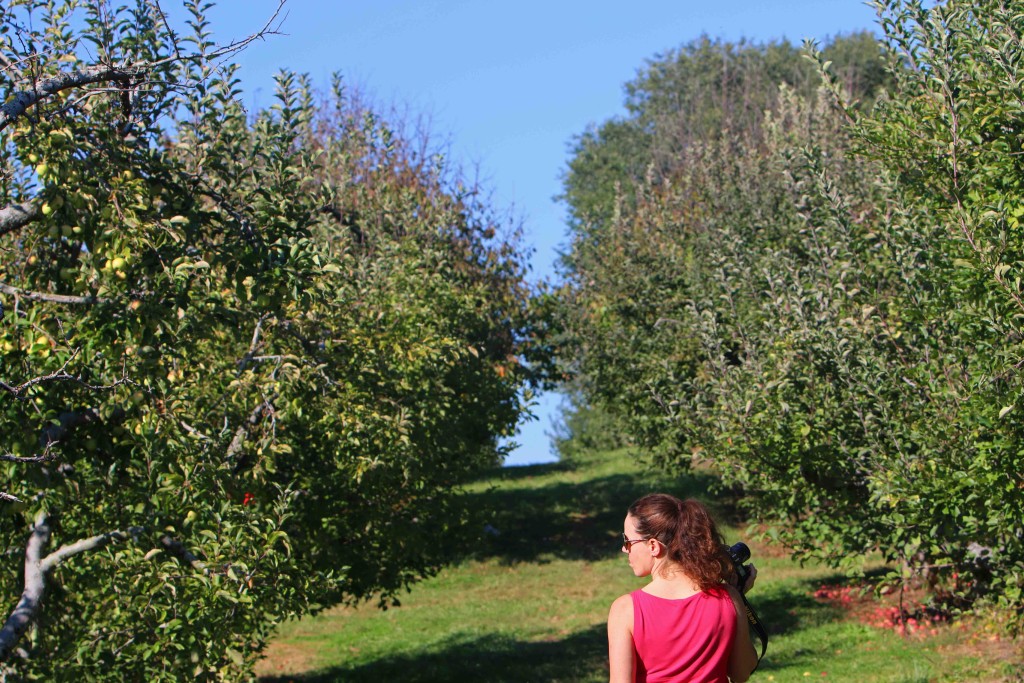
The apple picking. Virginia, do you ever have some apple picking.
Branches heavy hanging. Children laughing, running through rows, sitting under trees, sneaking little nibbles. Carefree, family outing, dogs curiously sniffing, bags overflowing, enthusiastic fruits, ground covered, harvest tables, so inviting. So lovely, apple pie.
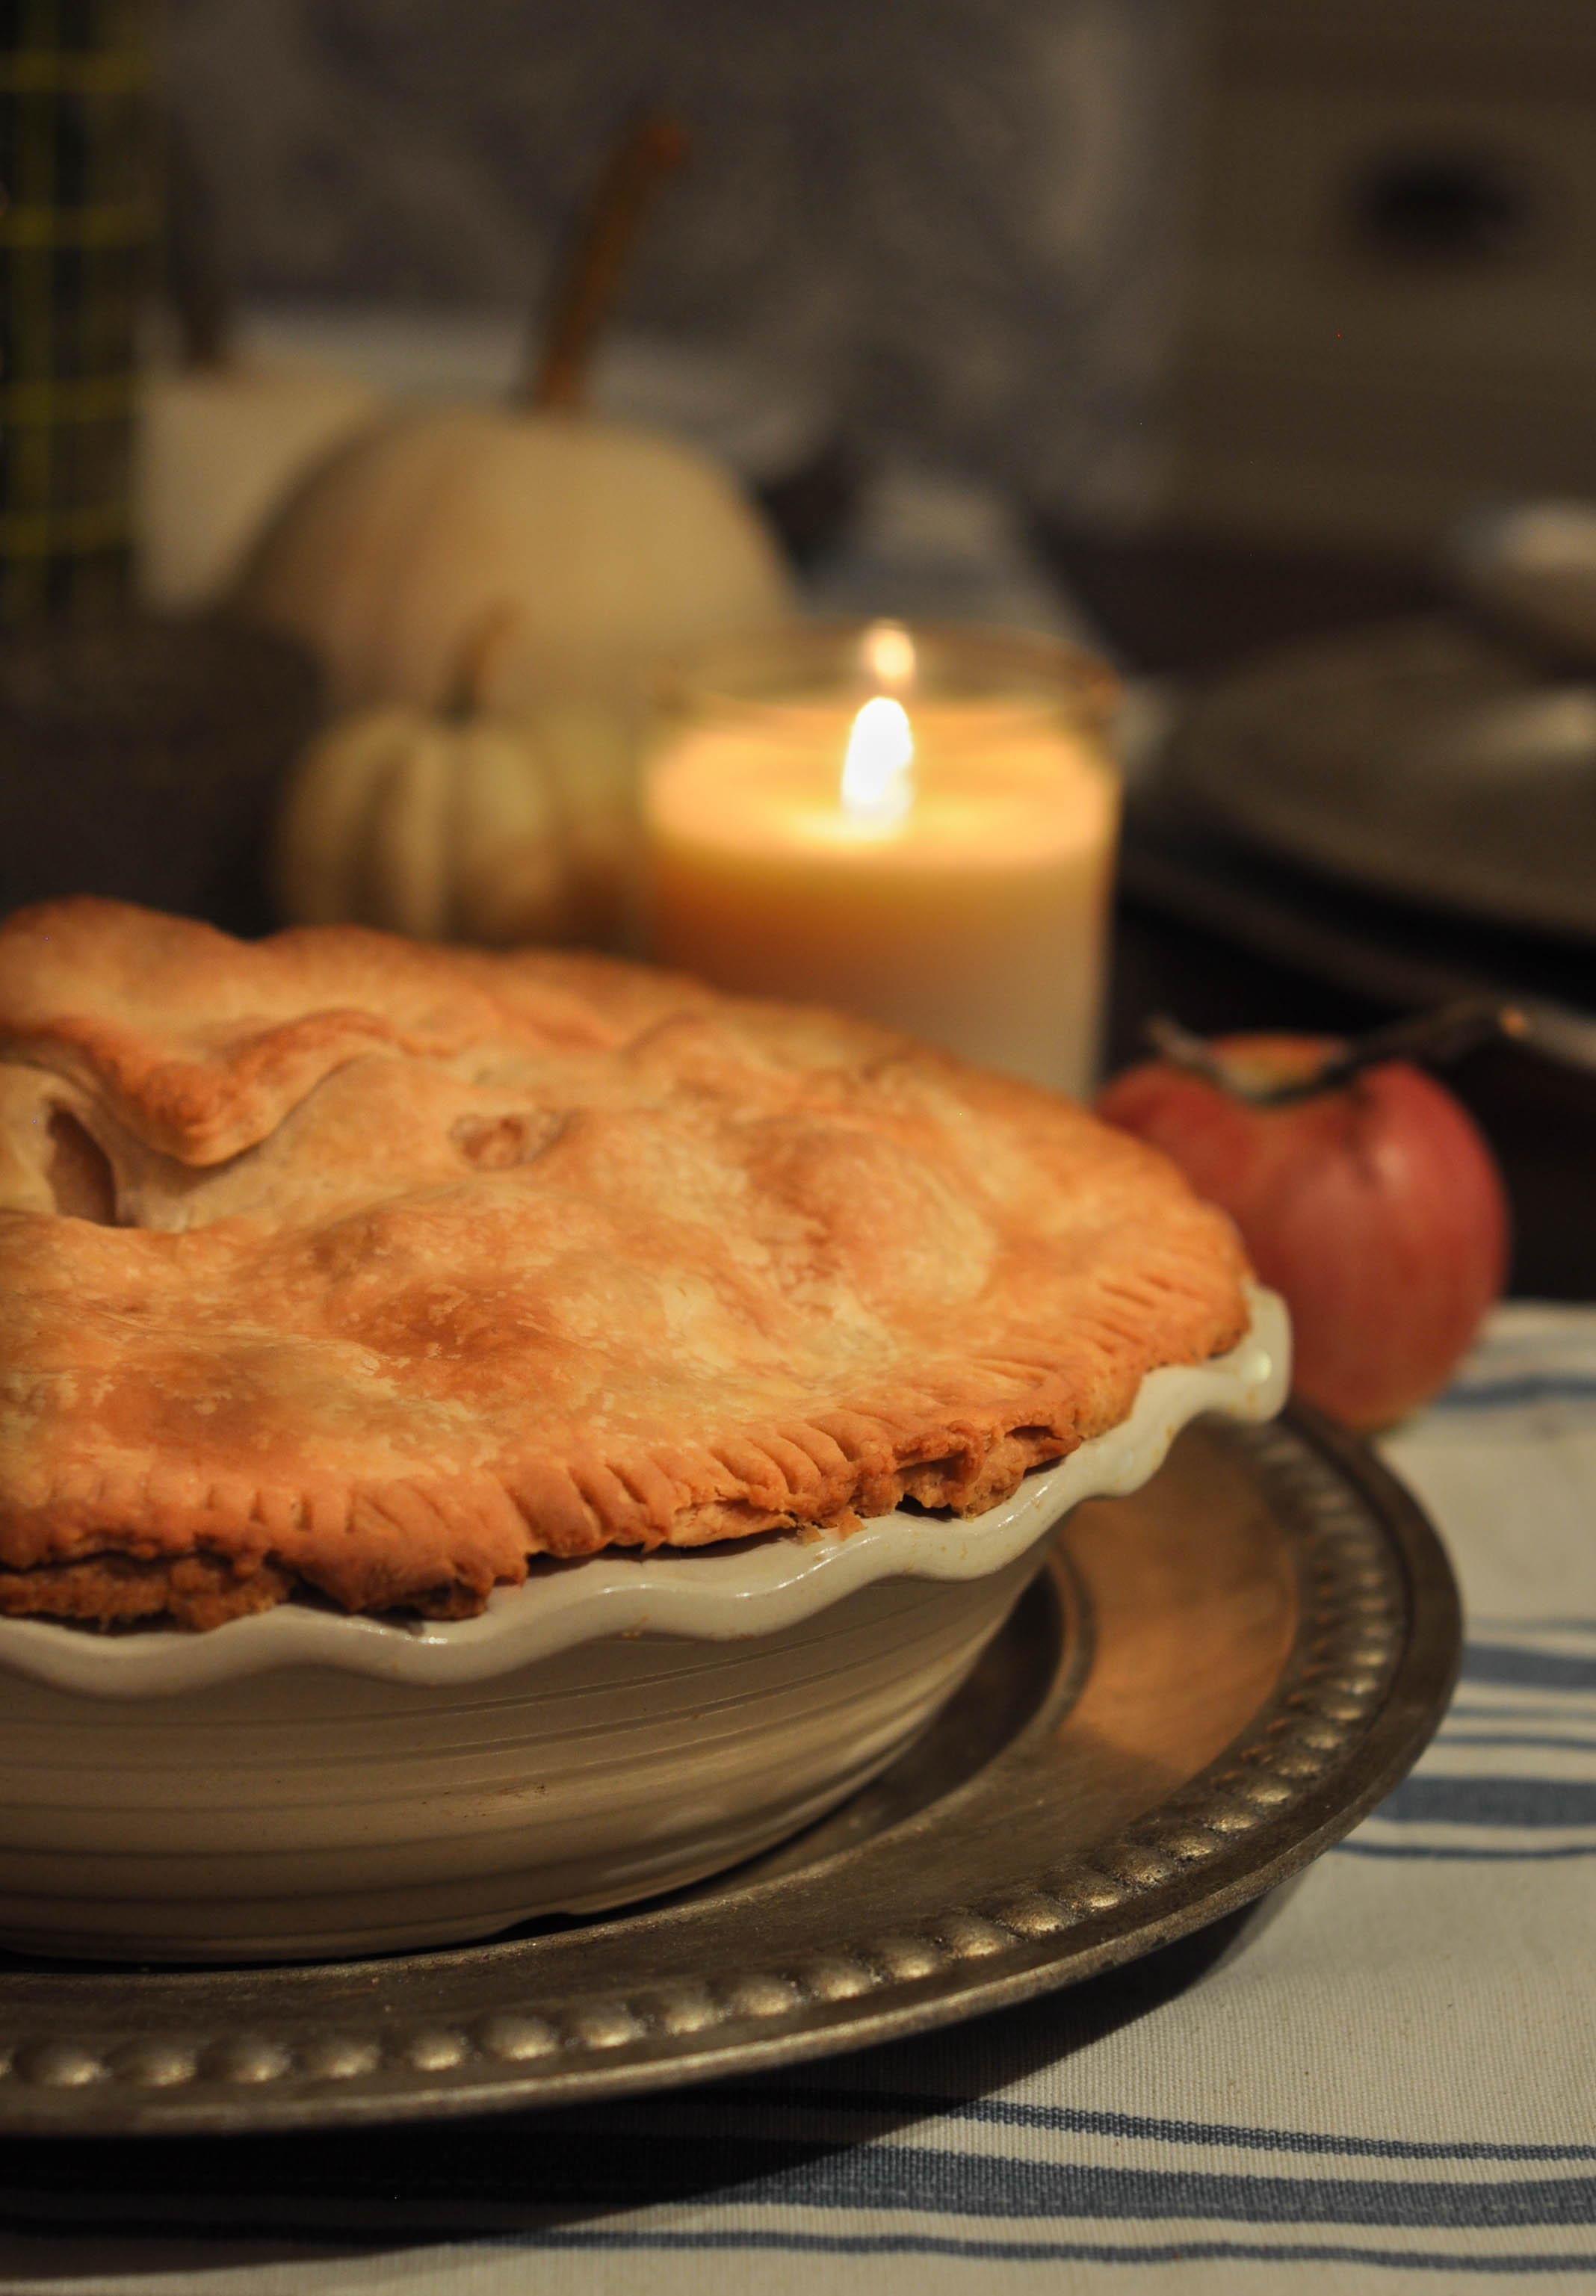
APPLE PIE.
Because there’s comfort food, and then there’s apple pie.


…And I just felt like there was one thing that needed to happen after picking: APPLE PIE.
I have played around with this recipe for years, and I think I’ve finally reached my version of apple pie perfection. The cinnamon, nutmeg, ginger and dash of cayenne combine into an earthy richness that add a subtle warmth to the sweetness and a balance to the tartness.
A few little tips: 1) Cook the apples in advance. The apples cook down so you can really create a jam-packed apple experience. I’ve made plenty of apple pies without cooking the apples first, and the results don’t even come close. 2) Use an apple wedger (buy one, just do it). 3) Use a great quality pie plate. I use a stoneware pie dish that browns the crust perfectly. And, it just looks cute… I used a mix of Idared and York apples because, well, that’s what was on the trees. Result: fantastic. I’m also a fan of Braeburn apples for pie. Ultimately, though, you’re the artist and it’s your (pie) palette.
“If you wish to make an apple pie from scratch, you must first create the Universe.”
Carl Sagan gave a tall order, but I think you’ll find this recipe within the realm of the earthly possible. At the very least, you’ll end up with a little slice of heaven…
- 2 cups all purpose flour
- 1/2 cup + 6 tablespoons butter, cut into small pieces
- 2 teaspoons sugar
- 1 teaspoon salt
- 2 teaspoons apple cider vinegar
- 1 egg
- 1/4 cup cold water
- 10 - 12 apples
- 1/2 fresh lemon (to squeeze over apples after slicing)
- 1 cup sugar
- 1 teaspoon cinnamon
- 1/4 teaspoon nutmeg
- 1/8 teaspoon ground ginger
- 2 dashes of cayenne pepper
- 1/8 cup all purpose flour
- 3 tablespoons butter, cut into small pieces
- In a medium mixing bowl, mix the flour, sugar, and salt with a fork. Cut the butter into the flour mixture with a pastry knife. Alternately, you can cut the butter into the flour mixture with a food processor. With either method, mix the butter into the flour until you have a crumb-like mixture.
- Mix the vinegar, egg and water with a fork and combine the liquid mixture into the dry mixture until all ingredients are moist. With your hands, mold the dough into a ball and tightly cover with plastic wrap. Chill in the refrigerator for at least 15 minutes and up to 2 days. Don't you just love a pie crust that will let you wait until the last minute or plan ahead...
- Preheat the oven to 375 degrees.
- Peel, core and slice 10 - 12 apples. Don't be intimidated. You're going to cook the apples, so they will cook down a bit and allow you to really pack your pie full of apples. If you have an apple wedger--perfect! If not, slice apples into 1 inch wedges after peeling, cut out the core, and then cut the wedges into half pieces (the apples will pack into the pie crust easier). Place the apples in a large glass mixing bowl. Squeeze lemon over the cut apples to keep them from turning brown. Mix the sugar, cinnamon, nutmeg, ground ginger, cayenne pepper, and flour in a bowl; then sprinkle the mixture over the apples and thoroughly toss the apples in the sugar and spice mixture.
- Remove the dough from the refrigerator right before you cook the apples.
- In a very large skillet (I actually use a wok), cook the apples for about 10 minutes until they are fork tender, but not mushy. Much of the water from the apples will fill the skillet--you want this to happen. Remove the apples from the skillet and place back in the large mixing bowl. Continue to cook the remaining liquid over medium heat until it reduces and thickens (another 5 - 7 minutes). Remove the reduced liquid from heat.
- Cut the dough in half. Take one half and roll out thinly so that it will hang over the edge of your pie dish by 1/2 inch. With a large spoon, place the cooked apples into the pie shell in the pie dish. Drizzle the reduced apple and spice liquid over the apples. Dot the apples with 3 tablespoons of butter cut into small pieces. Roll out the other half of the pie dough and place over the apples in the dish. Fold the overlapping crusts together and crimp the edges all around the pie dish edge (a fork works well for this).
- Place the pie on a cookie sheet and bake at 375 degrees for 50 minutes. Check the pie at the halfway point, if the crust starts to brown too quickly, you can loosely cover the top or edges with aluminum foil to control the browning.
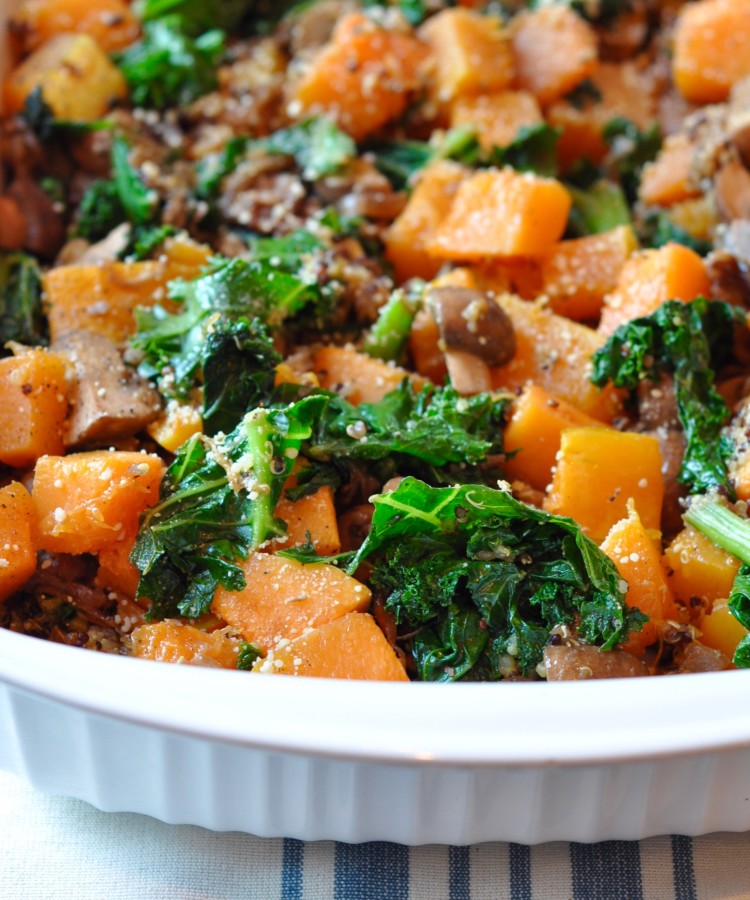
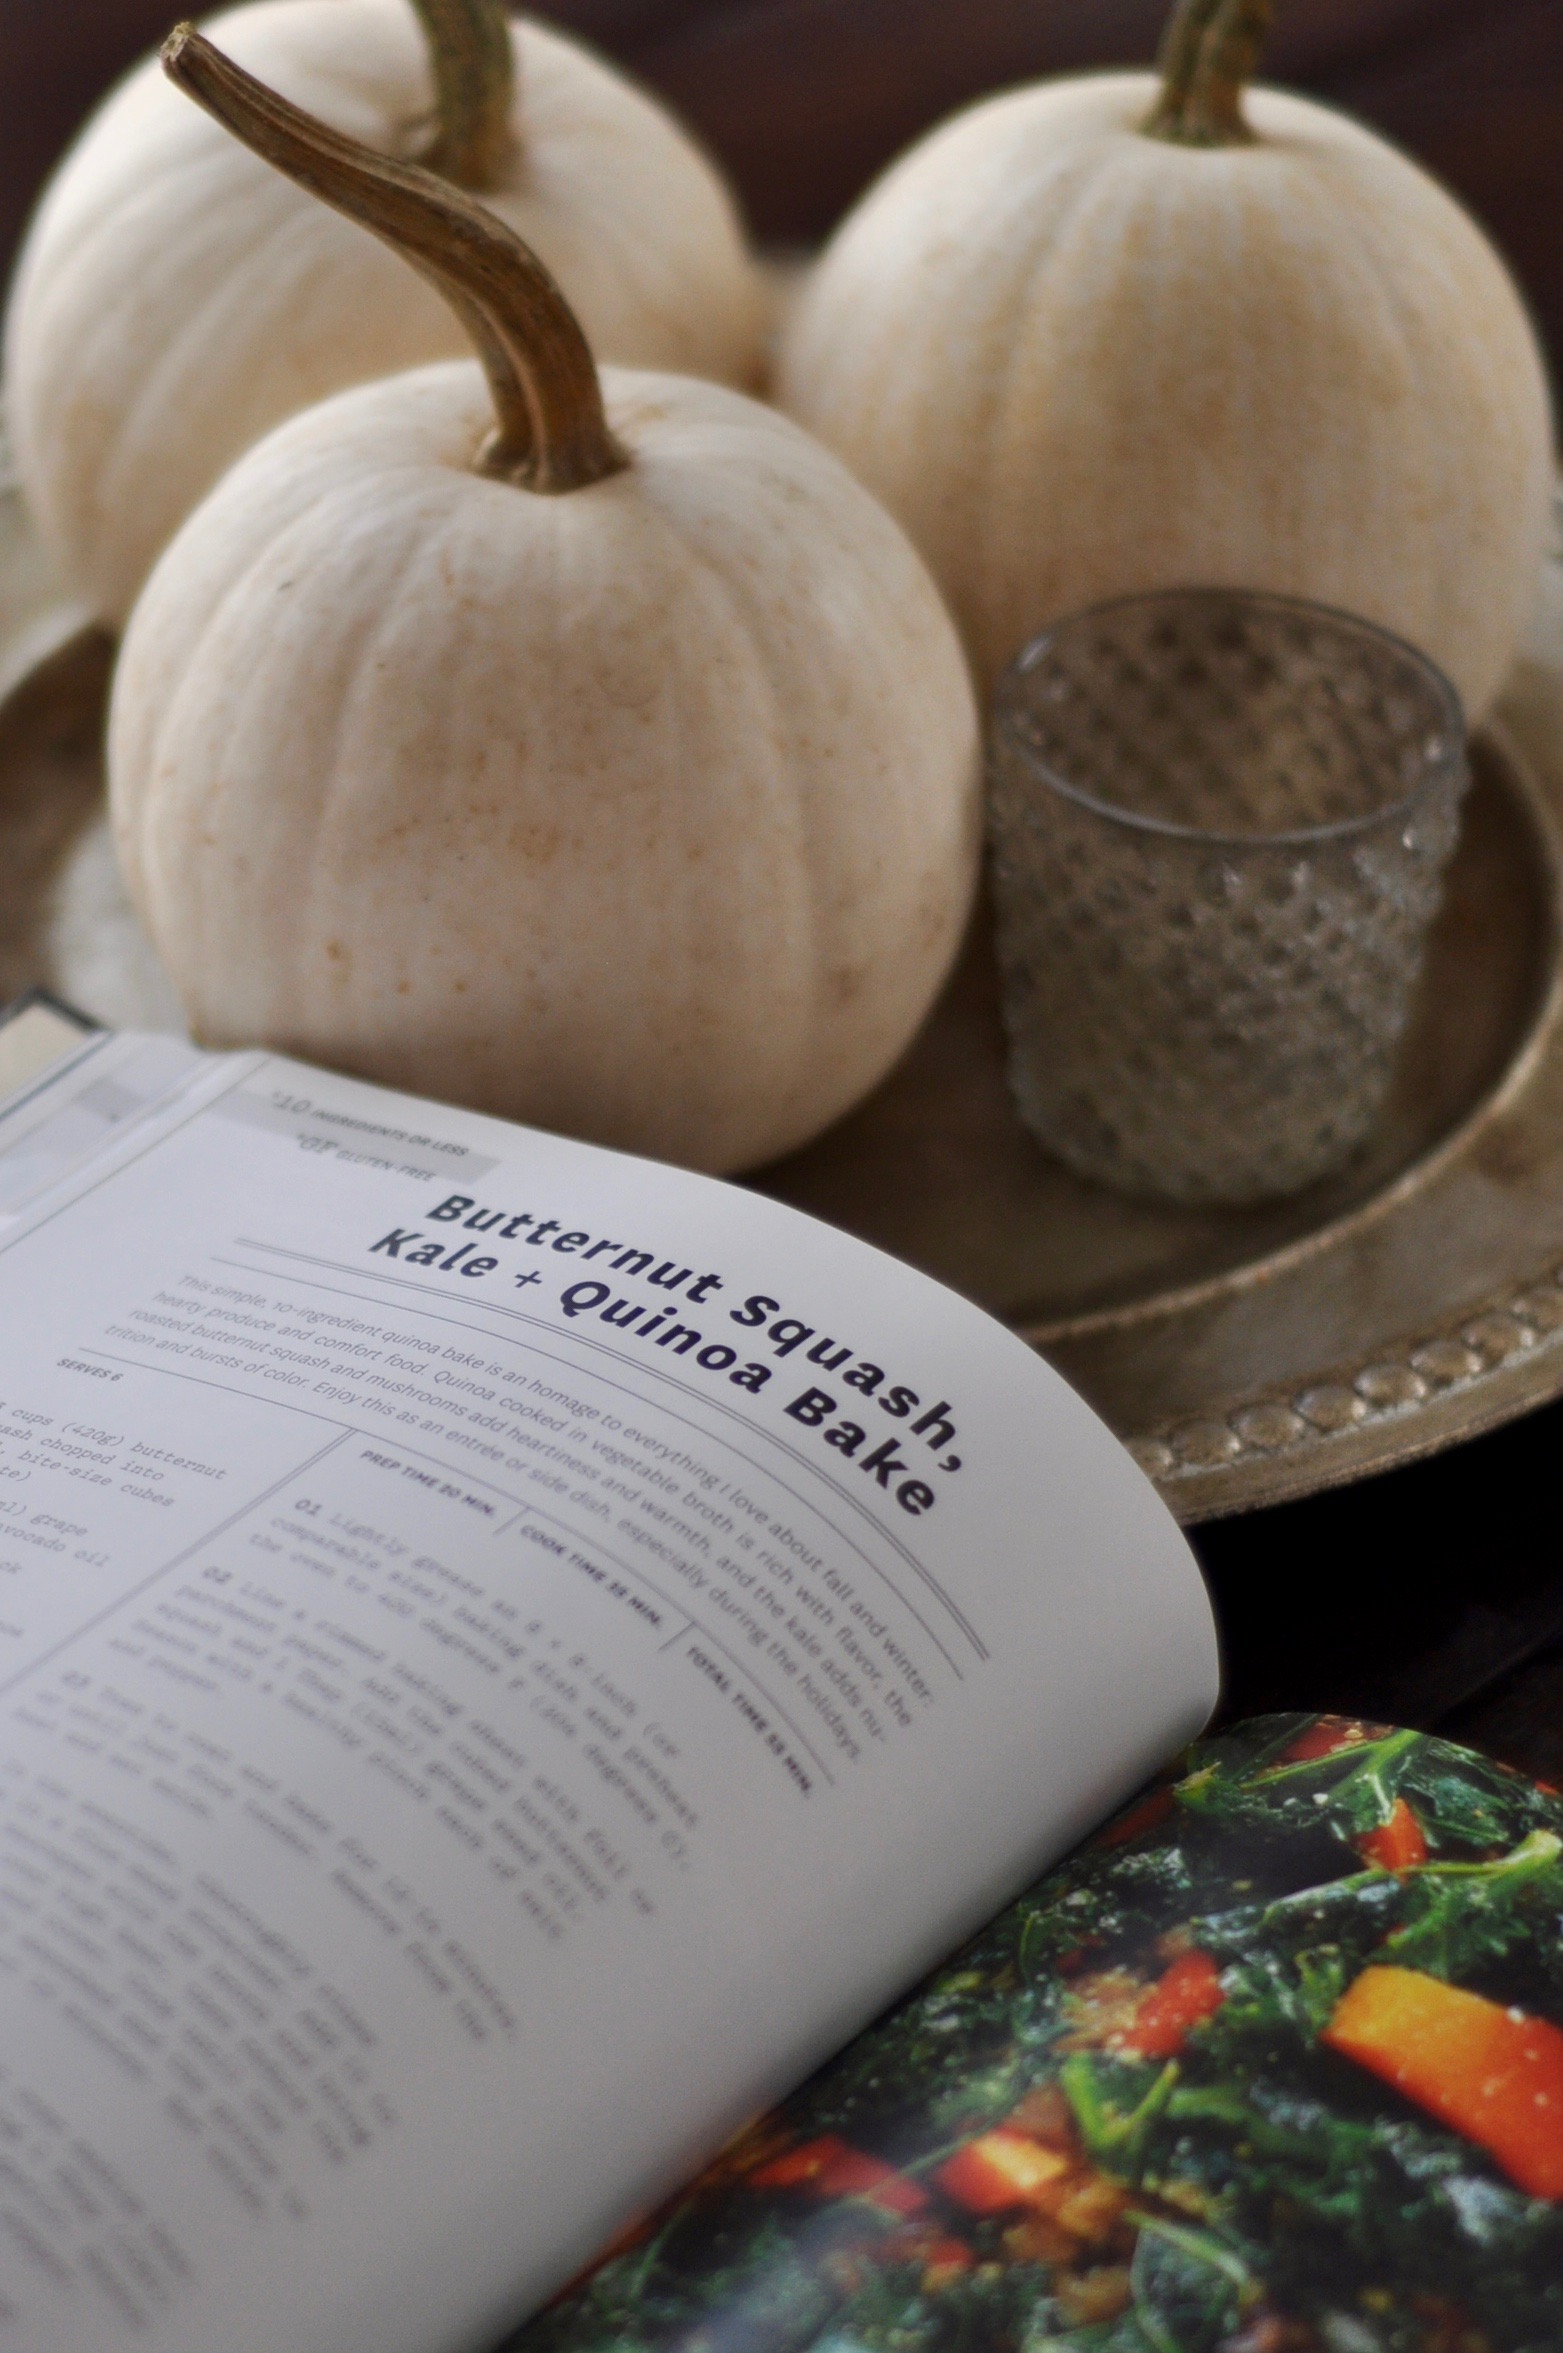
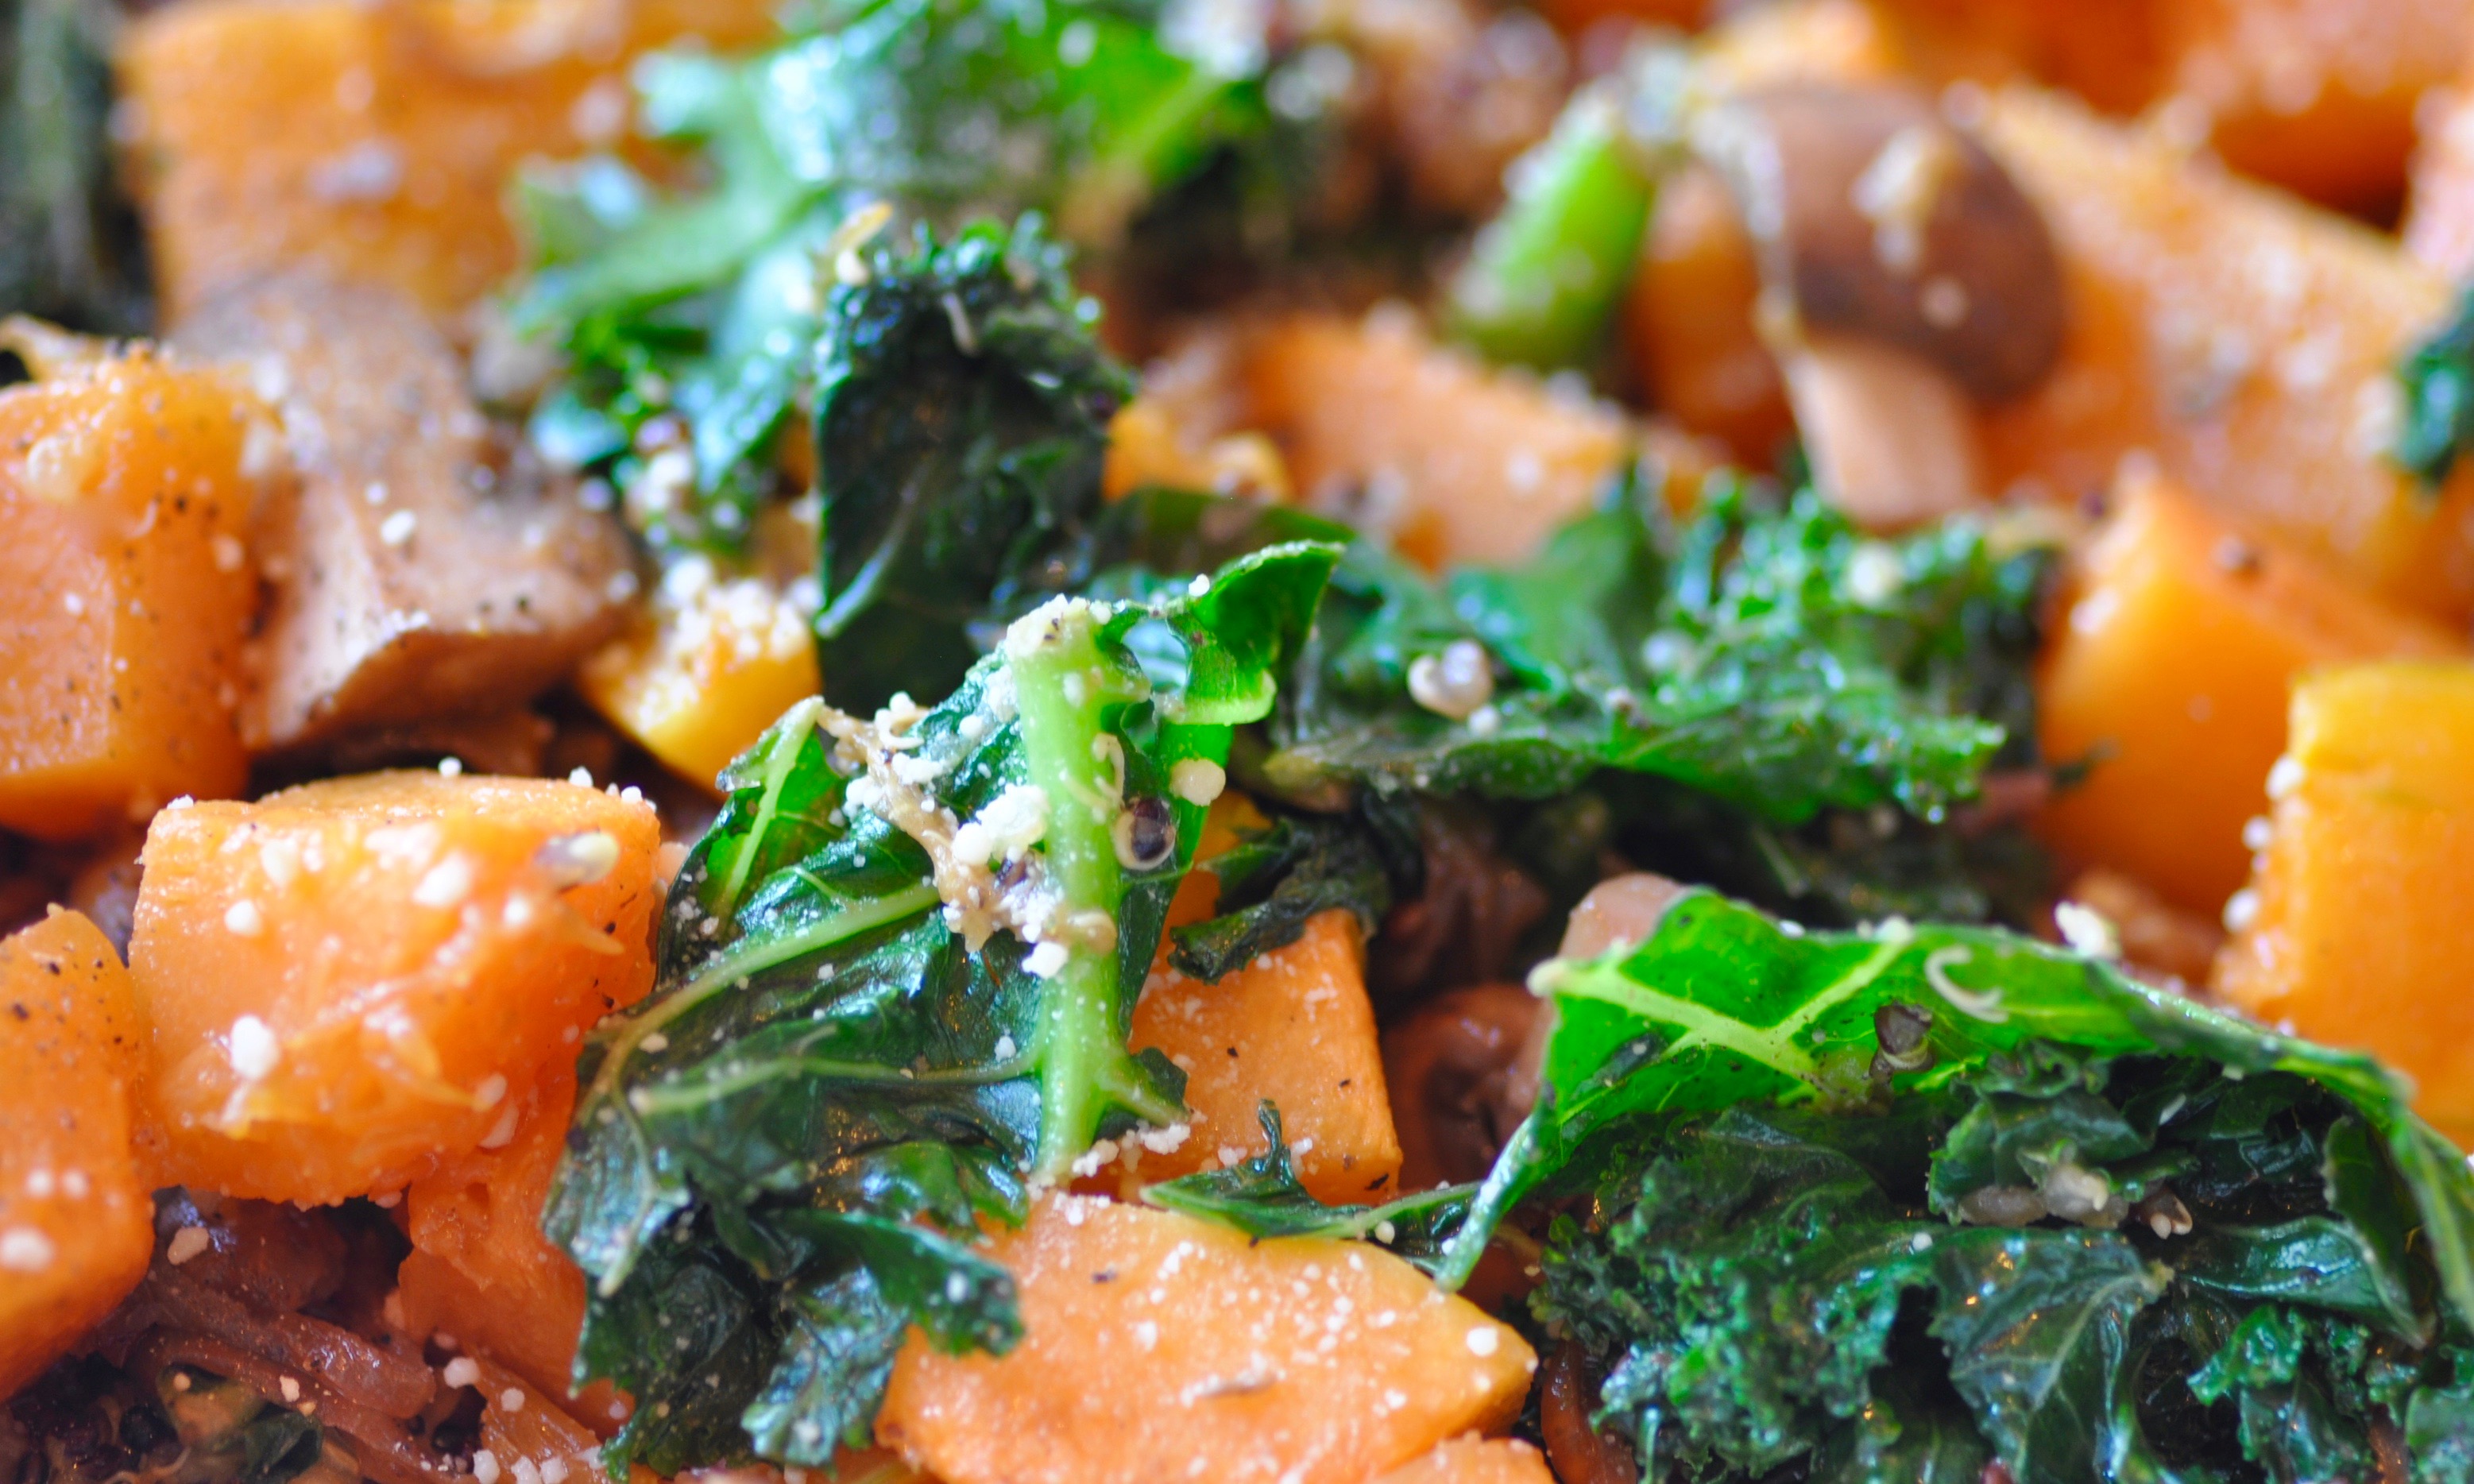
Butternut Squash, Quinoa & Kale Bake
I have embraced it: summer is over. I love this time of year. Windows open, crisp mornings, leaves unraveling their colors, pumpkin patches, wrapped up in a blanket couch cuddling. But, I wasn’t ready for it this year. Life has been busy…good busy…but BUSY. The summer raced by and I found myself on the other end of it, greeting autumn with full on denial slight hesitation. I’ve tried a half dozen PSLs (I know, but admit it– you long for them each year too…). I tossed a scarf around my neck. Nothing. I just wasn’t feeling it. But, if there is one thing I look forward to this time of year… it is certainly an autumn menu. I knew transition would find me there. Soups, chilis, roasted roots, squashes and pumpkins, apple pies and homemade breads, a house full of fresh-baked scents, spices and cinnamon. This is the time of year when menus get cozy. This is when comfort food is less a guilty pleasure and more just something you sink into with complete abandon. Because.You.Can…
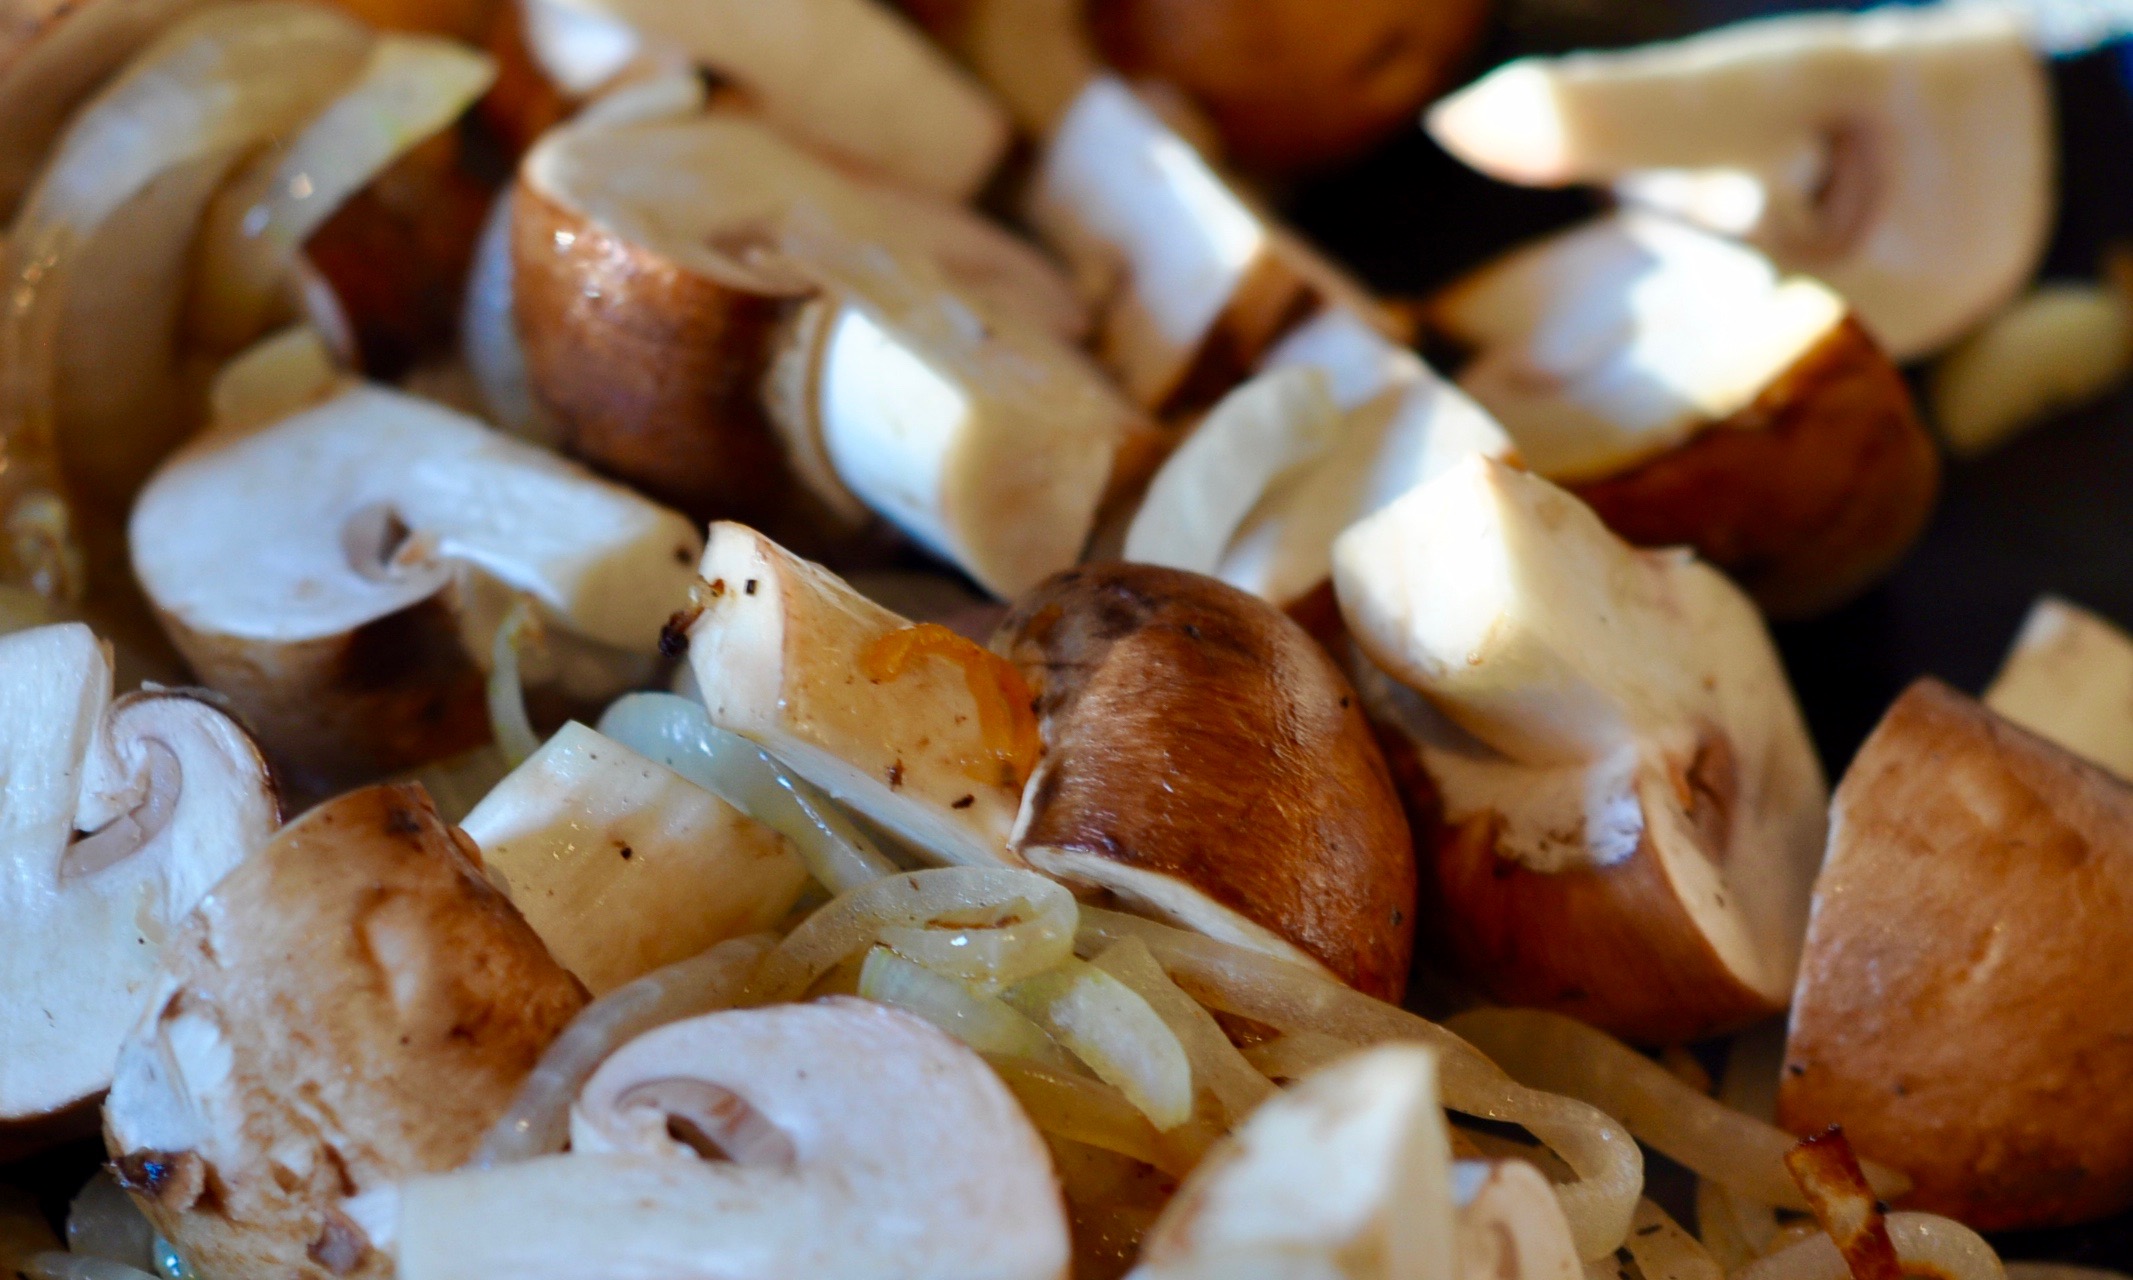
I am adoring Dana Shultz’, aka the Minimalist Baker’s, Everyday Cooking. What’s not to adore about simple, healthy, creative cooking?… She brings butternut squash, kale and quinoa together in a gorgeous combination. But, there’s an earthy richness with the onions, mushrooms and walnuts that really weave all the ingredients together. Bright pops of color and a texture you can sink your teeth into. This dish did it for me. It’s fall and I’m embracing it.
If you’re looking to serve up a side of autumn, this recipe is for you.
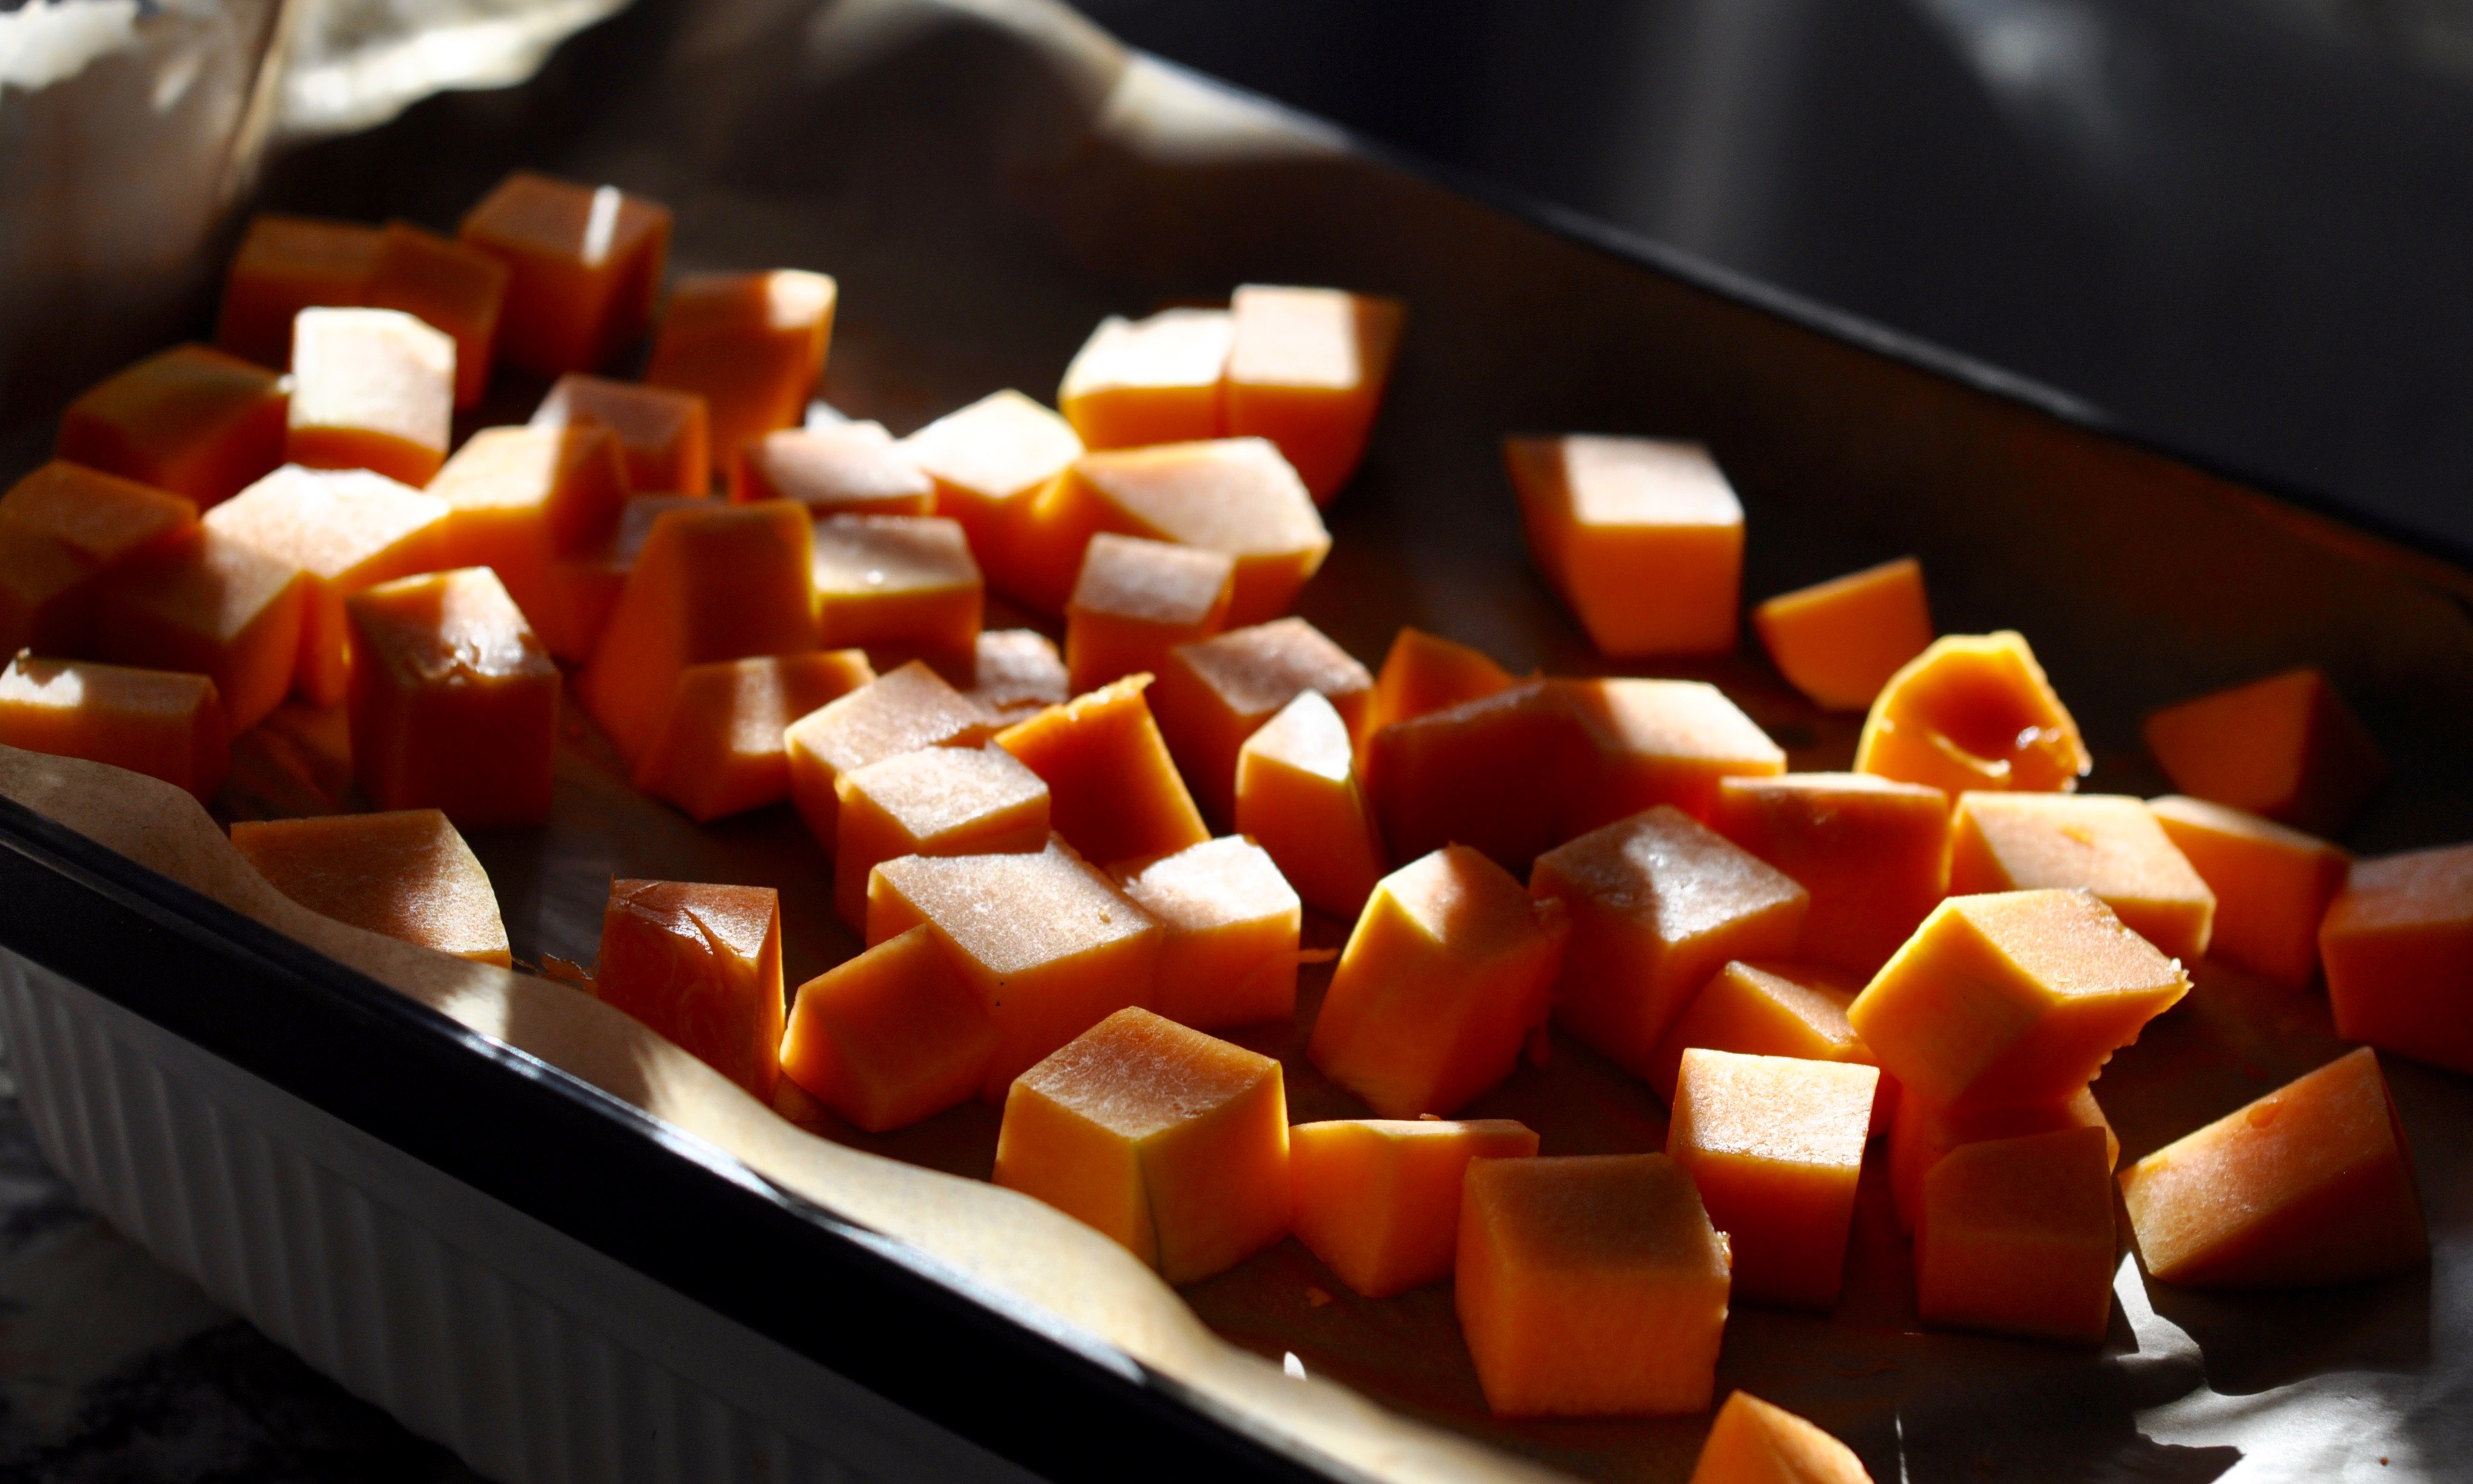
- 3 cups butternut squash, cut into bite-size pieces
- 2 tablespoons grape seed oil, divided
- 3/4 cup quinoa
- 1 1/2 cups vegetable broth
- 1/2 medium yellow onion, thinly sliced
- 2 cloves garlic, minced
- 8 ounces crimini, button or baby bella mushrooms, quartered
- 1/2 cup walnuts, roughly chopped
- 3 cups loosely packed kale, chopped
- 1/3 cup parmesan cheese (or vegan parm), divided
- Sea salt and black pepper, to taste
- Lightly grease an 8×8-inch (or comparable size) baking dish and preheat oven to 400°.
- Line a baking sheet with parchment paper. Add cubed butternut squash and toss with 1 tablespoon oil. Season with a healthy pinch of salt and pepper. Bake for 15-20 minutes until fork-tender. Remove from oven and set aside.
- While the squash is baking, rinse quinoa in a mesh strainer. Add to small saucepan with vegetable broth and bring to a boil over high heat. Reduce heat to low, cover and cook until liquid is fully absorbed and quinoa is fork-tender (15-20 minutes). Once quinoa is finished cooking, season with a healthy pinch of salt and pepper and half of the vegan Parmesan cheese. Stir, sample and adjust seasonings to taste. Remove from heat and leave covered.
- Heat large skillet over medium heat. Add remaining 1 tablespoon oil, onion and garlic. Season with a pinch each of salt and pepper. Cook until onion is translucent (about 4 - 5 minutes) stirring frequently. Add mushrooms and walnuts and season once more with salt and pepper. Continue cooking for 5 minutes or until mushrooms are lightly browned.
- Make room in the pan and add kale. Season once more with a good pinch of salt and pepper, and stir to coat. Cook until kale is just tender (about 3 - 5 minutes). Remove from heat and set aside.
- Reduce oven temperature to 375 and add cooked quinoa to prepared baking dish. Top with vegetable-walnut mixture and roasted butternut squash. Lightly stir to combine. Top with remaining vegan Parmesan cheese and bake uncovered for 10 minutes to warm through. Serve immediately. Leftovers will keep covered for up to 3 days.
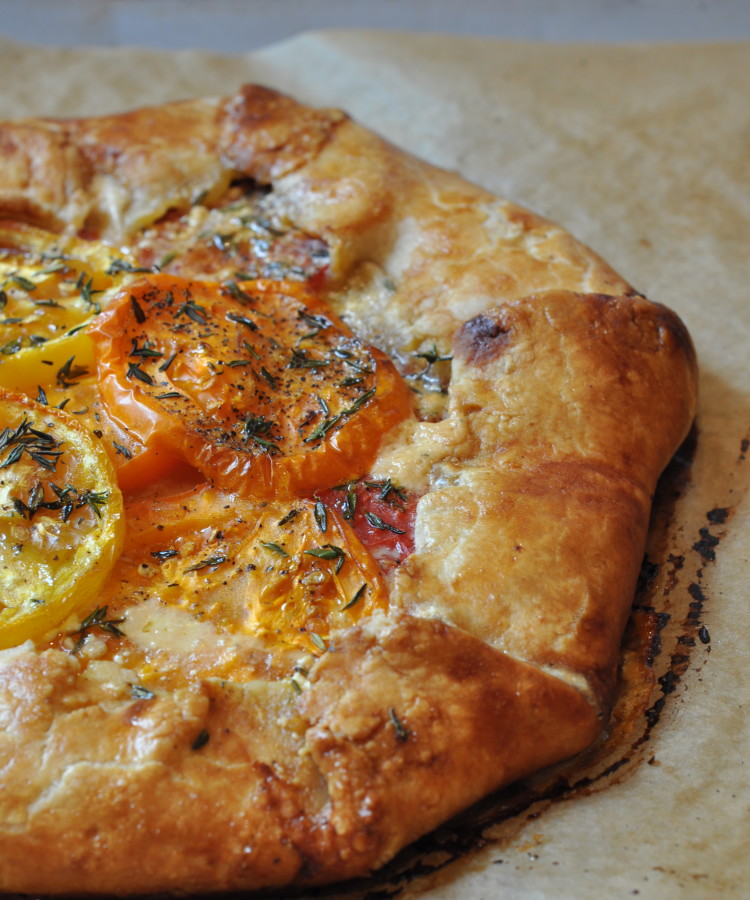
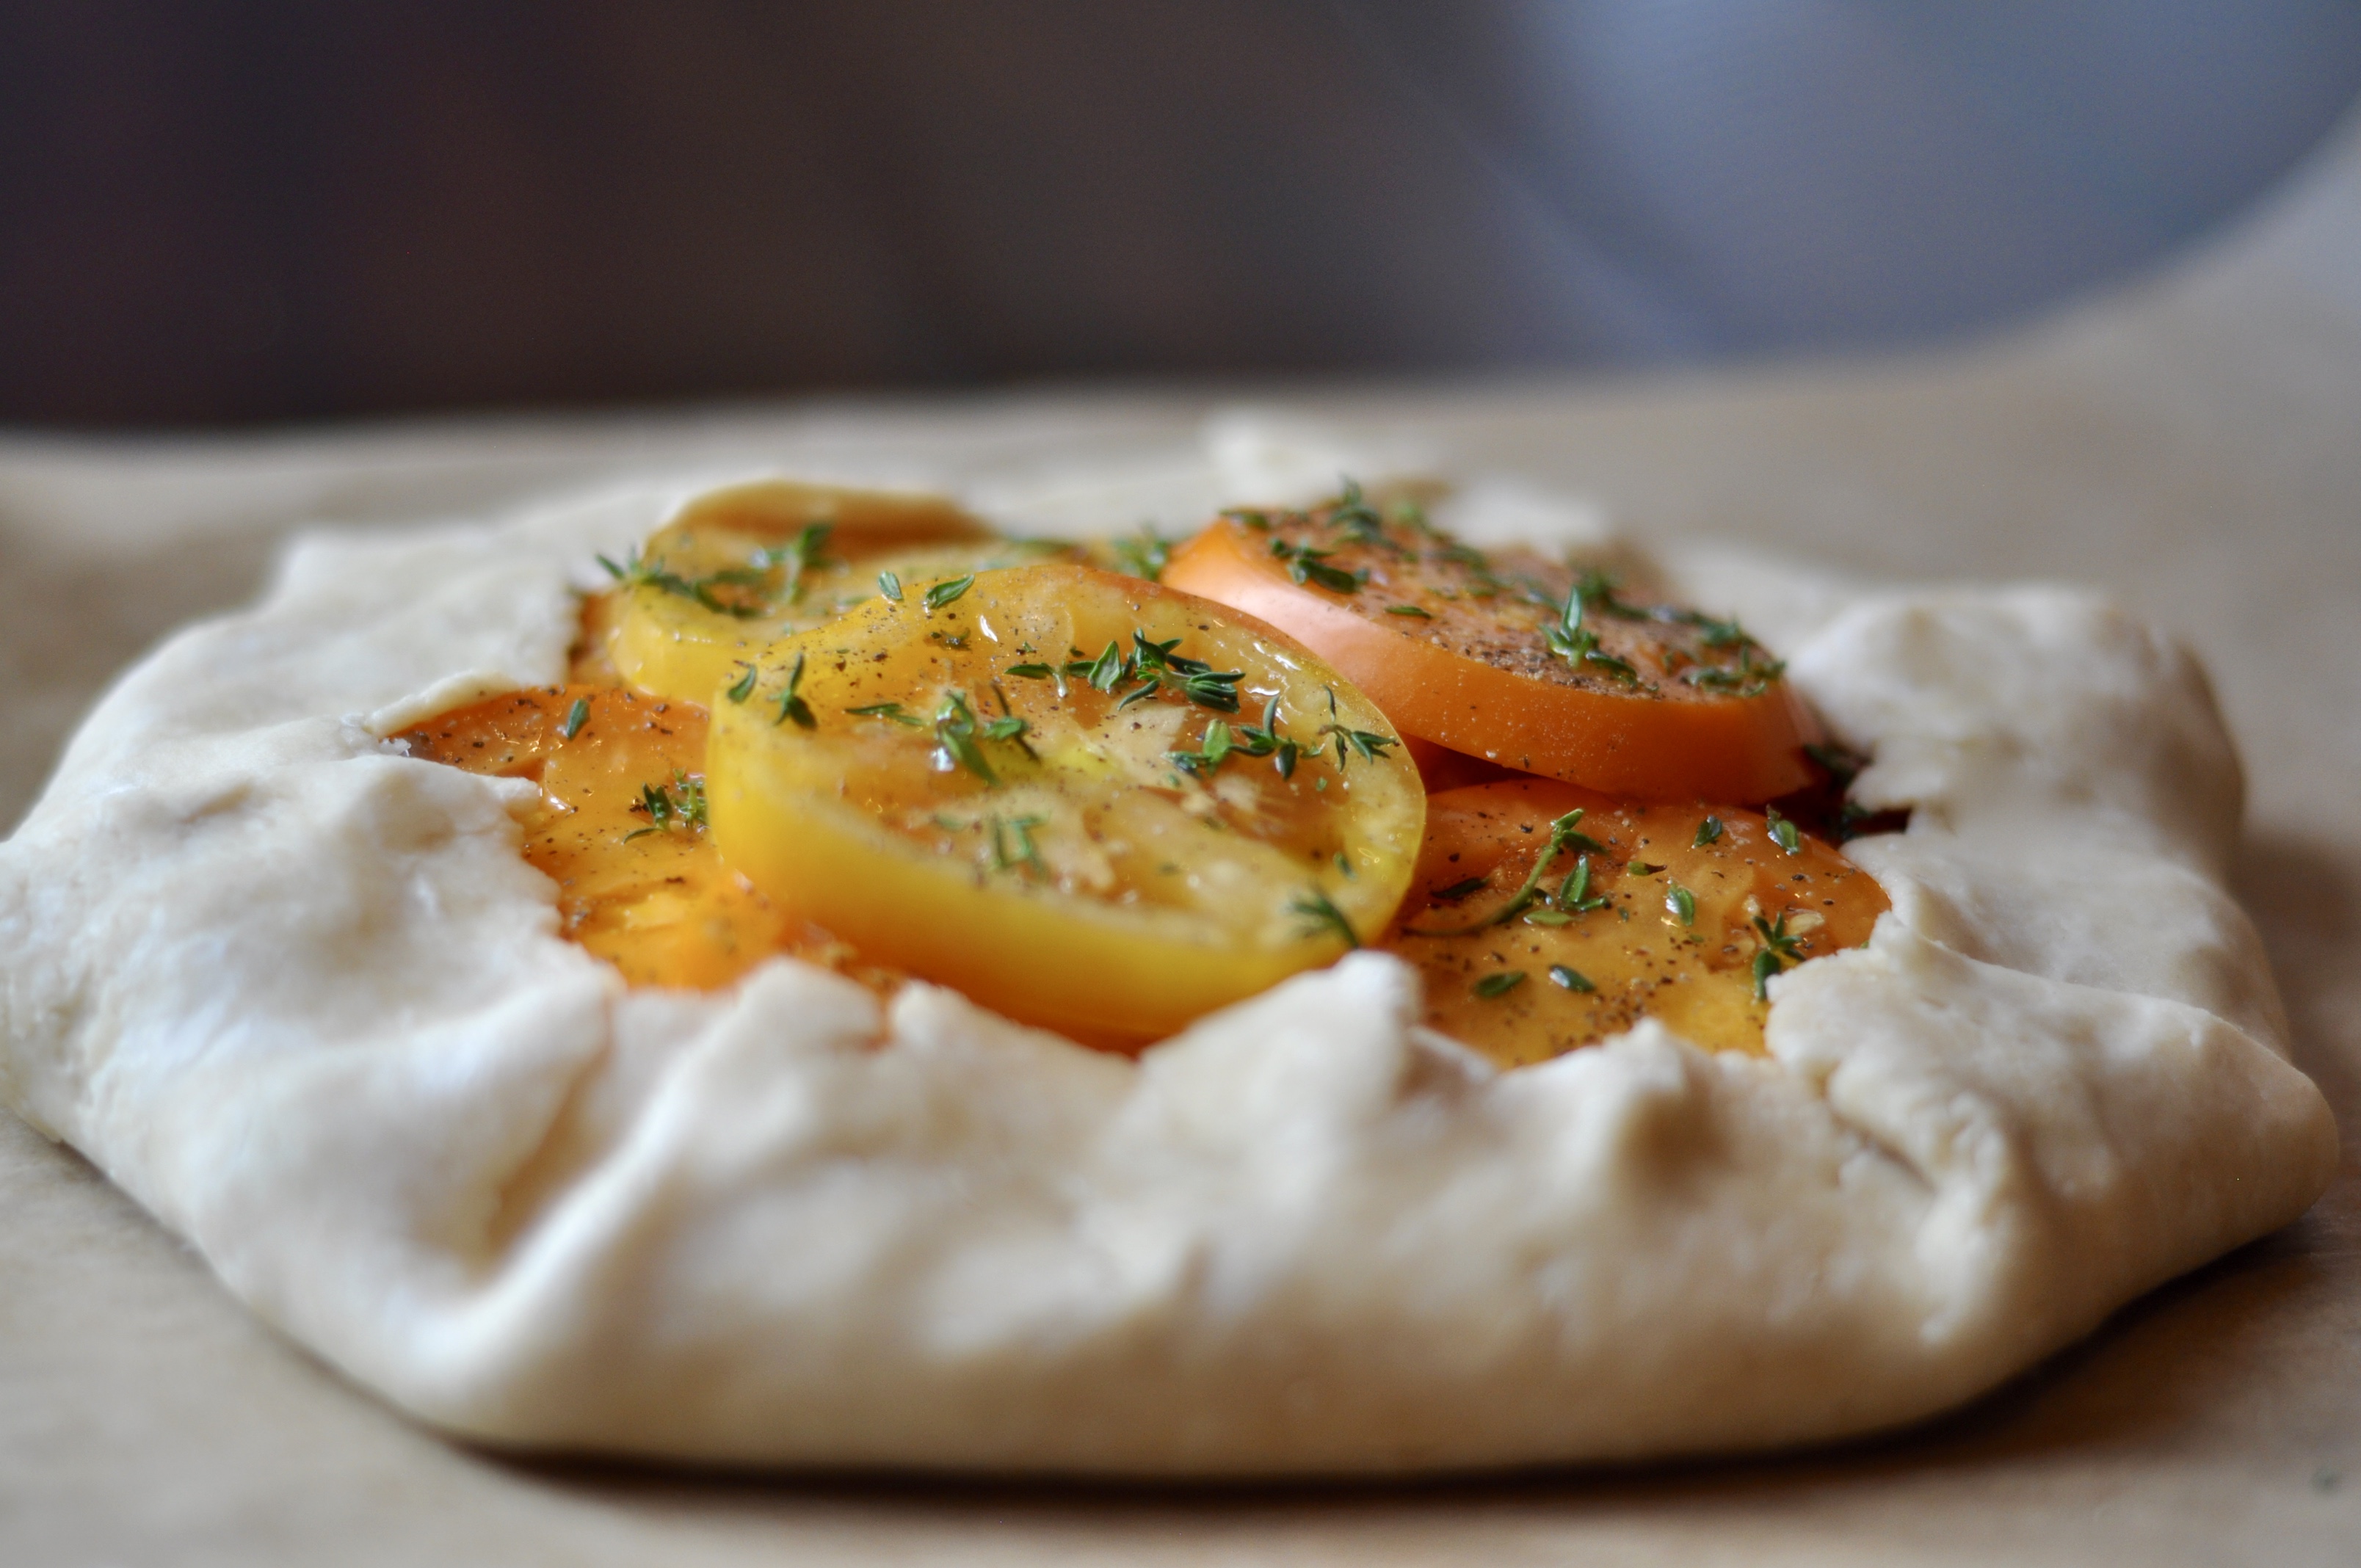
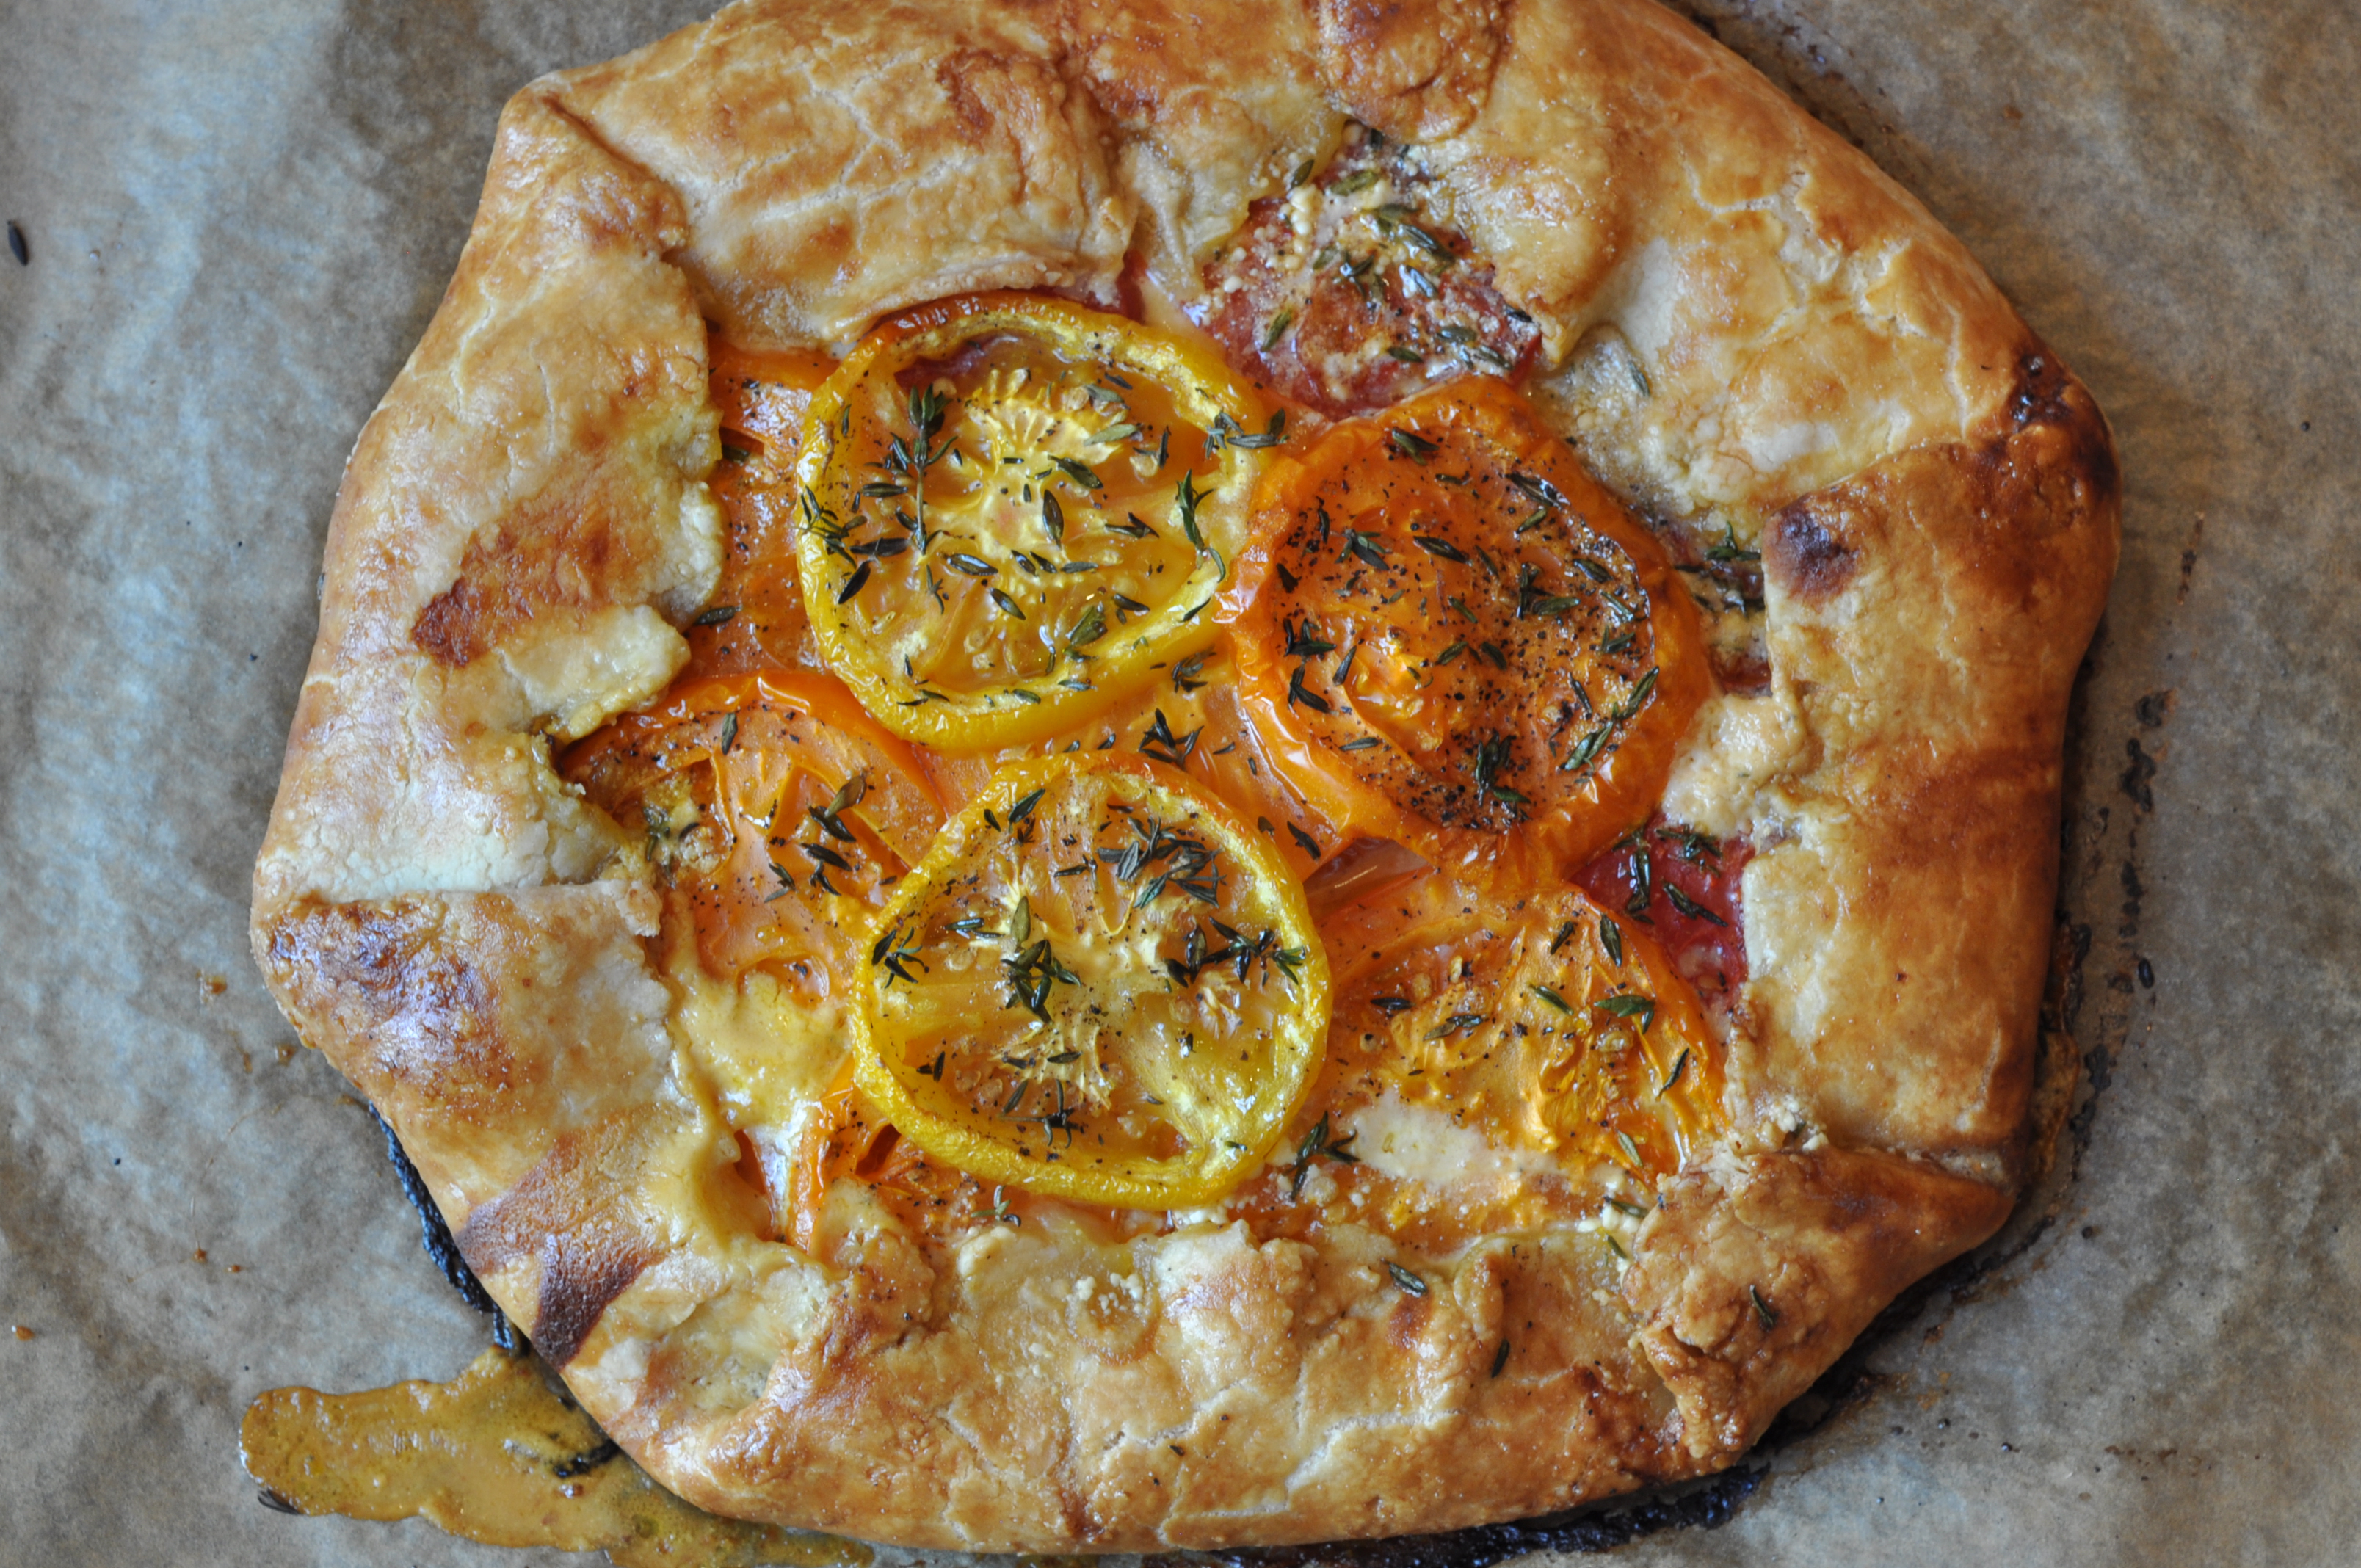
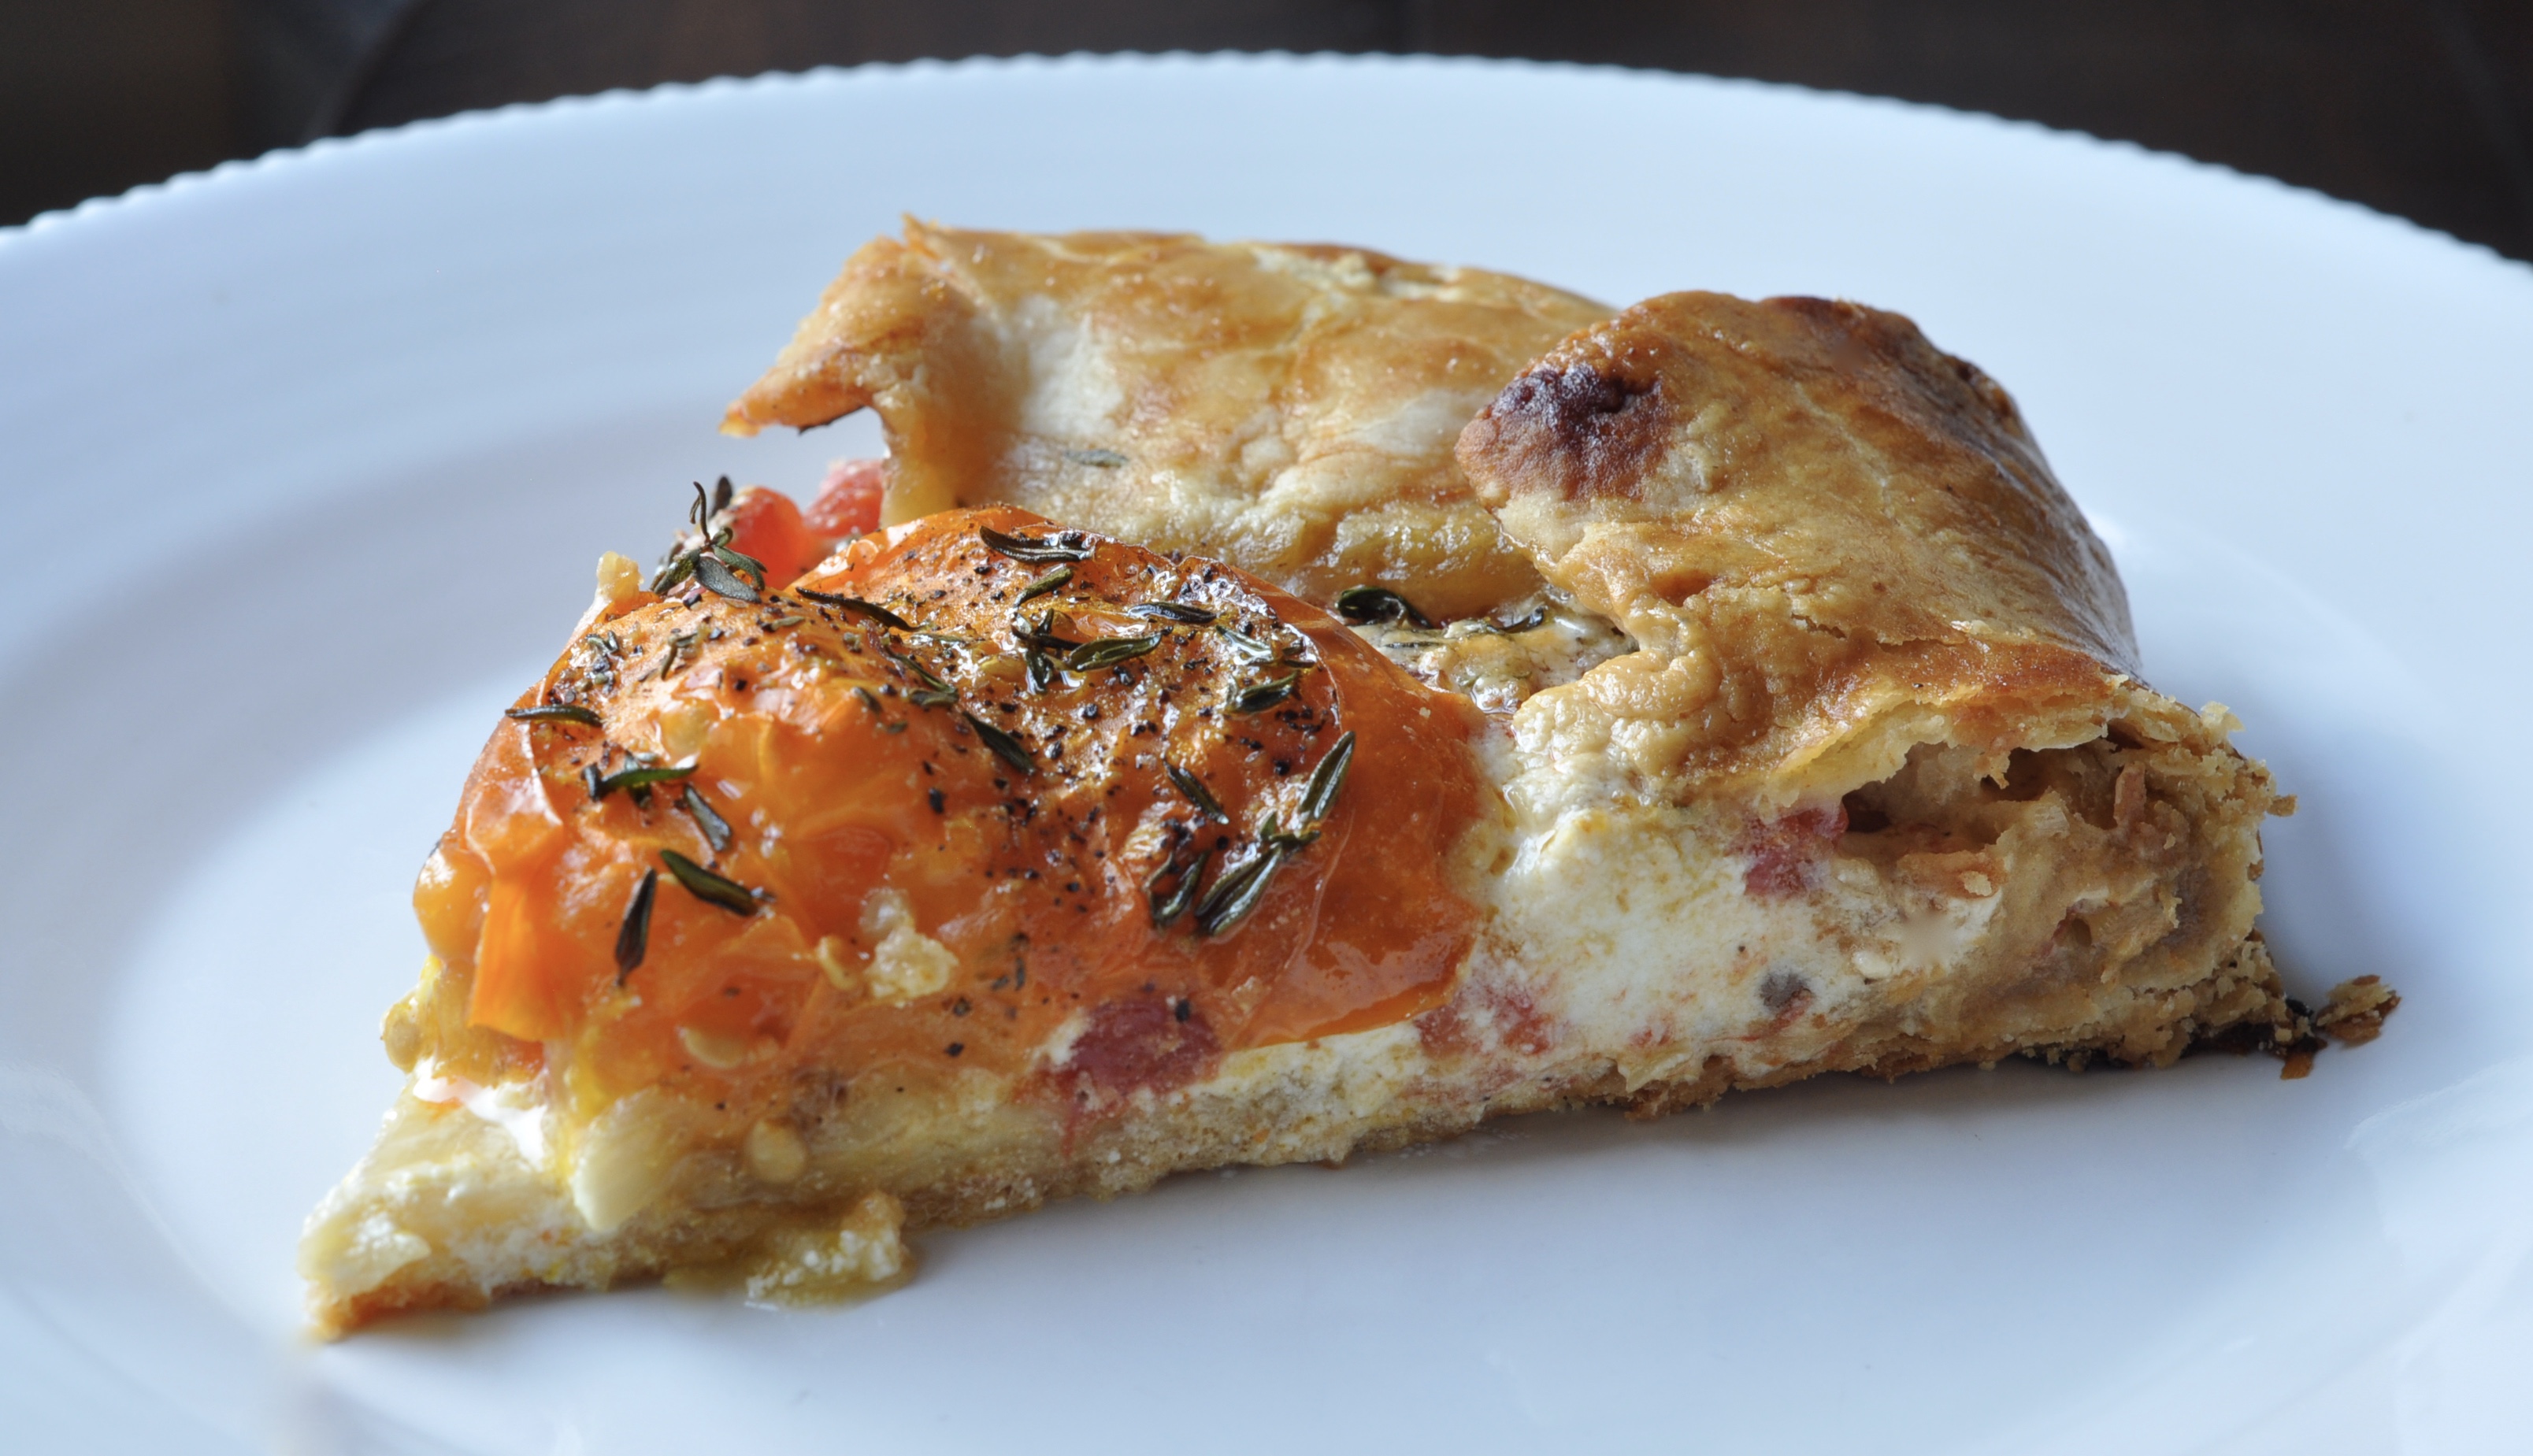
Tomato Galette with Goat Cheese, Honey & Thyme
Sometimes it’s hard to decide what’s more perfect: a weekend morning strolling the farmer’s market or the post-market creations… Life is full of hard choices. But, making this tomato galette should not be one of them… Galette’s are so easy, so versatile, so lunch, brunch, dinner with a side salad, served hot, cold…so midnight snack.
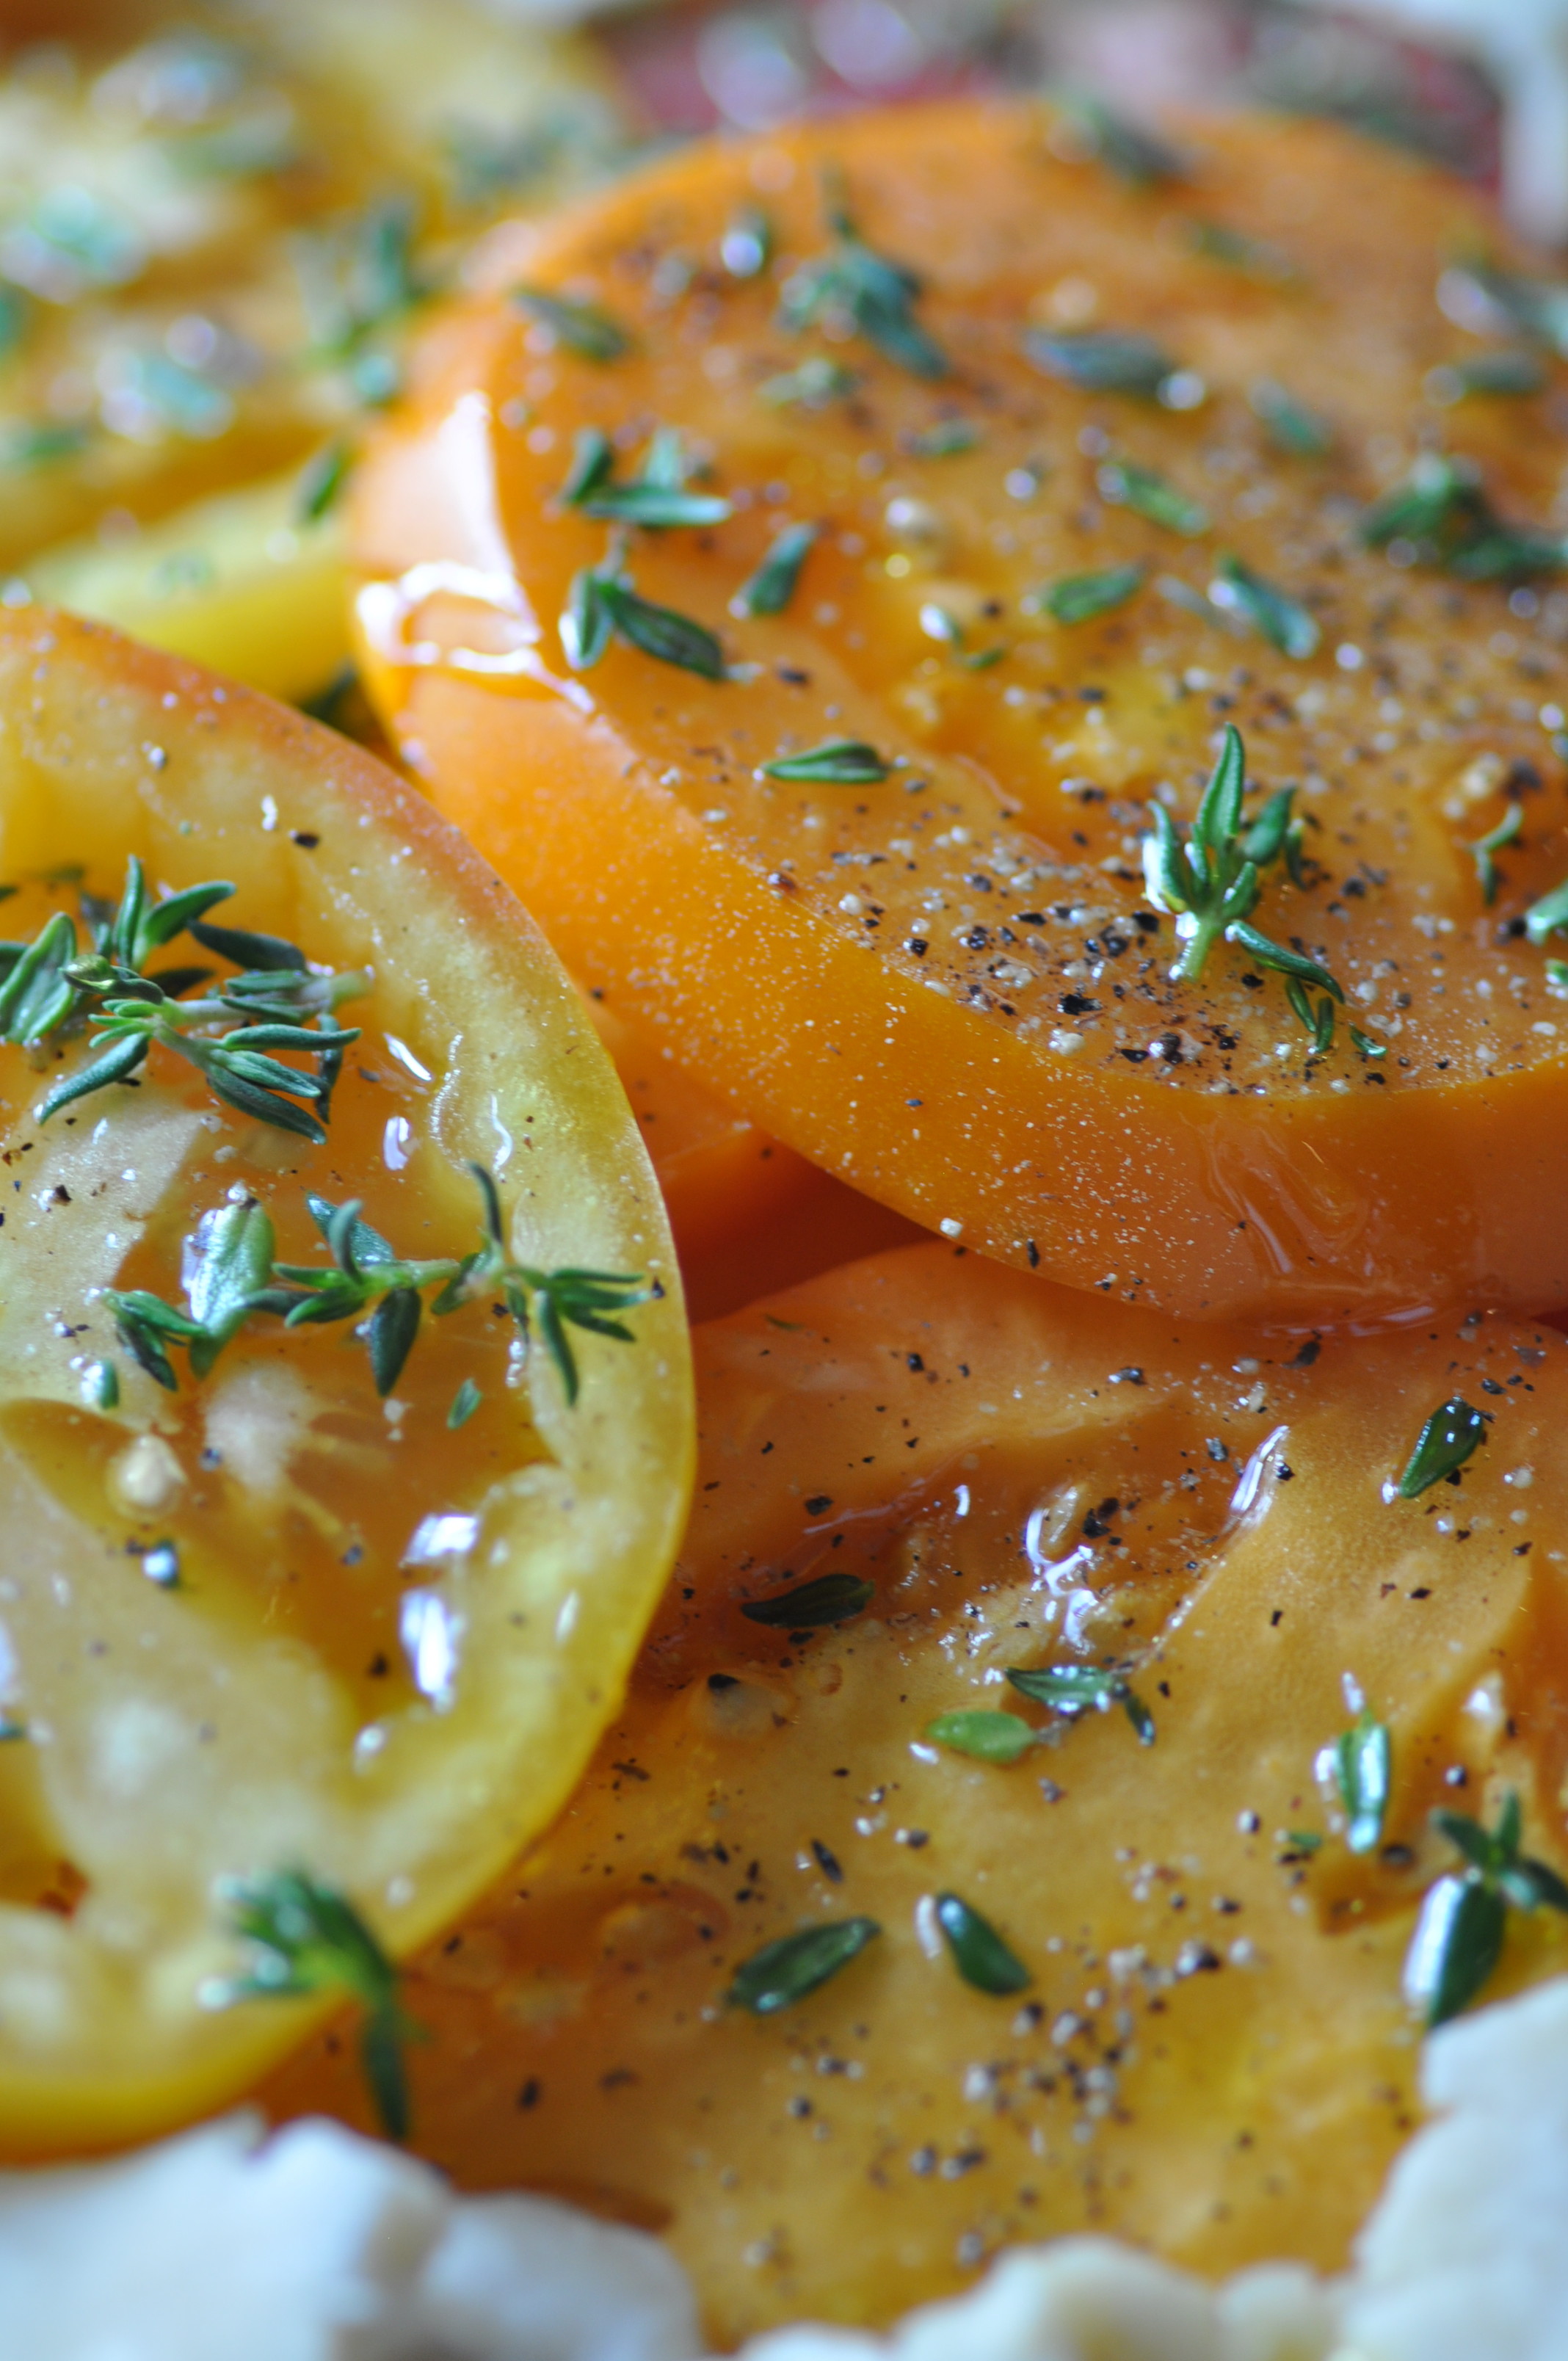
This galette recipe caught my eye on Bloglovin. Tomatoes, goat cheese, thyme …and honey. Oh honey, does this ever magically come together with the honey. I had no idea why the author of Wry Toast spent so much time talking about the honey in this recipe. Until.I.Tried.It… Savory, sweet, the richness of the goat cheese, tangy tomatoes, and the honey unifies the flavors in a unique and delightful way. Do you have those dishes you just want to bury your face in? This is it.
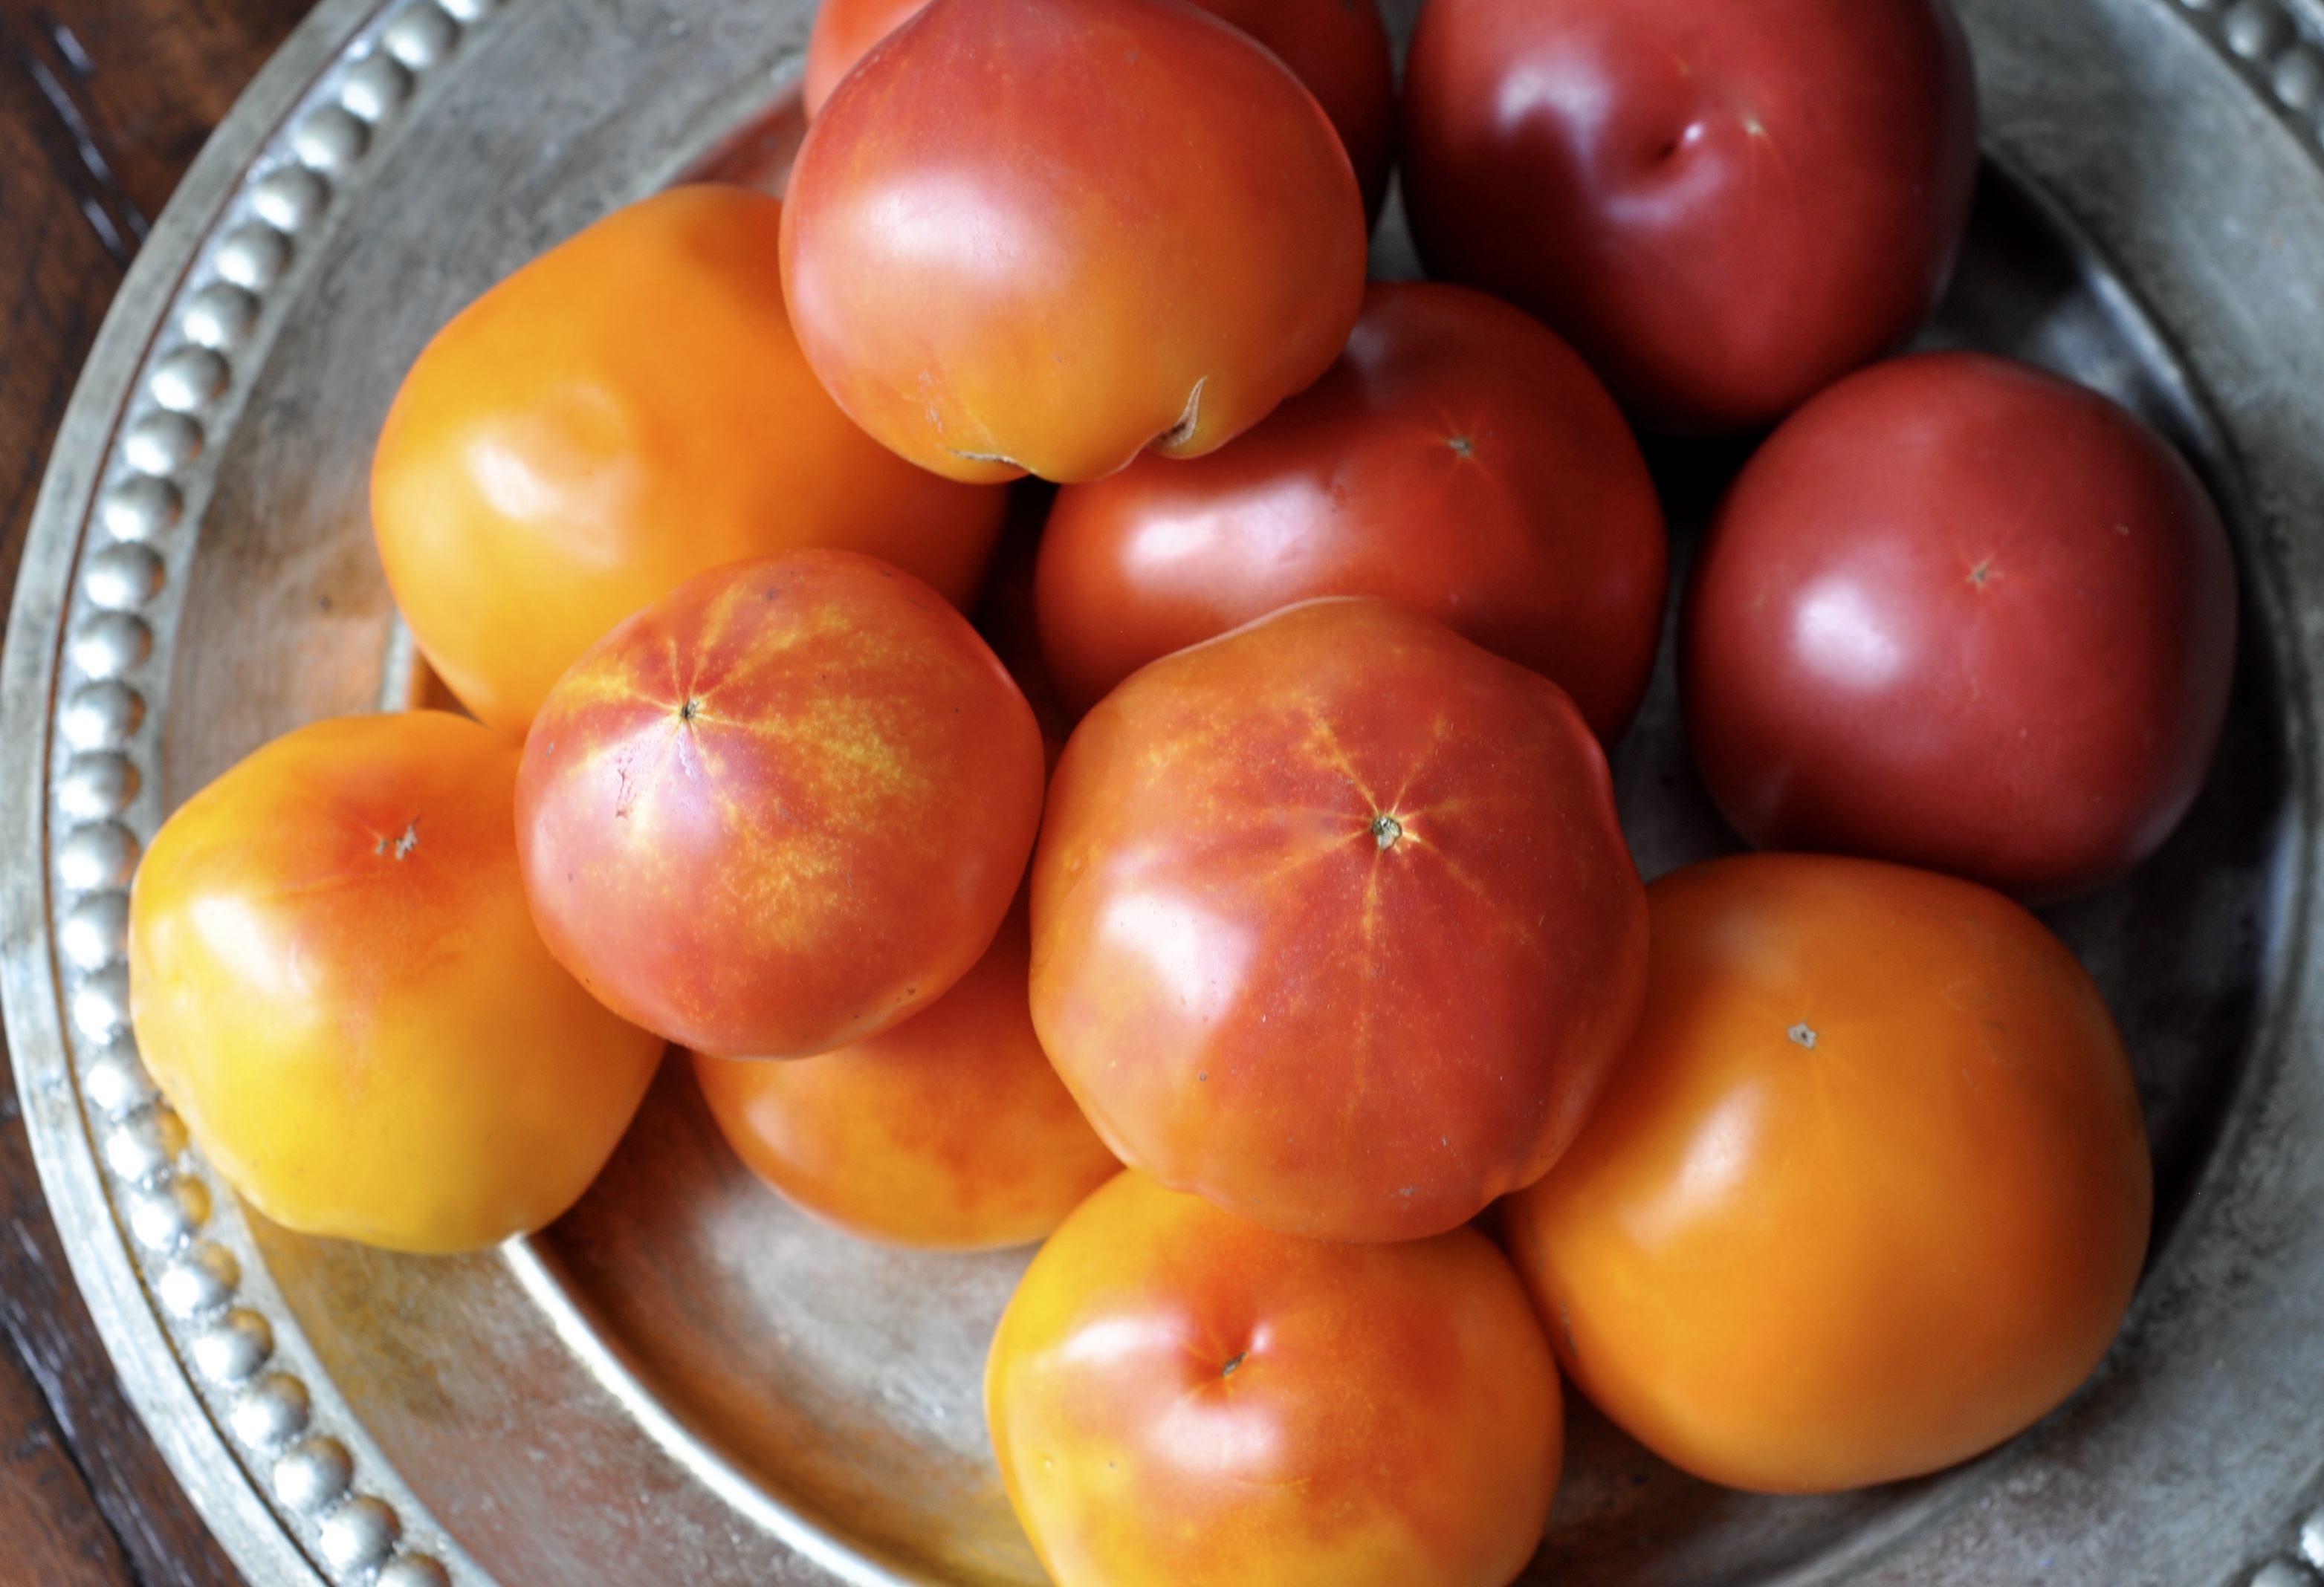
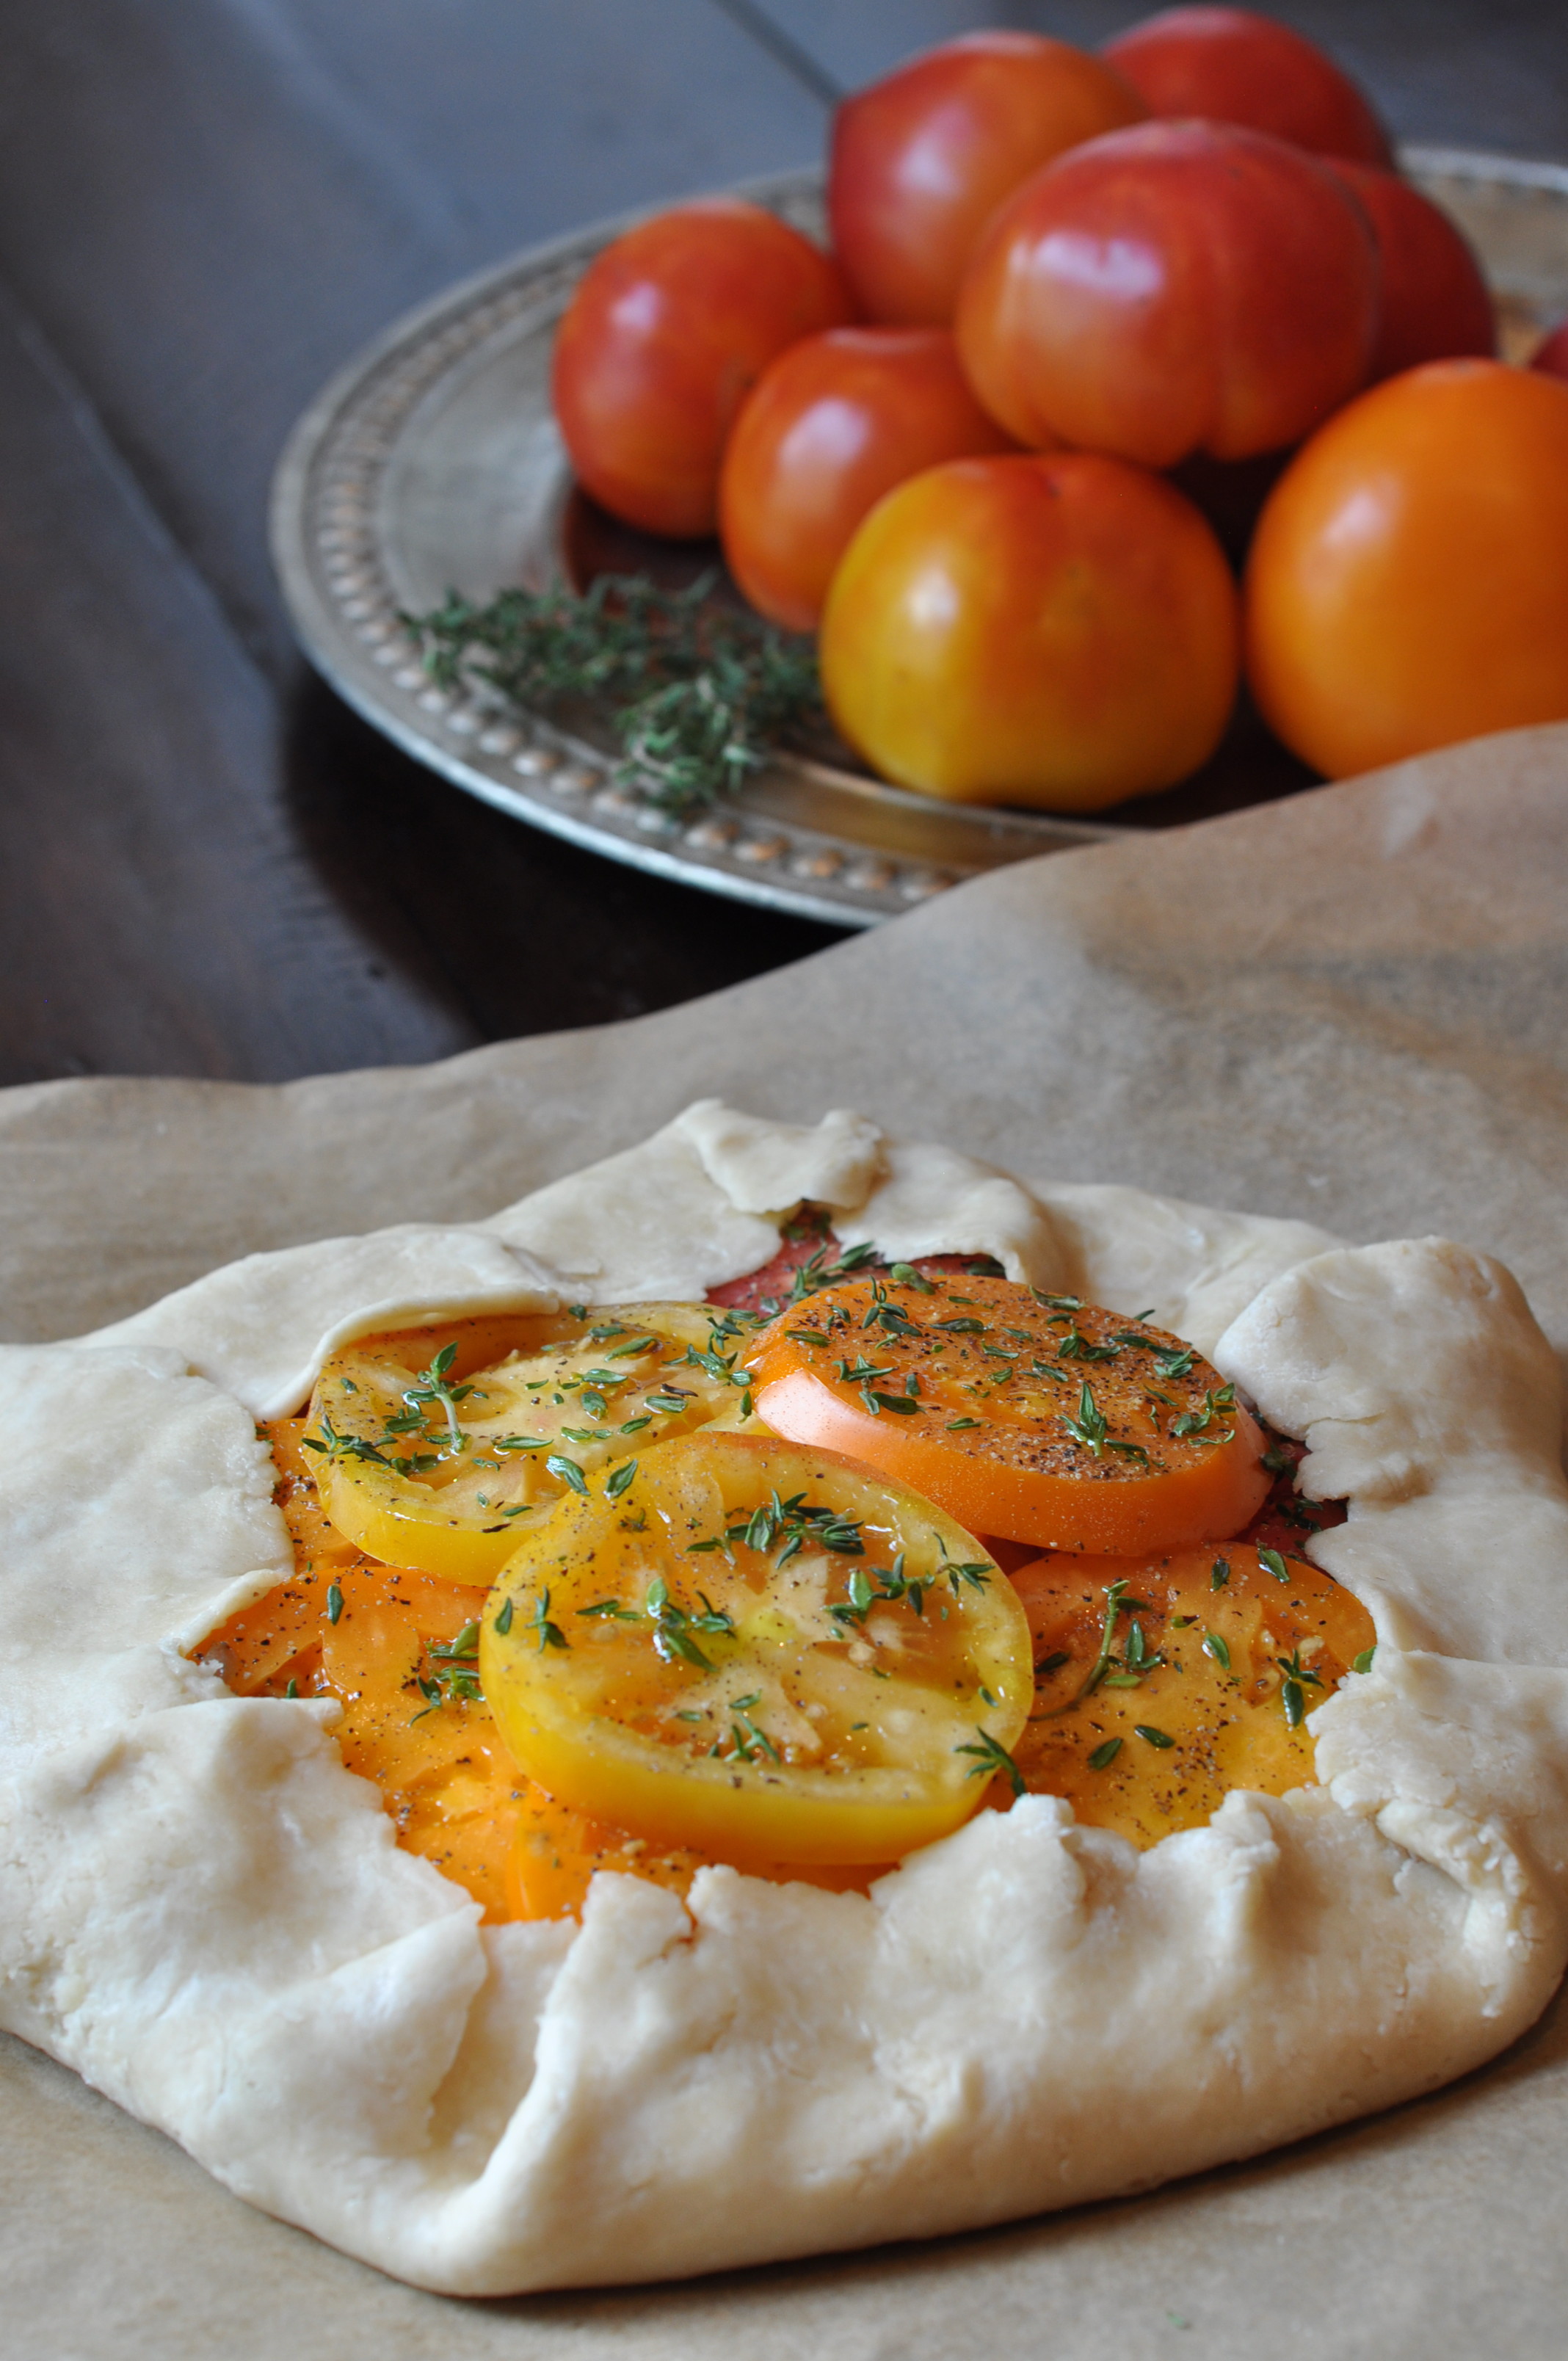
This galette was lovingly filled with yellow, orange and red tomatoes I picked up from the Dupont Circle Farmer’s Market this weekend. Ahhh, a tomato rainbow. I felt like their beauty deserved to be framed, wrapped in love. What better than a galette. Summer’s gift in a light and crispy pastry. Now, that’s a gift worth giving.
Bon appetit mon amour….
- 1/2 cup (1 stick) unsalted butter
- 1 1/2 cups all purpose flour, sifted
- pinch of salt
- pinch of sugar
- 1/3 cup cold water
- 4 shallots, diced (approximately 1 cup)
- 2 teaspoons extra virgin olive oil + more for drizzling
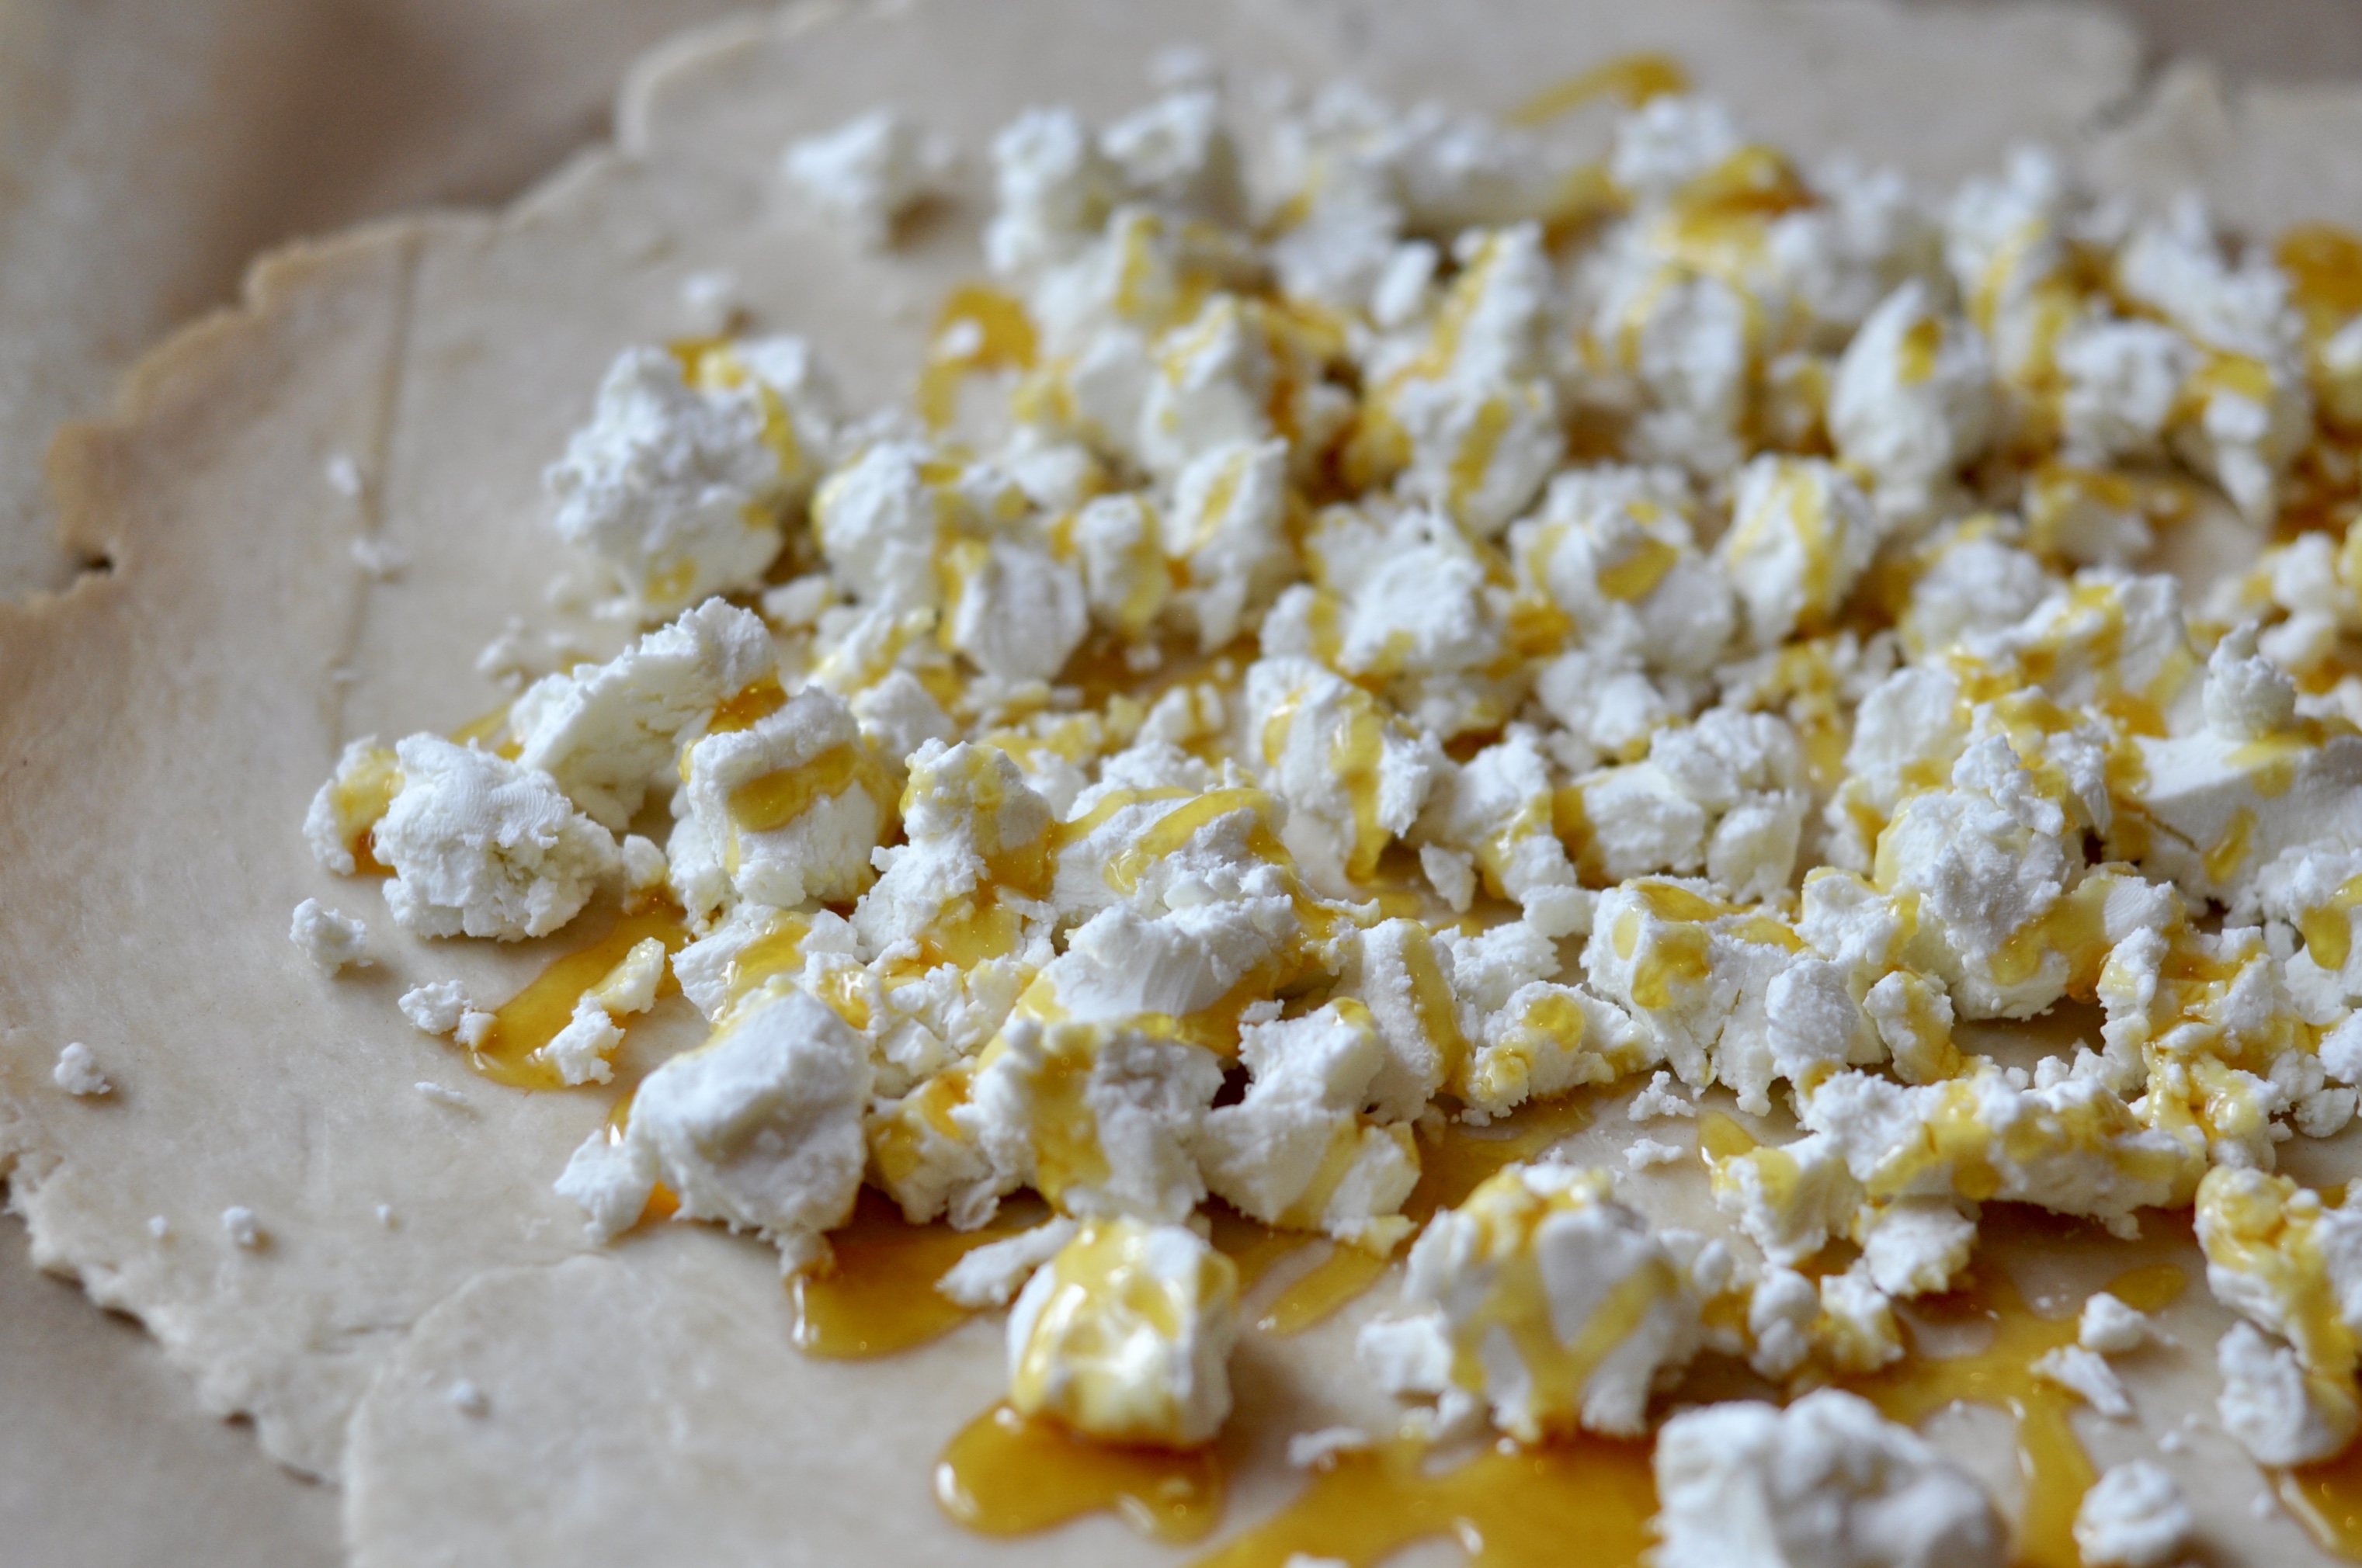
- 8 ounces goat cheese
- 3 tablespoons honey
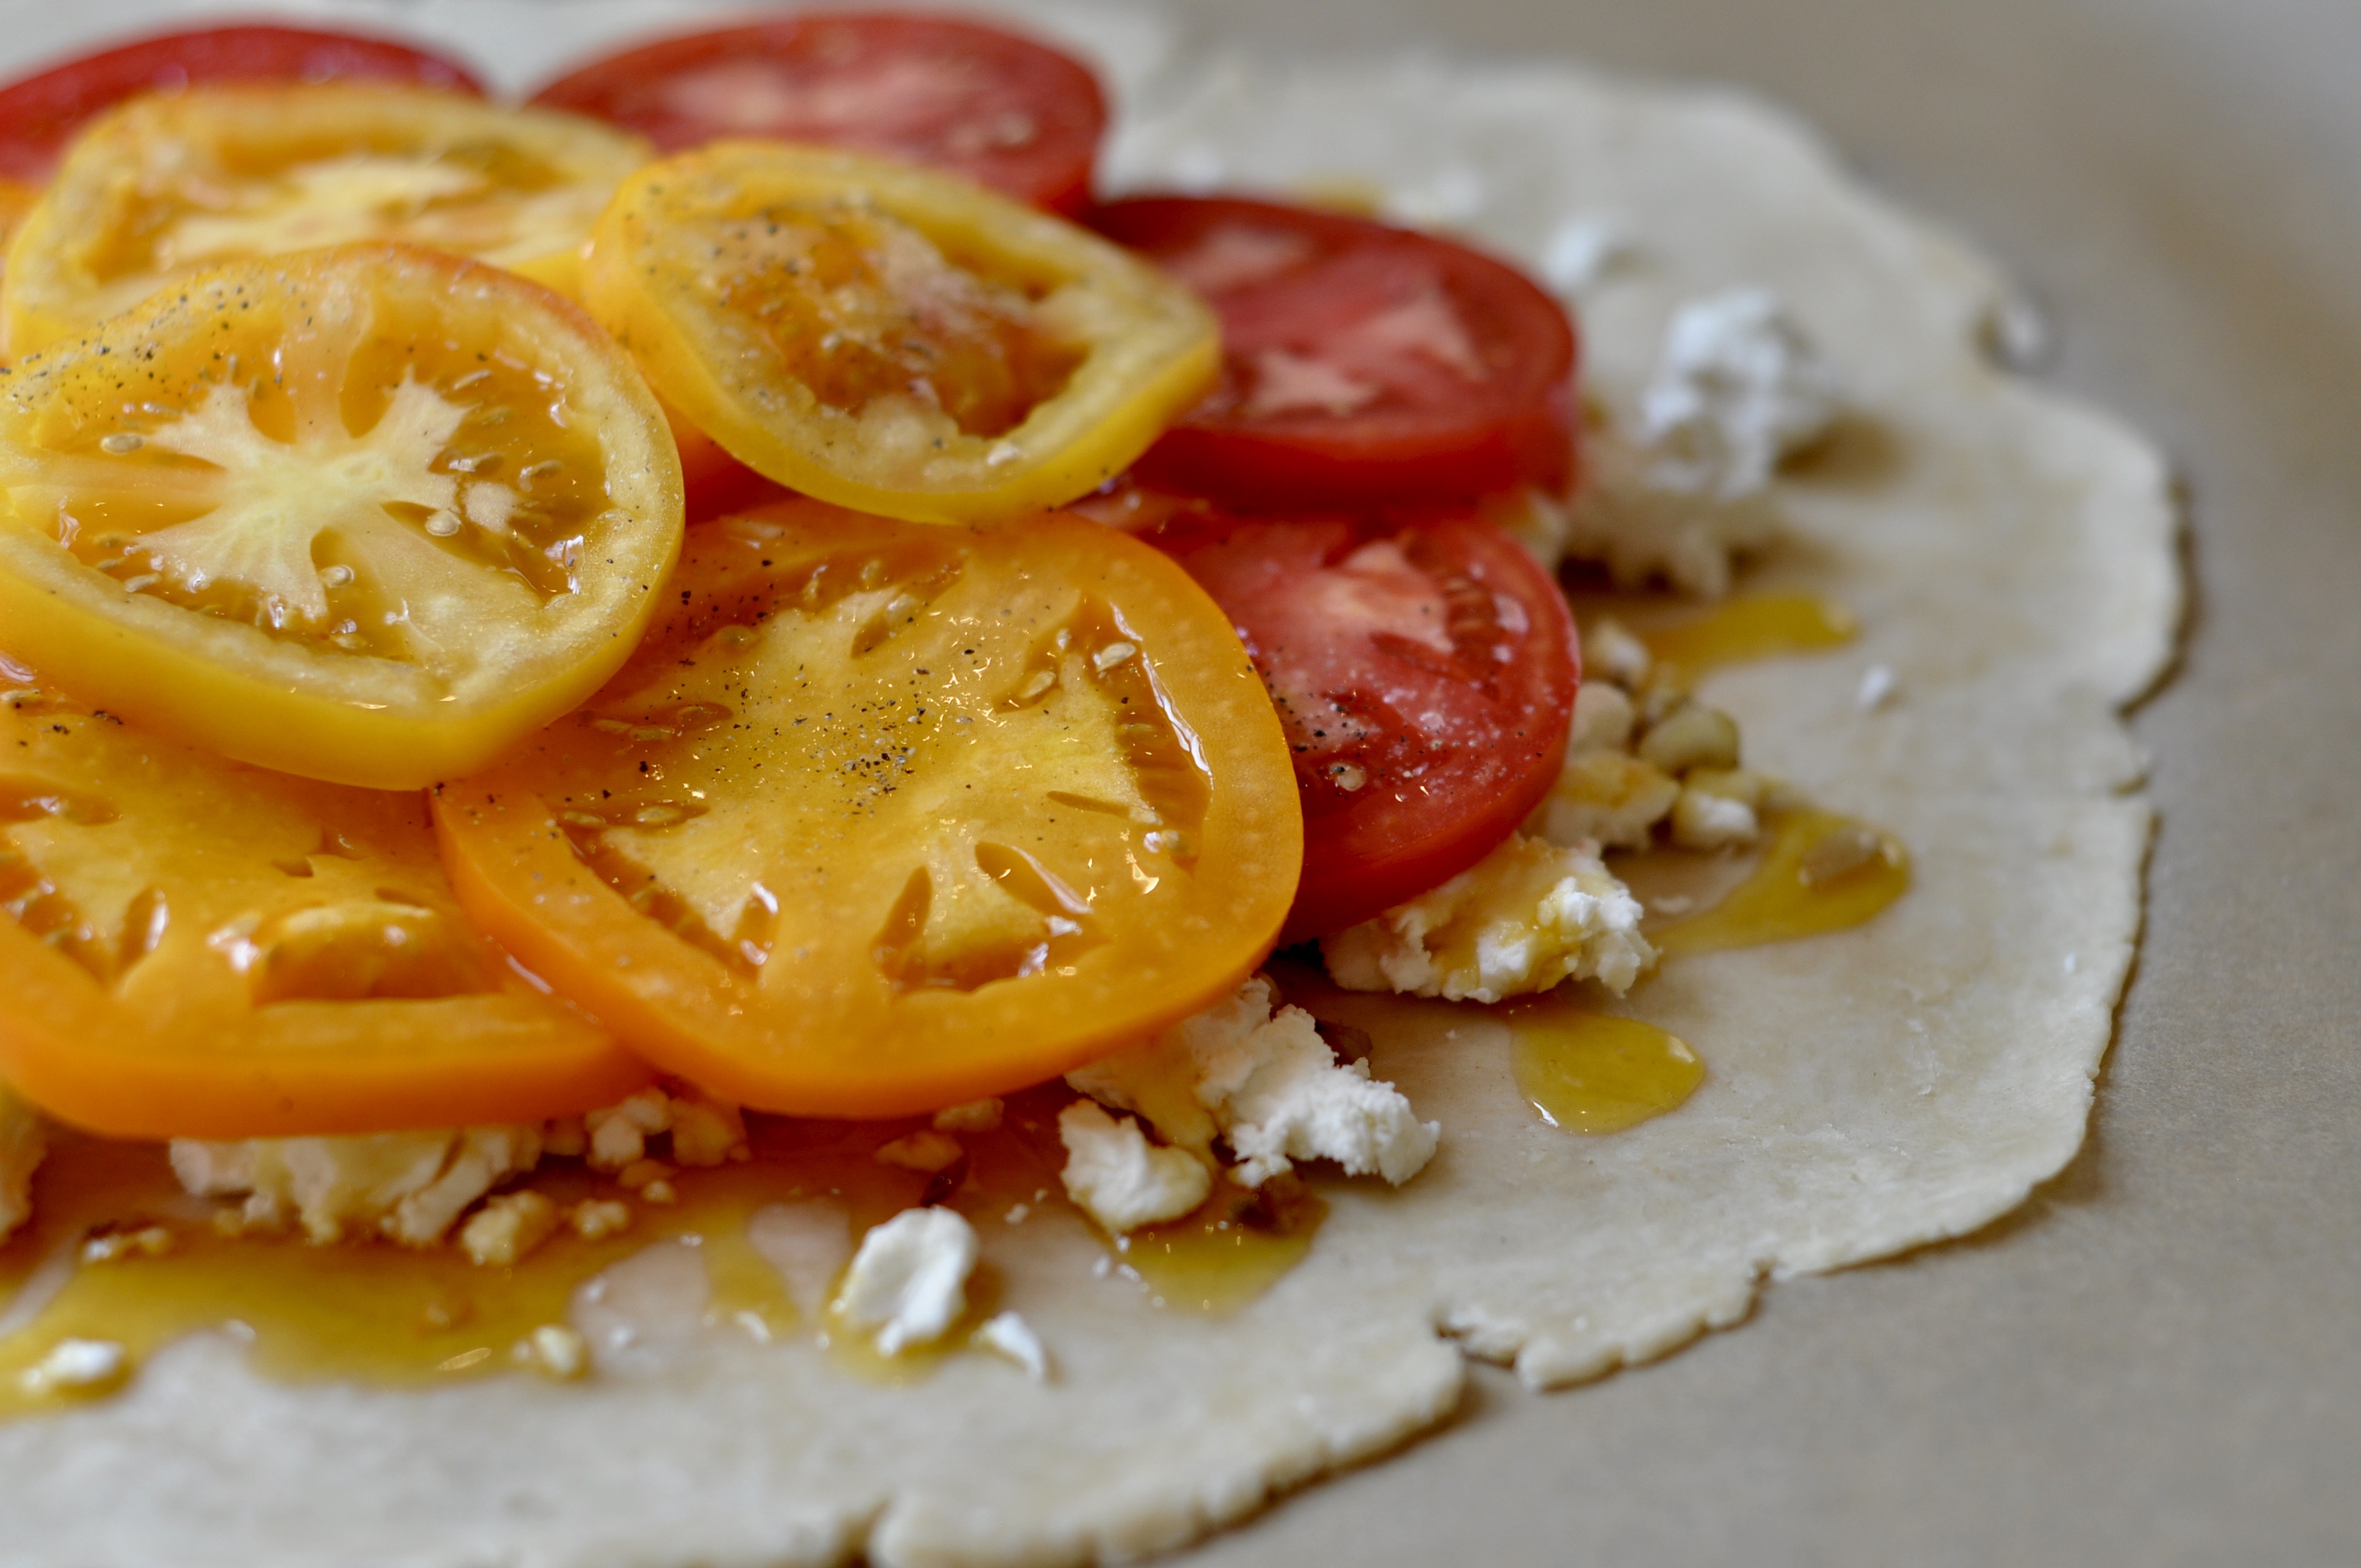
- 3 – 4 heirloom or variety of tomatoes, sliced
- 1/2 teaspoon sea salt
- 1/2 teaspoon black pepper
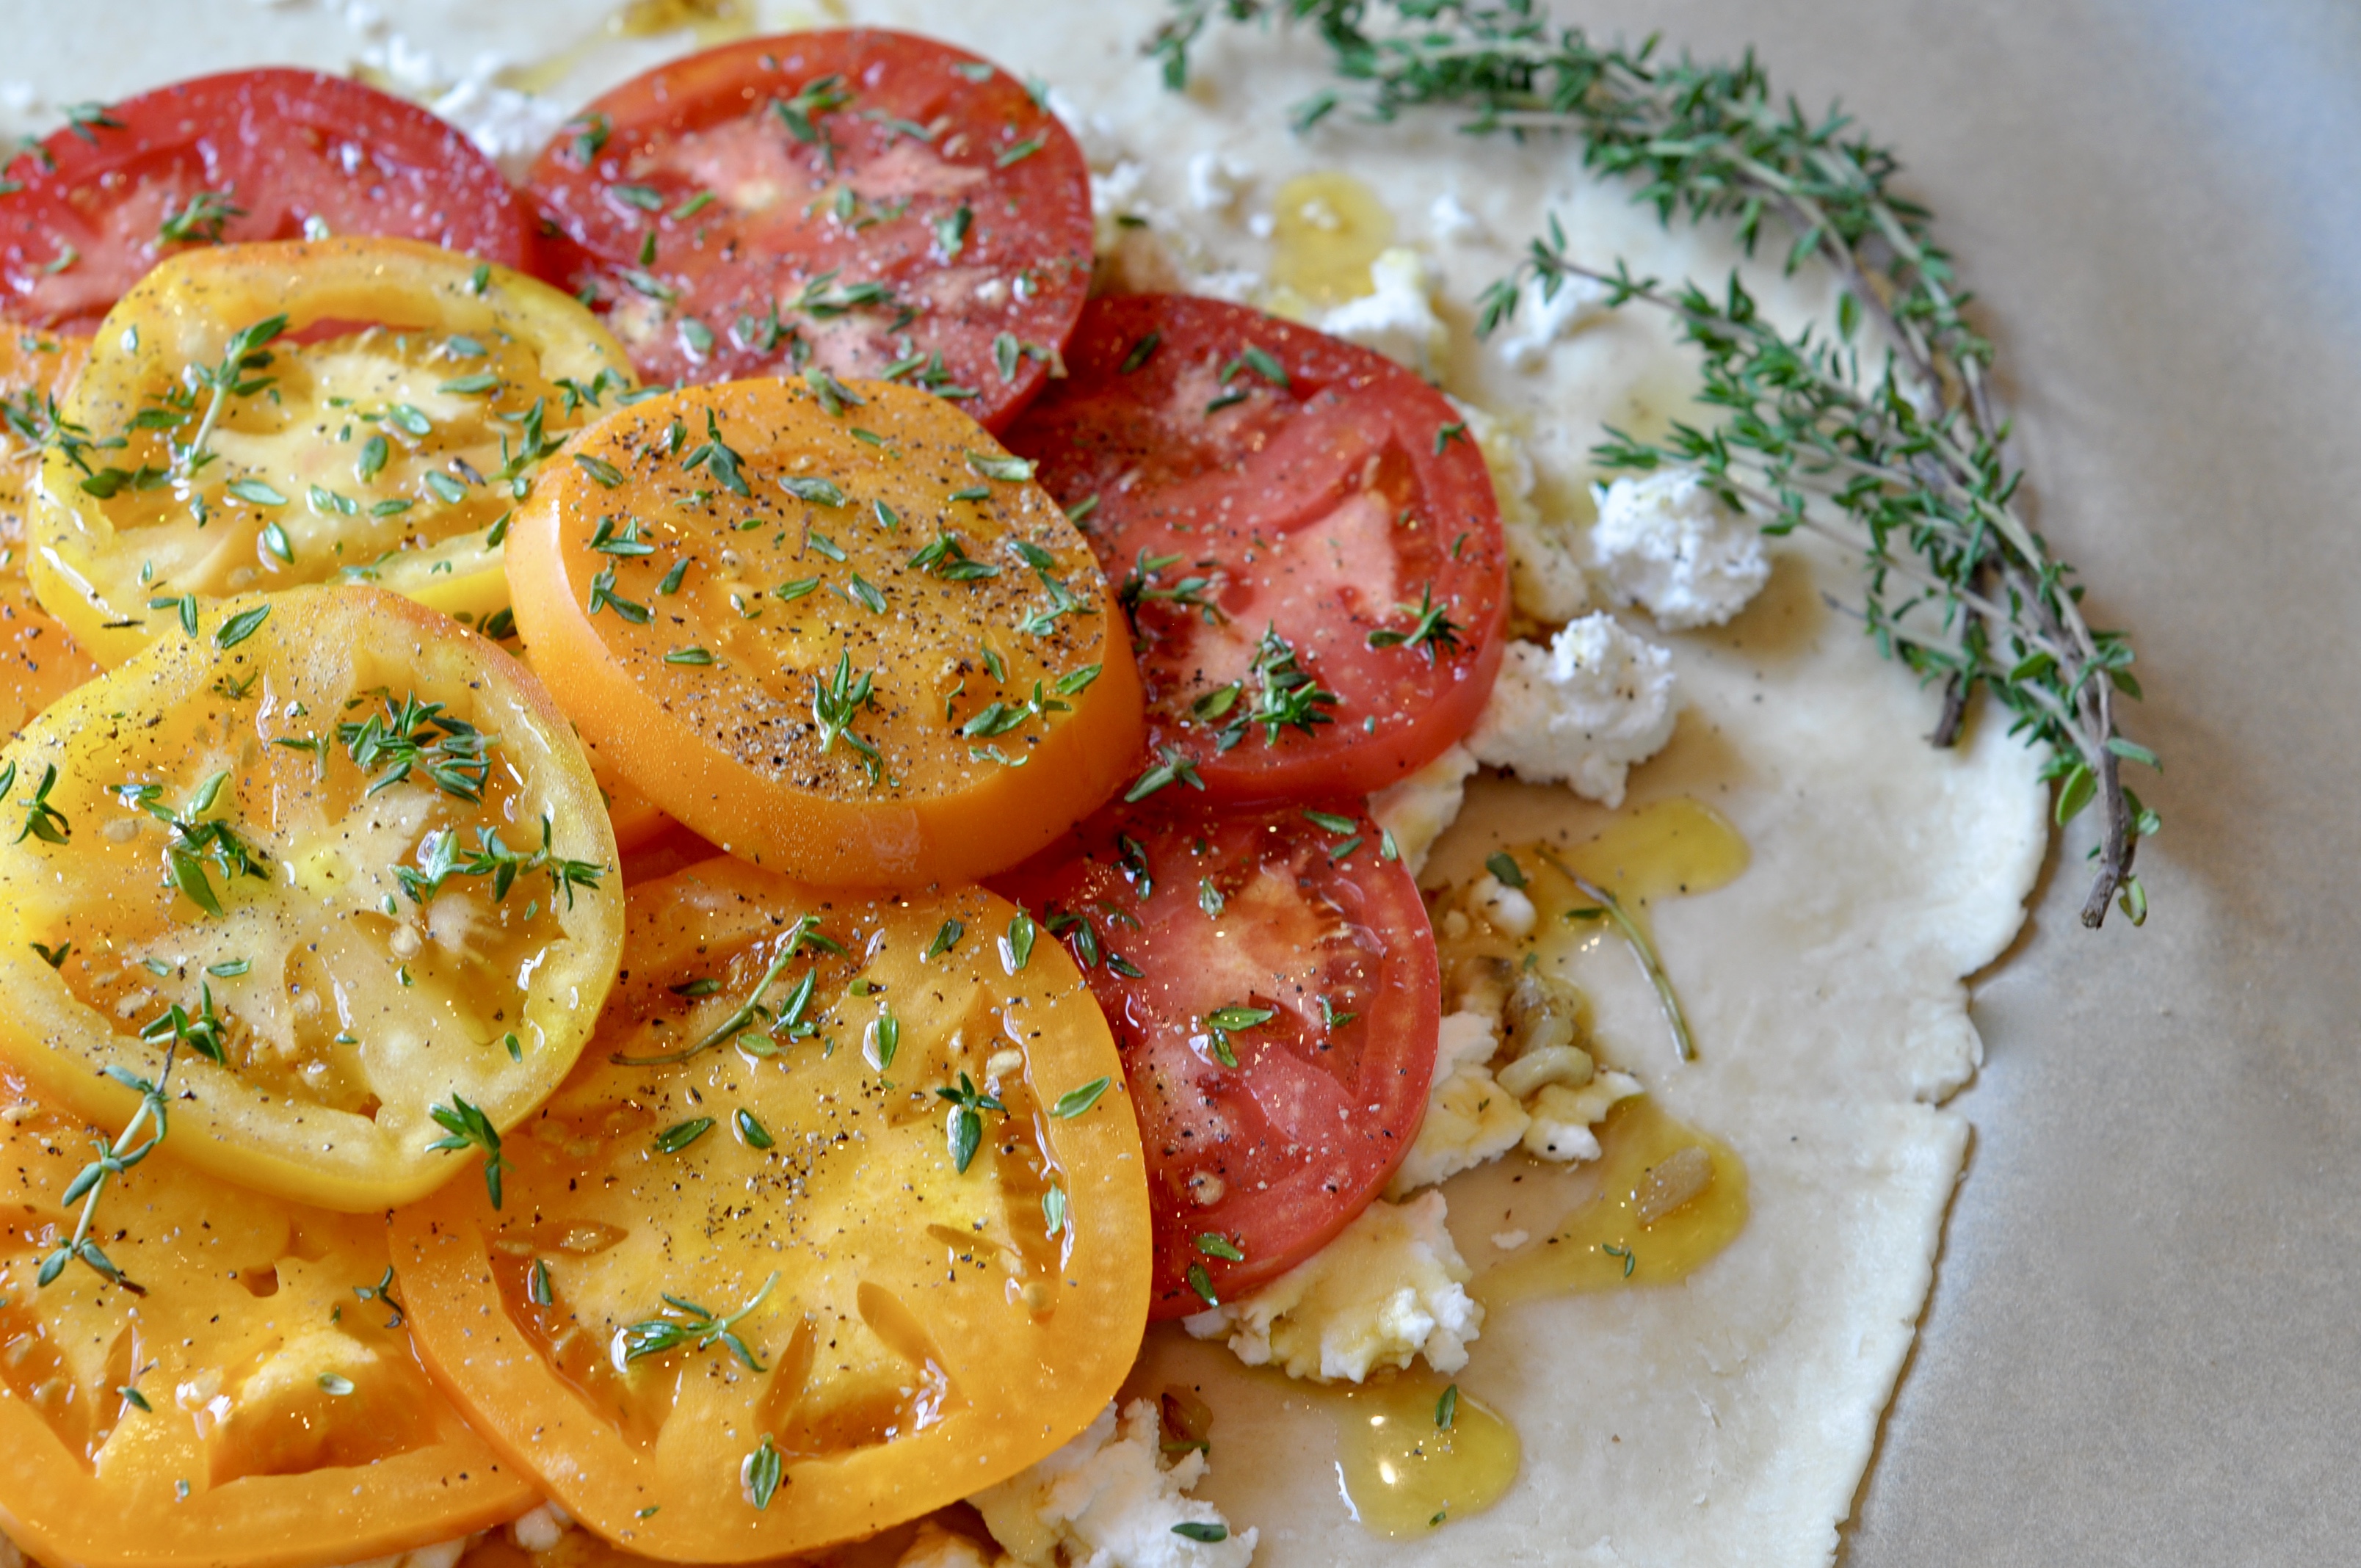
- 2 tablespoons fresh thyme
- 1 large egg, beaten
- Start first by preparing the dough. Using a cheese grater, grate the butter into a small bowl and freeze for 10 minutes. While butter freezes, combine the flour, salt, and sugar in a large mixing bowl. Whisk the cold grated butter into the flour mixture until a mealy texture forms, then slowly add water, 1 tablespoon at a time, until dough takes shape. Form the dough in a ball, transfer to a lightly floured surface, and shape into a flattened round. Tightly wrap in plastic and refrigerate for 45 minutes until the dough is firm and cold.
- While the dough chills, heat olive oil over medium-high heat and sauté the diced shallots until lightly caramelized (approximately 10 minutes). Remove from heat and allow to cool.
- Preheat oven to 375F.
- Line a baking sheet with parchment paper and lightly sprinkle with flour. With a floured rolling-pin, roll out the chilled dough into a 1/8″ thick round and transfer to the parchment-lined baking sheet. It's easiest to transfer the dough by rolling it onto the pin and then lifting it onto the baking sheet.
- Crumble the goat cheese over the rolled-out dough, leaving a 2-inch border along the edges. Drizzle a heavy serving of honey over goat cheese (don't be shy), then evenly top with caramelized shallots.
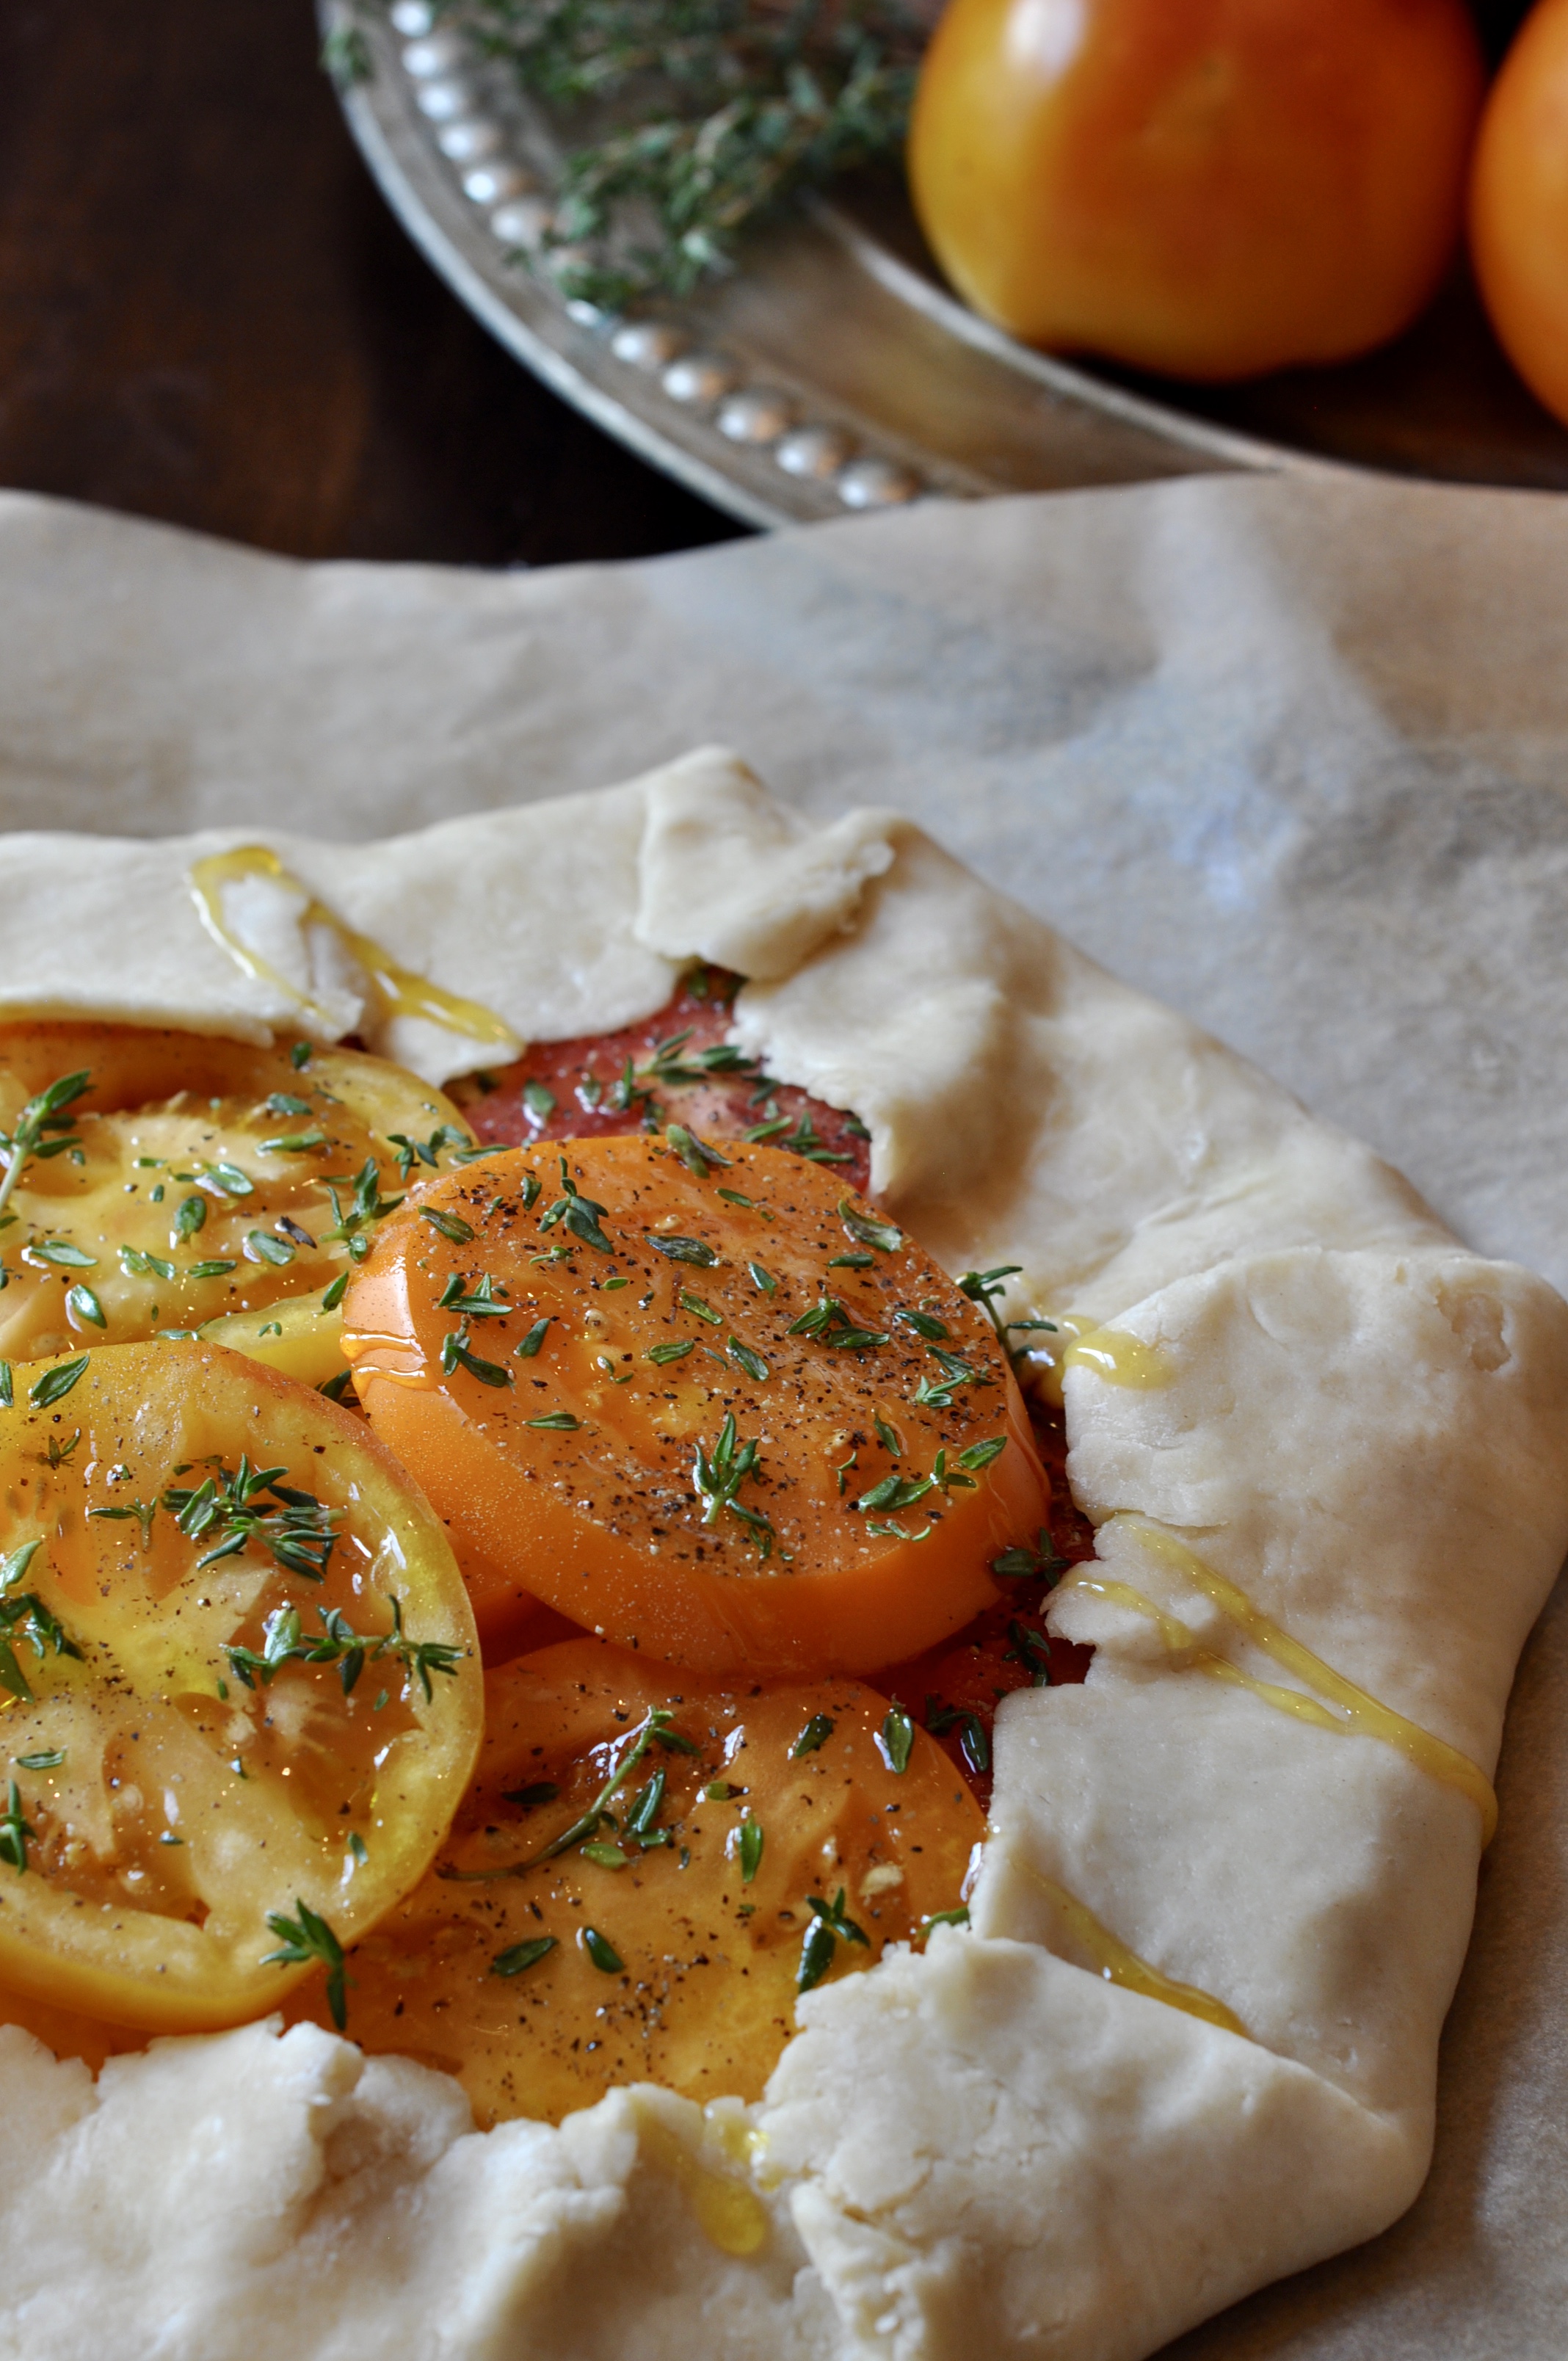
- Next, season the sliced tomatoes with salt & pepper and layer over the goat cheese and shallots. Drizzle the olive oil over the tomatoes and, finally, sprinkle with fresh thyme.
- Fold the 2-inch border of the dough over the edges of the tomatoes, then brush the crust with beaten egg.
- Bake the galette for 45-60 minutes until the crust is golden and the tomatoes have begun to char.
- Cool for a few minutes before serving.
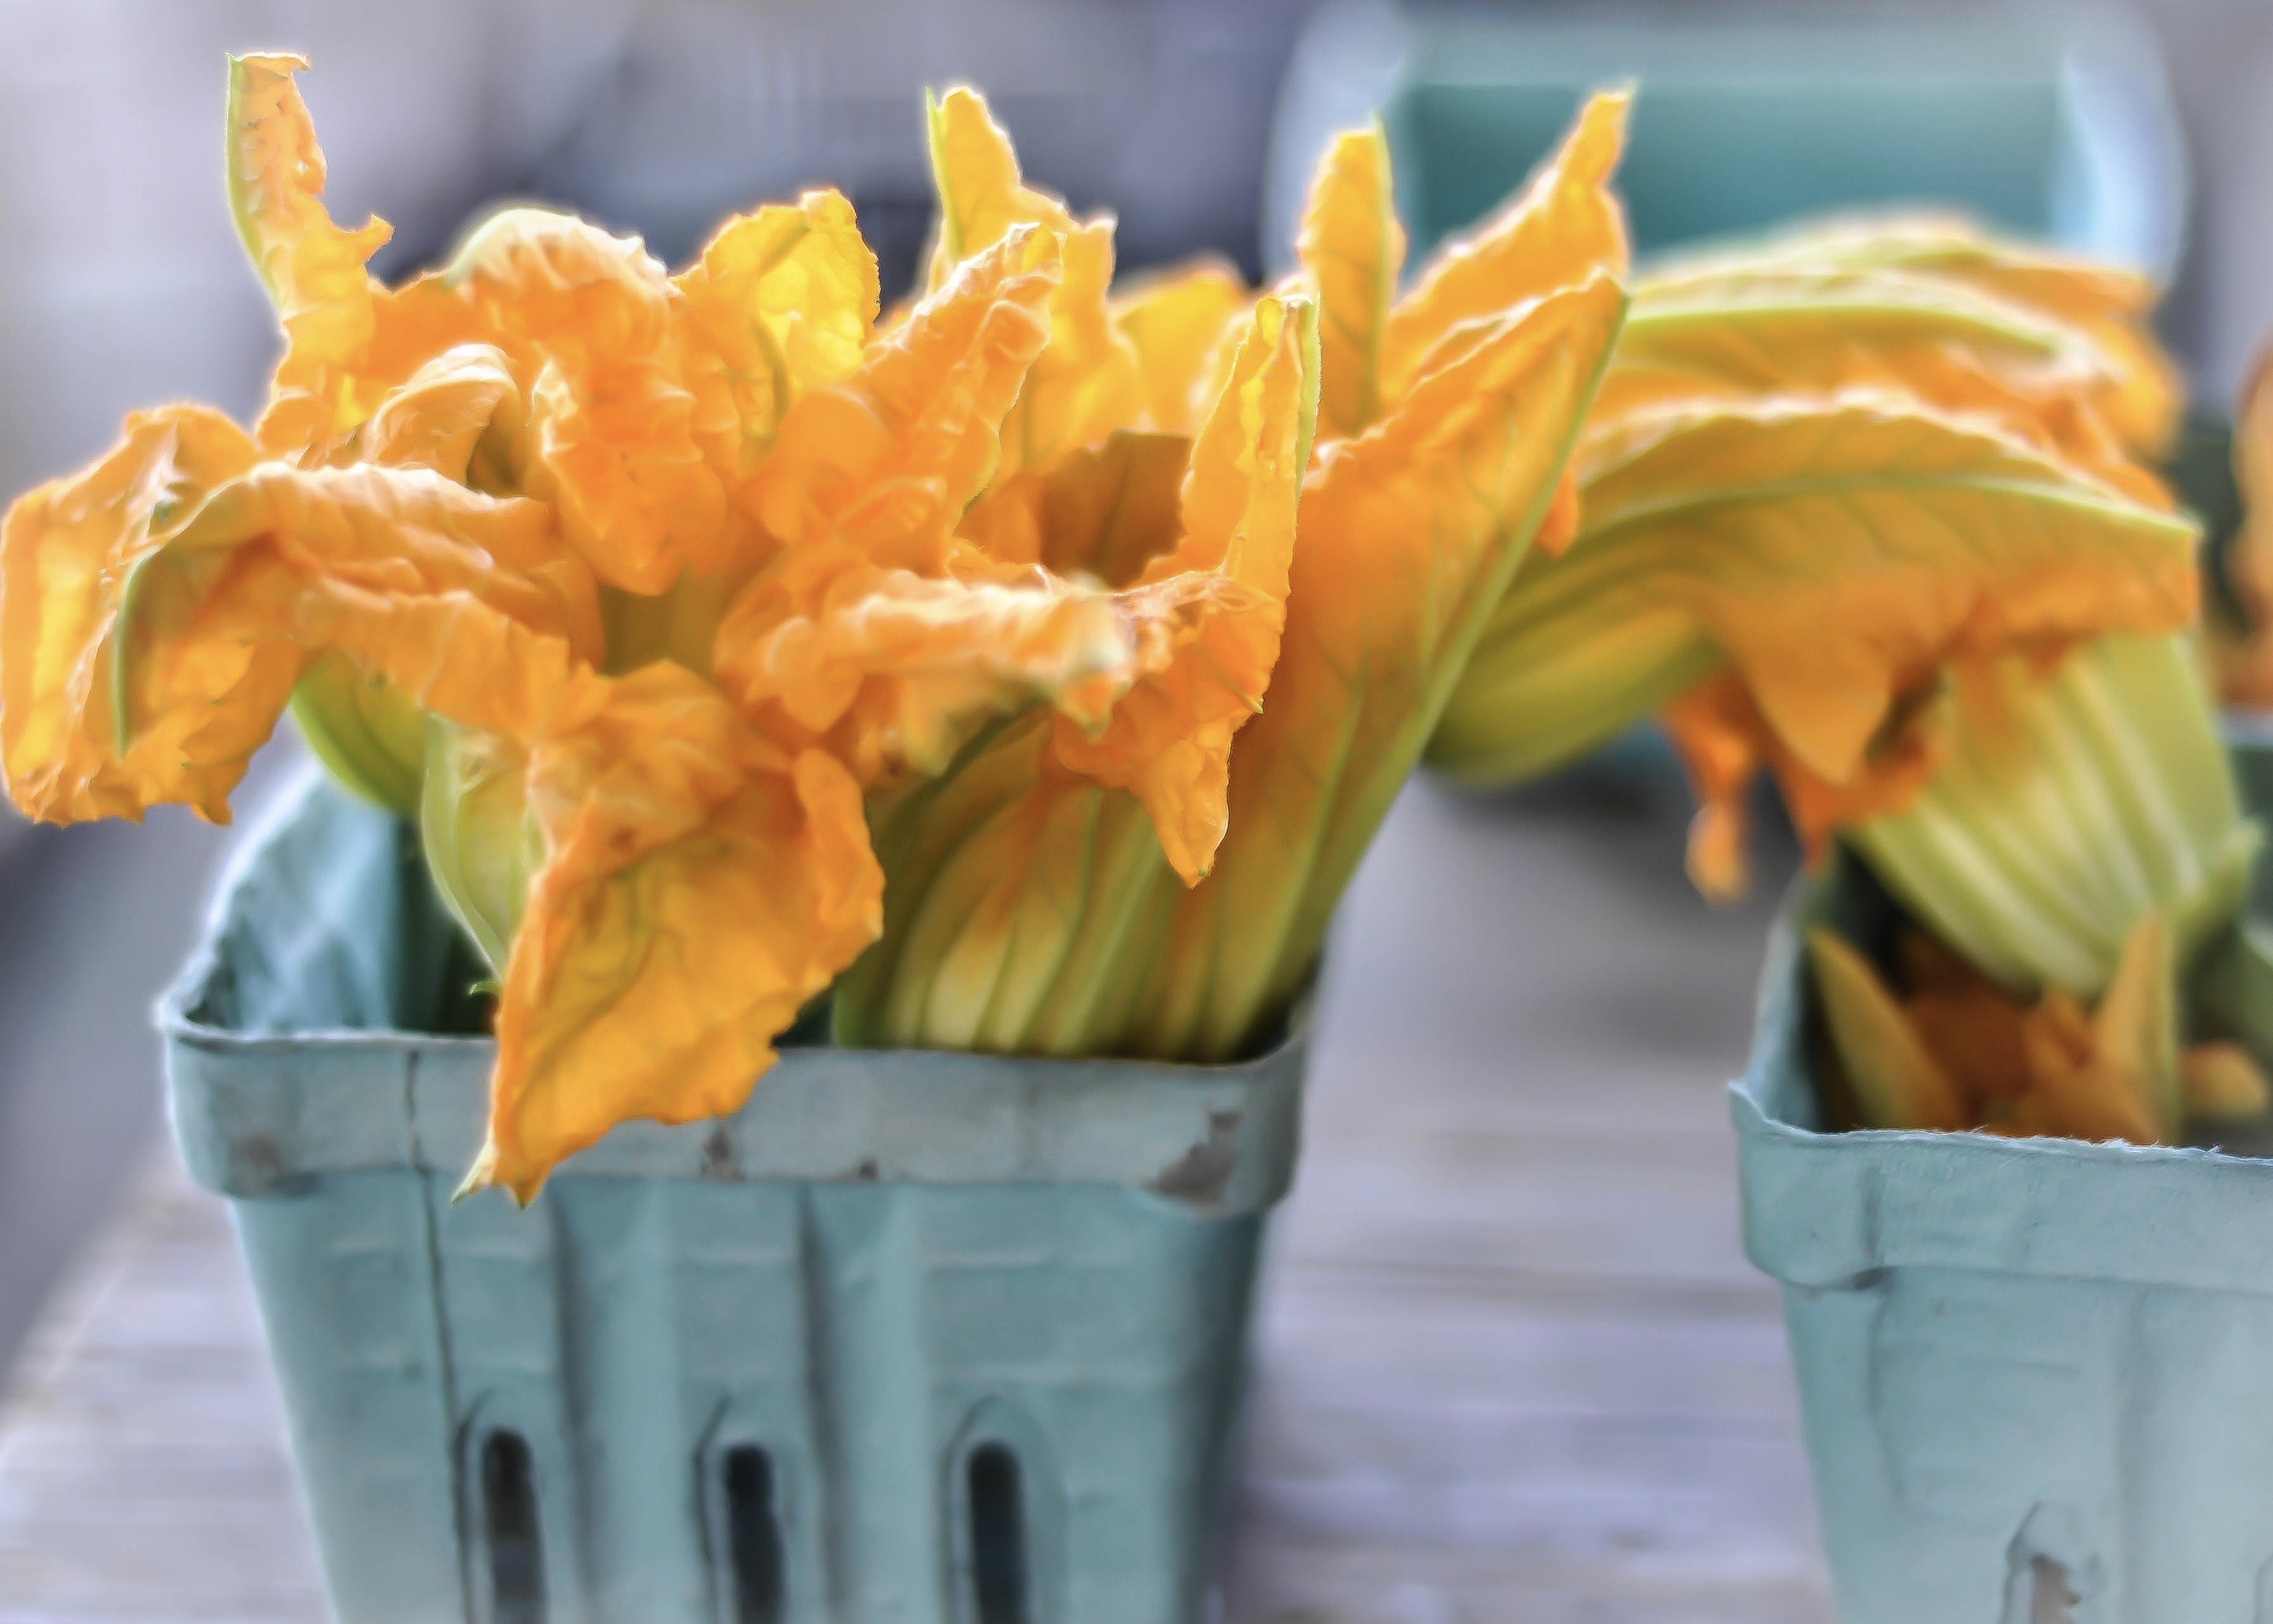
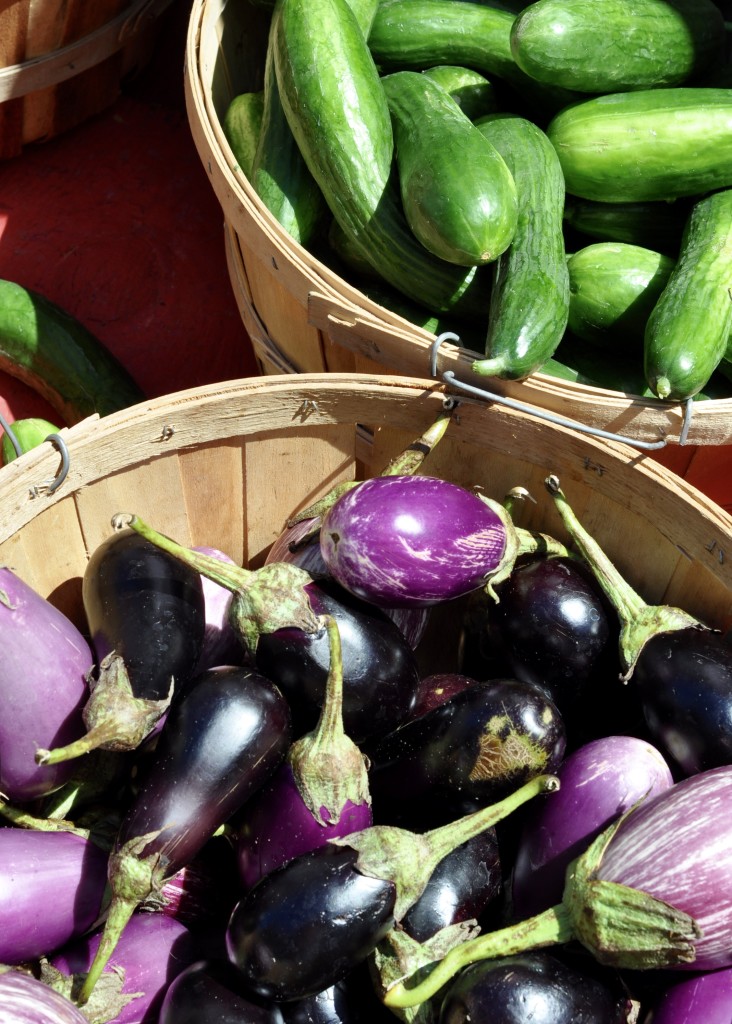
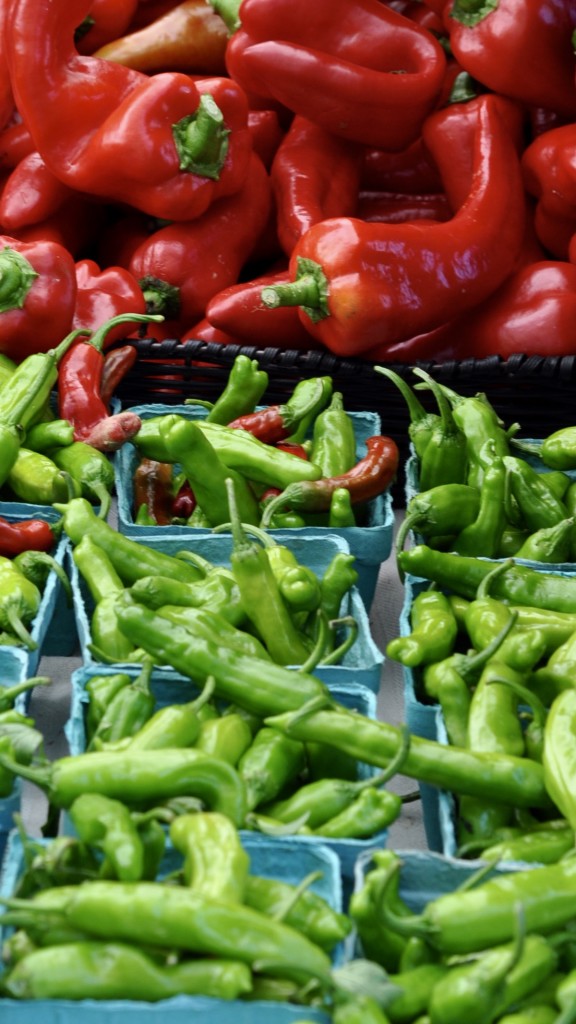
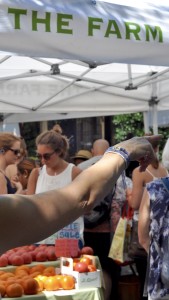
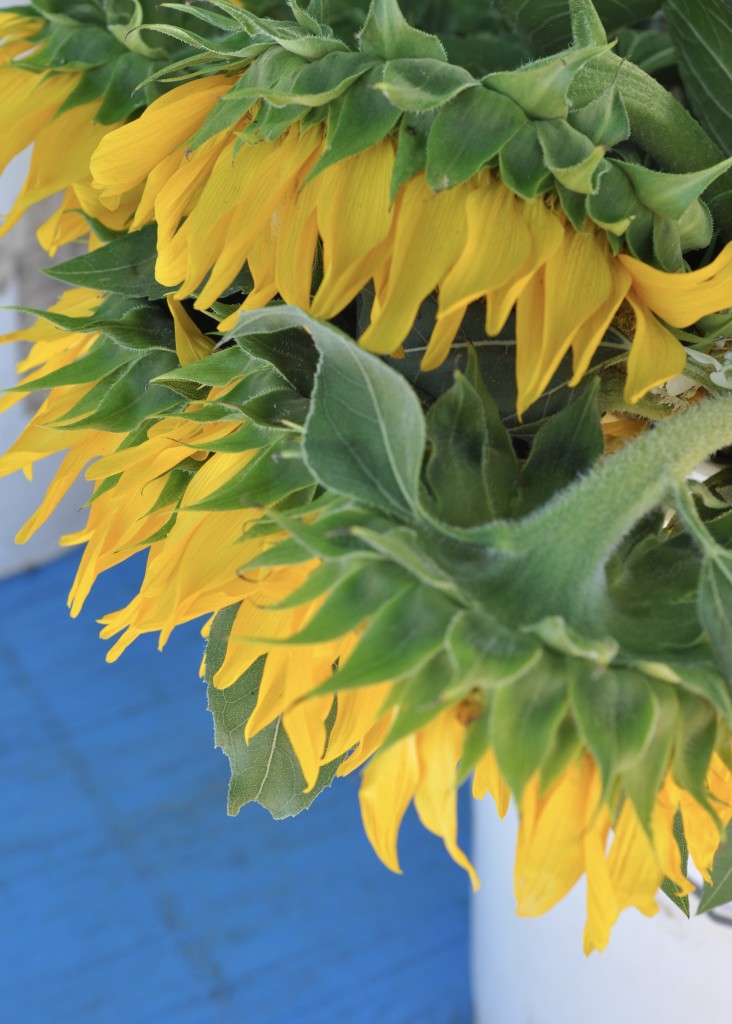
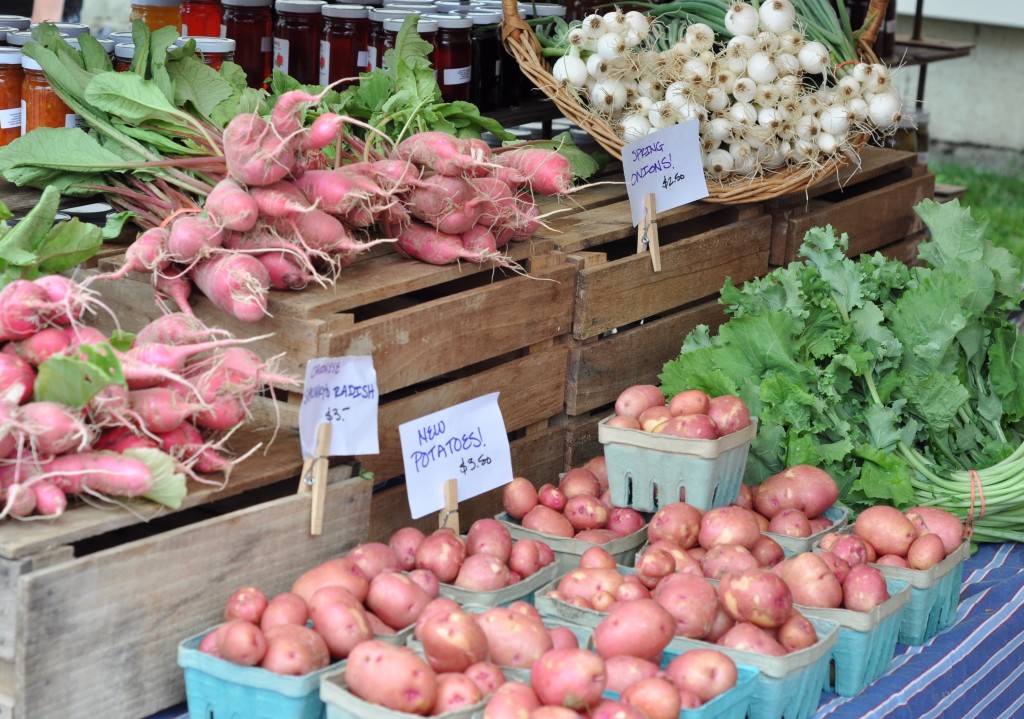
Farmer’s Market: Dupont Circle, Washington DC
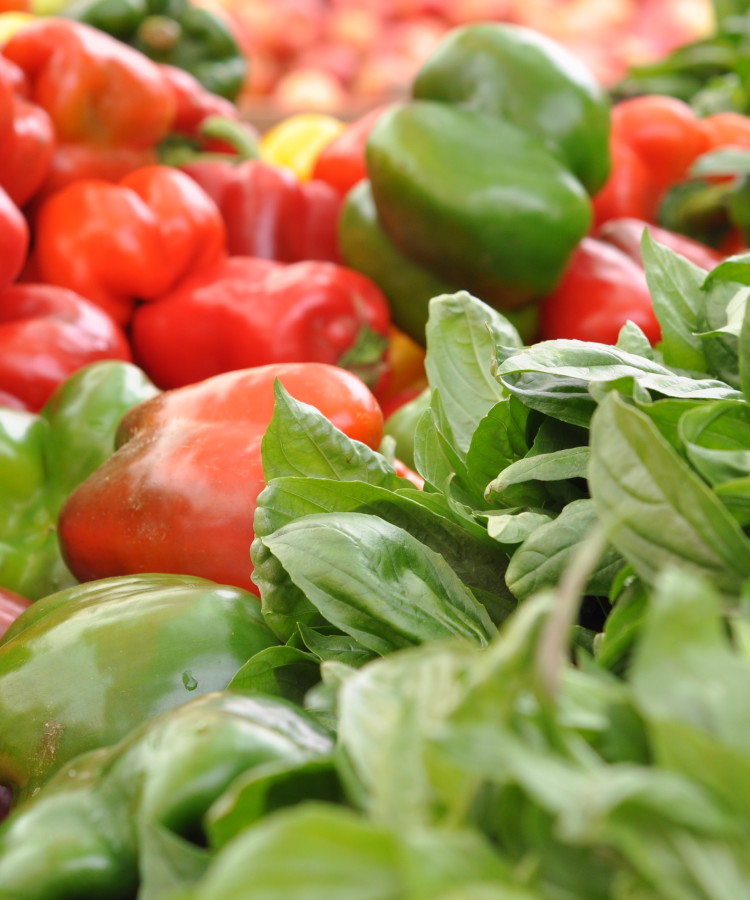
The Dupont Circle Farmer’s Market is a lively spot! I’ve been meaning to visit and decided today was the day! I love Dupont. It’s quirky and fun. Now one more reason to go: the FARMFRESH farmer’s market …and it’s year round. Year round! During the peak season, there are more than 50 farmers with fruits and vegetables, pastured meat, poultry and eggs, cheeses, baked goods, fresh pasta, pickled everything, jams, locally roasted coffee, local beers, wood-fired pizza, dumplings, soups and sandwiches, cut flowers, soaps, and so much more. Did I mention the Red Basil and Tarragon infused lemonade? Ohyesplease…
The Dupont Farmer’s Market is held on Sundays, 8:30 am to 1:30 pm (Apr through Dec) and Sundays, 10:00 am to 1:00 pm (Jan through Mar). Get out there!
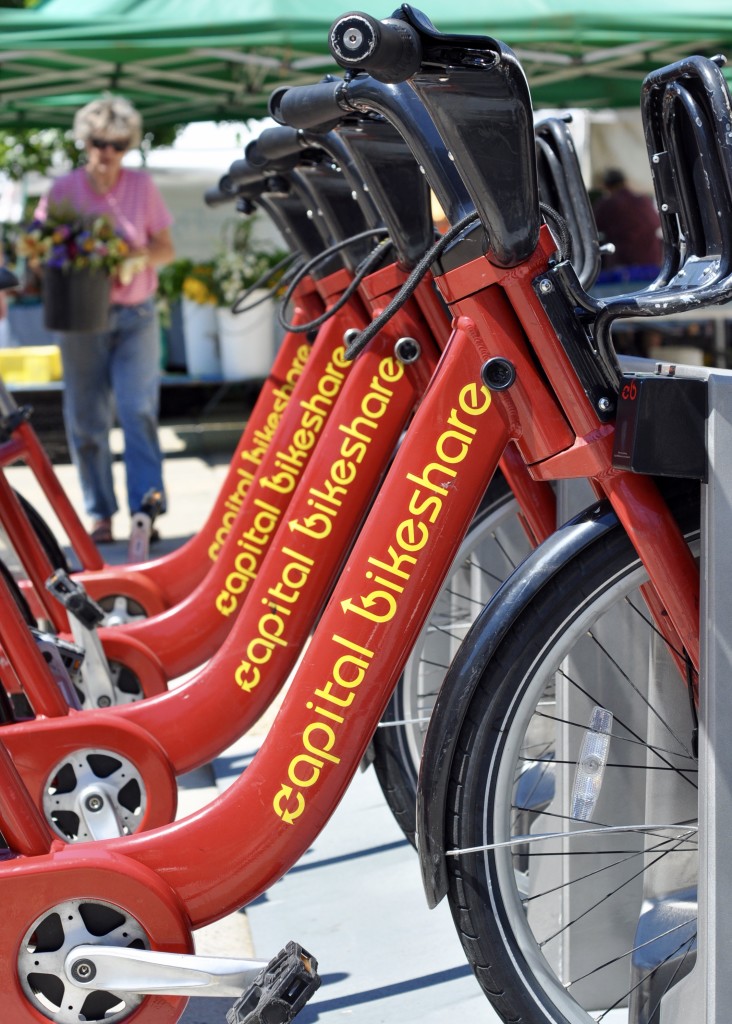
Getting to the Dupont Farmer’s Market is surprisingly easy. The Dupont metro stop drops you right in the center of the market. I gathered up the courage to drive into the city and was pleasantly surprised with the parking situation. Parking is free in the city on Sundays.


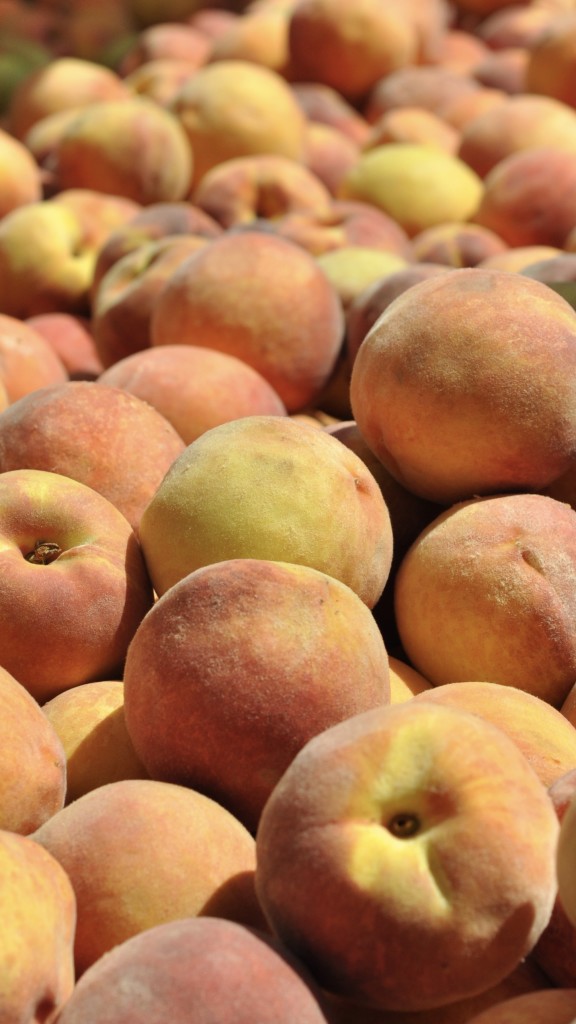
Eat your fruits and veggies…

Dupont Circle: a vibrant city space.


Sweet Potatoes with Spiced Chickpeas & Ginger Lime Tahini Sauce
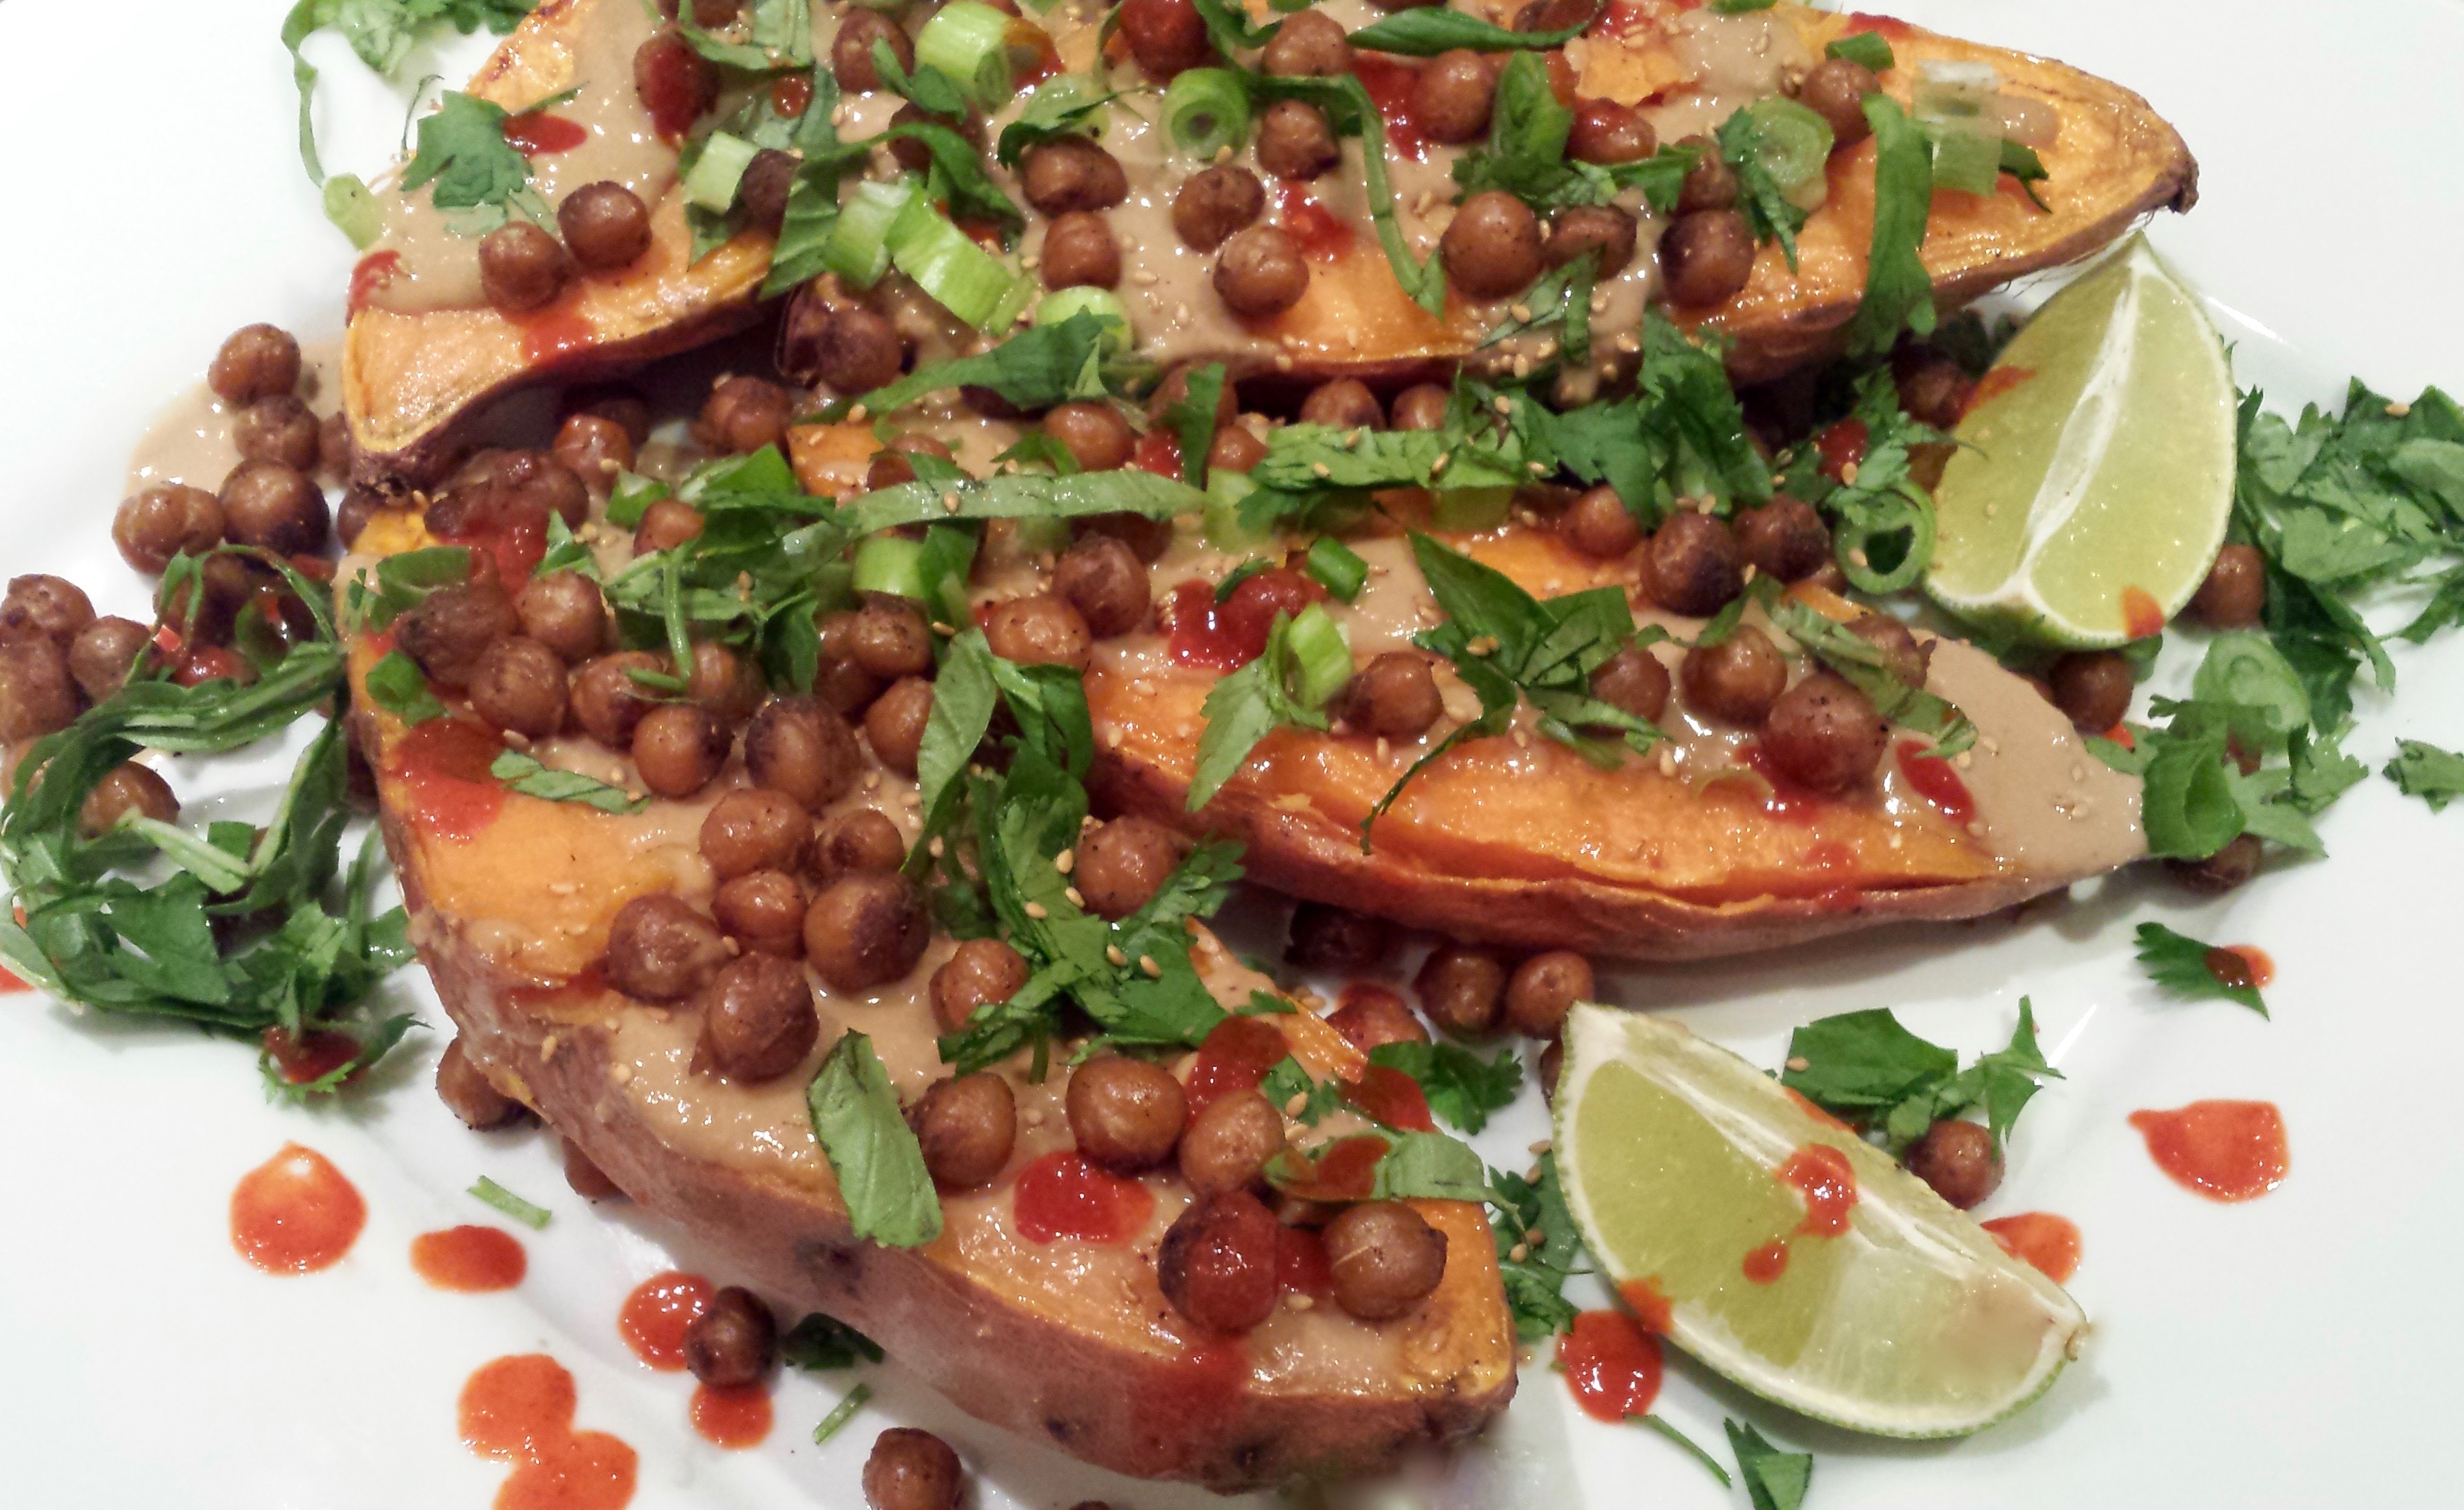
Sweet Potatoes with Spiced Chickpeas & Ginger Lime Tahini Sauce
There’s a running list of recipes that scrolls through my head. There’s a lot of chatter up there. Thank gawd much of it is food related. This is one of those recipes I’ve waited a long time to make. Suddenly, it became one of those “must make now” recipes. Detour on the drive home from work. In Whole Foods snatching up sweet potatoes, cilantro, limes, tahini, chickpeas with all too much enthusiasm.
I burst through the door, straight into the kitchen, cranked up my fave Pandora channel (ohhh you love Chill Loungers Radio too?!), and got right to work. Don’t stop, won’t stop, oh no…forgot to take pictures…last ditch smartphone shot right before serving. Close call. Glad I can give you a little Samsung Galaxy 4 kickin-it-old-school snap.
This is one of those dishes that highlights what I love about cooking. Simple to make; perfect mix of flavors; separate components of a dish that stand alone wonderfully, but come together perfectly; results exceed expectations. What’s not to like…?
So, in a string of “I’m not vegan” vegan recipes: Just.Make.This.One.
Another beautiful recipe from a favorite website, The First Mess.
- 4 medium sweet potatoes
- 2 teaspoons olive or coconut oil
- 1 15 oz can chickpeas, drained and rinsed
- 1 teaspoon garlic powder
- 1 teaspoon ground cumin
- ½ teaspoon finely grated fresh ginger
- ¼ teaspoon ground coriander
- 1 tablespoon pure maple syrup
- 1 tablespoon soy sauce
- ½ teaspoon chili garlic sauce or other hot sauce
- 1 tsp finely grated fresh ginger
- ¼ cup tahini
- 1 lime, juiced (approximately 2 tablespoons)
- 1-2 tablespoons soy sauce
- 2-3 tablespoons pure maple syrup
- ½ teaspoon chili garlic sauce or other hot sauce
- 2-3 tablespoons water (to thin sauce after mixed)
- 2 green onions, thinly sliced
- 1/4 cup chopped cilantro
- 1/4 cup fresh basil, thinly sliced
- Sesame seeds
- Sriracha sauce
- Lime wedges
- Preheat oven to 400 degrees F. Line a baking dish with 2-inch sides with parchment paper. Set the sweet potatoes, flesh side down, onto the parchment. Bake sweet potatoes until they are tender all the way through, about 25-30 minutes.
- While sweet potatoes bake, heat the oil in a medium skillet over medium heat. In a glass bowl, mix the garlic powder, cumin, ginger, coriander, maple syrup, tamari, and hot sauce. Then toss the chickpeas in this sauce.
- Transfer the chickpeas to the skillet. Sauté chickpeas until visibly browned and lightly dried. The spices should form a golden “crust” on the outside of the chickpeas. This should take about 5-10 minutes with intermittent stirring.
- Using the same bowl that you tossed the chickpeas in, whisk together the tahini sauce. Mix the ginger, tahini, lime juice, tamari, maple syrup, and hot sauce. When the sauce is smooth, add hot water to get the sauce to pourable consistency. Whisk thoroughly and set aside.
- Place the baked sweet potatoes on a platter. Top the sweet potato halves with tahini sauce, the cooked chickpeas, green onions, cilantro, basil, sesame seeds, and sriracha sauce. Serve with lime wedges on the side. Enjoy immediately.
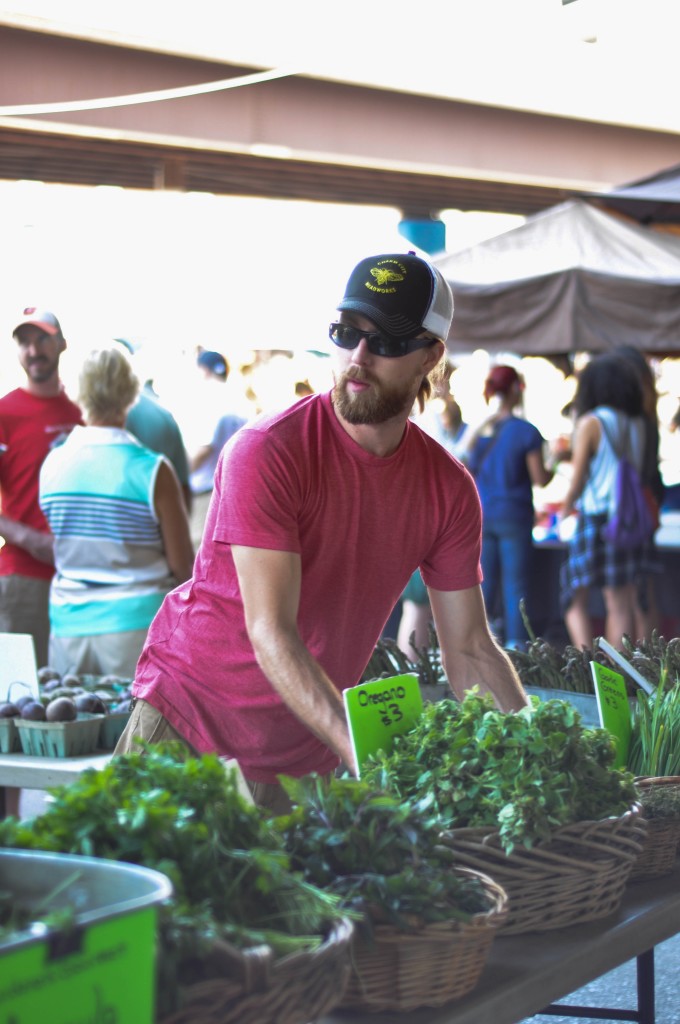
Farmer’s Market: Del Ray Neighborhood, Alexandria, Virginia
Tucked away on the north end of Old Town Alexandria, Virginia, is the cutest darn little neighborhood you could imagine. Craftsman style homes, generous porches, young urban couples pushing babies in strollers, dogs playfully walking alongside their owners, coffee shops, “unchained” restaurants, and a charming little farmer’s market. Del Ray: fun, quirky, lovable.
The Del Ray Farmer’s Market is open EVERY Saturday 08:00 am – 12:00 pm. It’s located at 203 East Oxford Avenue, Alexandria, Virginia at the corner of Mount Vernon and Oxford Avenues.
At the height of the season, there are around 20 farmers and vendors selling fruits, vegetables, meat, poultry, fish, eggs, cheeses, breads, fresh pasta, baked goods, cut flowers and home-made dog treats. You can grab your Saturday morning coffee there, and a young man on the north end of the lot sells incredible Salteñas, a Bolivian baked empanada. The Salteña is a little different than the empanada though. Inside a perfectly crisp pastry shell is a stew-like filling of meats, peas, and potatoes with a slightly sweet flavor. Mine was a breakfast Salteña, so there was also a bit of scrambled eggs inside. It’s slurpy. Hold it upright, nibble the edge, and get lots of napkins from the Salteña guy. I sat under a tree and got lost in my Salteña and iced coffee. I wiped my mouth with the back of my hand for effect…
If you drive, there is street parking on Mount Vernon and the side streets (you’ll be better off looking on the side streets). There is a paid parking lot across Oxford Avenue behind the Virginia Commerce Bank. You can also take the bus; there is a bus stop at the market (Mount Vernon and East Oxford) for both Metro and DASH buses. You could also take the metro to the Braddock Road Metro stop, but you’ll have a fairly decent 20-minute walk.
For additional information, and to check out the list of vendors, take a look at the Del Ray Farmer’s Market website.

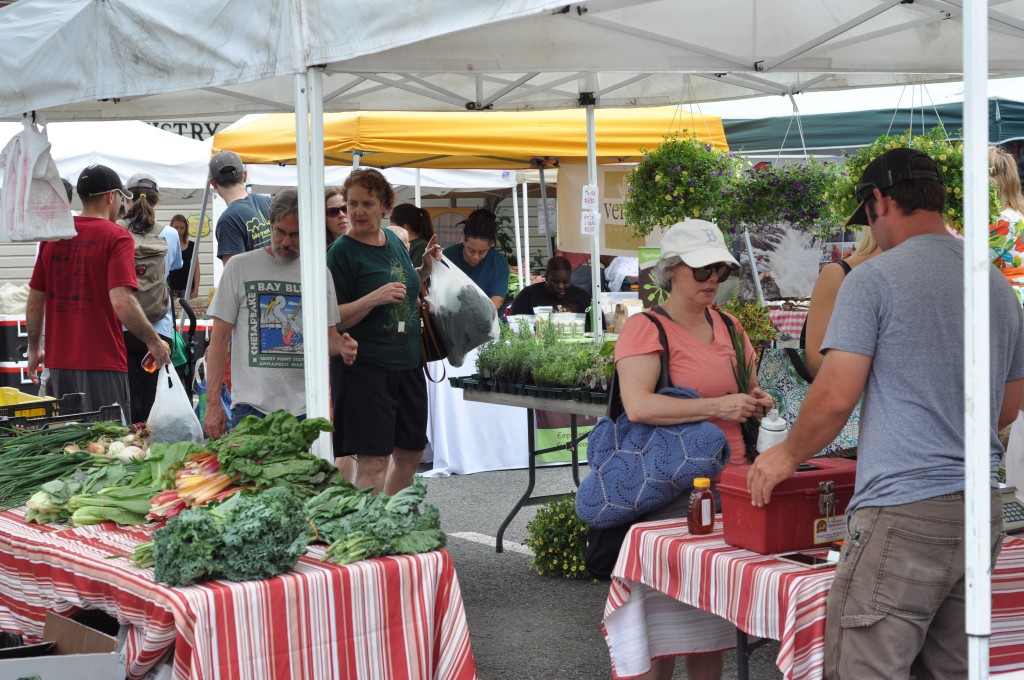
Farmer’s Market: Baltimore, Maryland
It’s my favorite time of year: farmer’s market season. It’s a thing. Summer, Fall, Winter, Spring, Farmer’s Market.
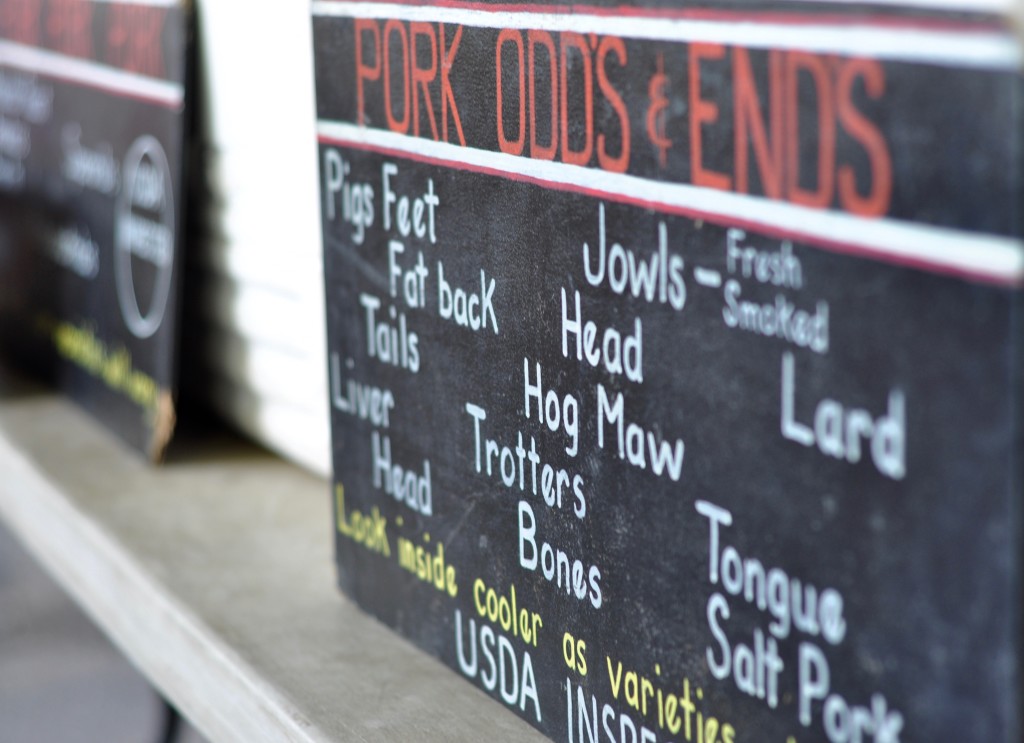
The Baltimore’s Farmer’s Market is certainly worth a visit. It’s filled to the brim with seasonal fruits, vegetables, poultry, seafood, beef, pork, lamb, bison, goat, rabbit, fresh baked goods, flavorful herbs, organically produced milk, yogurt, butter, eggs, cheeses, flowers and vegetable seedlings for your garden. It’s literally a cornucopia as far as farmer’s markets go. To top this, there are numerous food vendors dotted throughout the market. Pit beef sandwiches, omelets, breakfast burritos, crepes, wood-fired pizzas, pies, quiches, soups, noodles, dumplings and mushrooms (more on this later). Vegan items are sold as well, which may not have been obvious yet… Crafts, candles, organic dog treats, art, retro clothing, kombucha and kimchi.
It’s the largest producers-only market in Maryland. The market is sprawling and, interestingly, located underneath the highway overpass. Great for a rainy day, shielding from the summer sun, and adding an edgy, if not gritty, Baltimore feel to the market.
Eat, shop, be merry. What are you waiting for?…
The market is held on Sundays from 7:00 am – 12:00 pm between April – December. Many Sundays also feature live music performances and cooking demonstrations. The market is located below the Jones Falls Expressway at Holliday & Saratoga streets.
Parking is surprisingly convenient and free (for 2 hours) at the Mercy Medical Center across the street in the Mary Catherine Bunting Garage at 330 Guilford Avenue, Baltimore, MD 21202. Ensure you bring your ticket to the Market’s Welcome Tent to get a validation stamp. Without the stamp you will find yourself sweet-talking the garage attendant out of a $10 parking fee. Yeah, I still got it…

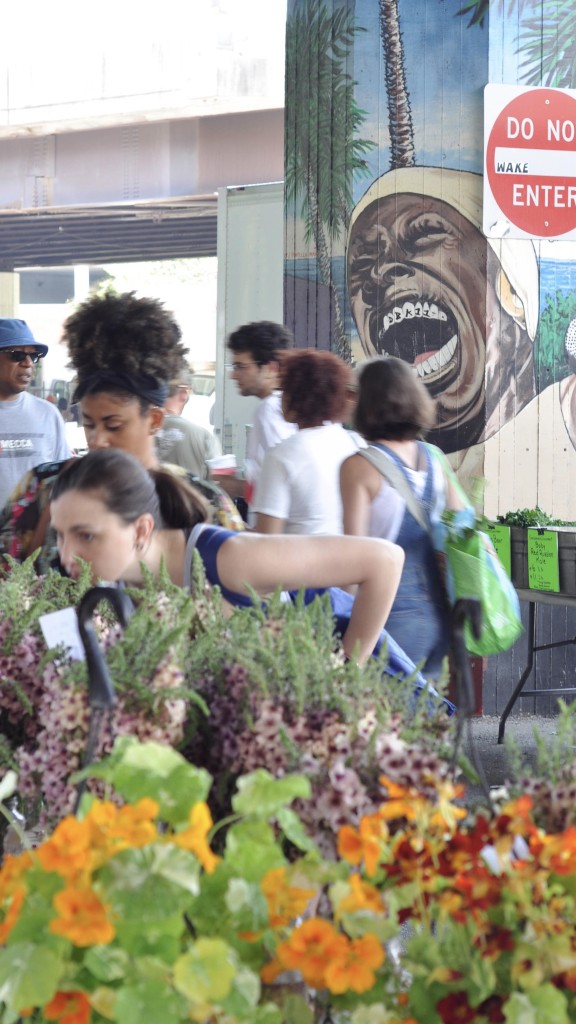
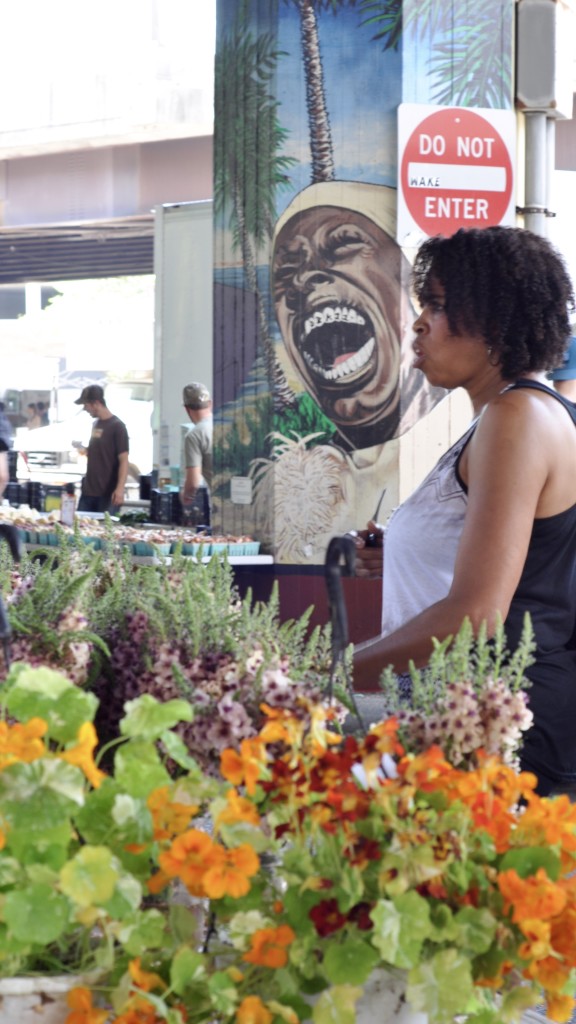
Art at the Farmer’s Market … it’s a permanent collection
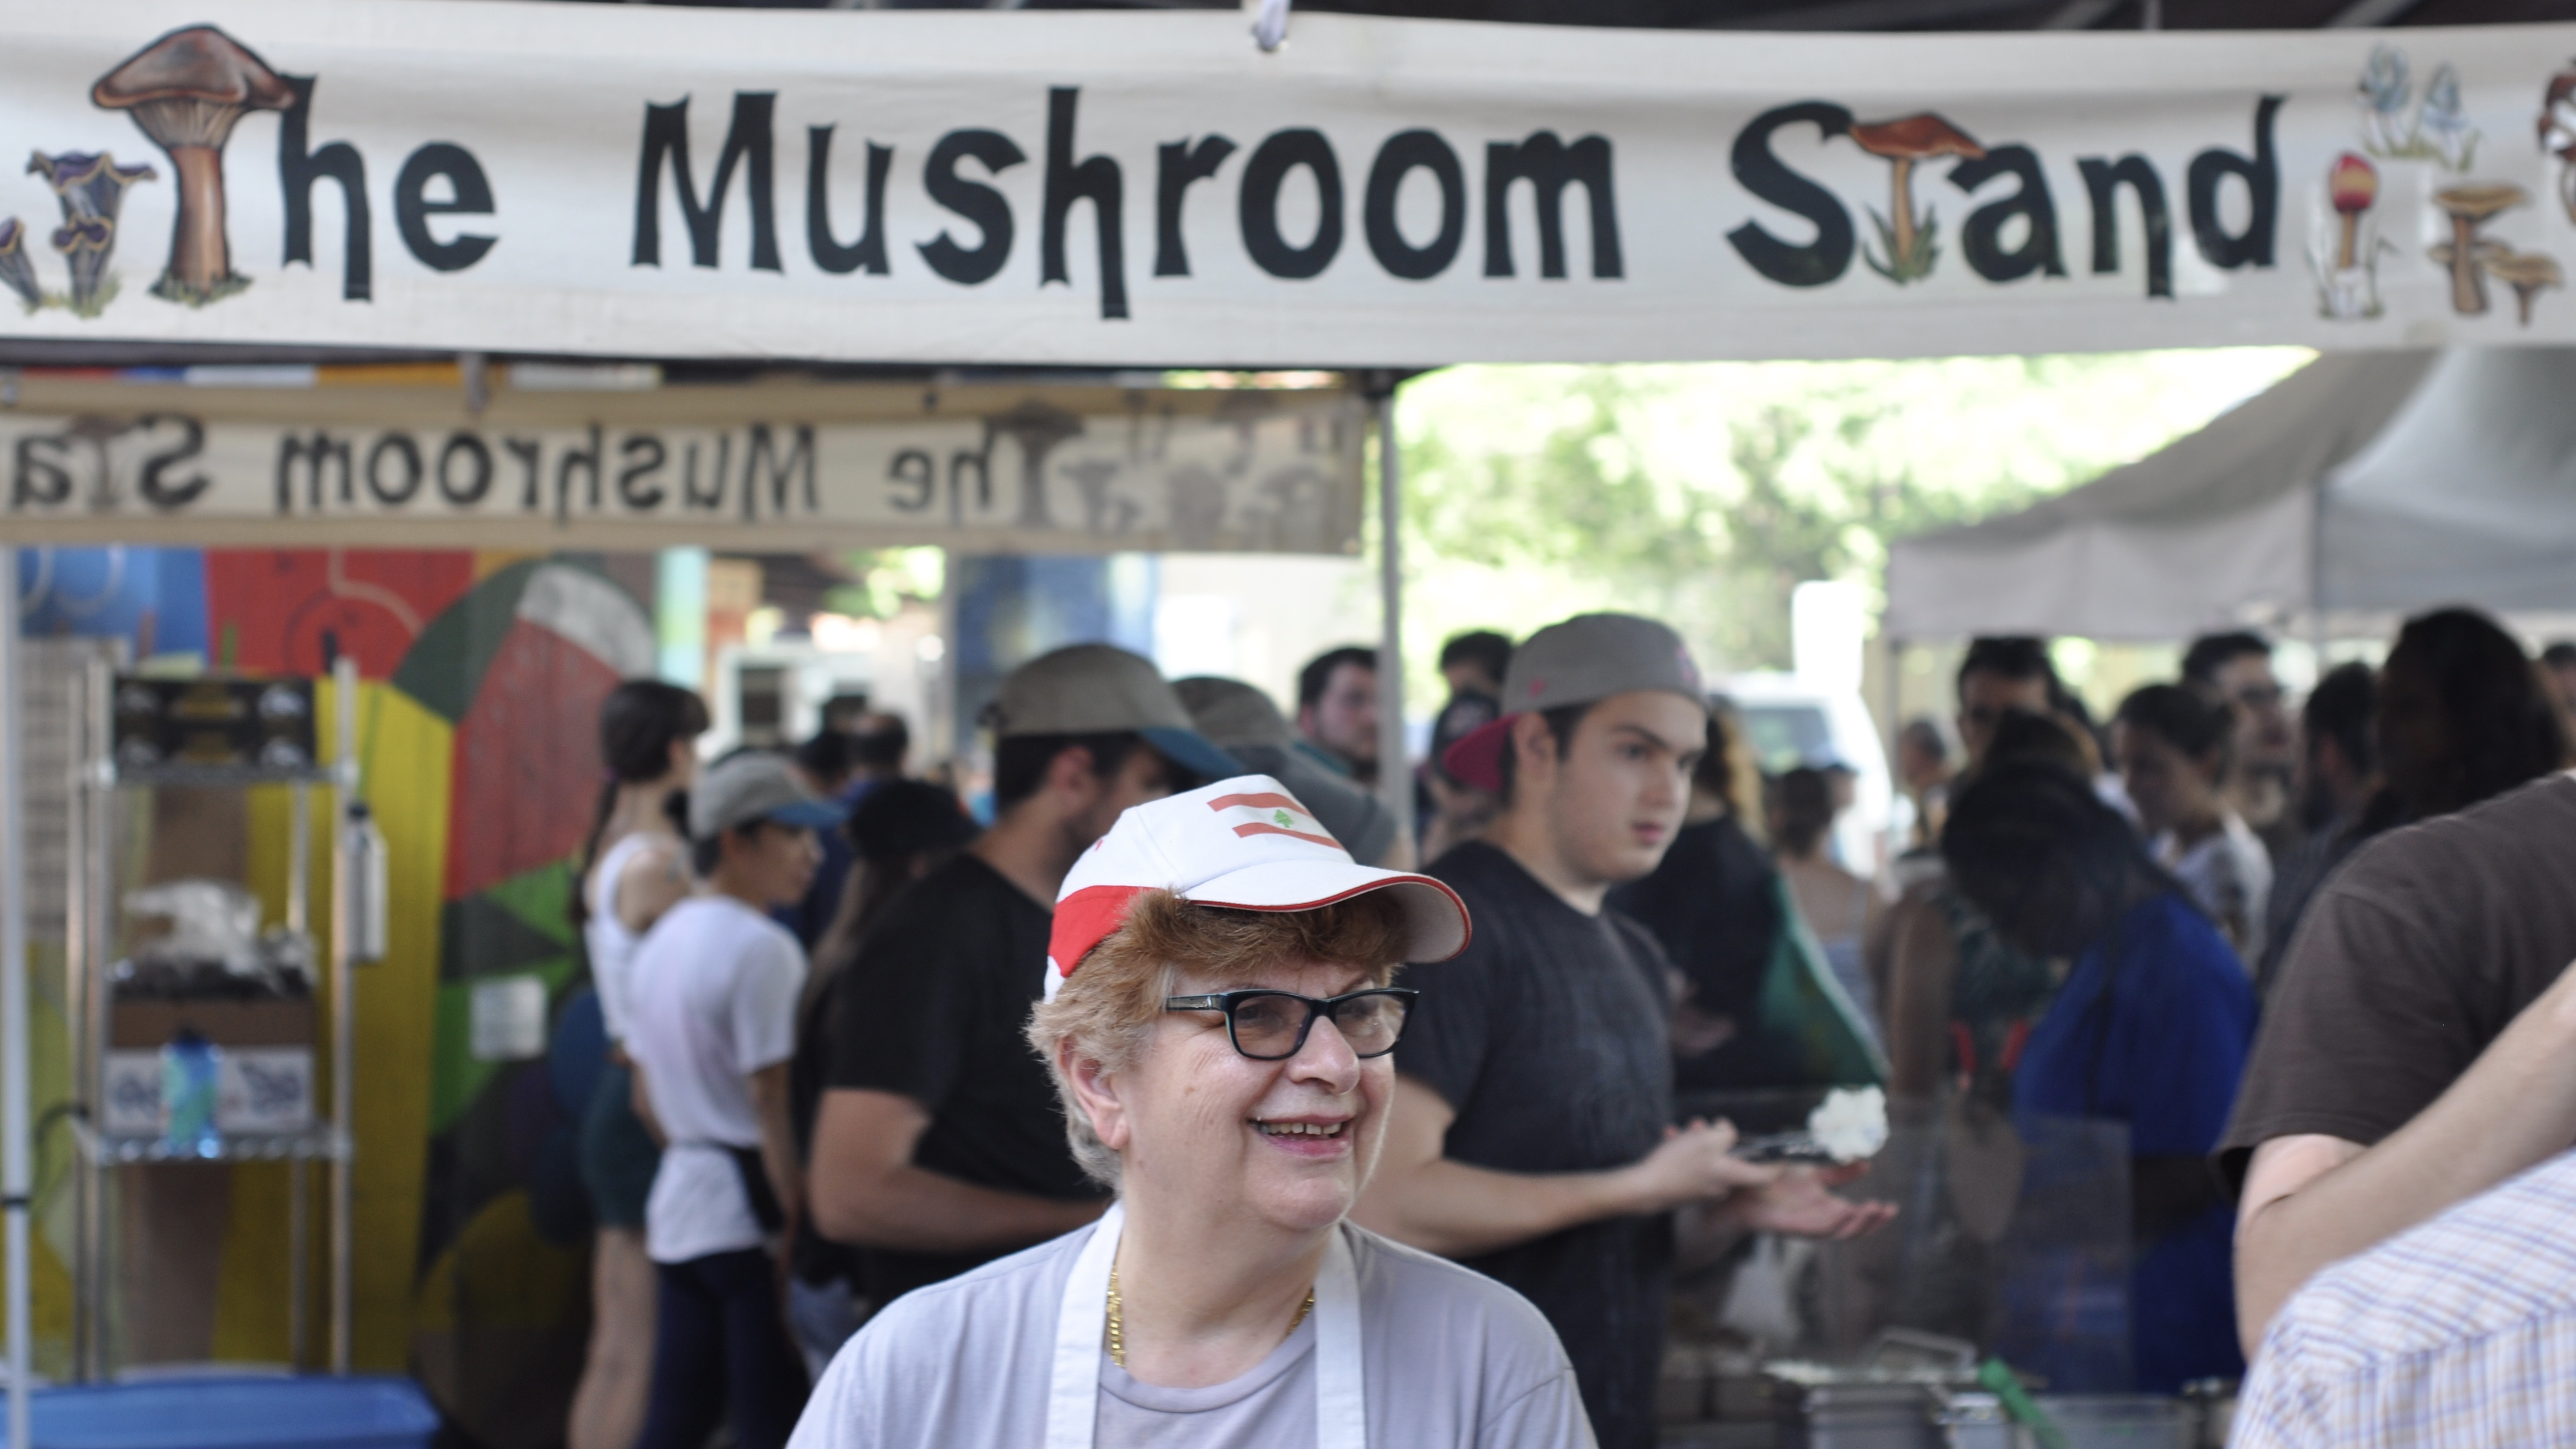
Amazing food at The Mushroom Stand
What’s to eat at The Mushroom Stand? Your favorite fungi, baby!
More specifically,…..
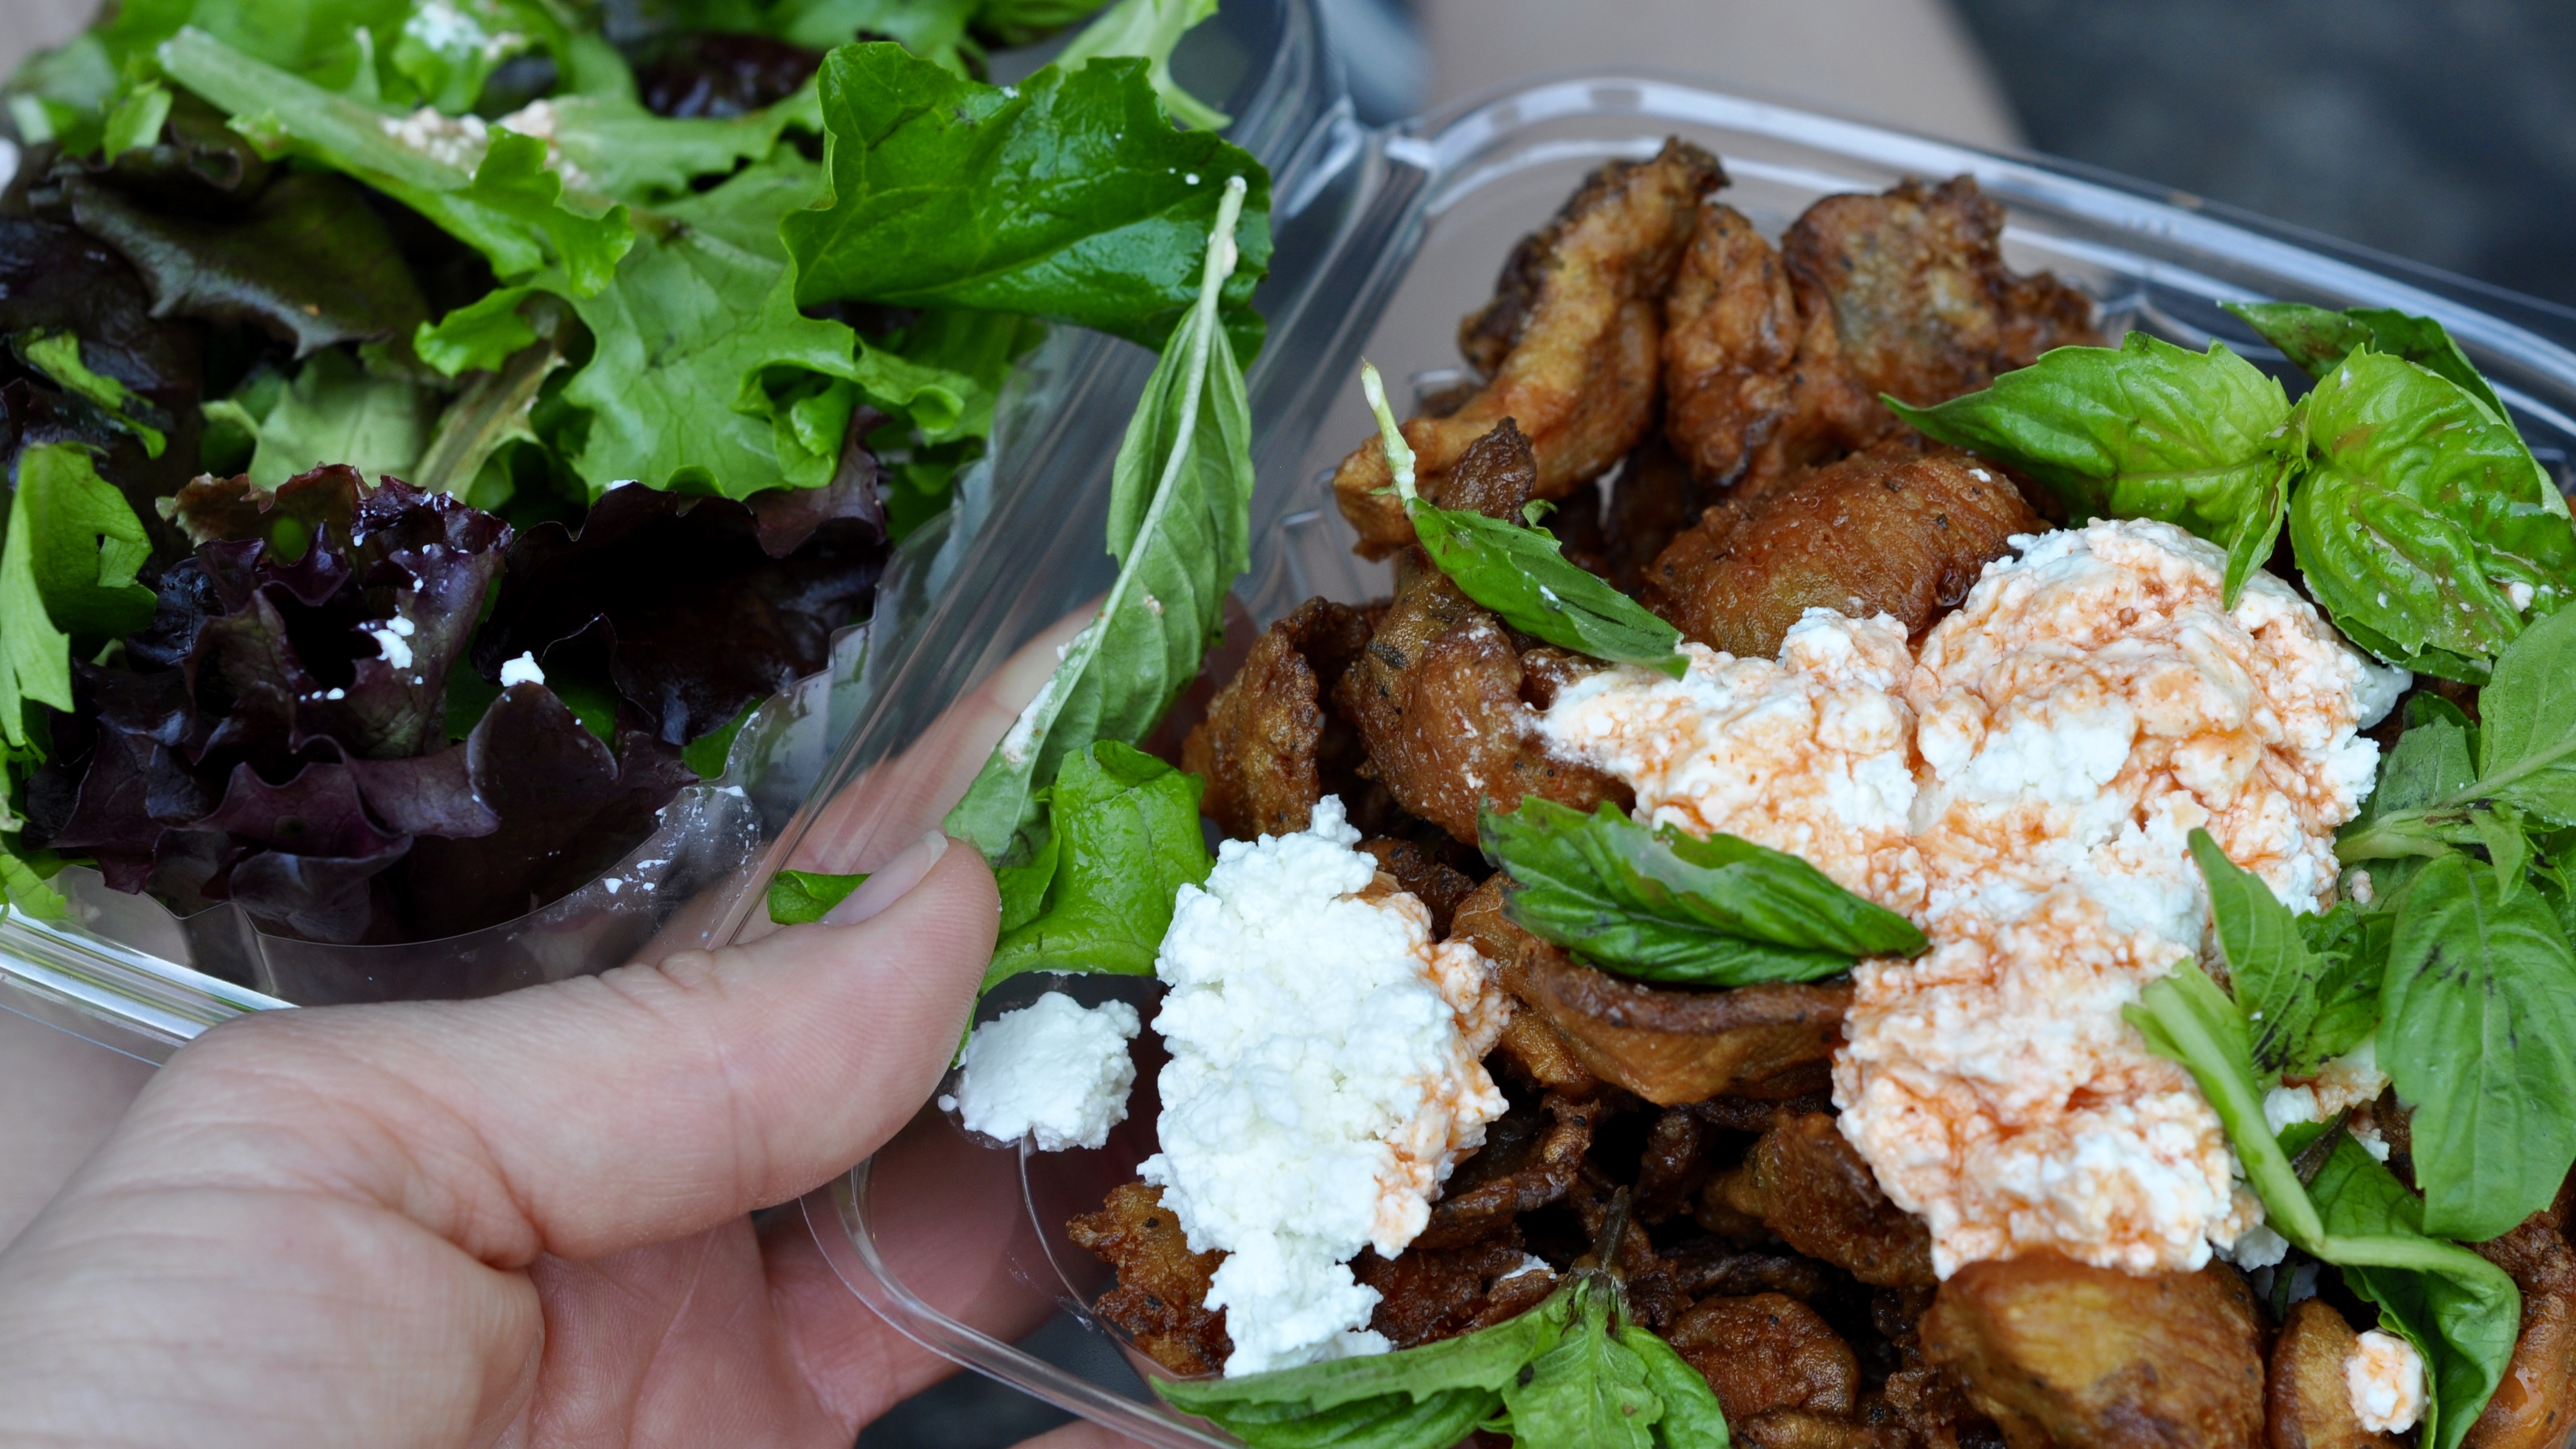
Oyster Mush Fritters. Blue Oyster mushrooms dipped in beer batter and fried in peanut oil, topped with hot sauce and a healthy dose of feta cheese, served on a bed of lettuce.
Portabella Salad. Marinated and smoked portabella served over mixed greens and topped with feta and hot sauce.
The Portabella Sandwich. Marinated and smoked portabella with mixed greens in a toasted pita and topped with feta cheese and hot sauce.
Three choices; one hard decision. I opted for the Oyster Fritters. F.A.N.T.A.S.T.I.C.
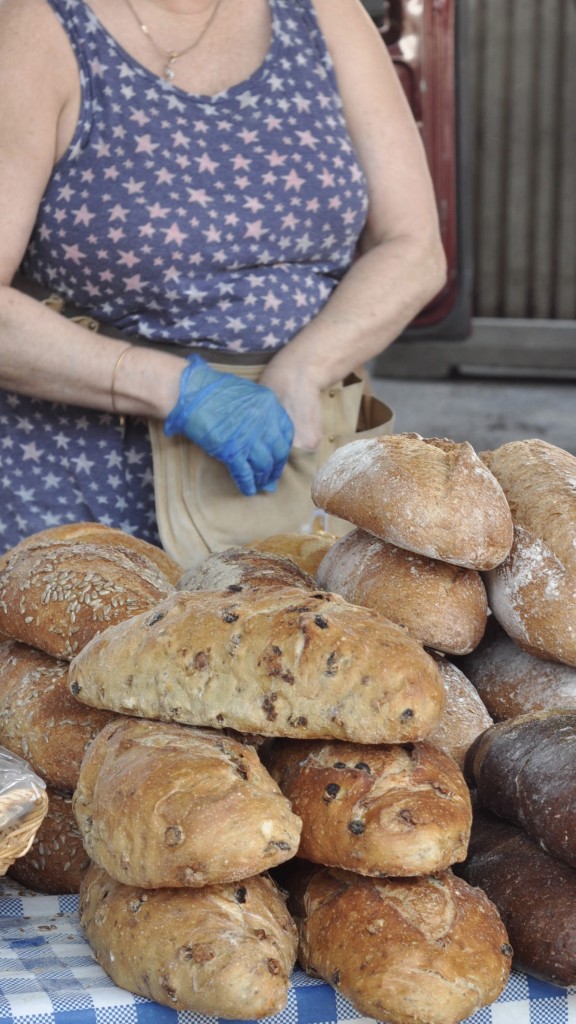
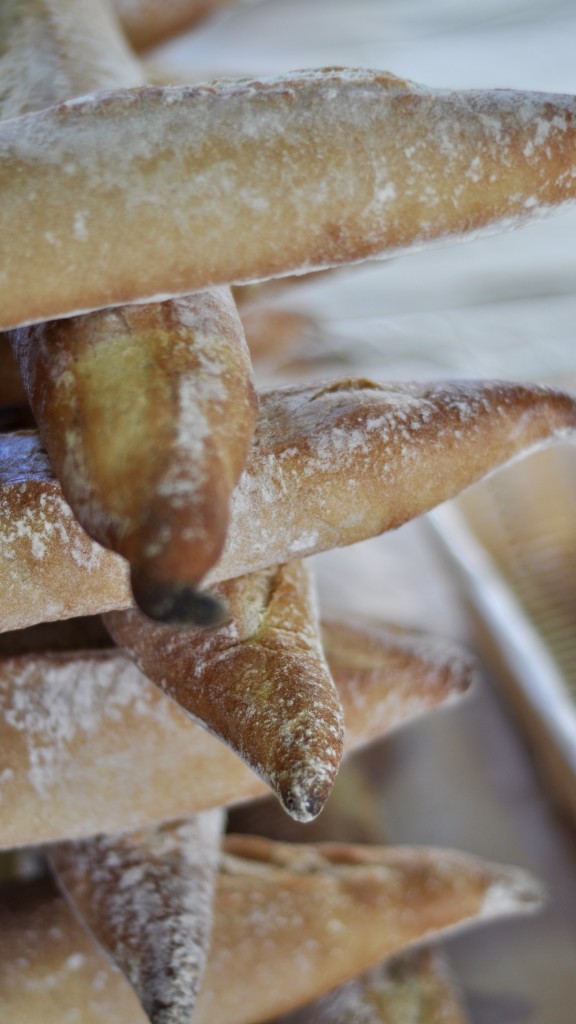
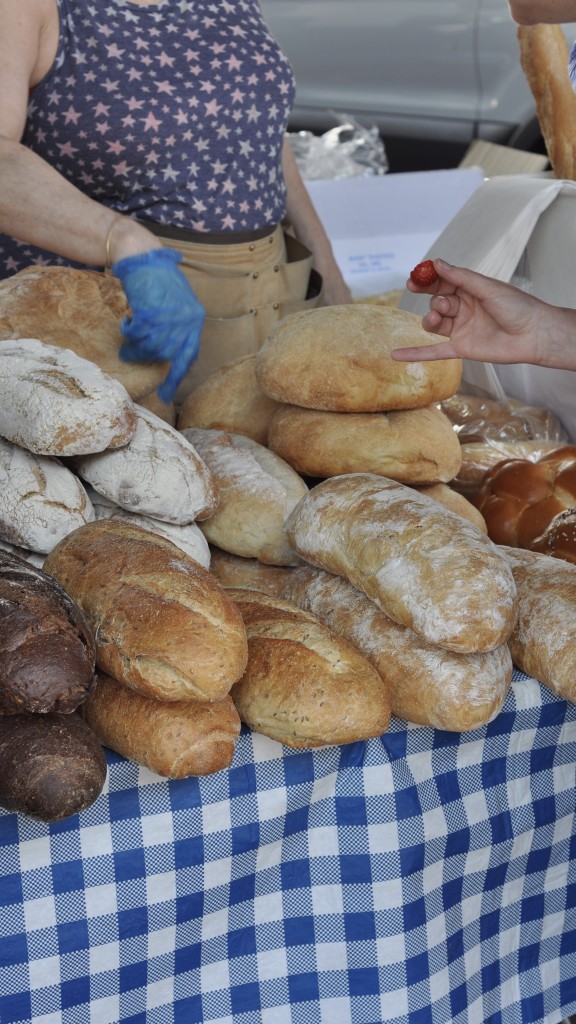
Bread at the Farmer’s Market … plenty of carb-lovin’ options
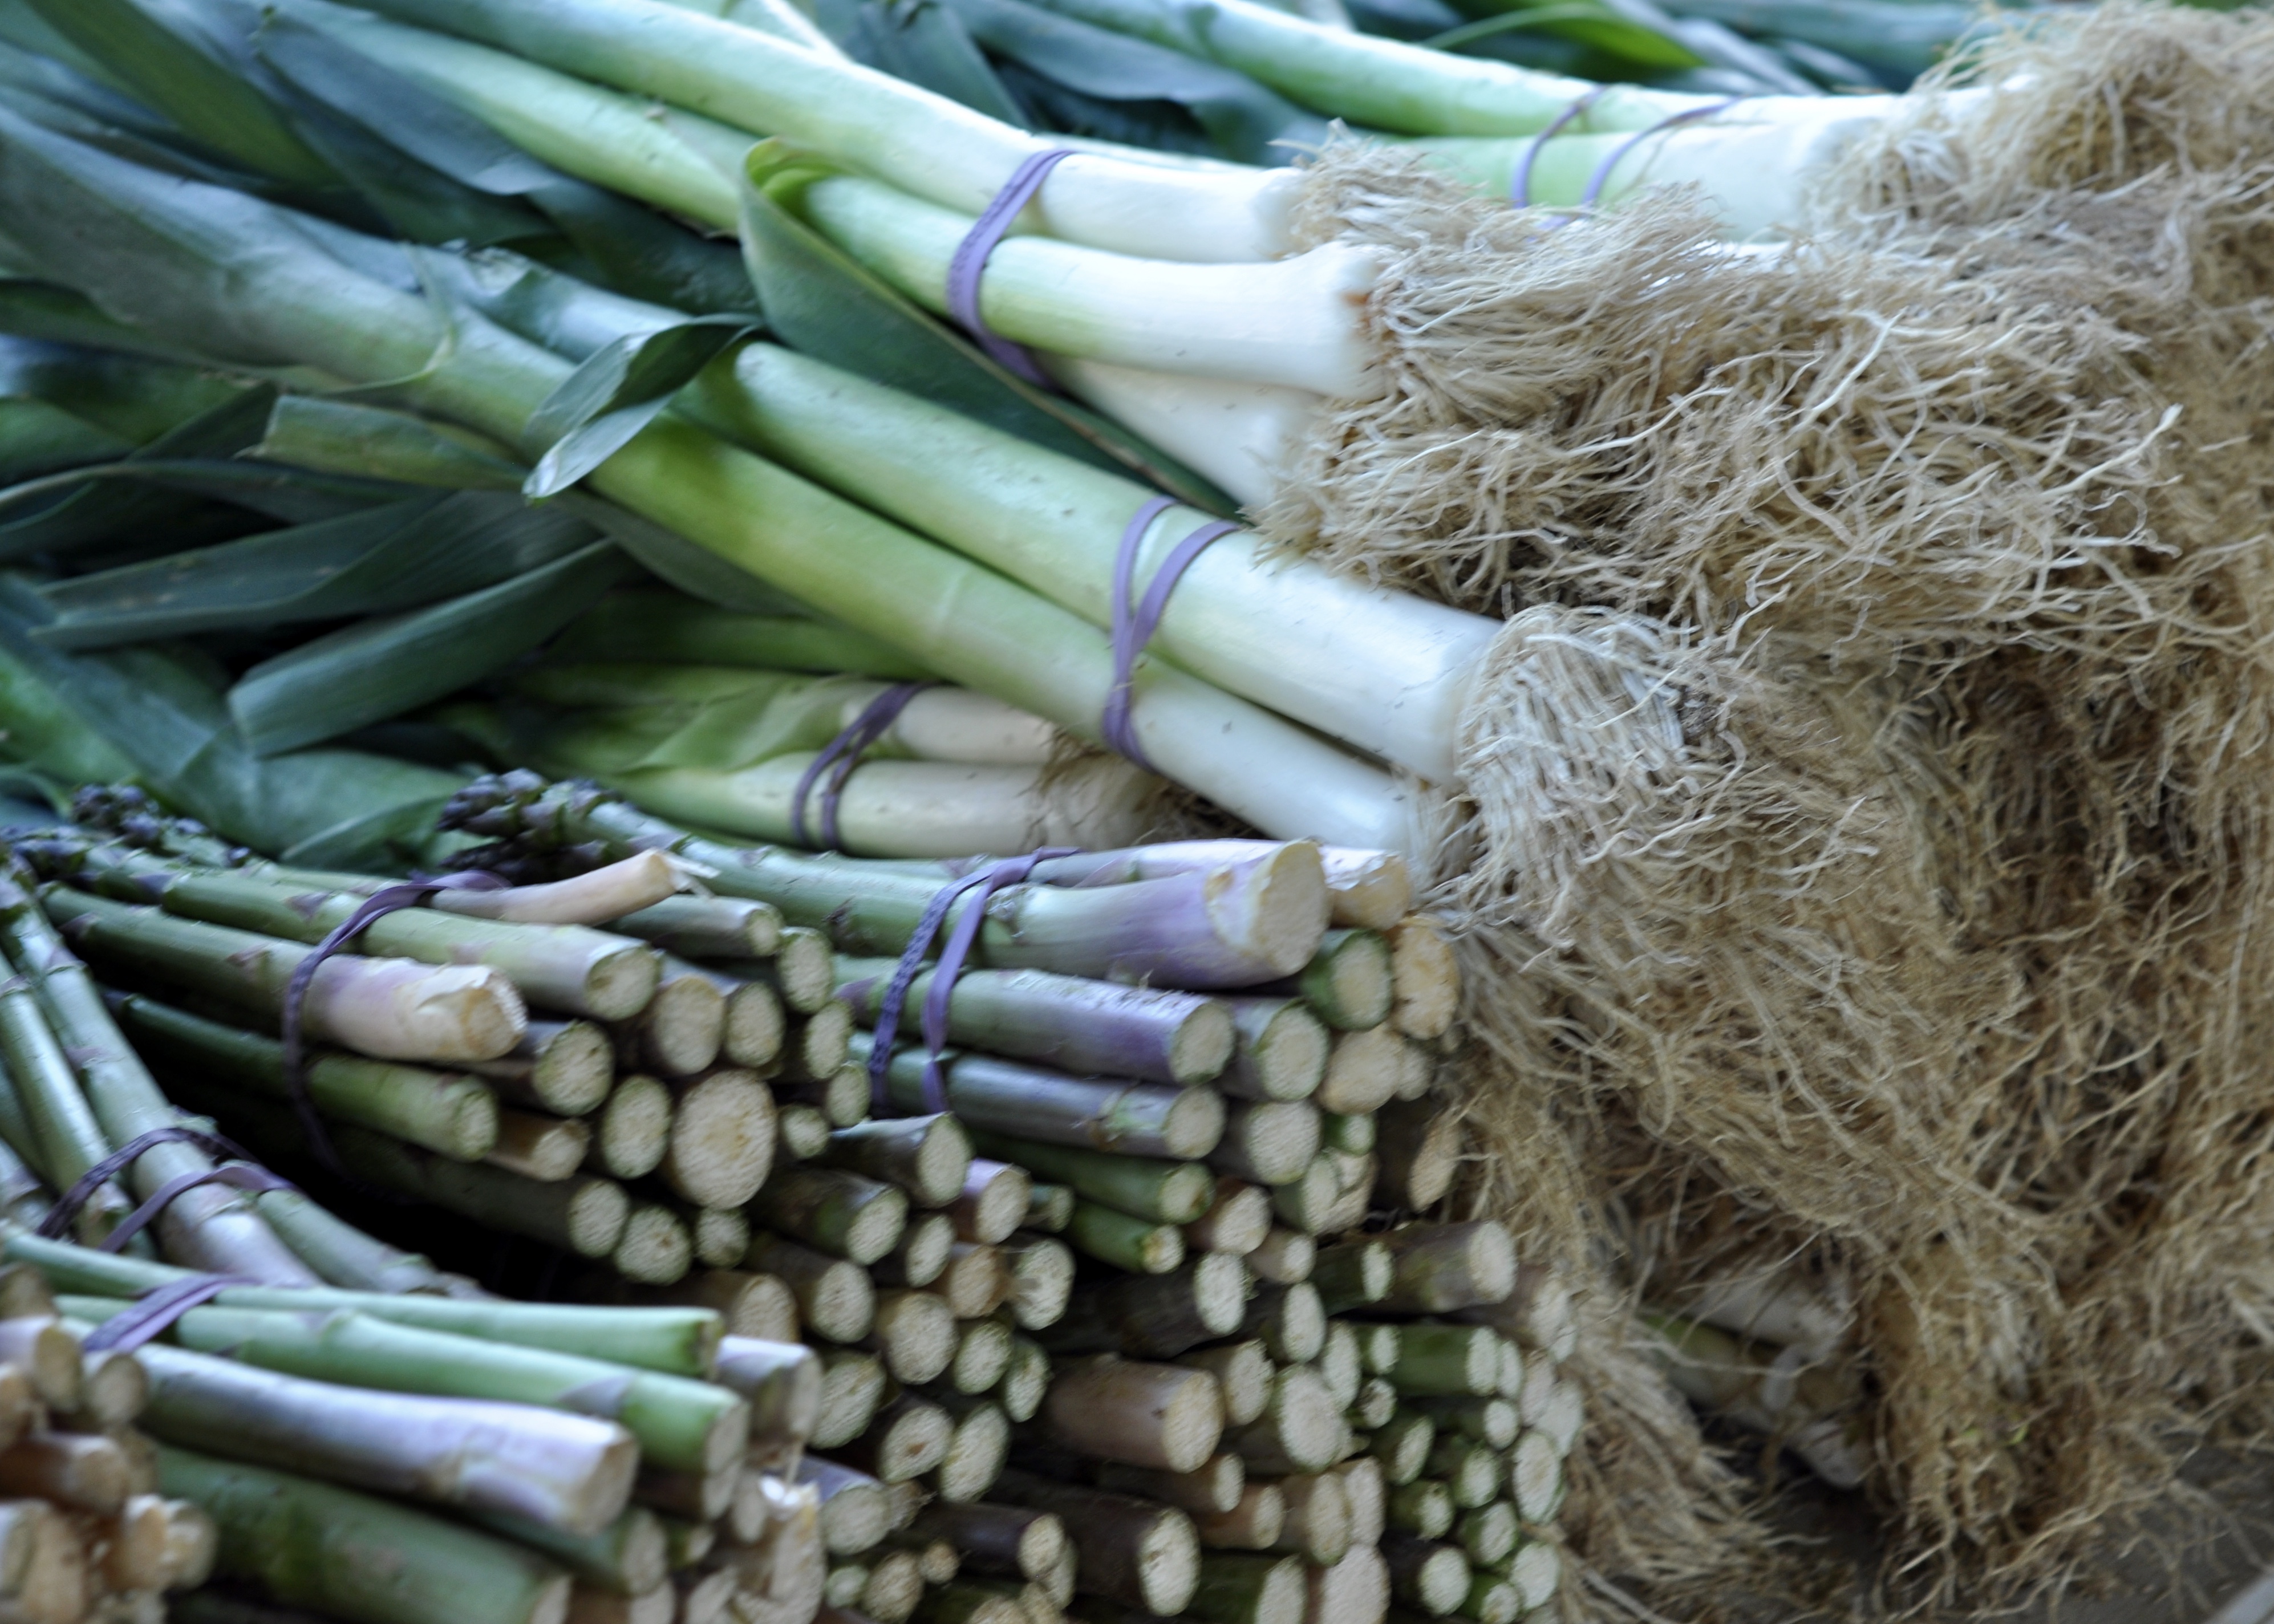
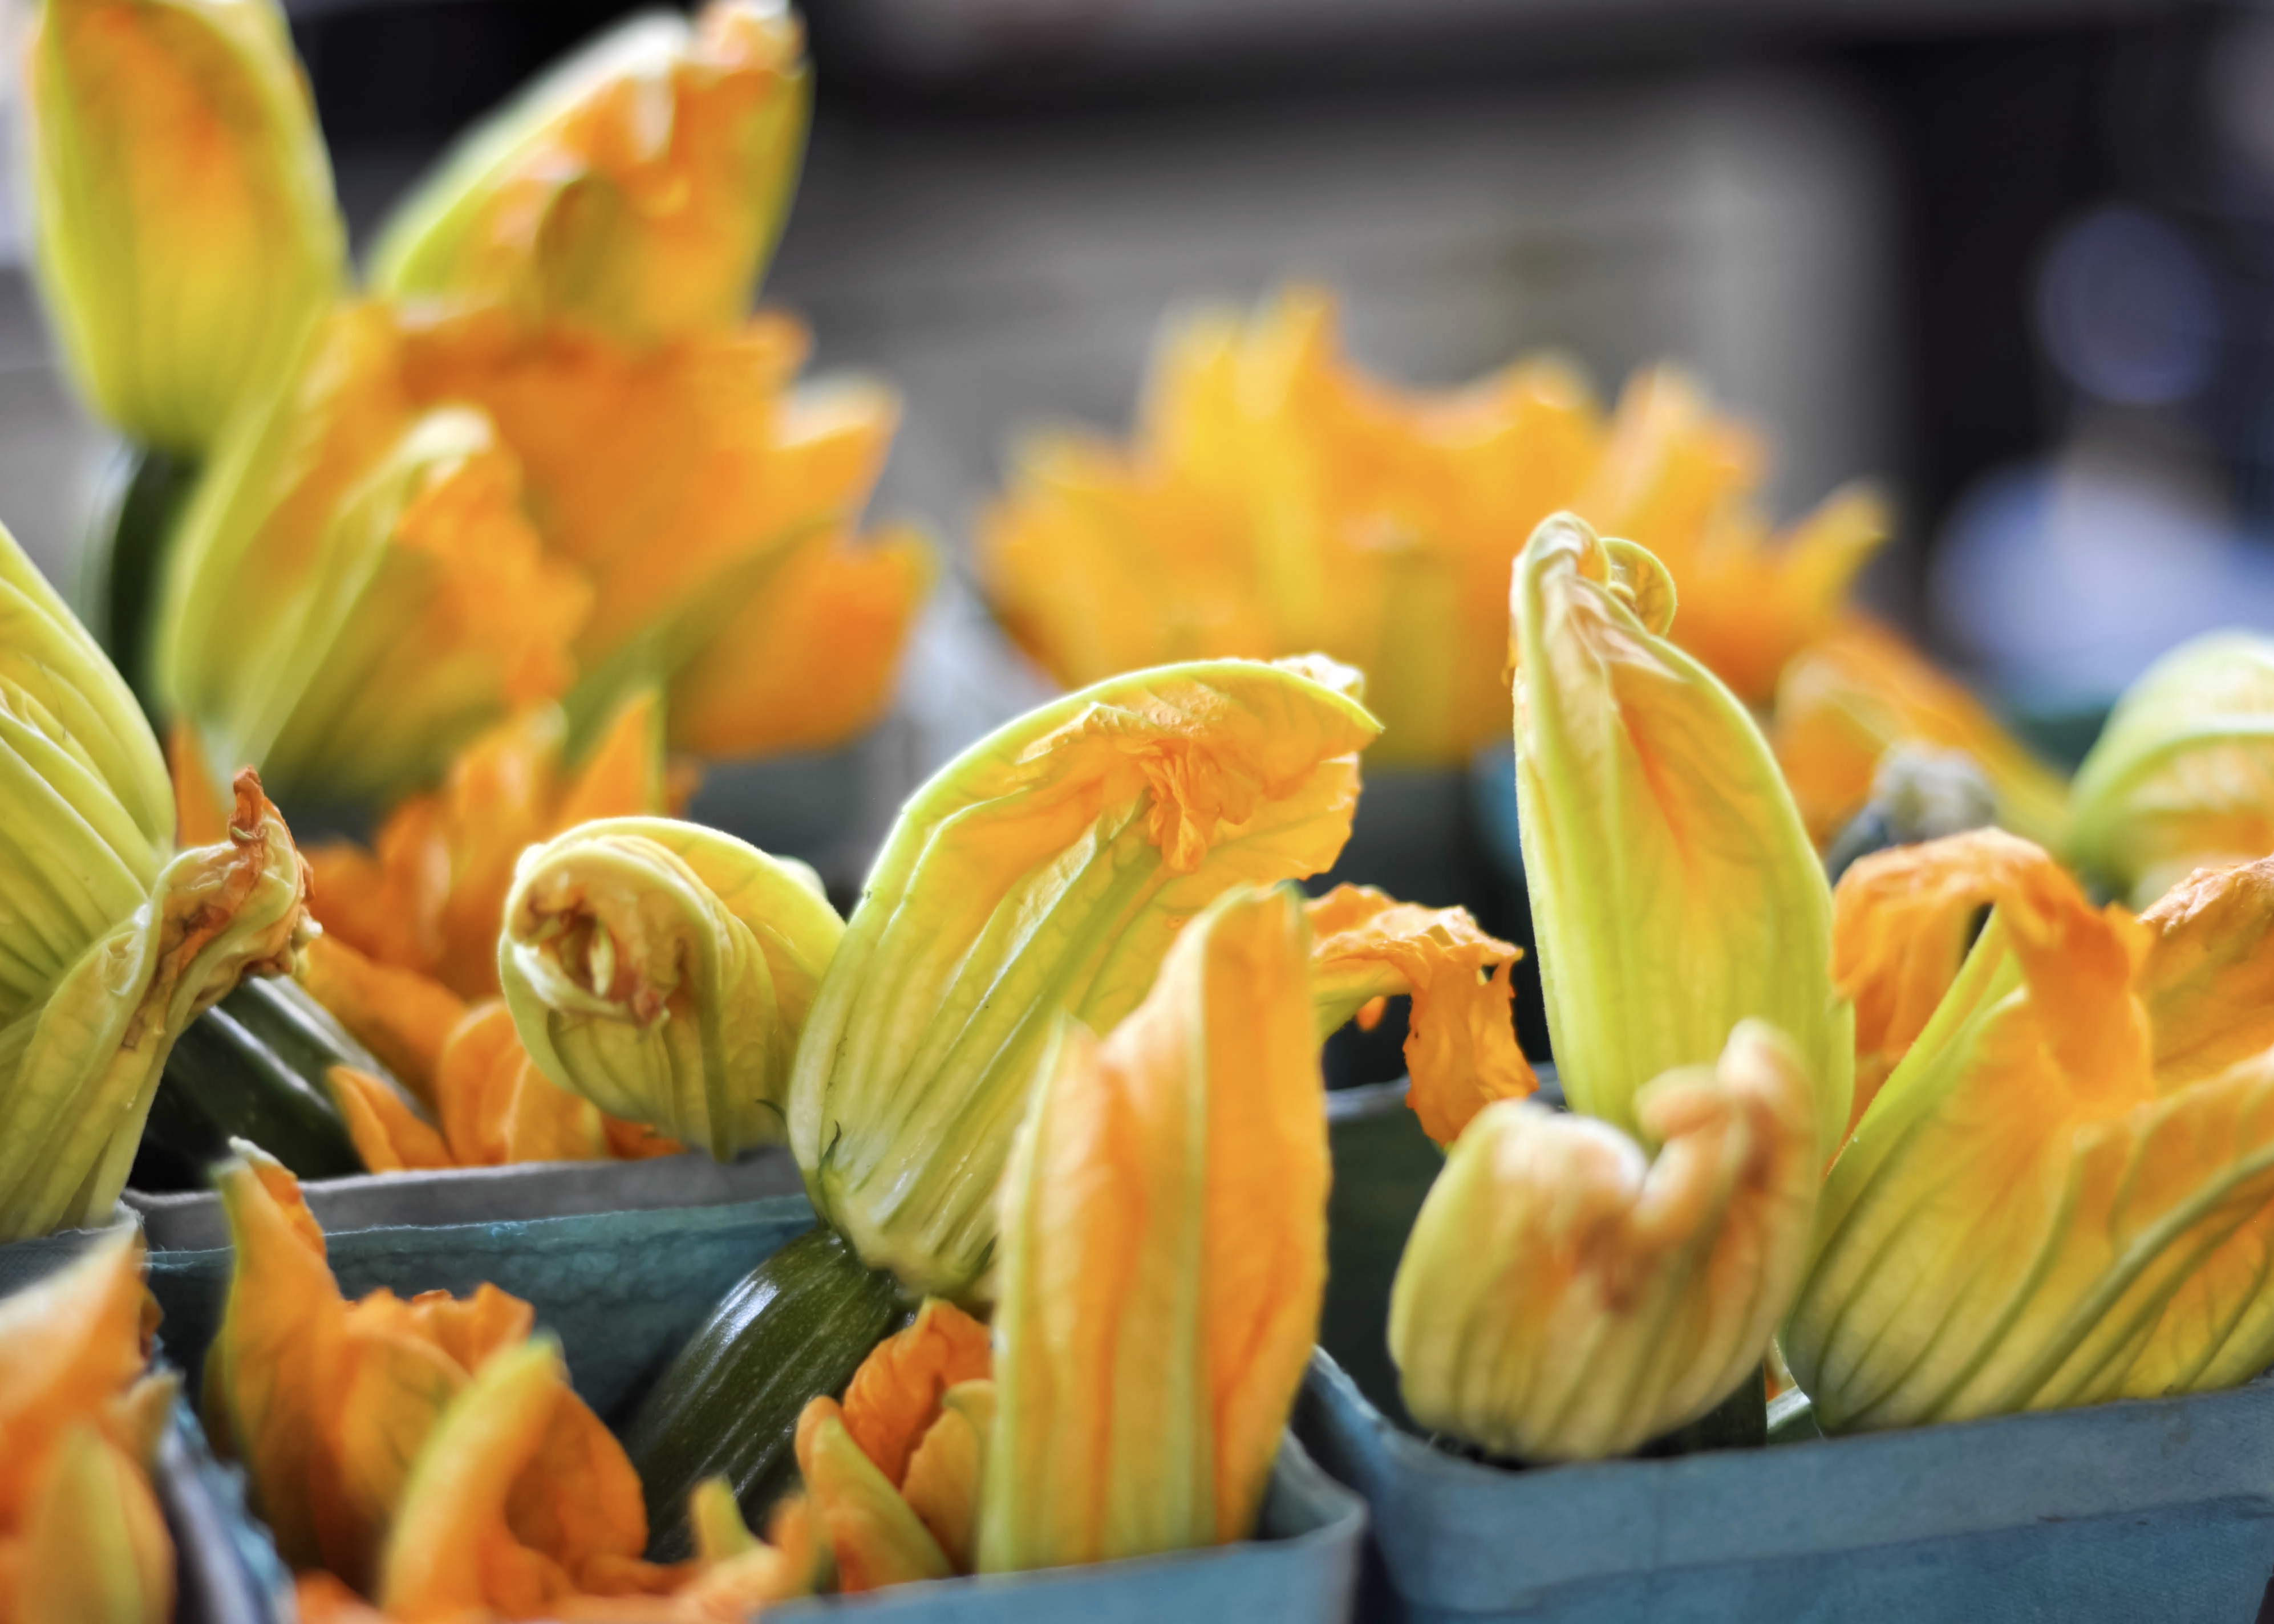
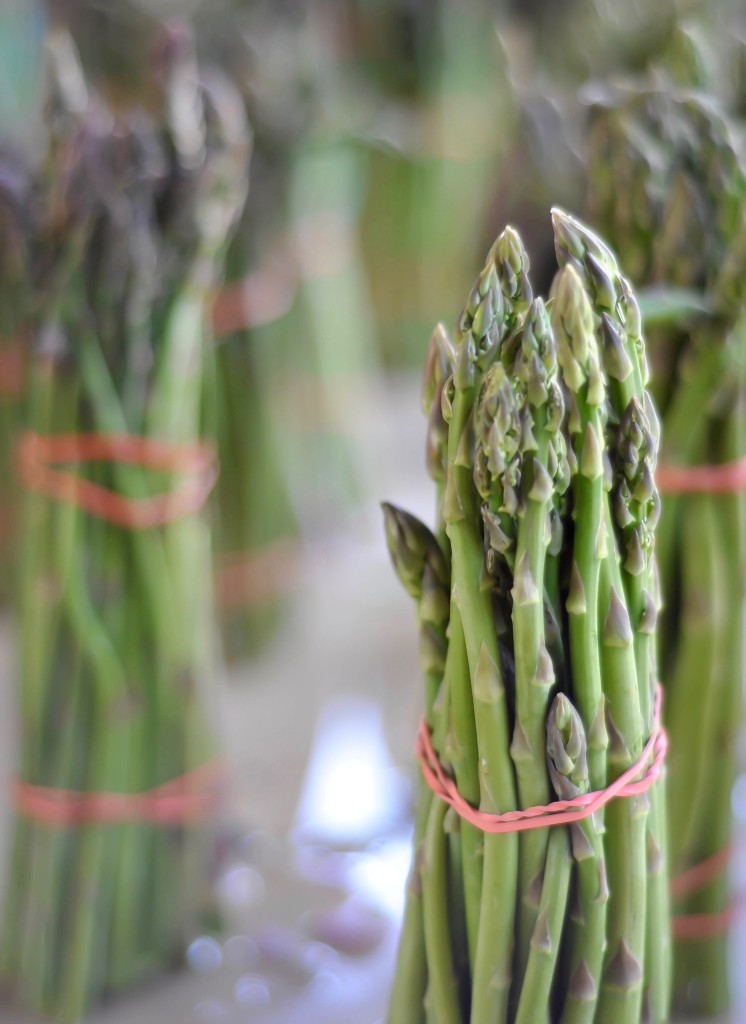
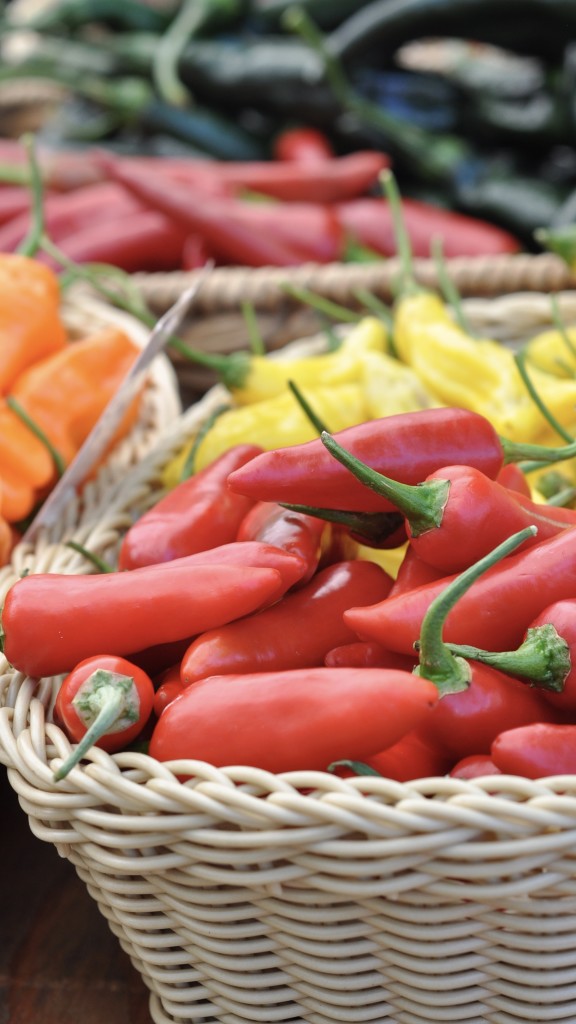
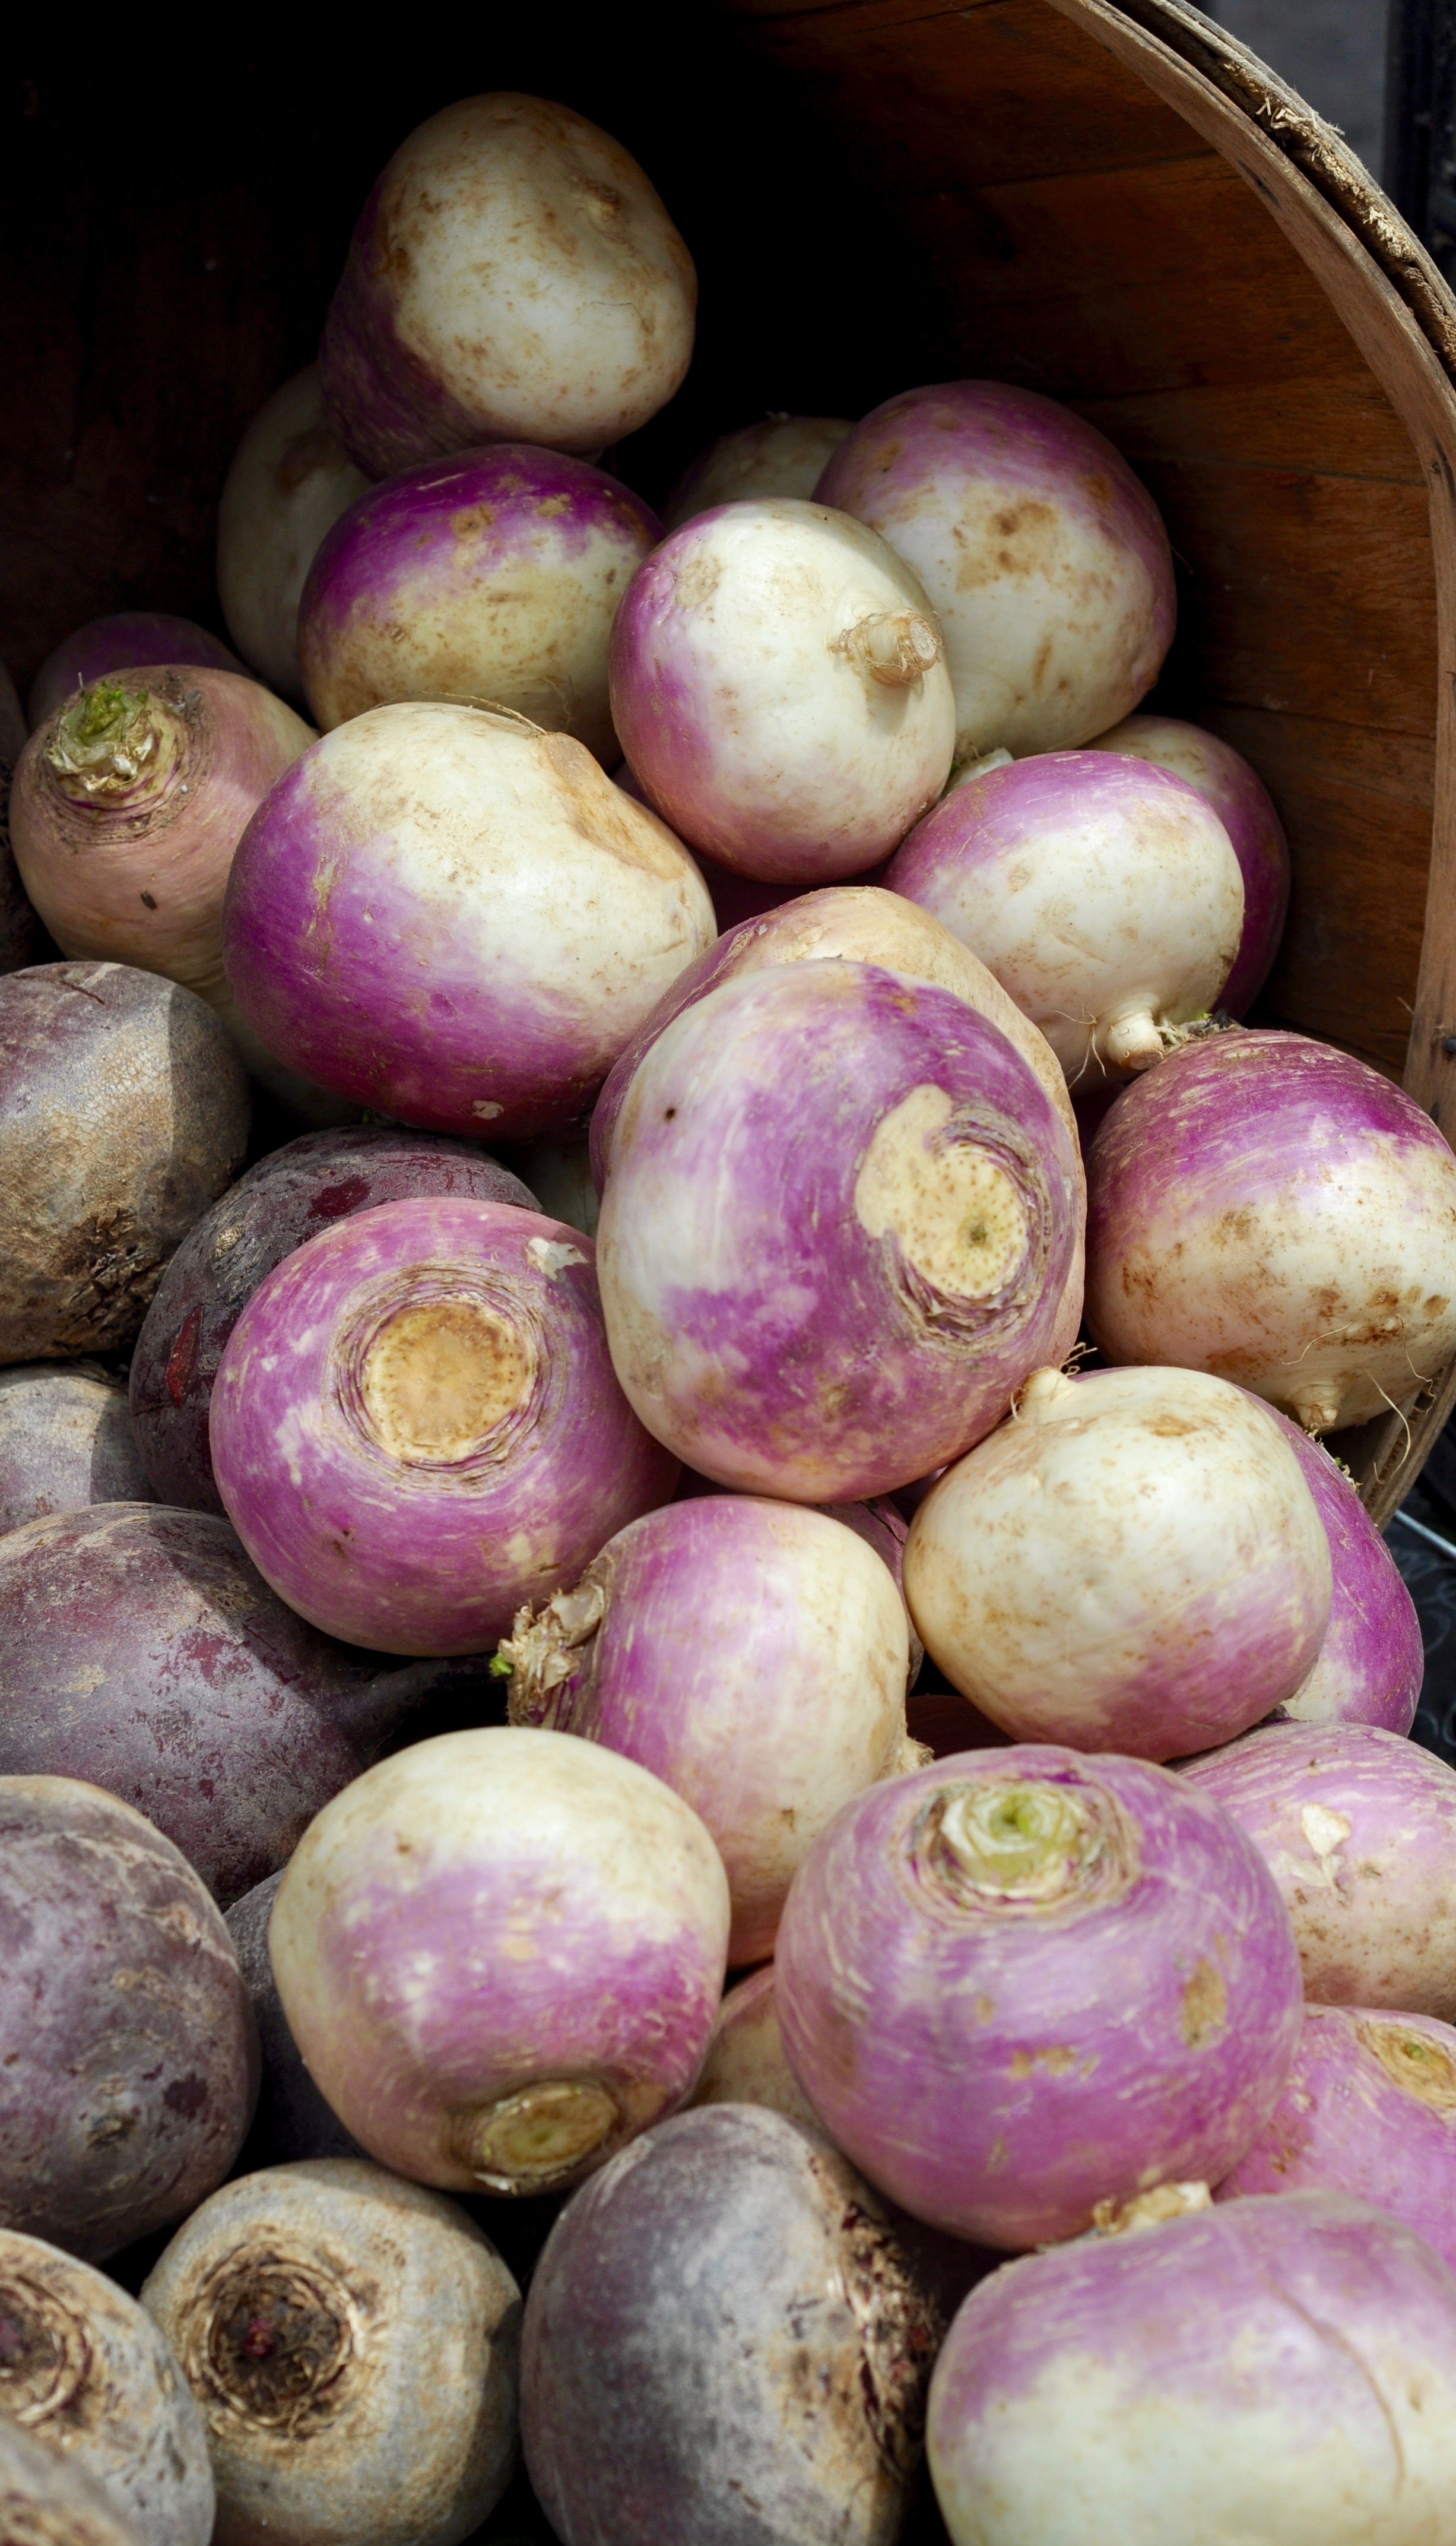
Veggies at the Farmer’s Market